
The most common signs of a poorly installed blown-in insulation job are visibly uneven coverage and incorrect depth. When inspecting an attic, a homeowner might see bare spots where the drywall is visible, areas where the insulation is significantly thinner than elsewhere, or "drifts" that look like hills and valleys. These inconsistencies create weak spots in the home's thermal barrier. Other clear signs include blocked soffit vents, which are critical for attic ventilation, and insulation that is either too compacted or overly fluffy, indicating the wrong density was used.
Fortunately, most of these issues can be fixed. Minor gaps or low spots can often be corrected by adding more insulation to "top up" the deficient areas. More serious problems, like blocked vents or improper density, require a professional to rake the material back, install baffles, and potentially add more insulation to achieve the correct R-value. In severe cases of a botched job or if the insulation is contaminated, the best solution is a complete removal and a fresh installation by a reputable contractor.
Visual Clues of a Bad Installation
The most obvious problems are the ones you can see with your own eyes. A quick look into the attic can often reveal if the job was done properly.
Uneven Coverage and Bare Spots
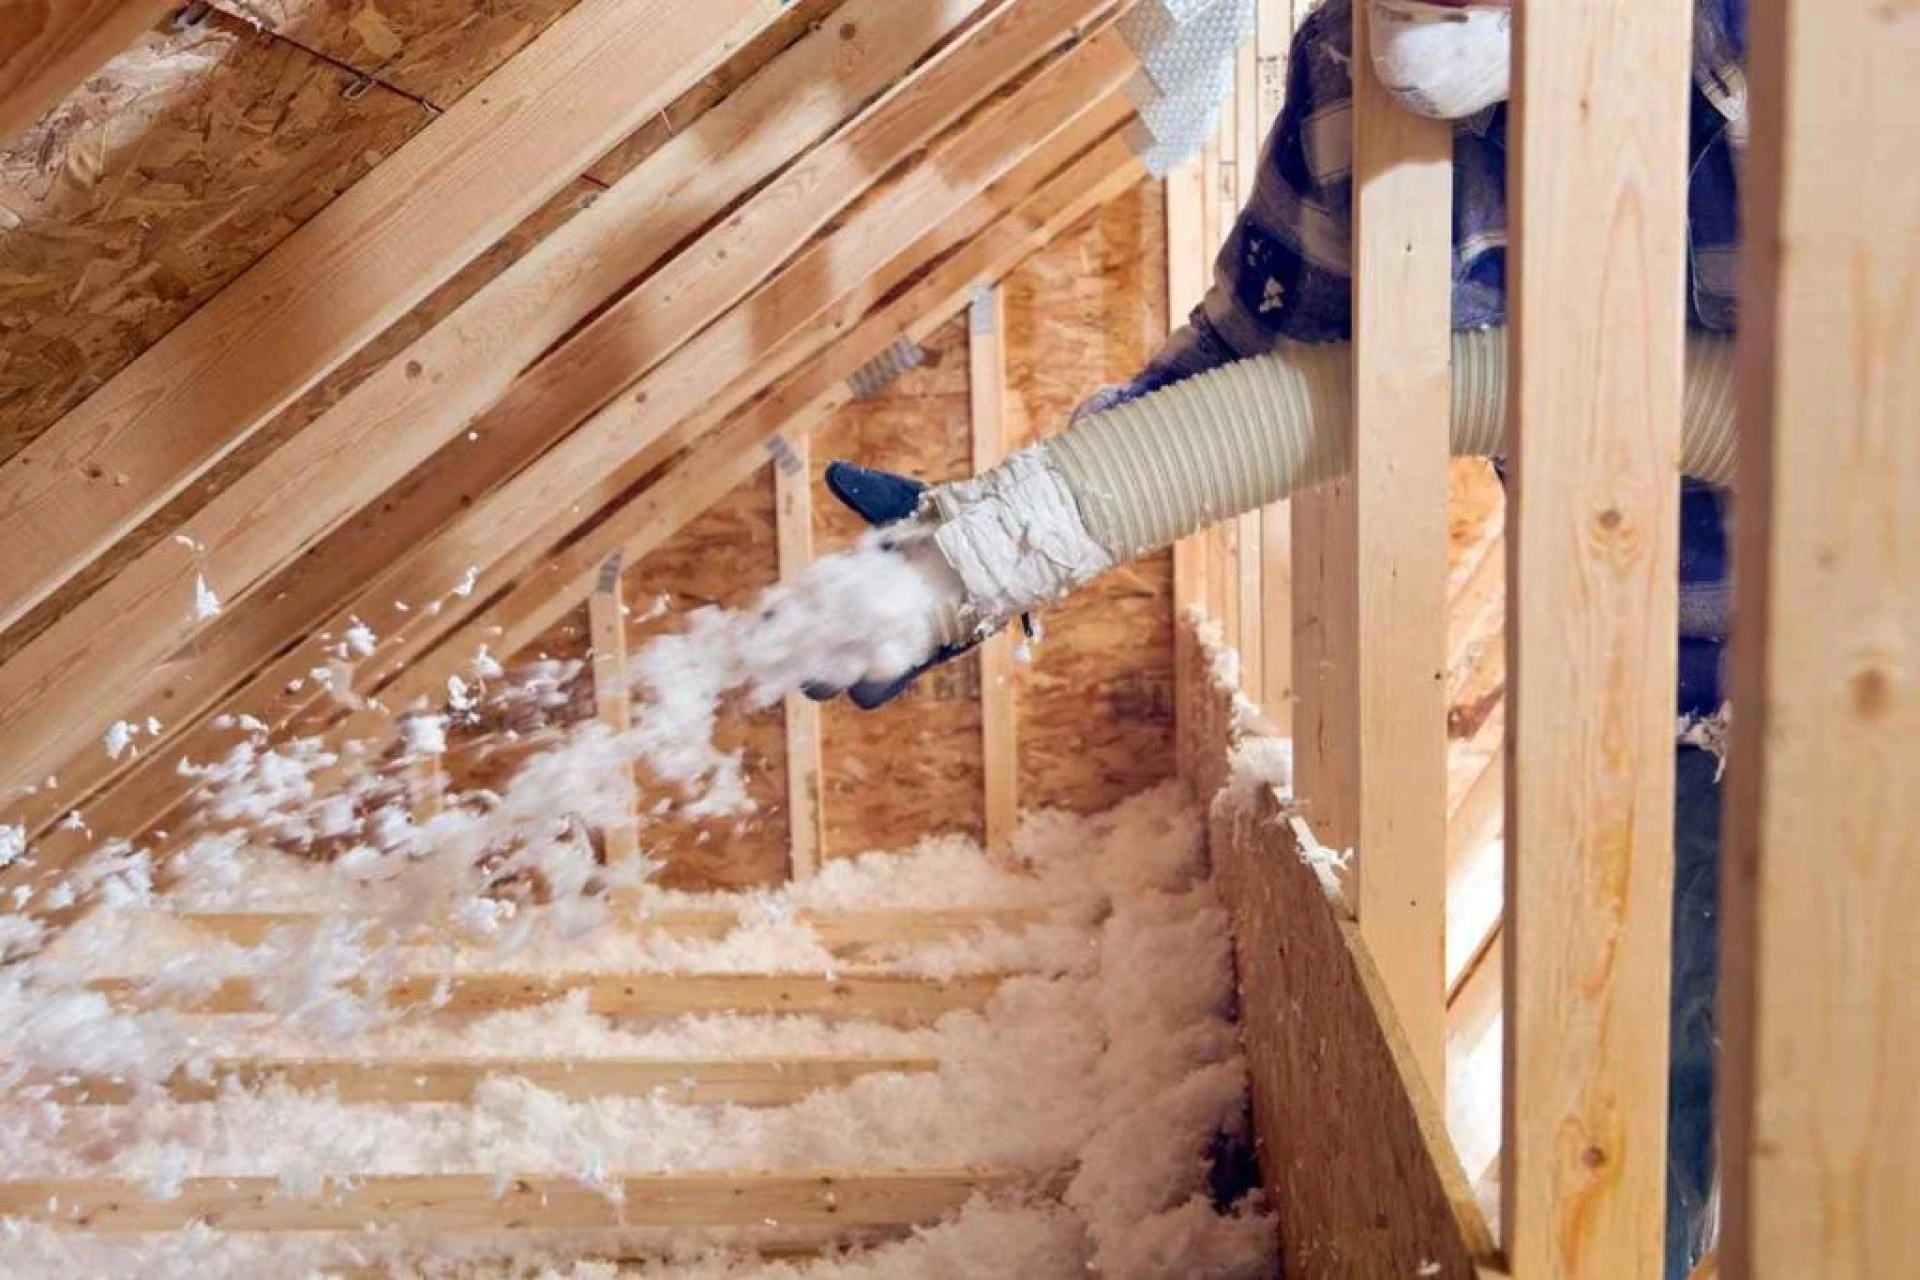
The number one rule of blown-in insulation services is that it must form a continuous, even blanket over the entire attic floor. Any gaps, no matter how small, create "thermal bridges" where heat can easily escape in the winter and enter in the summer. When inspecting, look for:
- Visible Drywall: You should not be able to see the ceiling drywall of the rooms below.
- Exposed Joist Tops: The insulation should be deep enough to cover the tops of the ceiling joists in most cases. If you can clearly see the tops of all the joists, the insulation is likely not deep enough.
- Inconsistent Depth: The surface should look relatively flat and uniform. If there are deep valleys and high peaks, it means the installer did not distribute the material evenly.
Blocked Soffit Vents
This is a critical and common mistake. Soffit vents, located under the eaves of the roof, allow fresh air to enter the attic, while ridge or gable vents let hot, moist air escape. This airflow is essential for preventing moisture buildup that can lead to mold and rot. An inexperienced installer might blow insulation right up to the edge of the attic, blocking these vents. You can check for this by looking for insulation piled up against the underside of the roof deck at the edges.
Technical Errors That Affect Performance
Some signs of a poor installation are less about what you can see and more about the technical execution of the job.
Incorrect Density
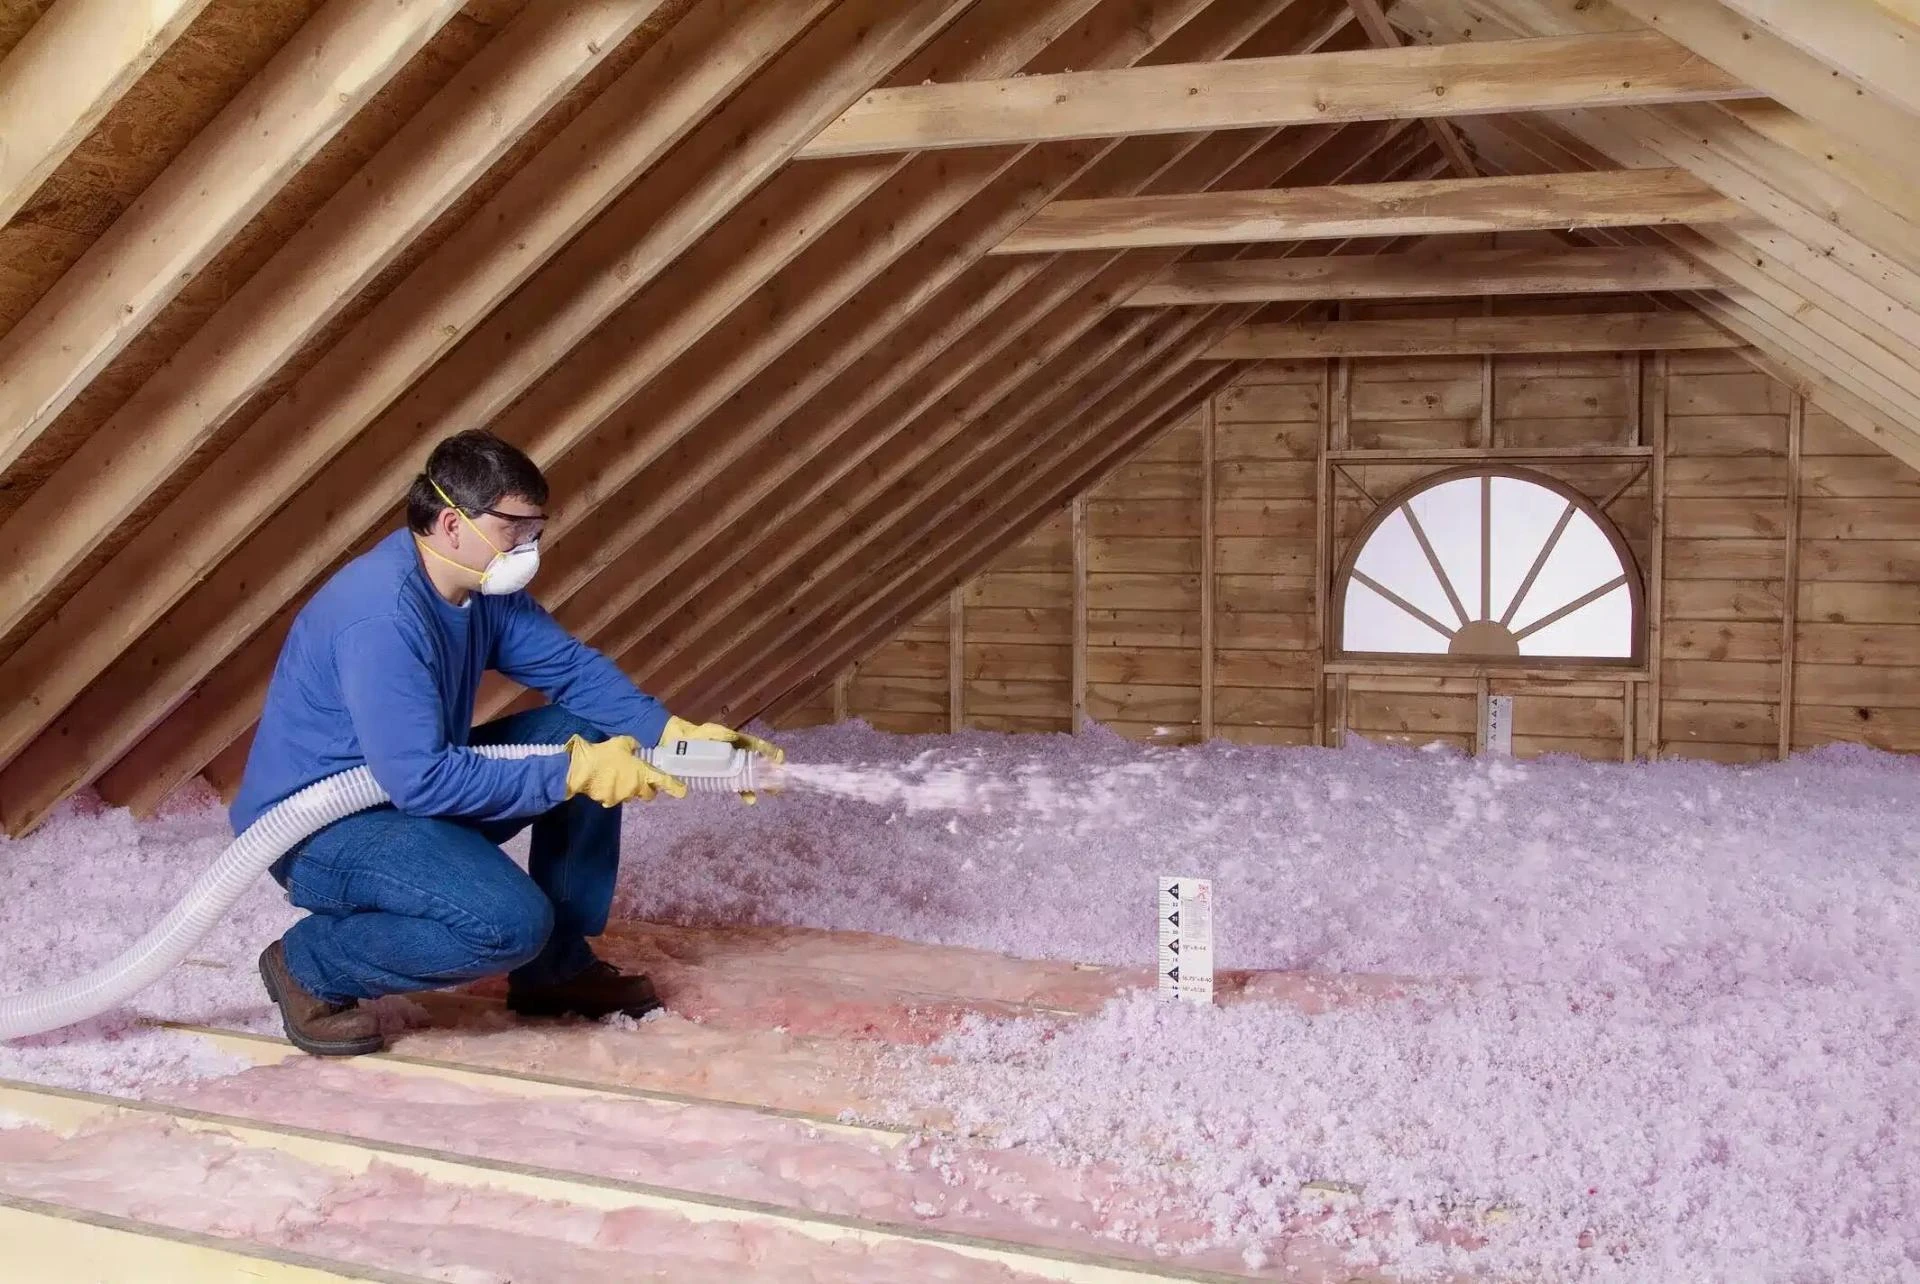
The thermal resistance (R-value) of blown-in insulation depends on it being installed at the correct density. Some unscrupulous contractors might try to save money on materials by "fluffing" the insulation. They use a higher air-to-material ratio in their blowing machine, which makes the insulation look deep initially but fails to provide the advertised R-value. This low-density insulation will also settle much more over time, further reducing its effectiveness. On the other hand, overly dense or compacted insulation also loses some of its insulating power.
Failure to Prep the Space
A quality insulation job starts before the hose is ever turned on. A professional crew will take the time to prepare the attic. This includes:
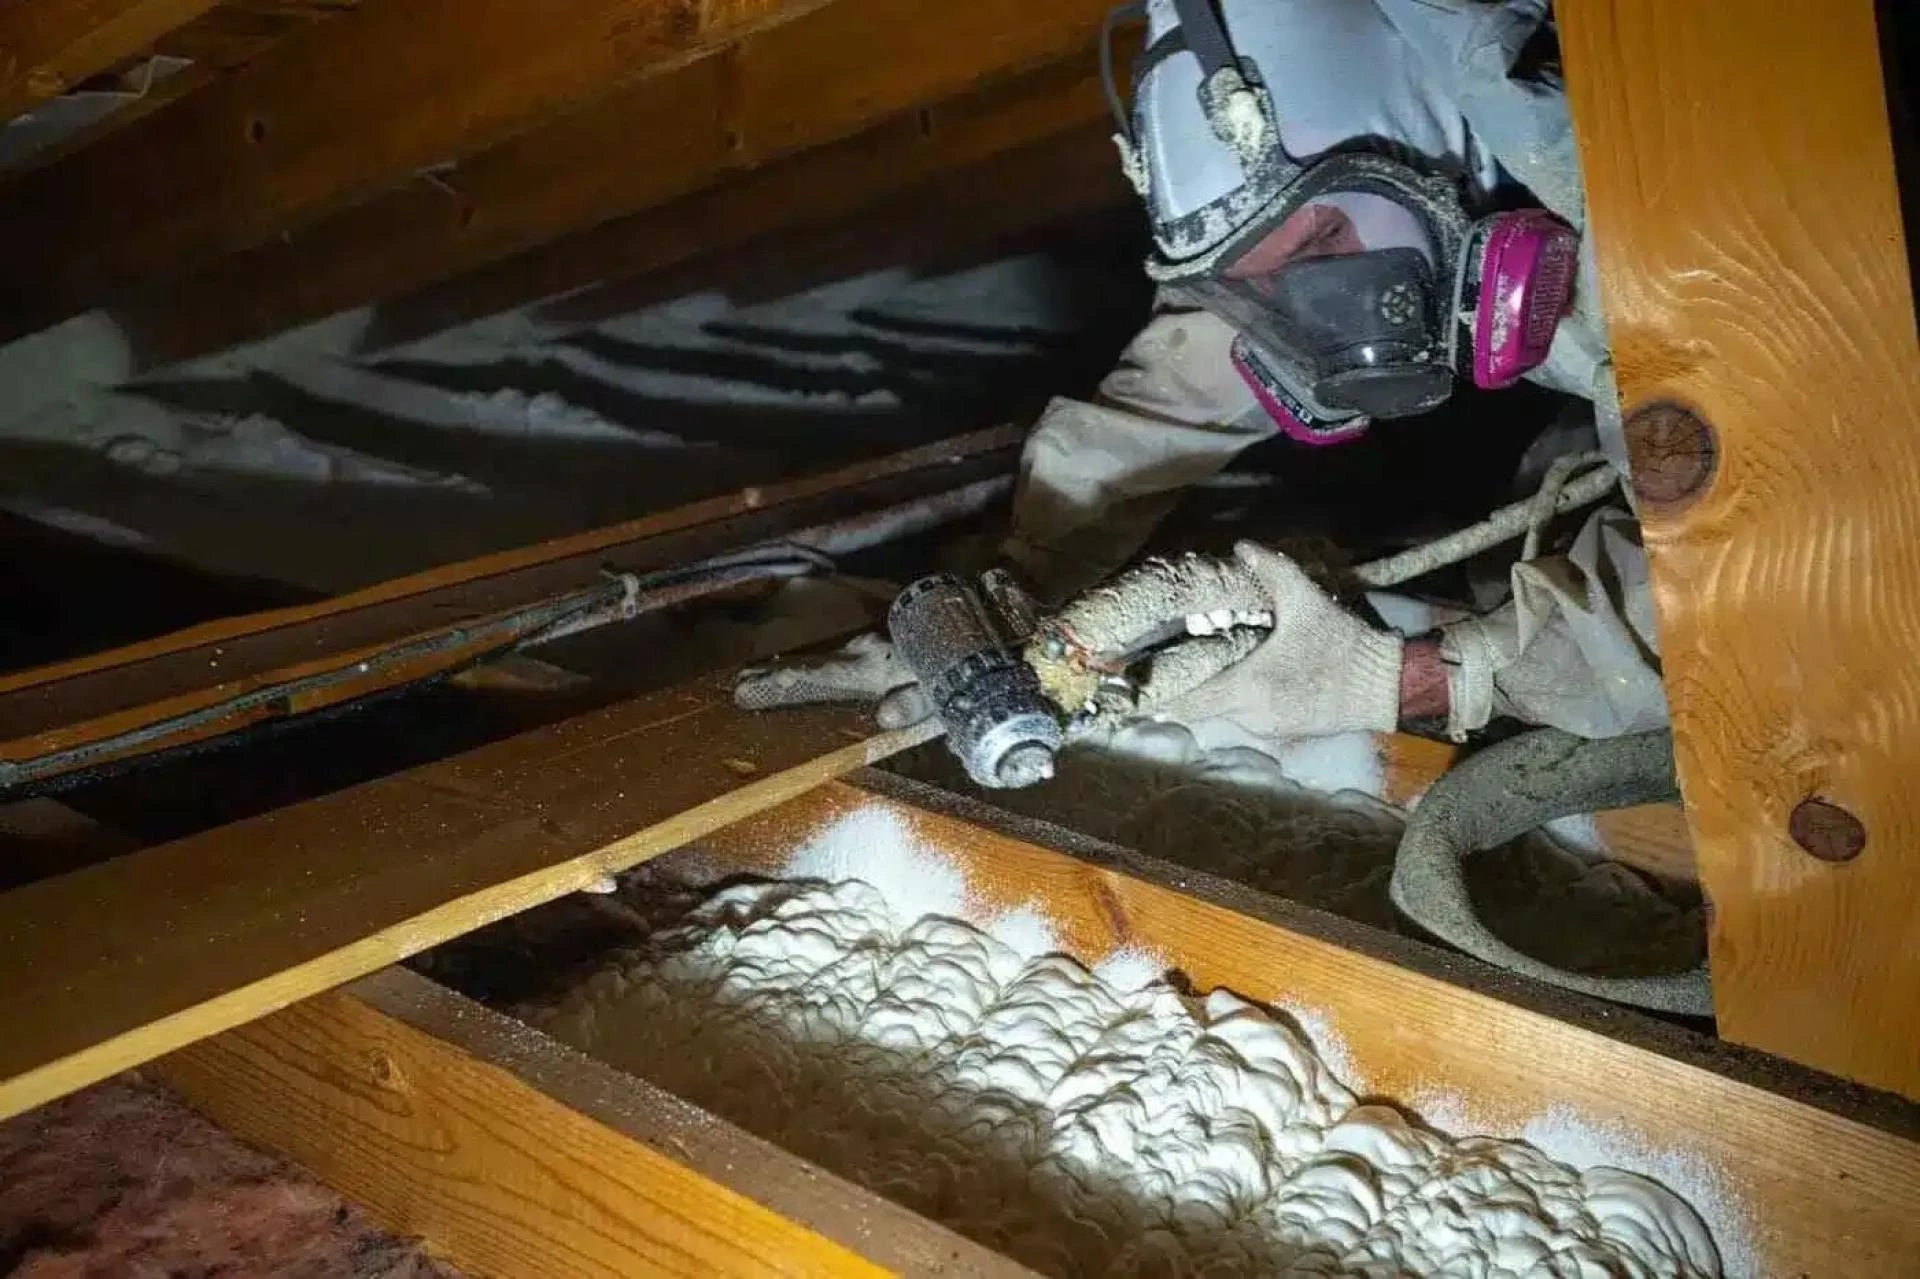
- Air Sealing: Sealing gaps around plumbing pipes, electrical wiring, and the attic hatch with foam or caulk. Without this step, air will continue to leak from the living space below, undermining the new insulation.
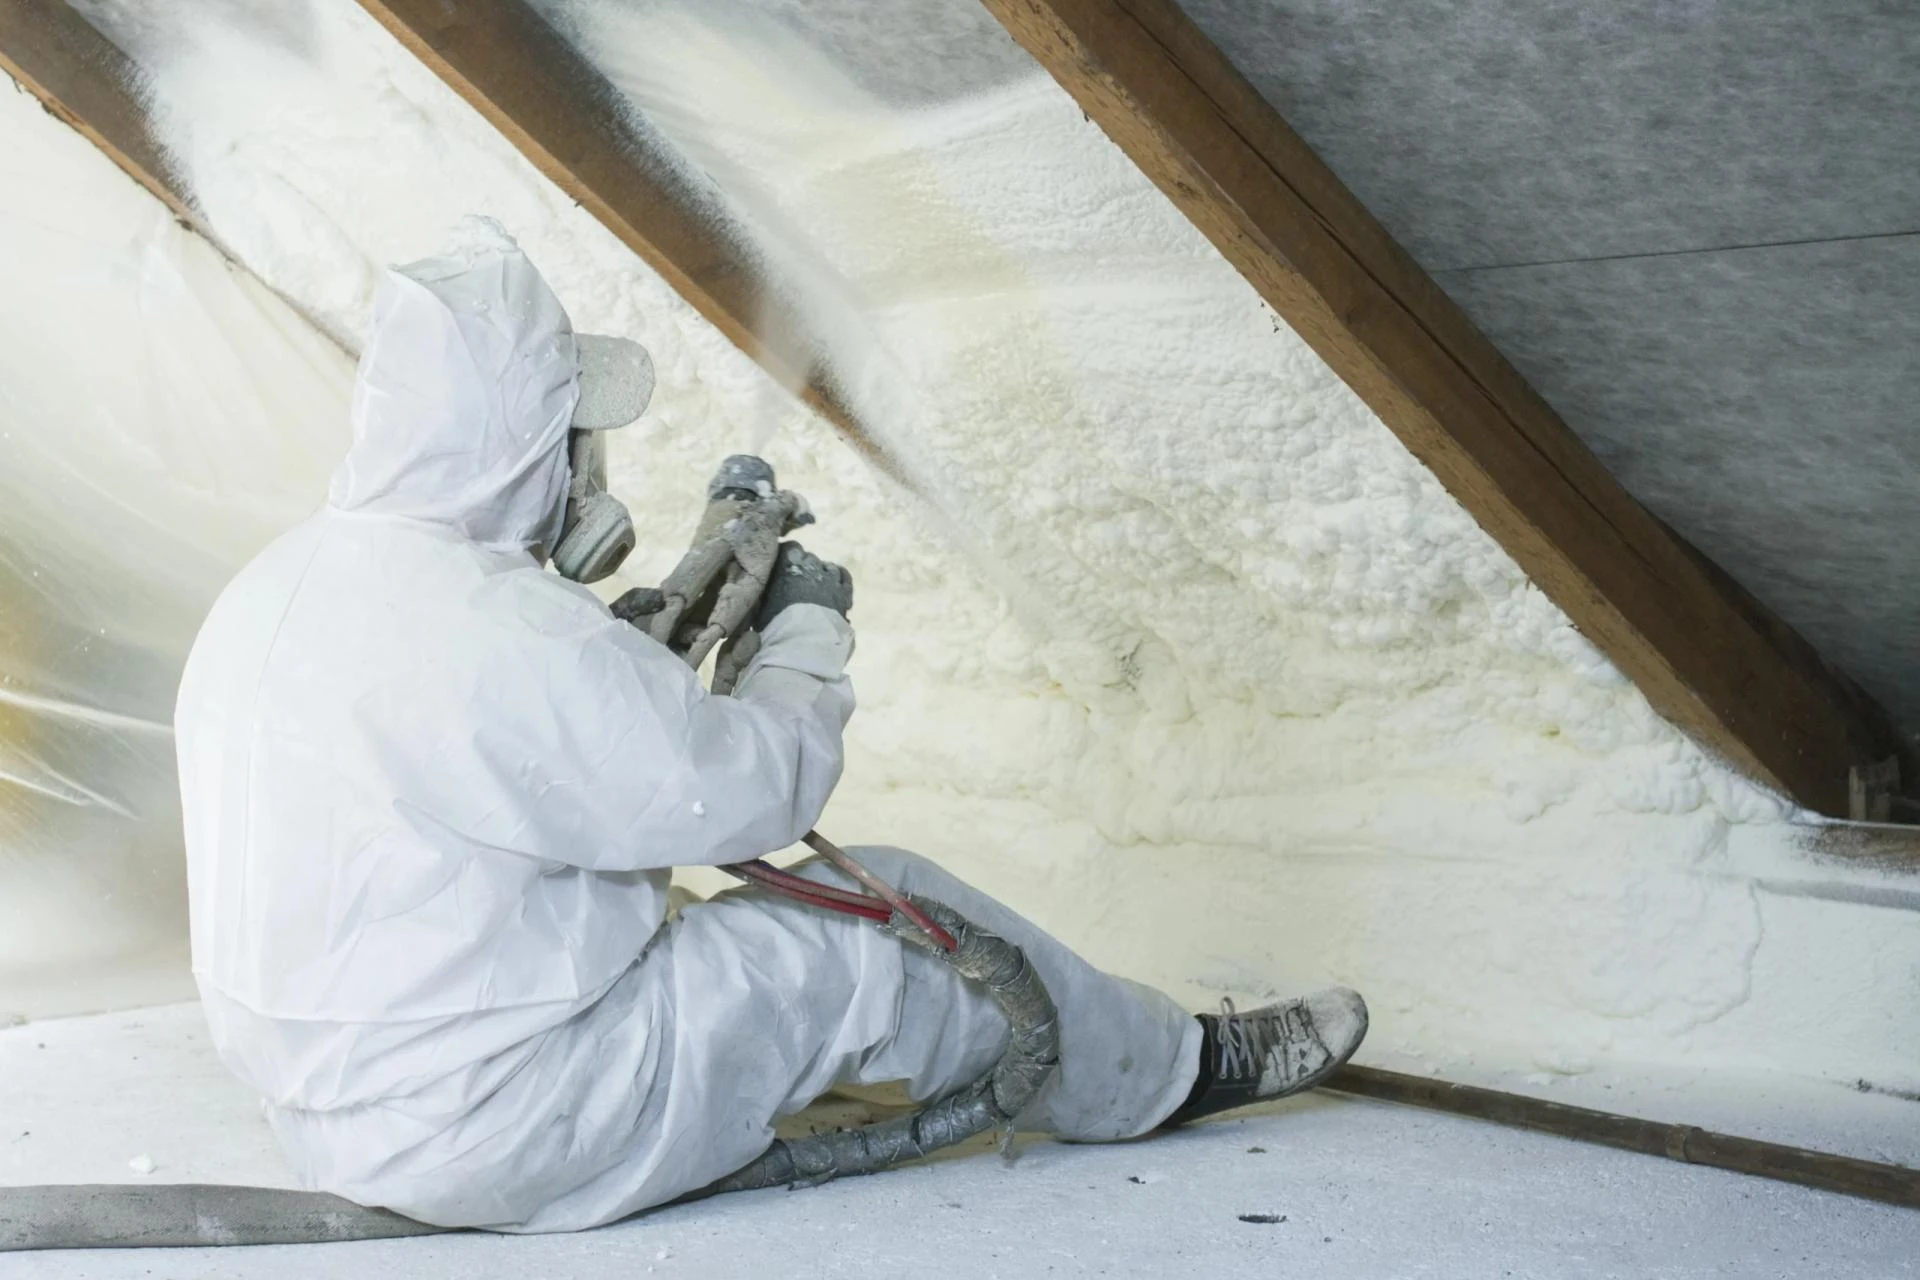
- Protecting Heat Sources: Building dams or enclosures around heat-generating fixtures like recessed lights, chimneys, and exhaust fans. Insulation blown directly against these surfaces can be a fire hazard.
Things to Consider Before Deciding on a Fix
Before you hire a professional insulation contractor or decide on a solution, it helps to assess the situation fully.
- Extent of the Problem: Is it just one or two small spots, or is the entire attic a mess? A small fix might be all you need.
- Age and Condition: If the insulation is very old and dusty, you might get more value from a full replacement that allows for thorough air sealing.
- Budget: Topping up is the least expensive option. Full removal and replacement is a significant investment but provides the best long-term performance.
- Bonus Tip: A good contractor will install attic rulers throughout the space before they begin blowing. These rulers clearly mark the intended depth, serving as a guide for the installer and a verification tool for the homeowner.
- Bonus Tip: The number of bags of insulation used is a key indicator of a proper installation. The manufacturer specifies how many square feet a single bag should cover to achieve a certain R-value. Ask your original installer (if possible) or a new contractor to calculate if the right amount of material was used for your attic's size.
How to Fix Blown-In Insulation Problems
The solution to a poor insulation job depends on the severity of the problem.
Topping Up and Leveling
For attics that just have some low spots or an insufficient overall depth, the fix is relatively simple. A professional can blow in additional insulation on top of the existing material to bring it up to the desired level and R-value. They can also use an insulation rake to level out any high spots. This is often the most cost-effective solution for minor issues.
Correcting Safety and Ventilation Issues
If soffit vents are blocked or heat sources are not properly protected, the insulation must be physically moved. This involves using a rake or shovel to pull the insulation away from the vents and fixtures. Then, vent baffles (also called rafter vents) should be installed to create a clear channel for air to flow. Dams made of metal flashing or fire-rated drywall should be built around any heat sources before the insulation is put back in place. This is a job best left to a professional.
When a Full Removal is Necessary
In some situations, a simple fix isn't enough. A complete removal of the old insulation is often the best course of action if:
- The insulation is contaminated by a pest infestation or widespread mold growth.
- The original installation was so poorly done (e.g., extremely low density) that it makes more sense to start over.
- Extensive air sealing needs to be done, which is much easier and more effective on a bare attic floor.
The table below summarizes common problems and their solutions.

To help with any remaining concerns, here are a few questions homeowners often have.
Questions About Insulation Issues
How much should blown-in insulation settle?
Properly installed cellulose and fiberglass should not settle more than about 10-20% over its lifetime. If your insulation has lost a significant amount of its height in just a few years, it was likely "fluffed" and installed at too low a density.
Can I mix new insulation on top of old?
Yes, it is perfectly fine to add new fiberglass or cellulose on top of existing insulation of the same type. This is the basis of a "top-up" project.
How do I know what R-value I should have?
The recommended R-value for attics varies by climate zone. For most of the United States, this ranges from R-38 to R-60. An insulation professional can tell you the specific recommendation for your area.
What does a professional removal process involve?
Professionals use a powerful, truck-mounted vacuum system. A large hose is run up to the attic, and all the loose-fill insulation is vacuumed out directly into a large collection bag in the truck, minimizing dust and mess inside the home.
Can a bad insulation job really affect my energy bills?
Yes, absolutely. Gaps and thin spots act like holes in a winter coat, allowing heat to flow freely. A poorly insulated attic can easily lead to 15-25% higher heating and cooling costs.
Restoring Your Home’s Performance
A proper layer of blown-in insulation is one of the most effective ways to make your home more energy-efficient and comfortable. If you suspect the job wasn't done right, a visual inspection is the first step. Identifying issues like uneven coverage, blocked vents, or incorrect depth allows you to seek the right solution, whether it's a simple top-up or a full replacement. Correcting these problems will ensure you get the performance and savings you paid for.
Getting a Professional Inspection
If you're unsure about the state of your insulation, it’s wise to get a professional opinion. An experienced contractor can perform a thorough inspection, measure the depth and density, check for safety issues, and provide a clear recommendation. For homeowners seeking a reliable assessment, a company like Makeover Insulation can offer expert guidance. They can be reached for a consultation at [email protected] or by phone at (470) 664-5300.
Reviewer: Ava Clark shared her input based on 6 years of working with spray foam insulation teams. Her focus on customer trust and communication helped shape key parts of this post.


Sign in to leave a comment.