Many homeowners have never seen professional wood refinishing firsthand. They understand the before and after but not the process that connects them. Understanding what actually happens during refinishing helps set realistic expectations and appreciate the craftsmanship involved.
The Initial Assessment
Professional refinishing begins before any work is performed. The assessment phase determines what approach the project requires and what results are achievable.
Key assessment factors:
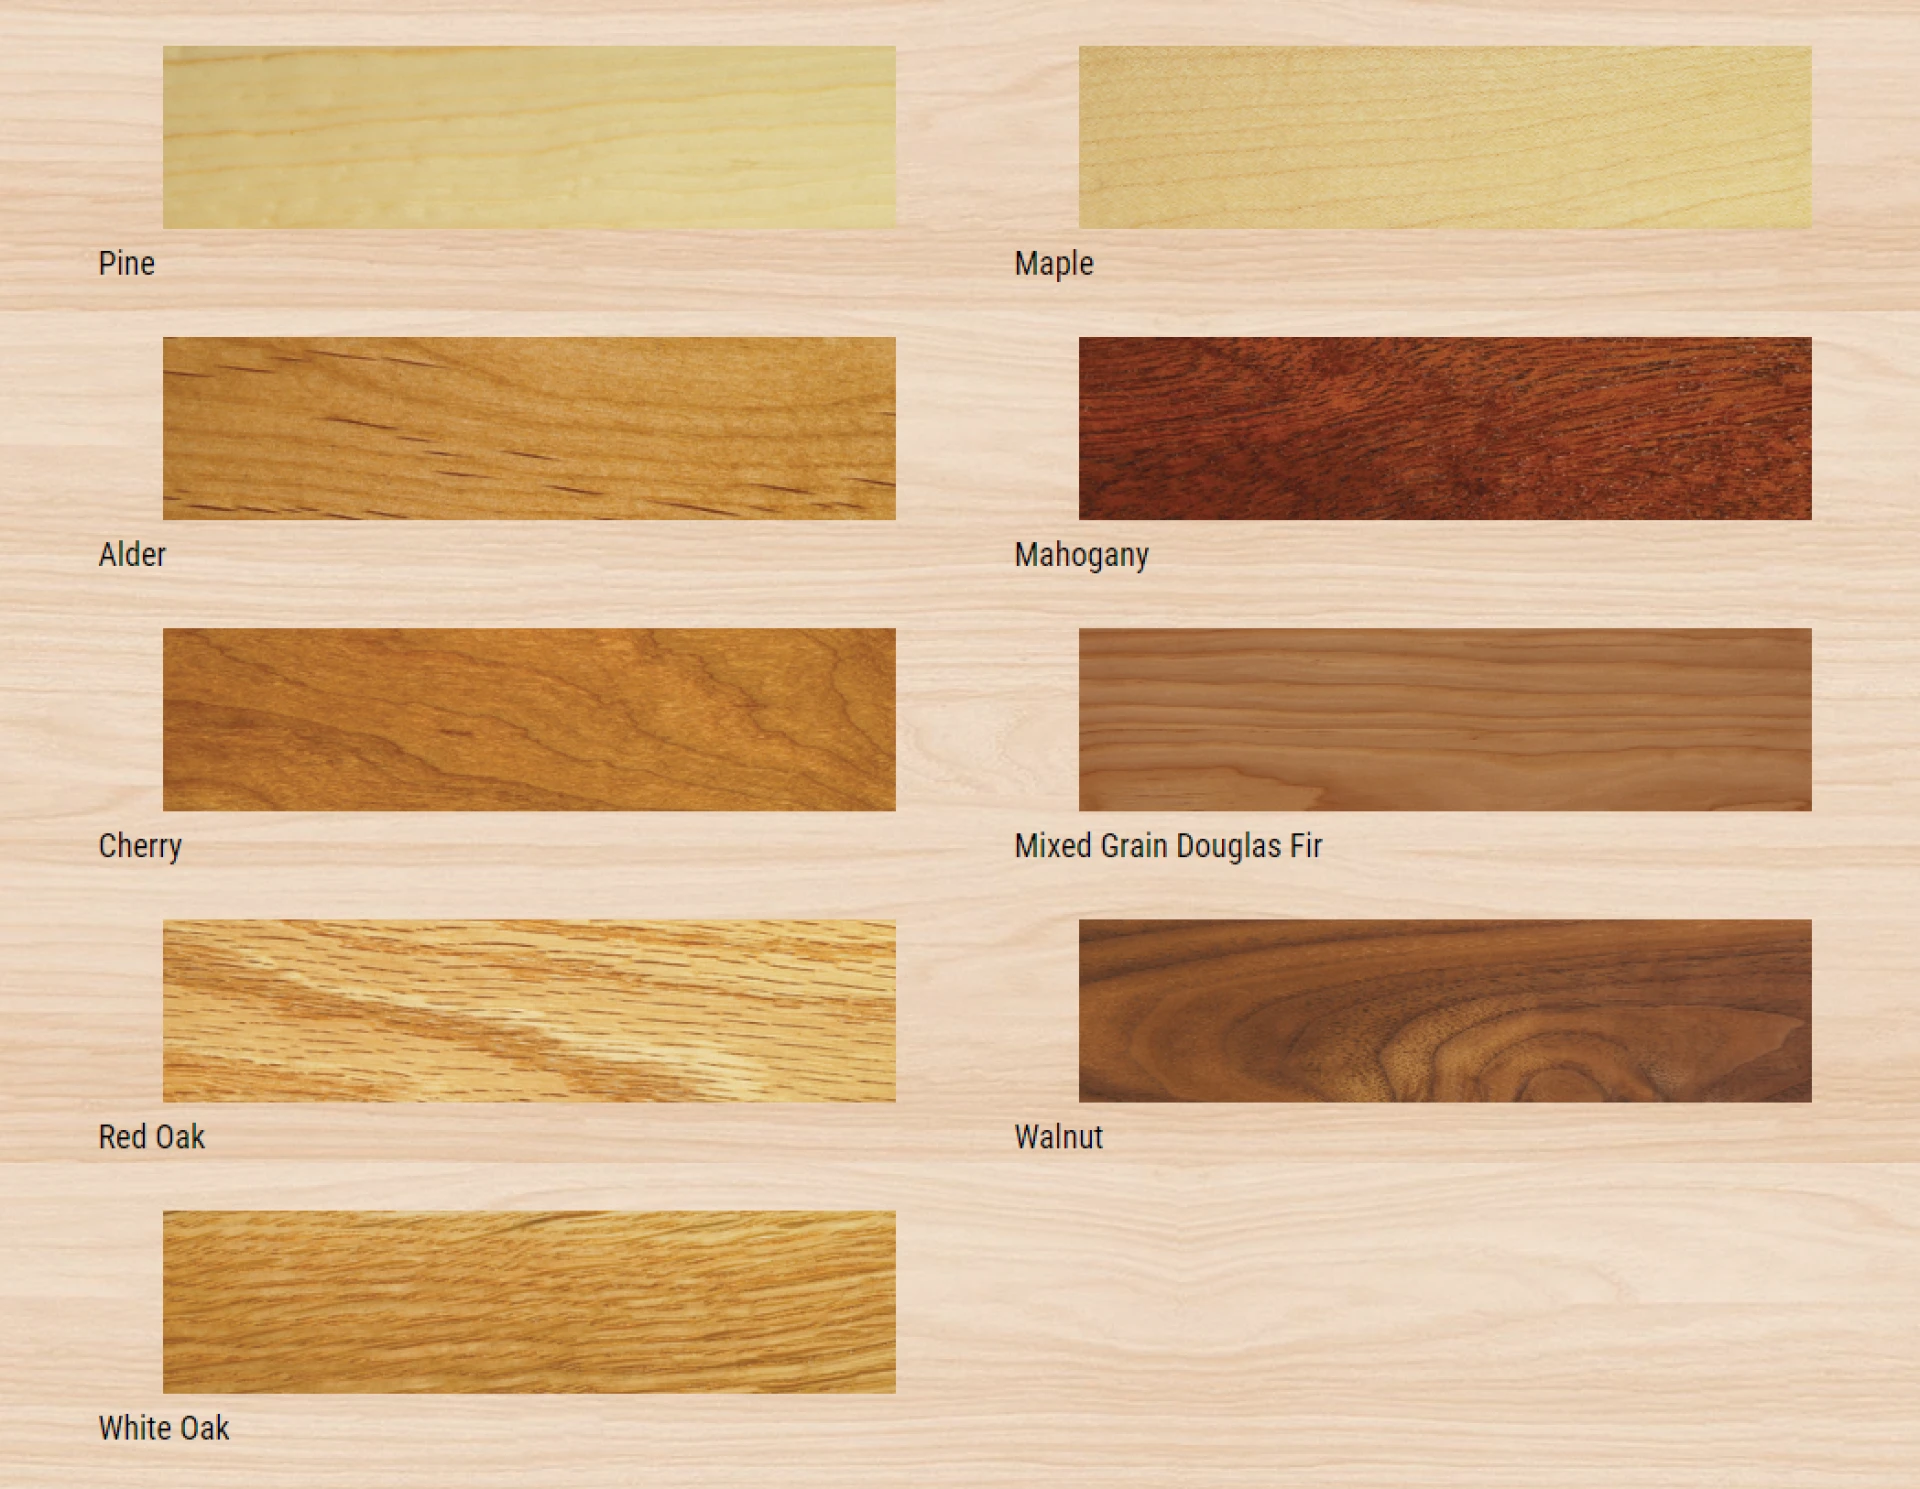
- Wood species identification
- Existing finish type and condition
- Damage evaluation (water, sun, physical)
- Structural integrity check
- Hardware condition assessment
- Color and finish preference discussion
This phase often reveals issues not apparent to homeowners. A door that looks like it just needs refinishing might have rot at the bottom rail. Cabinets that seem fine might have loose joints. Identifying these issues upfront prevents surprises later.
Preparation and Protection
Once work begins, protecting surrounding areas is the first priority. Refinishing involves chemicals, dust, and potential for spills. Professional preparation prevents damage to floors, walls, and adjacent surfaces.
Preparation steps include:
- Covering floors with protective materials
- Masking adjacent surfaces
- Setting up ventilation
- Organizing workspace
- Removing hardware and labeling for reinstallation
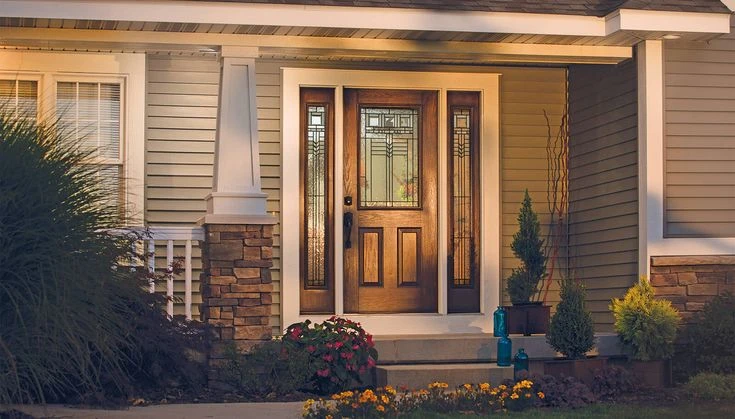
For exterior door refinishing, the door is typically removed entirely and taken to a workshop where controlled conditions allow better results.
The Stripping Phase
Removing old finish is more involved than many realize. Different finishes require different stripping approaches. Lacquer responds to different chemicals than polyurethane. Varnish needs yet another approach.
Professional stripping involves:
- Selecting appropriate chemical strippers for the specific finish
- Applying stripper and allowing proper dwell time
- Carefully removing softened finish without gouging wood
- Neutralizing chemical residue
- Inspecting for complete removal
- Repeating process if any finish remains
Incomplete stripping is a common DIY mistake. Any remaining finish prevents new stain and finish from adhering properly, leading to early failure.
Damage Assessment and Repair
With old finish removed, the true condition of the wood becomes visible. This is when repairs are addressed.
Common repairs include:
- Filling cracks with wood filler or epoxy
- Replacing rot damaged sections
- Regluing loose joints
- Filling enlarged screw holes
- Replacing missing pieces with matching wood
- Stabilizing weak areas
The quality of repairs determines whether they'll be visible after refinishing. Proper repairs use materials that accept stain similarly to the surrounding wood and are shaped to match original contours exactly.
The Sanding Process
Sanding serves multiple purposes. It removes any remaining finish traces, smooths repairs, eliminates surface imperfections, and creates the texture needed for proper stain and finish adhesion.
Professional sanding progresses through multiple stages:
- Coarse grit removes high spots and major imperfections
- Medium grit refines the surface
- Fine grit creates final smoothness
- Direction matters, always with the grain
- Hand sanding reaches areas machines can't
- Final inspection ensures uniform surface
The dust generated during sanding is considerable. Professional equipment includes dust collection systems that capture most particles, minimizing cleanup and reducing health concerns.
Wood Conditioning
In California's dry climate, wood often becomes dehydrated, especially on exterior applications. Conditioning restores some moisture and opens the grain slightly, allowing stain to penetrate evenly.
Conditioning accomplishments:
- Prevents blotchy stain absorption
- Ensures even color throughout
- Prepares wood for optimal stain acceptance
- Particularly important for maple, pine, and cherry
- Less critical for oak but still beneficial
The conditioning process might seem like an unnecessary step, but it makes the difference between amateur looking results and professional quality.
Custom Stain Mixing
This is where refinishing becomes as much art as craft. Off the shelf stains rarely match exactly what the project needs. Color must complement the home's other wood elements, achieve the homeowner's vision, and work with the specific wood species.
Stain mixing considerations:
- Base color selection
- Adjusting tone (red, yellow, or neutral)
- Achieving proper depth
- Testing on sample boards
- Adjusting based on test results
- Accounting for how color will appear once sealed
Marco Romani personally handles stain mixing for every project. After 38 years, he can look at wood and predict how it will respond to different stain formulations, but he still tests to ensure perfection.
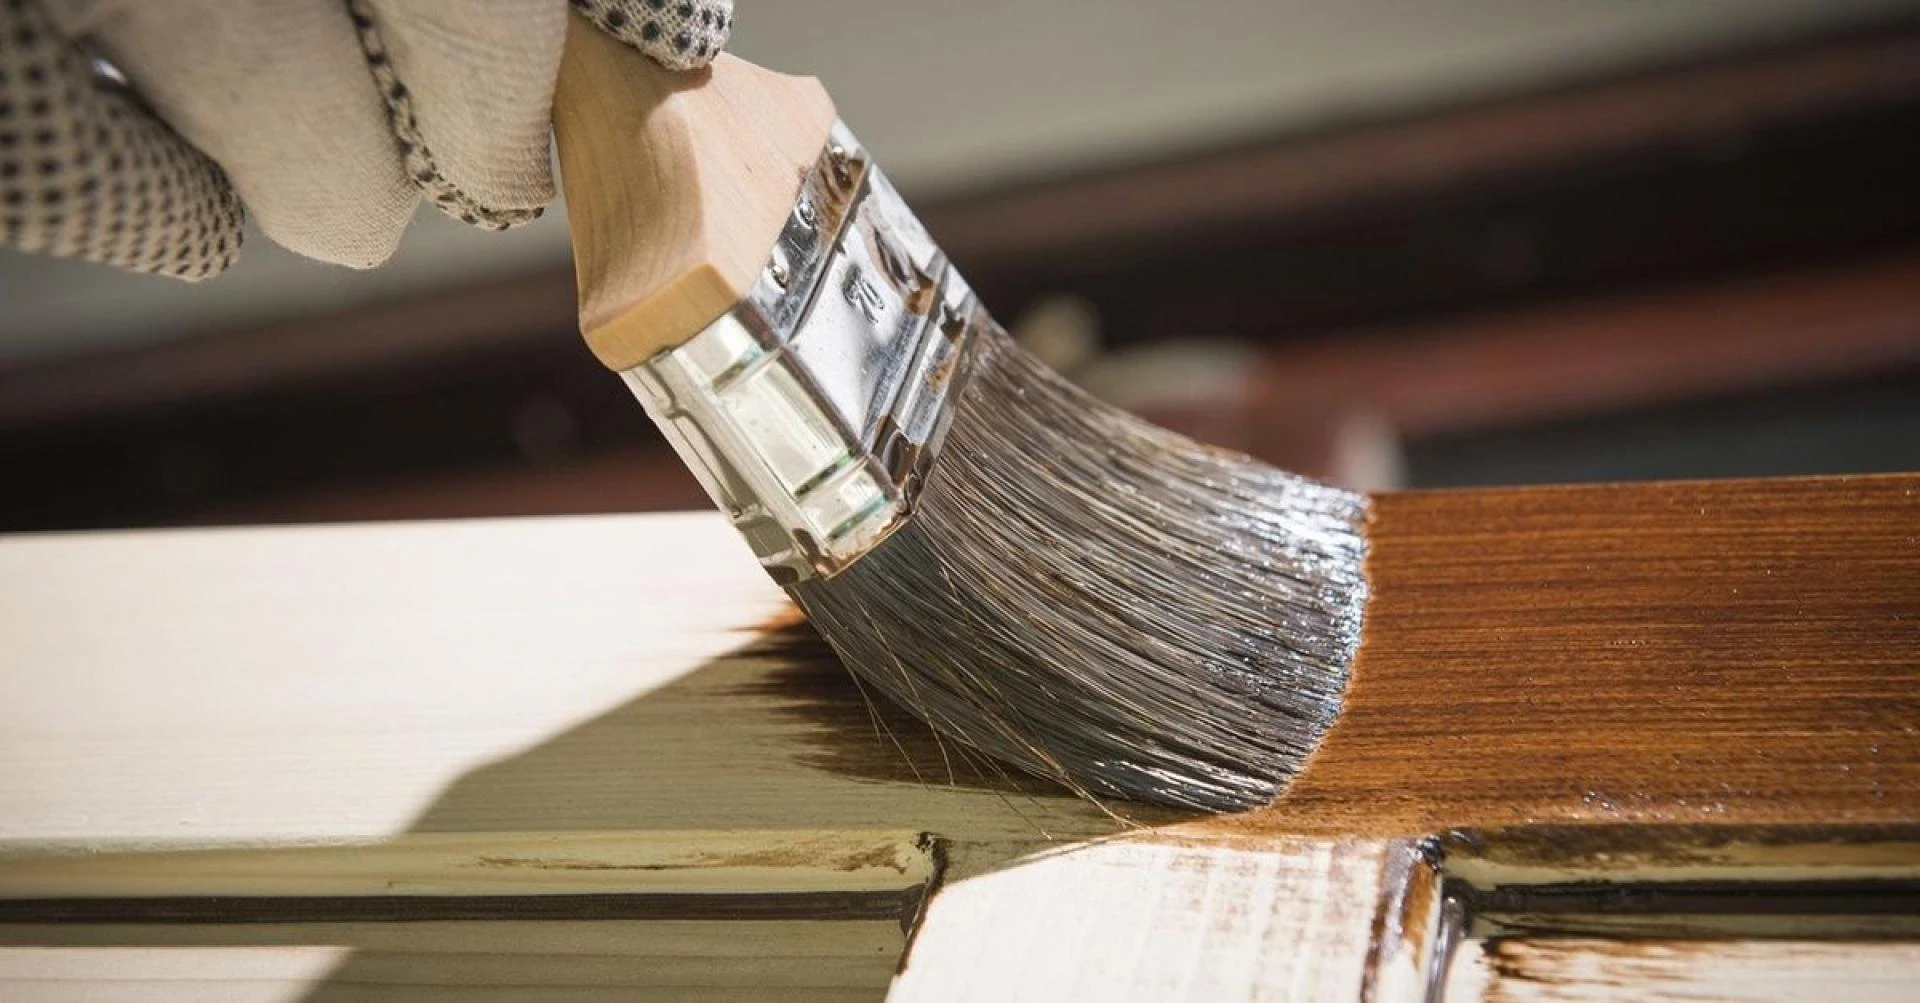
Stain Application
Applying stain is more nuanced than wiping it on and wiping it off. The technique affects final appearance significantly.
Application variables include:
- How thickly stain is applied initially
- How long it's allowed to penetrate
- How thoroughly excess is wiped away
- Direction of application relative to grain
- Multiple coats for depth if needed
- Ensuring consistent color across entire surface
For large areas like floors, maintaining consistent color across the whole surface requires careful planning and technique. The stain must be applied systematically so that wet edges don't create lap marks.
The Protective Finish
Once stain has cured, protective finishing begins. This is what determines how long the refinishing will last and how well it will resist daily wear.
Finish selection depends on application:
- Exterior doors need UV resistant polyurethane
- Floors need hard, abrasion resistant finishes
- Cabinets need chemical resistant coatings
- Interior doors can use softer finishes for appearance
Multiple coats are standard:
- First coat seals the wood
- Light sanding prepares for second coat
- Second coat builds protection
- Additional coats for high wear areas
- Final coat determines sheen level
Each coat must cure completely before the next is applied. Rushing this phase compromises the finish quality and longevity.
Final Details
As finishing nears completion, attention turns to final details that complete the project.
Final phase includes:
- Hardware cleaning or replacement
- Precise hardware reinstallation
- Glass cleaning if applicable
- Final inspection for any touch up needs
- Addressing any minor imperfections
- Ensuring smooth operation of doors
- Final cleanup and protection removal
For cabinet refinishing, this includes adjusting doors and drawers for perfect alignment and smooth operation.
The Curing Period
Many homeowners don't realize that finishes continue curing for days or weeks after application. During this time, they gain hardness and chemical resistance.
Curing considerations:
- Light use is acceptable after 24 to 48 hours
- Full hardness takes 7 to 14 days
- Chemical resistance develops gradually
- Avoid cleaning with anything but water initially
- Normal use can resume after one week typically
- Full cure may take 30 days for some finishes
Professional refinishing includes instructions for proper care during the curing period to ensure optimal final properties.
Why Professional Process Matters
Every step in professional refinishing serves a purpose. Skipping steps or rushing phases compromises results. DIY refinishing often fails because homeowners don't realize how many distinct phases are involved and how each affects the final outcome.
When refinishing is done professionally, with proper materials, correct techniques, and sufficient time for each phase, the results last for years. When it's rushed or done with inadequate products, problems appear within months.
The Time Investment
Professional refinishing takes time because quality can't be rushed:
- A single door: 3 to 5 days including curing
- Kitchen cabinets: 2 to 3 weeks
- Wood floors: 5 to 10 days depending on size
- Built in features: Varies by complexity
The timeline reflects proper curing between coats, careful attention to details, and the reality that quality work simply takes time.
Understanding what happens during professional refinishing helps homeowners appreciate the value they receive. It's not just about the final appearance but about the process that creates results lasting for years.
For wood refinishing in Los Angeles and Orange County that follows proper professional standards, contact Romani Restoration to discuss your project.


Sign in to leave a comment.