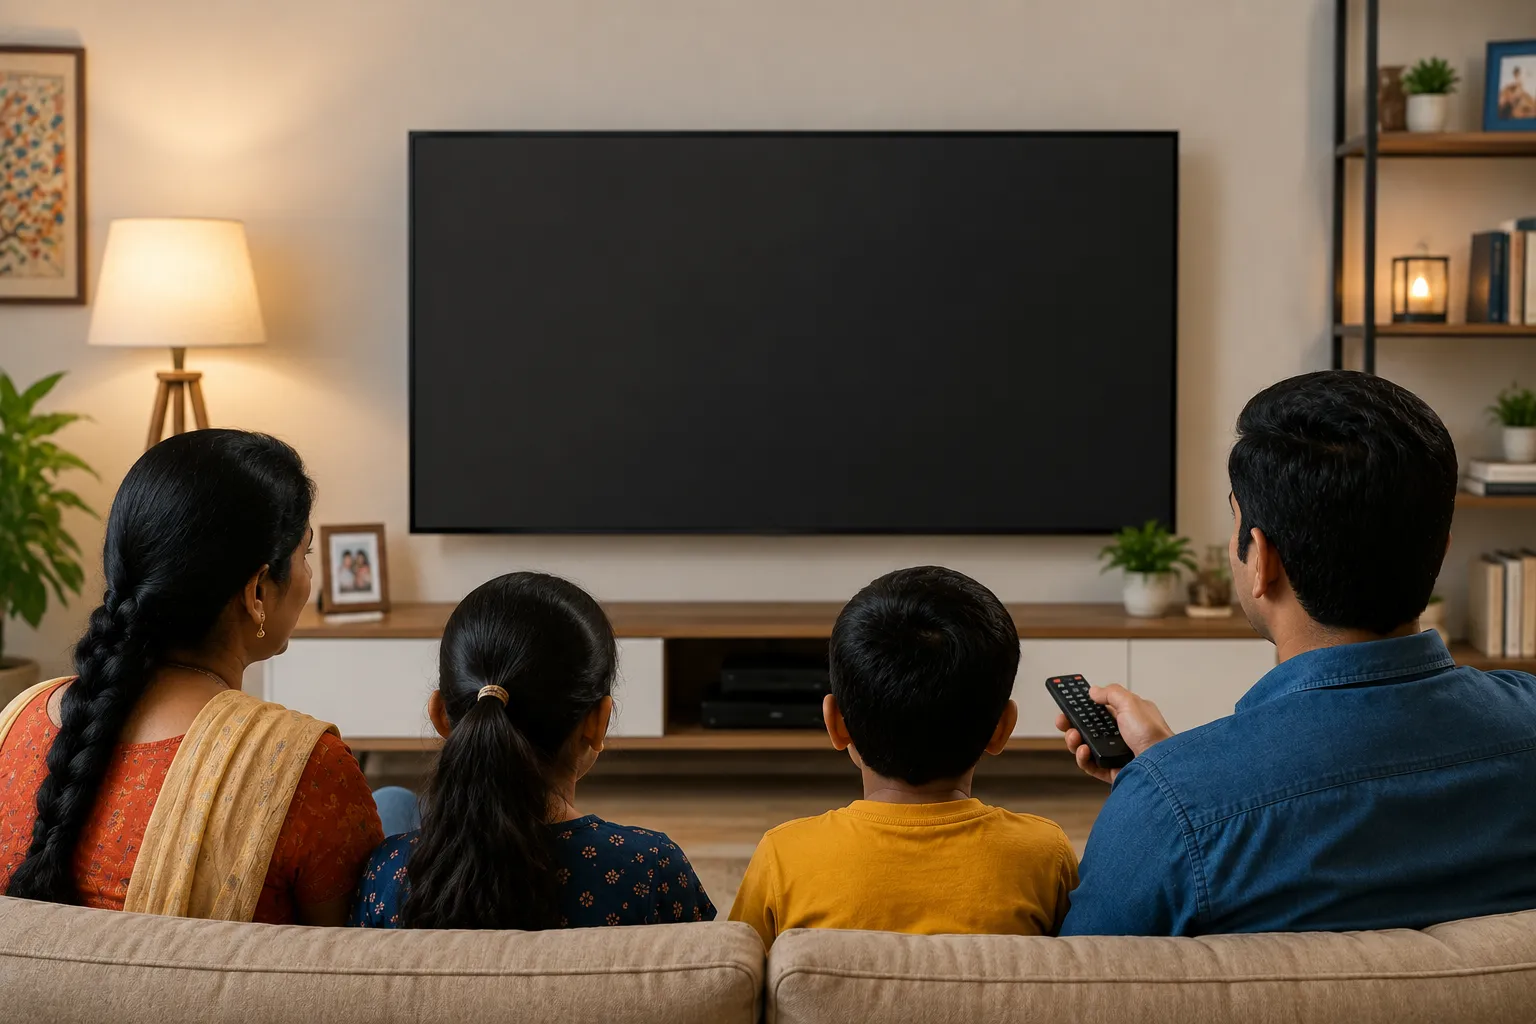
Most iPhone users don’t realize how easy it is to stream photos, videos, and even full screen sessions directly to their Smart TV. They stick to watching content on a 6-inch screen when there’s a 55-inch display right in front of them. Why? Because wireless sharing has a reputation for being buggy, slow, or confusing.
But here’s the truth: with the right setup, it can be fast, clean, and headache-free. You don’t need extra cables or a complicated TV interface. Just your phone, your home Wi-Fi, and a casting tool that gets out of the way.
This guide walks through what you need, how it works, and what to avoid—so you can stop huddling over your phone and start sharing the way it should be done.
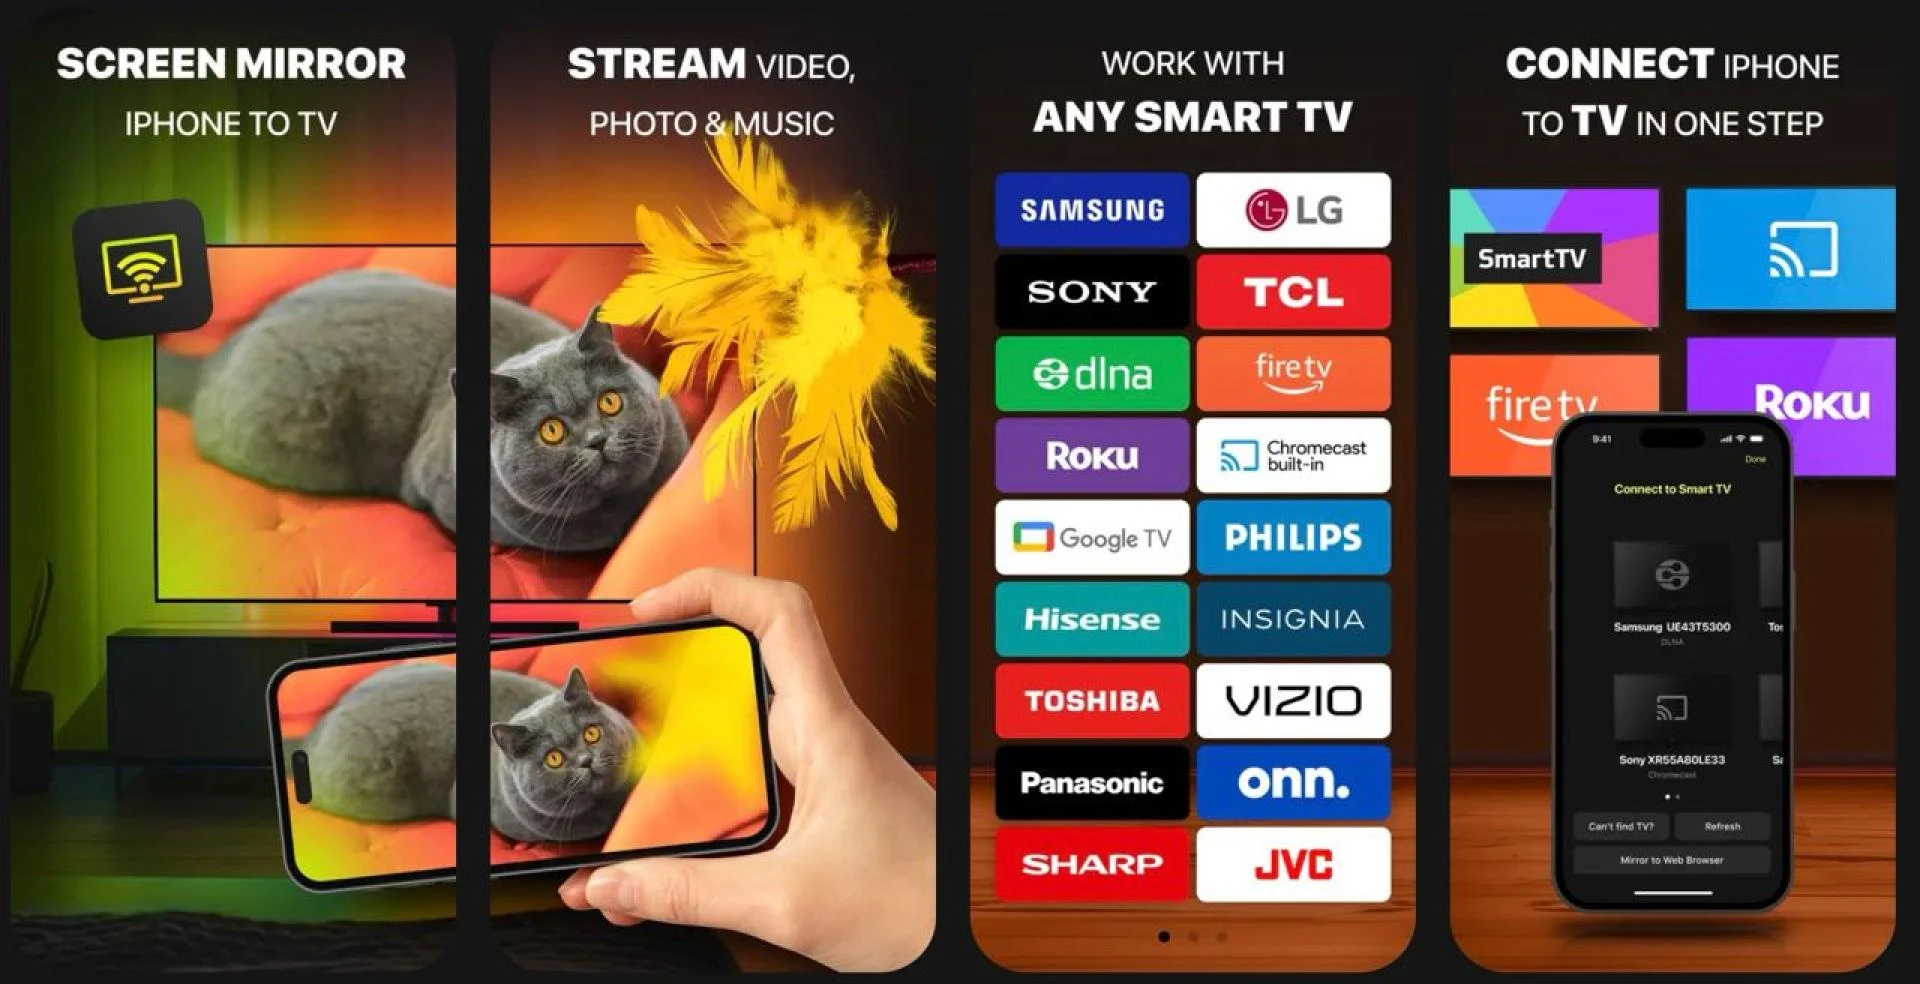
Understanding the Two Ways to Share Content: Casting vs. Mirroring
Before diving into the steps, let’s get clear on the two most common ways to share content from your iPhone to a TV:
- Casting means selecting a photo, video, or music file and sending it to play on the TV. Only that specific media appears on the screen.
- Screen mirroring sends a live feed of your iPhone’s display. Whatever you do on your phone—scroll, swipe, tap—is mirrored to the TV in real time.
Casting is great for watching a video or showing photos. Mirroring is more flexible. You can present a slideshow, demonstrate an app, show documents, or play saved videos that your TV can’t access directly.
Both are useful. The key is using the right method for the moment.
What You’ll Need Before You Begin
You don’t need much. But a few small things can make or break the experience:
- A Smart TV or streaming device (Roku, Fire TV, Chromecast, etc.)
- Your iPhone or iPad
- A shared Wi-Fi connection between both devices
- A screen mirroring or casting app
The Wi-Fi connection must be the same—this trips up more people than you’d expect. If your iPhone is on a different network (or using cellular), the TV won’t see it. And the reverse is also true.
No special hardware is needed beyond that. Just install an app that connects the devices and handles both mirroring and casting without friction.
Step-by-Step: How to Mirror or Cast from iPhone to Smart TV
Once you’ve got the basics covered, here’s how to get your content onto the screen in less than a minute:
✅ Step 1: Launch the App
Open your casting or mirroring app. It should scan for nearby devices automatically. Wait a few seconds for your Smart TV to appear in the list.
✅ Step 2: Choose Your Device
Tap on your TV’s name when it shows up. If you're using a streaming box (like Roku or Chromecast), you’ll see that listed instead.
✅ Step 3: Start Screen Mirroring
Tap the "Screen" button. Before mirroring begins, you’ll have the chance to adjust video quality or enable auto-rotation. These small options can make a big difference, especially for landscape photos or full-screen videos.
Once settings are confirmed, tap “Start Mirroring.”
Your iPhone screen will now appear live on your TV—with minimal delay if your Wi-Fi is solid.
✅ Step 4: Cast Specific Media (Optional)
If you don’t need full mirroring, you can choose to cast instead. Tap on the “Photos,” “Videos,” or “Music” options inside the app. Pick the content you want, and it will play directly on your TV—clean and full-screen.
✅ Step 5: Stop When You’re Done
To end the session, just tap “Stop Mirroring.” That’s it. You’re back to using your iPhone normally.
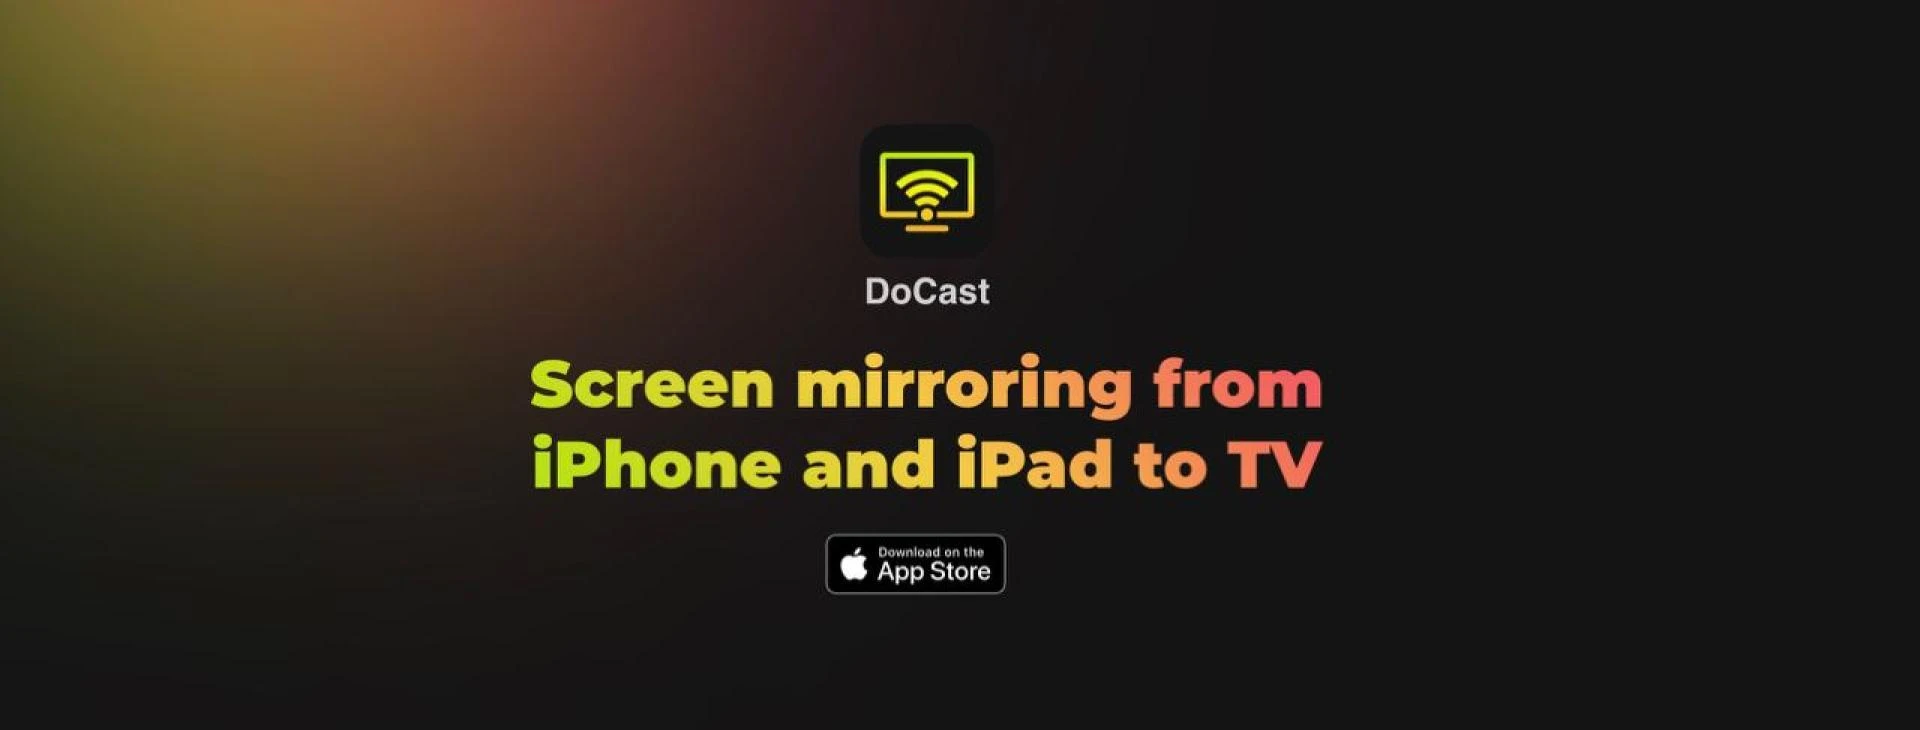
For a clean all-in-one tool that supports both mirroring and casting across nearly all Smart TVs, try a dedicated iPhone screen sharing app with auto-detection, smooth video playback, and built-in control for media files. It takes the guesswork out of device pairing and eliminates the clutter you’ll find in other bloated apps.
Why Video Quality and Delay Actually Matter
A lot of screen sharing apps talk about performance but fail to deliver. Lag is the biggest killer—especially if you’re sharing something interactive or presenting to a group.
Look for apps with low-latency performance (under 1 second), especially if you’re mirroring video. Auto-rotation is also useful, so your TV doesn’t show vertical black bars or misaligned content.
Adjustable video quality is another overlooked feature. If your network is weak, you should be able to drop the resolution slightly to prevent freezing.
The goal here isn’t perfection—it’s control. The better the app’s playback settings, the more consistent your experience will be, even on mid-range TVs.
Real Use Cases: It’s More Than Just Videos
People think casting is only for Netflix or YouTube. But the real value shows up in unexpected places:
- Sharing a vacation album with family
- Playing a video montage at a birthday dinner
- Streaming music from your phone to your living room speakers
- Showing a presentation during a casual meeting
- Teaching a class with live app demos
- Watching phone-captured video edits on a bigger screen before exporting
In short, it’s not just entertainment—it’s practical. And once you’ve done it a few times, it becomes part of how you use your TV.
Conclusion: Your TV Isn’t Smart Until It Talks to Your iPhone
Smart TVs promise a lot, but they often fall short when it comes to usability. Clunky remotes, slow menus, and confusing input options make everyday sharing a hassle.
Using your iPhone instead flips the equation. Your media is already there. Your interface is fast. And with the right tool, your TV becomes an extension of your phone—nothing more, nothing less.
Skip the cables. Skip the frustration. Just connect, share, and get back to what you were doing—with a bigger, better view.


Sign in to leave a comment.