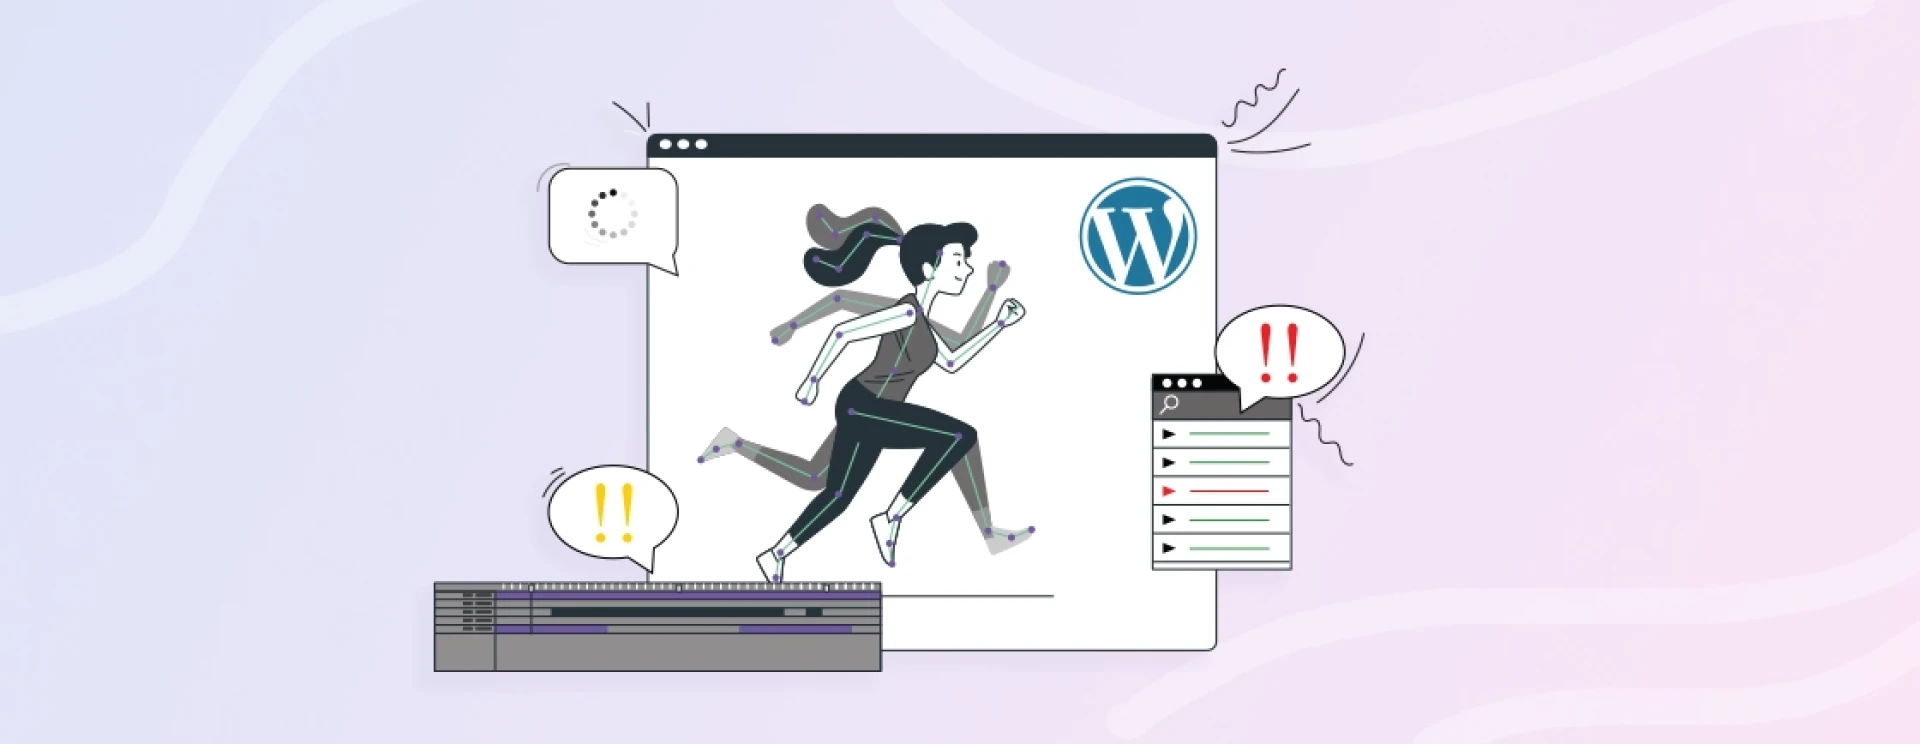
As multiple elements such as themes, plugins, and website builders incorporate together and create a rich-functioning site, each of those holds an authority.
Accordingly, any of those can be the reason preventing your animated GIF in wordpress image from loading. Let’s check out the detailed version:
GIF File Not Loading Due to WordPress Plugin
Undoubtedly, image optimization is necessary to maintain a standard user experience and SEO scalability. Therefore, to ease down the process for both designers and developers, image-optimizing plugins are considered in use.
The plugins are specifically developed to reduce the image, which also applies to GIF files you upload to the media library. Hence, by reducing the file size of the GIF, it loses its animation and causes a loading error.
GIF Image Not Loading Due to WordPress Theme
Firstly, don’t think it is based on a free or paid version. It depends on the theme author and the customization flexibility they want to offer.
As we saw above, animated GIF images might affect the web loading speed – which is why WordPress theme developers also majorly avoid its use.
Especially the paid web theme or template providers consider this factor as offering such flexibility. As it can badly impact their ‘WordPress theme developer’ identity and can result in fewer shoppers statics.
WordPress Animated GIF Images Not Working Due to Document Type
Due to security reasons, there are several media types, such as MIME aren’t permitted by default WordPress settings to upload.
Better check the File Info of the image file you are trying to upload; your GIF image should be in .gif format to let the media file accept it for uploading and work well.
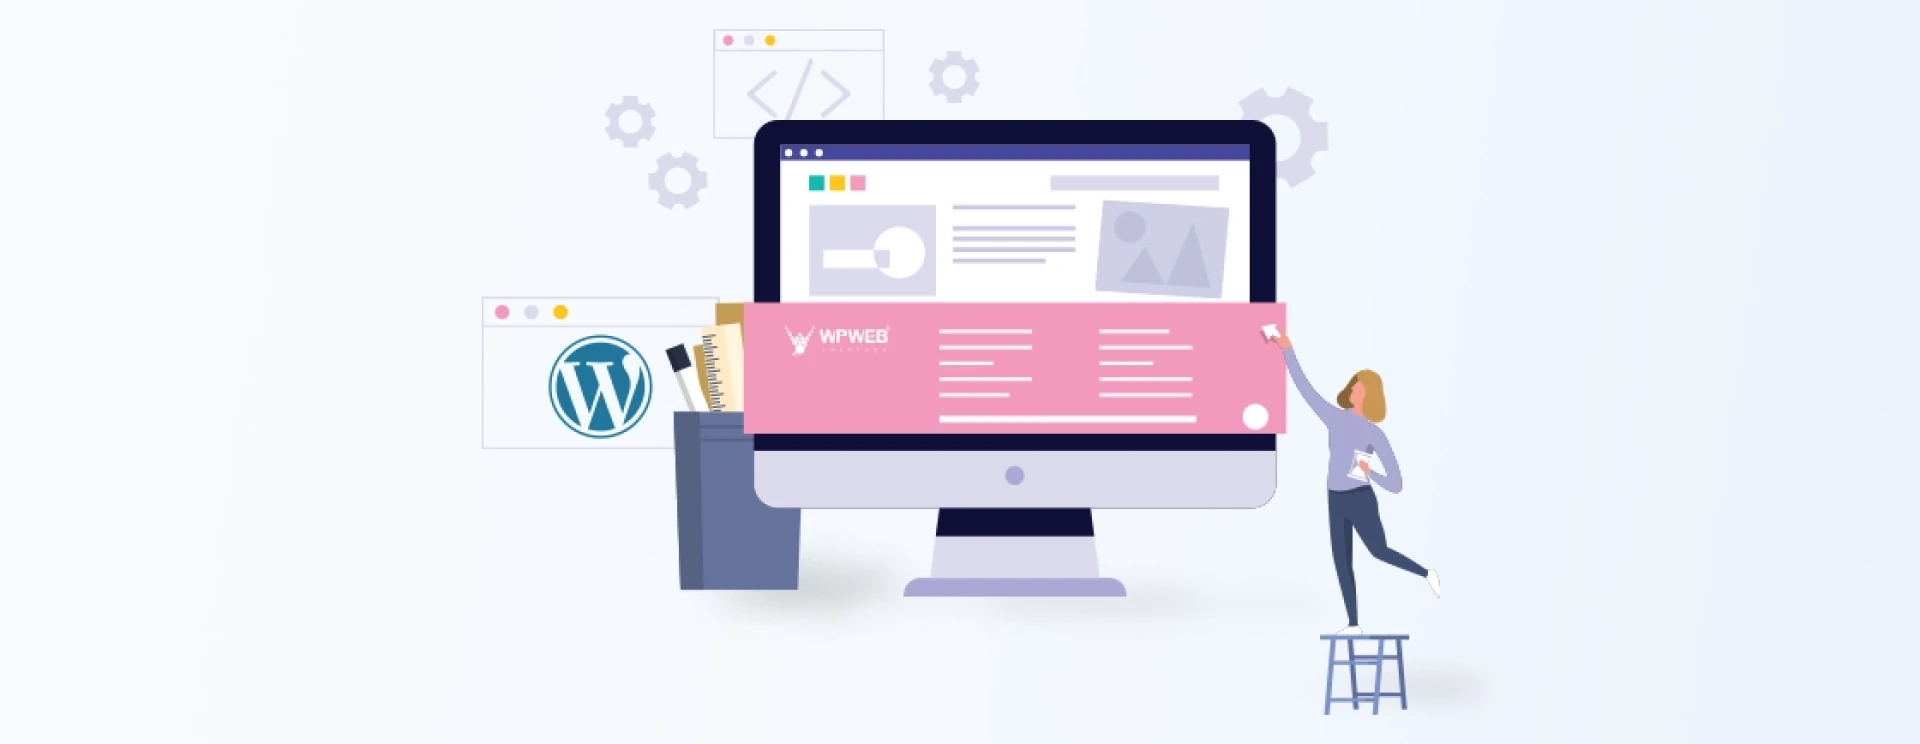
How to Fix “Animated Gif Not Working” In WordPress?
As the requirements, as the fixes! Here, we will help you with the top 3 fixes to GIF image loading errors in the WordPress website.
Method 1: Upload a Full GIF Size in Media Library
By default, WordPress resizes images and GIFs whenever they get uploaded. So, even the current web developer needs to become more familiar with technical terms – errors such as slow web page loading speed or running out of SSD don’t mess up their website.
But, this same can’t be implemented with the GIF file as it needs a specific amount of space for the file format and its animation too. Please check whether your plugin or theme has enabled such limitations or if you have to figure out with media library only.
Step 1: Open the editor with which you want to add the GIF file.
Step 2: Click on the Add Media button.
Step 3: Select the GIF image you want to add from the media library.
Step 4: Under Settings, select Full Size from the Image Size drop-down menu on the right-hand side of the screen.
Step 5: You’re done there!
If you are doing it with a specific website builder such as Elementor, then you have to repeat the same steps. But just by clicking on Edit Image, choosing Full Size from the Image Size drop-down menu, and then saving changes to make things work out.
Method 2: Compress GIF Image Size
If your GIF images are already uploaded but taking much time to load, then this is due to heavy file size. Such practices are entirely out of the WordPress SEO checklist, so you better compress and then upload GIF files.
By compressing, we mean by reducing the file size. Now, the first question that will be raised here will be, ‘Does compressing GIFs reduce quality?’. The answer can be both Yes/No, as it depends on how much you want to compress the GIF size.
For this, we have got a tool for you named Ezgif:
Step 1: Visit the Ezgif website.
Step 2: Choose or paste the GIF image URL you want to compress. Tap on Upload.
Step 3: Select your preferred Optimization Method and Compression Level.
Step 4: Tap on Optimize Image.
Step 5: You’ll get to see live results right below so that if you make any changes in the compression method or level, you can do so right there.
Method 3: Rename Animated GIF Image File Name
Even if you are uploading the GIF file for the first time or re-uploading after compressing it, you better rename it to ensure seamless animation.
As if that specific image file name has grabbed any cache in it, the new GIF file doesn’t get affected. Here are the steps to do so:
Step 1: Go to the WordPress dashboard and click on the Media mentioned on the left-hand side menu.
Step 2: Select the GIF file that is not working well and click Delete Permanently.
Step 3: Once that GIF is deleted, tap on Add New, mentioned at the top of the web page
Step 4: Drop your new/compressed animated GIF.
Step 5: As the uploading is completed, you can add it to any page or WordPress post.


Sign in to leave a comment.