A final topcoat is not only an aesthetic choice. It’s a functional decision that directly affects how the instrument feels in your hands. A well-executed finish can sharpen body lines, deepen color, and create a smoother, more controlled glide along the neck. The difference between a clean result and a frustrating one usually comes down to fundamentals: disciplined prep, light and consistent application, and proper curing. Skip any of those steps, and the surface will reveal it. Done properly, the guitar looks refined without appearing overworked. In this article, we will discuss the practical upgrades that happen when you treat the final layer with real care.
Prep quality sets the ceiling
Surface prep determines almost everything, and it starts earlier than most builders expect. For a guitar nitrocellulose finish, clean-sanding lines and careful pore control matter, since thin coats don’t hide much. Use a raking light to catch ripples and scratches before sealing. Keep edges crisp, but don’t burn through corners with aggressive paper or rushed pressure. One simple habit pays off: wipe the surface, then pause and inspect from multiple angles. That short checkpoint prevents long corrections later and helps the final sheen read evenly across flats, curves, and transitions.
Cure timing protects the film
A professional finish is usually built with patience, not extra layers. When someone asks for the best guitar lacquer finish, they’re often describing a surface that feels stable and fully set, not soft or tacky days later. That stability comes from giving solvent time to escape and spacing coats sensibly. If the room is cool or humid, extend the waiting period rather than forcing progress. The tradeoff is straightforward: faster layering can produce early shine, but it can compromise long-term hardness. A thinner build that cures properly tends to age with fewer issues and less imprinting.
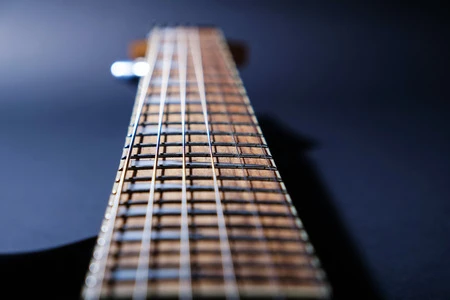
Neck comfort is a deliberate choice
What your palm feels matters as much as what the finish looks like under light. With guitar paint for custom color finish, the neck can end up overly slick, slightly grabby, or uneven if leveling and buffing aren’t approached in stages. A smart, low-risk move is testing your sanding and polishing sequence on a scrap piece using the same clear schedule. One practical example: a slightly satin back can feel quicker during long sessions, while full gloss may feel draggy once hands warm up. Choose based on playability and comfort, not hype.
Color depth without haze
Color can look flat or dimensional depending on how well the layers are built. Seal correctly, apply pigment evenly, and then protect it with clear coats that do not flood the surface. Keep your passes consistent across contours, especially around horns and tight transitions where build-up happens quickly. If a dull patch appears, resist the temptation to apply a heavy coat. Let it cure, level gently, then build clarity back with controlled steps. This approach keeps the color crisp and helps prevent cloudiness caused by trapped solvent or moisture.
Conclusion
A refined top layer changes more than shine. It improves visual depth, reduces surface “noise,” and makes key contact areas feel smoother during real playing. The best results come from calm prep, thin application, and honest cure time, not from chasing a perfect mirror at any cost.
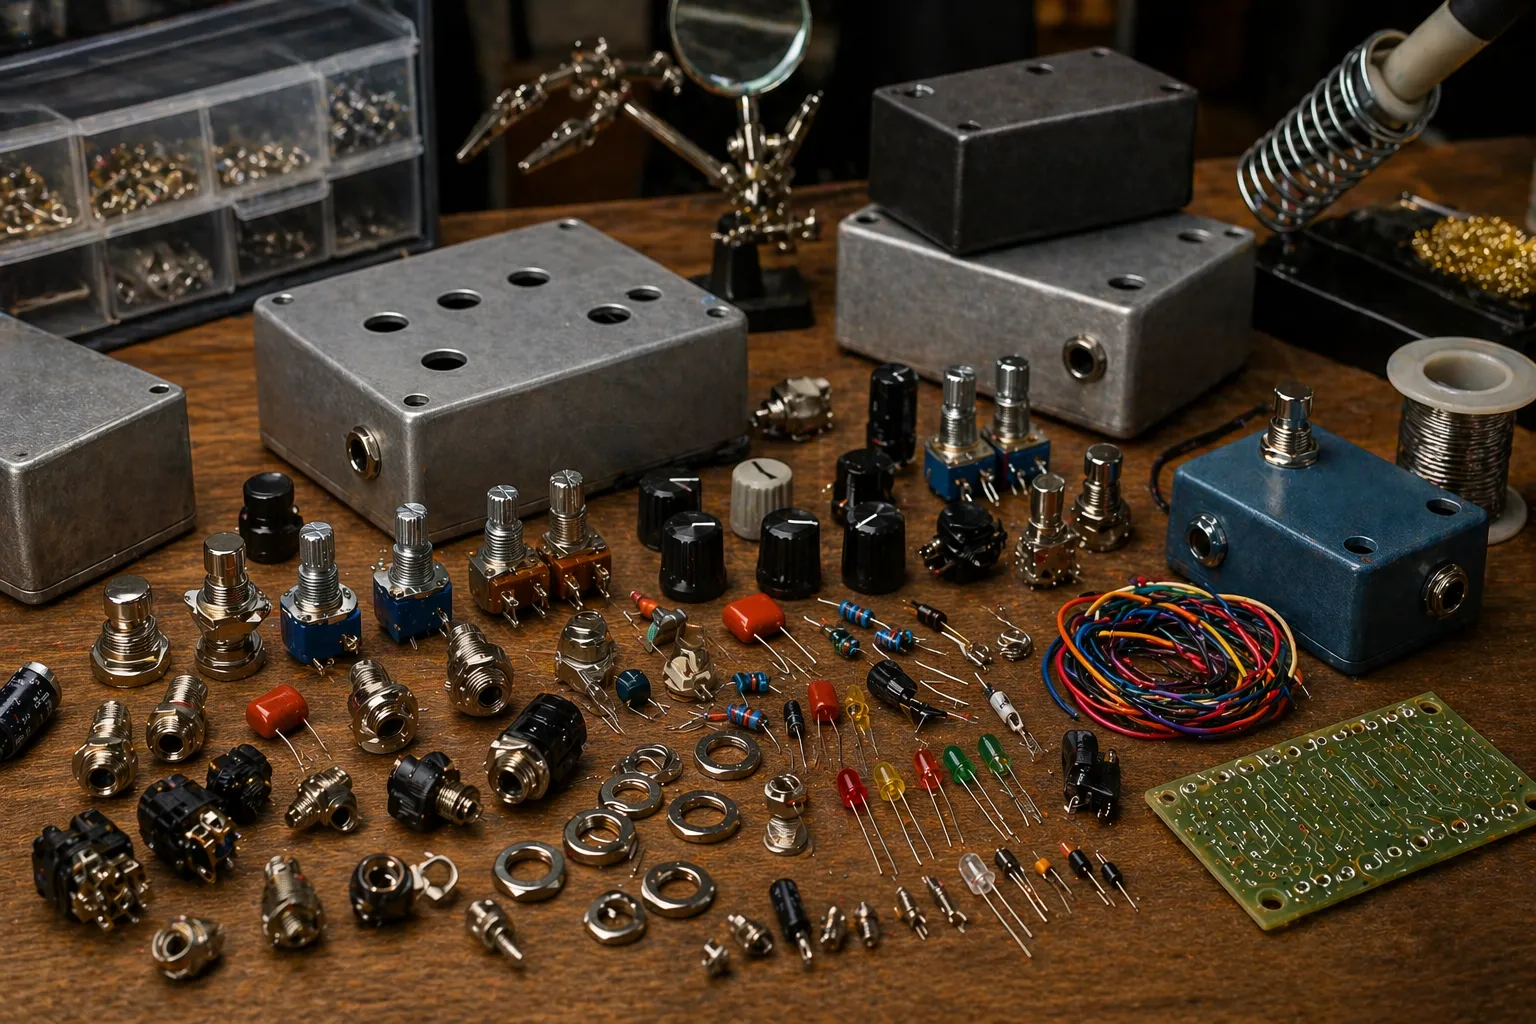
For a parts-based project, SOLO Music Gear can be a practical place to source kits, bodies, necks, and components in one organized order. There is real value in having dependable build essentials available from a single trusted source, especially when timing and compatibility matter. That kind of support keeps the workflow efficient, reduces mid-build delays, and helps the project move forward with more confidence.
Frequently Asked Questions
Question: Why does a clear coat stay tacky for days?
Answer: Common causes include heavy application, short drying gaps, low airflow, or high humidity. The solvent gets trapped, and the layer can’t harden properly. Give it more time, improve ventilation, and avoid handling the surface until it firms up.
Question: What creates tiny bumps you can feel after drying?
Answer: Airborne dust, lint from clothing, or work-area residue can settle during drying. Clean the space, damp-wipe nearby surfaces, and cover the piece while it sets. Later, gentle leveling usually removes the texture.
Question: What is the safest way to fix dull spots after curing?
Answer: Dull areas often come from uneven leveling or minor haze. Let the layer harden fully, then level lightly with a fine abrasive and polish in stages. Avoid adding more liquid as a quick fix, as it often makes the edges worse.


Sign in to leave a comment.