

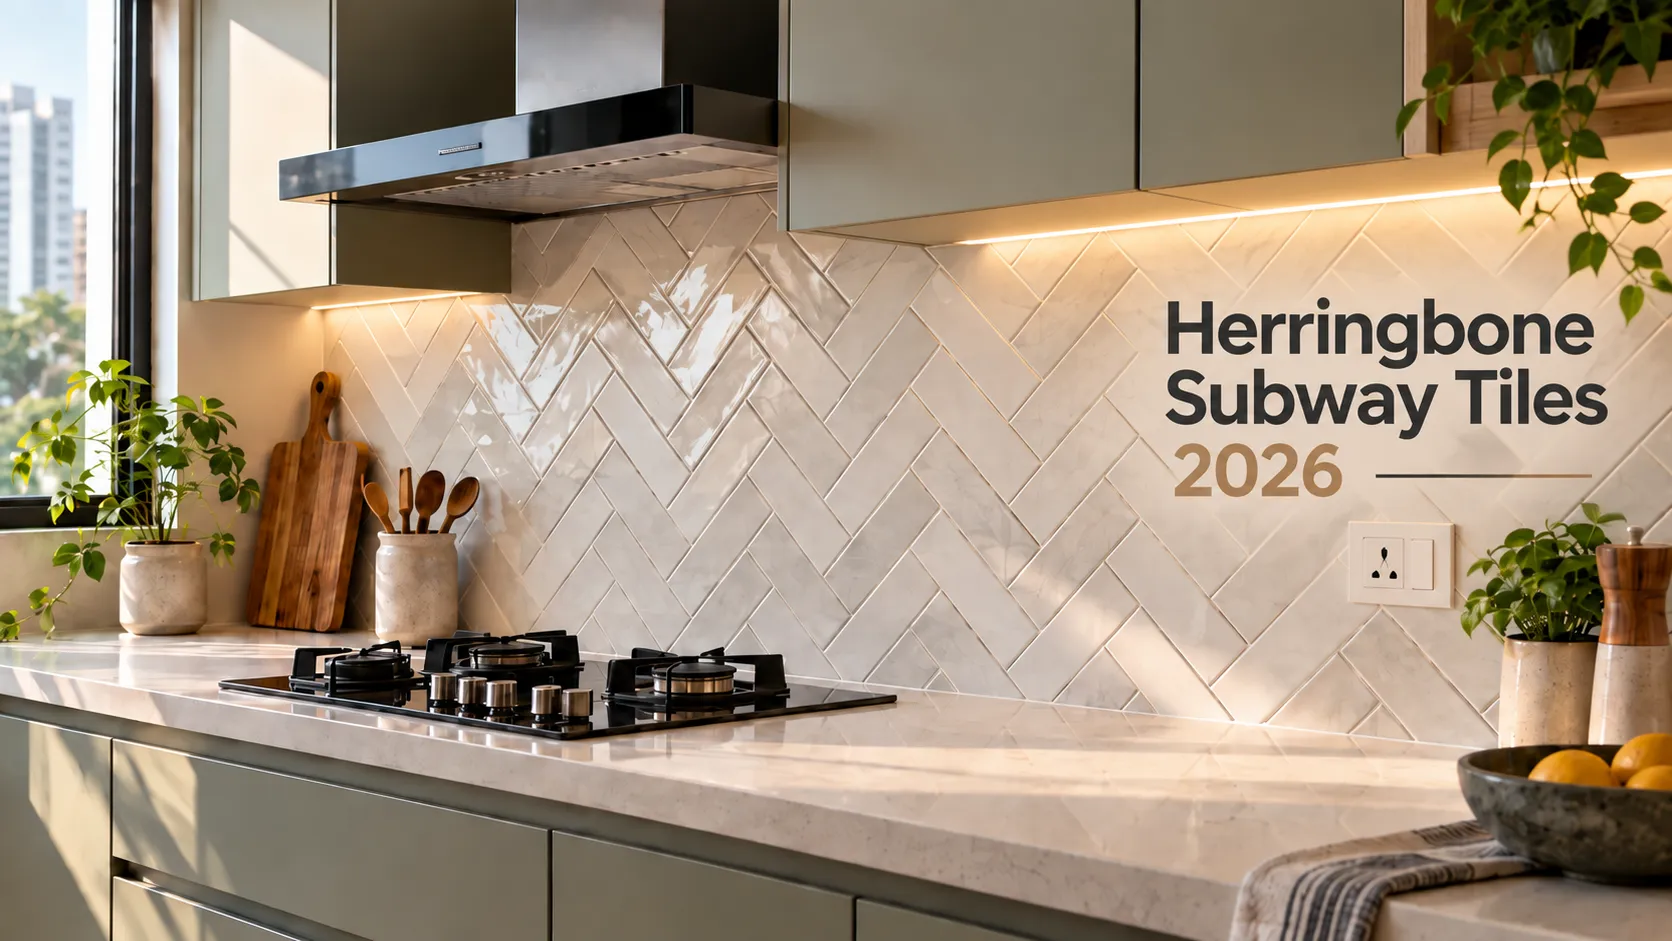
The herringbone kitchen backsplash is a timeless design choice that adds instant character to any cooking space. While it looks absolutely stunning in showroom photographs, achieving that flawless finish in a real Indian kitchen requires careful planning. A herringbone layout has to navigate electrical switchboards, corners, and sometimes uneven countertops. To ensure your new kitchen looks perfect, you need to understand the practical side of this beautiful design before the mason even mixes the mortar.
Planning Your Herringbone Kitchen Backsplash Layout

The biggest mistake in a herringbone project is assuming the pattern should automatically center exactly over your gas hob. While centering looks great in theory, it can force your mason to make tiny, fragile sliver cuts at the far ends of the wall or in the corners.
Instead, ask your installer to dry-lay the tiles first. Test a focal-centered layout against a boundary-balanced layout. Sometimes, shifting the pattern slightly off-center at the stove results in much cleaner, stronger cuts at the edges of your kitchen. Additionally, if your countertop is not perfectly level, do not use it as the starting line. A true level reference line must be drawn on the wall to prevent the pattern from wandering or looking crooked as it moves up.
Understanding Herringbone vs. Chevron

Many buyers accidentally order the wrong tile because they confuse herringbone with chevron. It is essential to know the difference before purchasing. Herringbone uses standard rectangular tiles laid at 90-degree angles, creating a staggered, interlocking zigzag pattern. Chevron uses tiles that are specially cut at an angle so their ends meet point-to-point, forming a continuous "V" shape. Always double-check the actual tile shape with your dealer before placing a bulk order to avoid a costly mistake.
Grout Color and Joint Width Decisions
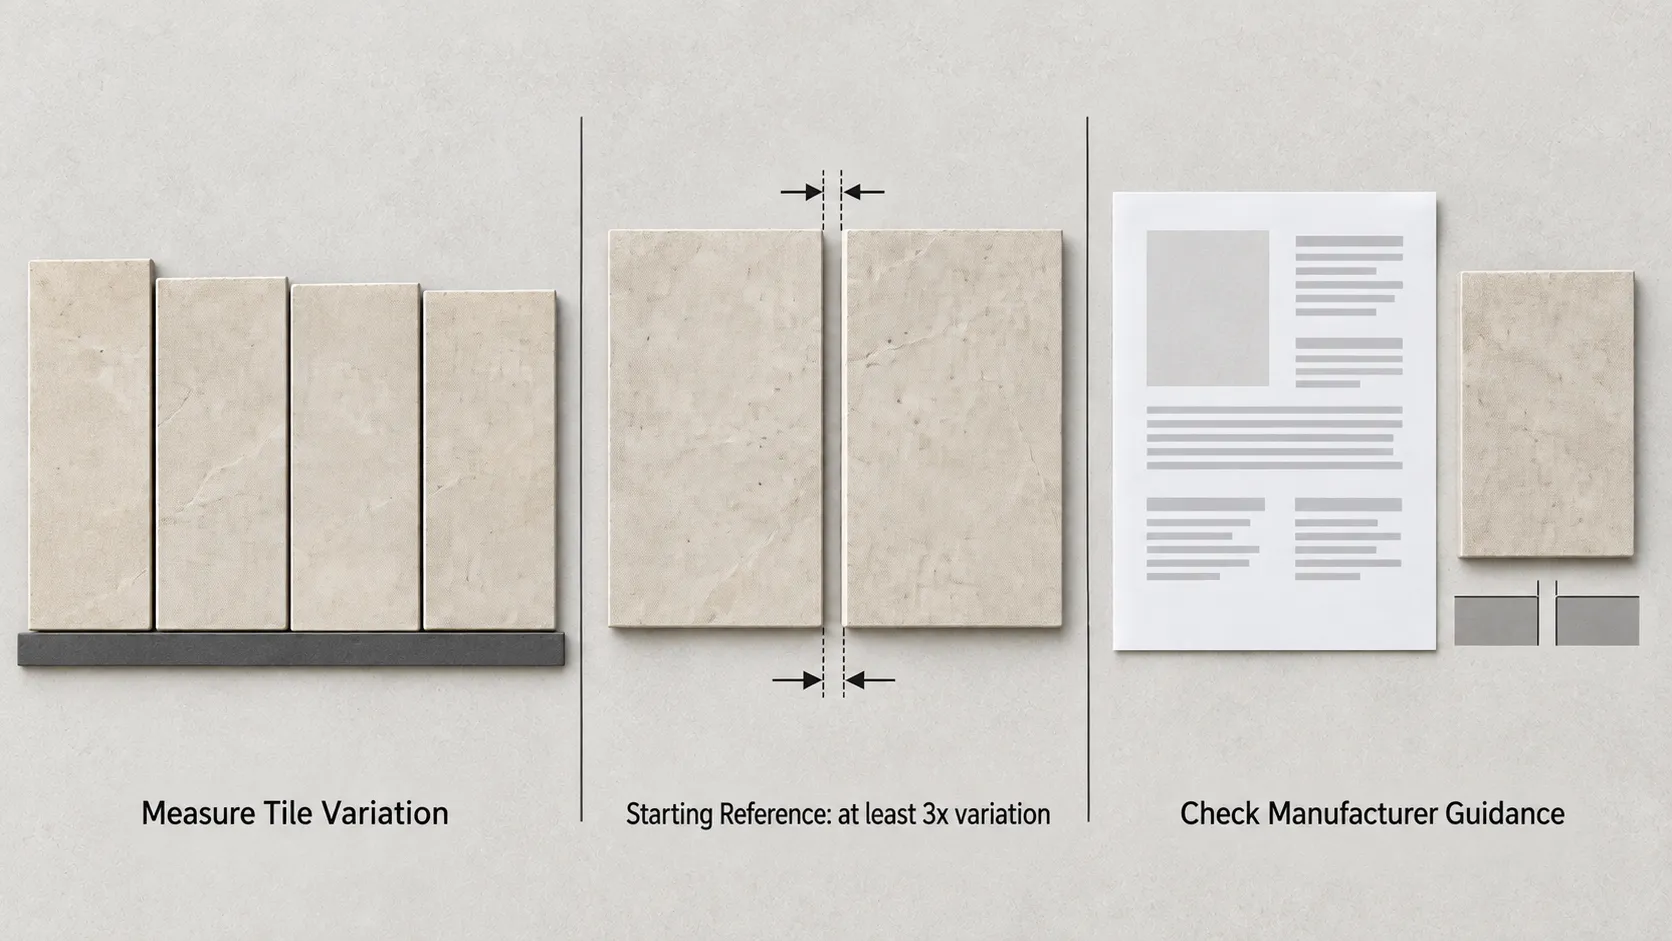
Grout is not just a background detail; it actively changes how your backsplash looks. If you choose a highly contrasting grout color, it will sharply define the zigzag pattern. However, high contrast also highlights every single cutting error or uneven joint. If your tiles are handmade or have slight size variations, a tonal grout that matches the tile color will hide those imperfections beautifully.
When deciding on the gap between tiles, do not blindly insist on a paper-thin joint. The width of your grout lines must accommodate the actual dimensional variation of the specific tiles you purchased to prevent the pattern from shifting.
Should You DIY or Hire a Professional?
A herringbone layout involves much more cutting than a standard straight grid. If your kitchen wall is perfectly flat and has no switchboards or windows, a confident DIY enthusiast might handle it. However, most Indian kitchens feature multiple electrical outlets, corners, and tight cabinet returns.
Cutting angled tiles around plug points without breaking them takes skill and specialized tools. If you are dealing with complex cuts, it is always safer to hire an experienced tile setter. For more detailed insights on managing corners, outlets, and layout drift, reviewing a comprehensive herringbone kitchen backsplash resource can help you communicate better with your installer.
Smart Purchasing and Final Checks
Never rely on a generic rule like "always buy 20% extra" for your materials. The amount of wastage depends entirely on your specific wall geometry and the number of angled cuts required. Calculate your exact square footage, add the required cuts, and keep a few spare tiles safely stored for future repairs.

When placing your order, sourcing from a major manufacturing centre like Morbi ensures access to consistent batches and premium quality. Working with trusted partners like Morbi Tile Hub can also help you secure the right materials for your project. Finally, inspect the entire wall before the grout is applied. Once the grout dries, fixing a crooked tile becomes incredibly difficult.
Conclusion
A successful herringbone wall requires testing the layout, choosing the right grout, and knowing when to rely on a professional. By carefully planning your cuts and verifying the installation step-by-step, you can create a striking kitchen feature that lasts for decades.


























Sign in to leave a comment.