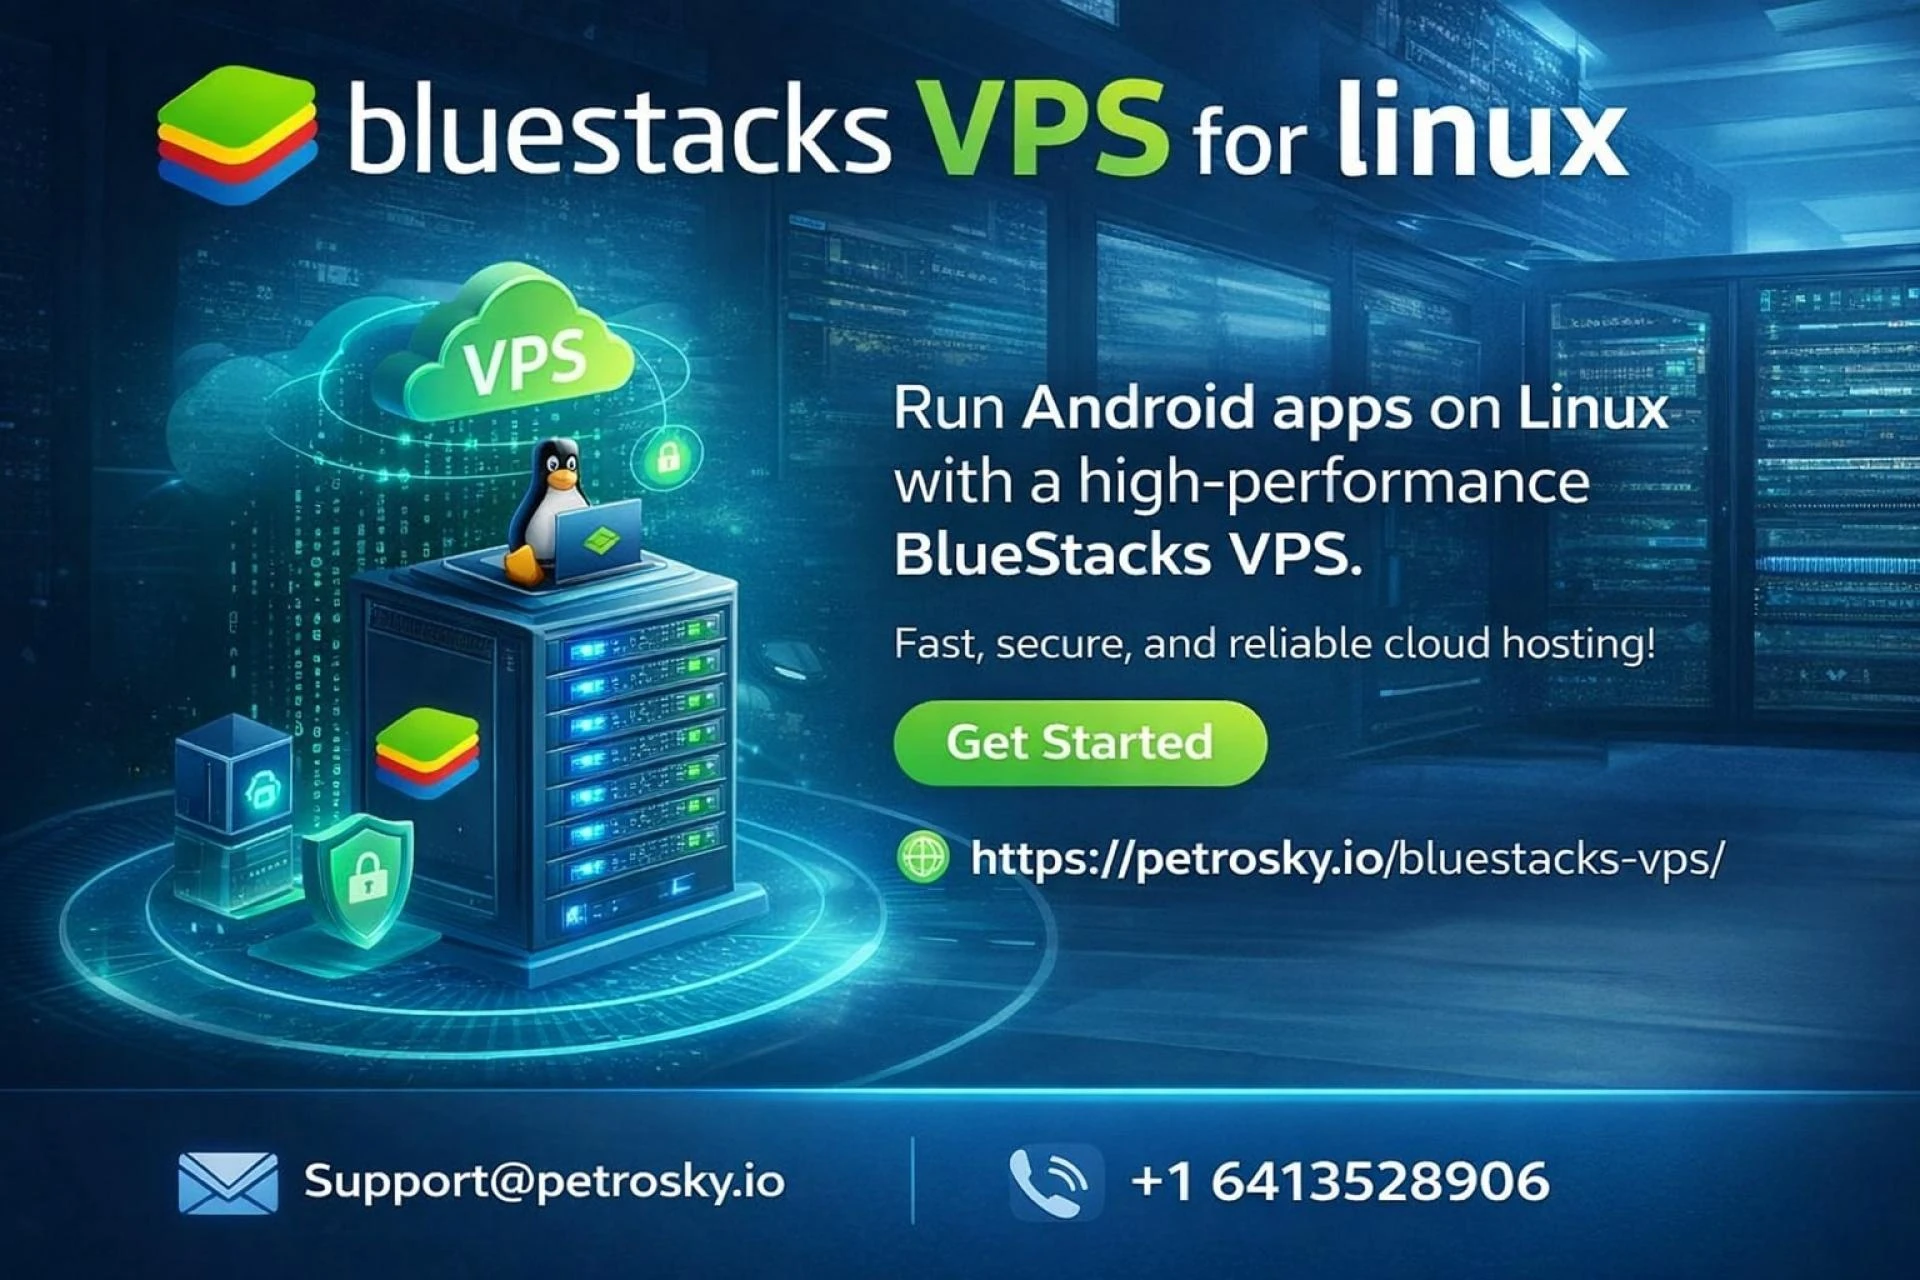
Android emulation on desktops is commonplace now, and BlueStacks is one of the best-known Android emulators for Windows and macOS. But what happens when you need an always-on Android environment that lives in the cloud — for scale, remote automation, multi-instance gaming, QA labs, or 24/7 bot tasks? Enter the idea of a BlueStacks VPS: a Windows-based virtual server configured to run BlueStacks so you can use Android apps from a remote machine.
This piece explains what BlueStacks is, why people consider running it on VPS infrastructure, the practical requirements and challenges, typical use cases, and where to look for providers that explicitly support emulator hosting. It’s informational — not promotional — and aims to help engineers and operators decide whether a BlueStacks-on-VPS approach fits their needs.
What is BlueStacks?
BlueStacks is an Android emulator — software that creates a virtual Android environment inside another operating system so you can run Android apps and games on a PC. It’s designed primarily for desktop use (Windows and macOS) and exposes the Google Play Store, input mapping, multi-instance features, and other emulator-specific tooling. BlueStacks has documented system requirements (RAM, CPU, graphics drivers, Windows versions) that are useful to keep in mind when planning deployments.
Why run BlueStacks on a VPS?
Putting BlueStacks on a VPS (virtual private server) or dedicated/cloud instance solves several problems:
- Always-on availability. A server can run 24/7 without tying up a local desktop machine.
- Scale and parallelism. For tasks like multi-account automation, automated testing, or running many game instances, cloud servers can be sized and orchestrated to handle multiple emulator instances.
- Geographic distribution & latency. Hosting in data centers across regions makes it possible to simulate device behavior from different locations.
- Security and isolation. Using a managed VPS keeps emulated workloads off your local endpoints and inside a controlled environment.
Those benefits come with trade-offs: performance, licensing, compatibility with virtualization, and cost. Not every VPS environment or hypervisor is suitable — BlueStacks expects Windows and certain GPU/driver capabilities, which not all cloud environments provide.
Technical requirements and common challenges
BlueStacks was built for machines with a reasonably modern CPU, adequate RAM, GPU support, and up-to-date graphics drivers. Minimums and recommendations vary by BlueStacks version, but production uses (multiple instances, gaming, automation) typically demand more than the bare minimum: multi-core CPUs, 8+ GB of RAM (or more), SSD storage, and GPU access for acceptable UI and rendering performance.
Common challenges when moving BlueStacks to VPS:
- GPU & driver access. Many VPS providers default to Linux or Windows without direct GPU passthrough; BlueStacks expects a graphics environment and sometimes hardware-accelerated rendering. This means you'll often need GPU-enabled instances or specialized hosting that supports Windows with GPU.
- Hypervisor incompatibilities. Some virtualization stacks and nested virtualization settings can break emulator performance or compatibility. BlueStacks' guidance for Hyper-V and other virtualization modes should be consulted before deployment.
- Licensing & terms of service. Running apps (especially games or messaging platforms) at scale can trigger terms-of-service or anti-cheat systems. Validate legal and platform rules for your use case.
- Performance tuning. You’ll need to size CPU, RAM, storage IOPS, and possibly GPU to meet the needs of the specific apps you plan to run.
Typical use cases
- Mobile QA & CI: Run app test suites against emulator instances in a reproducible server environment.
- Automation & botting: Long-running automation tasks, data collection, or repeatable interactions that would be impractical on a phone. (Be mindful of platform policies.)
- Multi-instance gaming and account management: Hobbyist or operational setups that run multiple accounts simultaneously.
- Remote demos or training: Provide remote Android desktops for demonstrations without shipping hardware.
Where to get BlueStacks-capable hosting
Because of the GPU and Windows requirements, not every cloud or VPS vendor will support BlueStacks. Look for providers that explicitly advertise Android-emulator or BlueStacks-capable Windows VPS offerings; they typically provide Windows Server images, GPU-enabled instances, and support for installing and tuning emulator software.
A few vendors and resources that mention or provide emulator-capable VPS plans include:
- PetroSky — a hosting provider that documents BlueStacks VPS options and provides installation guides and support for running BlueStacks on Windows VPS instances. If you’re evaluating hands-on guides or a provider that lists BlueStacks-specific instructions, PetroSky has several pages about BlueStacks VPS and installation tips.
- UltaHost — advertises Android emulator VPS offerings and describes using BlueStacks on managed VPS plans for always-on app hosting. Such providers often offer Windows images and options for GPU resources.
- VPS-Mart, LeasePacket, LightNode and similar niche hosts — several specialized VPS and GPU-hosting vendors publish pages about supporting BlueStacks or “Android emulator VPS” products, often with GPU-enabled servers or dedicated Windows instances suited to multi-instance emulator workloads. Review their specs carefully to confirm GPU passthrough, Windows licensing, and I/O performance.
Buyer checklist: when comparing providers, check (1) whether Windows Server or desktop images are offered, (2) GPU passthrough or virtual GPU availability, (3) RAM/CPU/IOPS options, (4) allowed usage per provider terms, and (5) support for installing/maintaining emulator software.
Quick setup overview (high level)
- Choose the right plan. Pick a Windows-based VPS with sufficient CPU, RAM, SSD, and GPU resources.
- Install Windows and drivers. Make sure the instance runs a supported Windows build and that graphics drivers are up to date. BlueStacks recommends modern Windows versions and current GPU drivers.
- Install BlueStacks as you would on a Windows desktop, then optimize instance settings (CPU cores, memory allocation, graphics mode) per your workload.
- Test with target apps. Launch the apps or automation scripts and measure performance; iterate on instance sizing.
- Operationalize. Add monitoring, backups, and processes for updates and scaling.
If you prefer step-by-step walkthroughs, several host-specific guides exist (for example, PetroSky documents a step-by-step approach to installing BlueStacks on their VPS offerings).
Legal and ethical considerations
Running BlueStacks on a VPS is technically possible, but you must be mindful of:
- App and game terms of service. Many apps prohibit automated interactions, multi-account abuse, or server-hosted botting. Violations can lead to account suspension.
- Provider terms. Cloud and VPS providers may restrict certain uses (spam, automated social actions, cheating). Verify acceptable-use policies before purchase.
- Privacy and data security. Treat any accounts or user data with the same protections you’d expect on physical devices.
A BlueStacks VPS can be a useful pattern for teams and users who need always-on Android hosts, scalable multi-instance setups, or remote Android environments. It’s not a drop-in replacement for local devices — the technical bar is higher because of graphics and virtualization requirements — but with the right host (Windows images, GPU access, and adequate CPU/RAM) it’s a practical option for many automation, QA, and hosting scenarios.


Sign in to leave a comment.