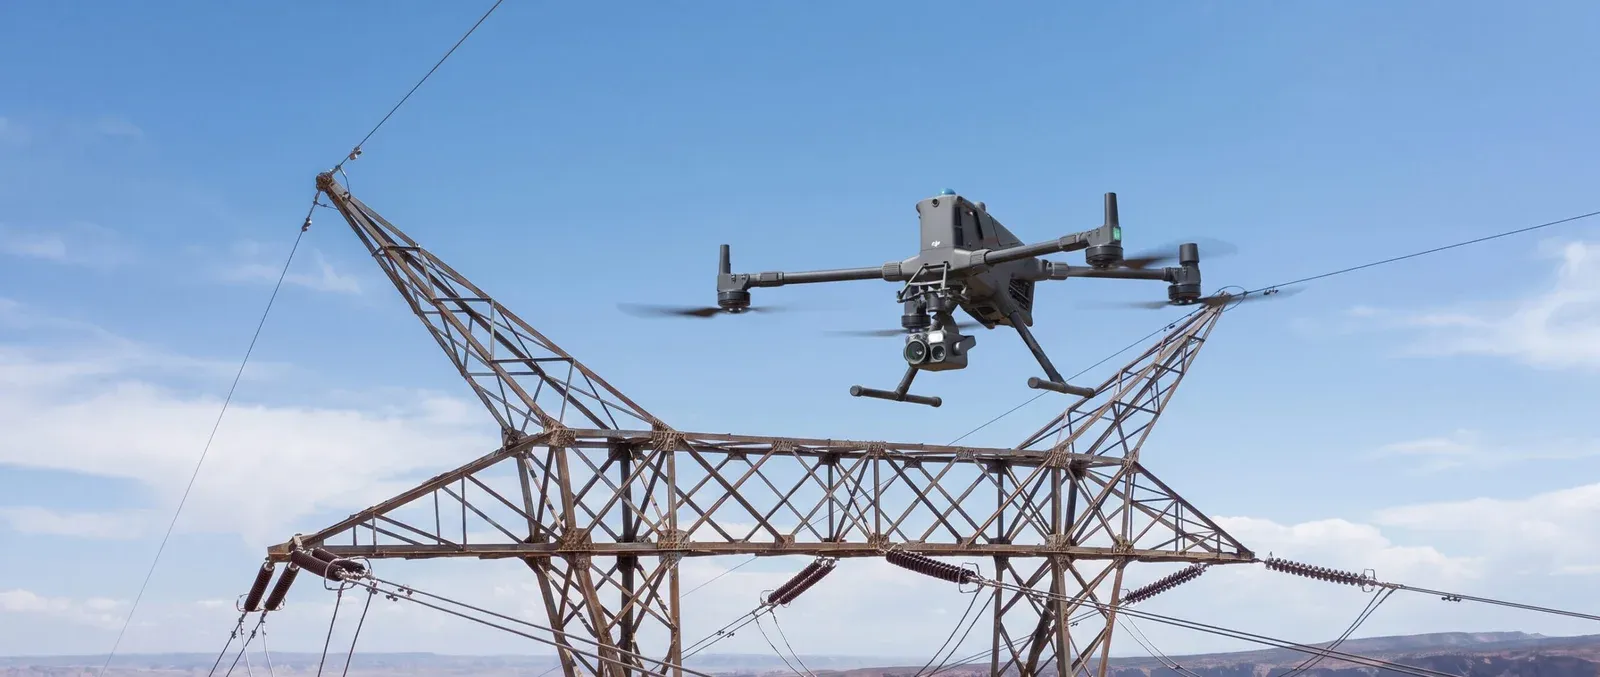

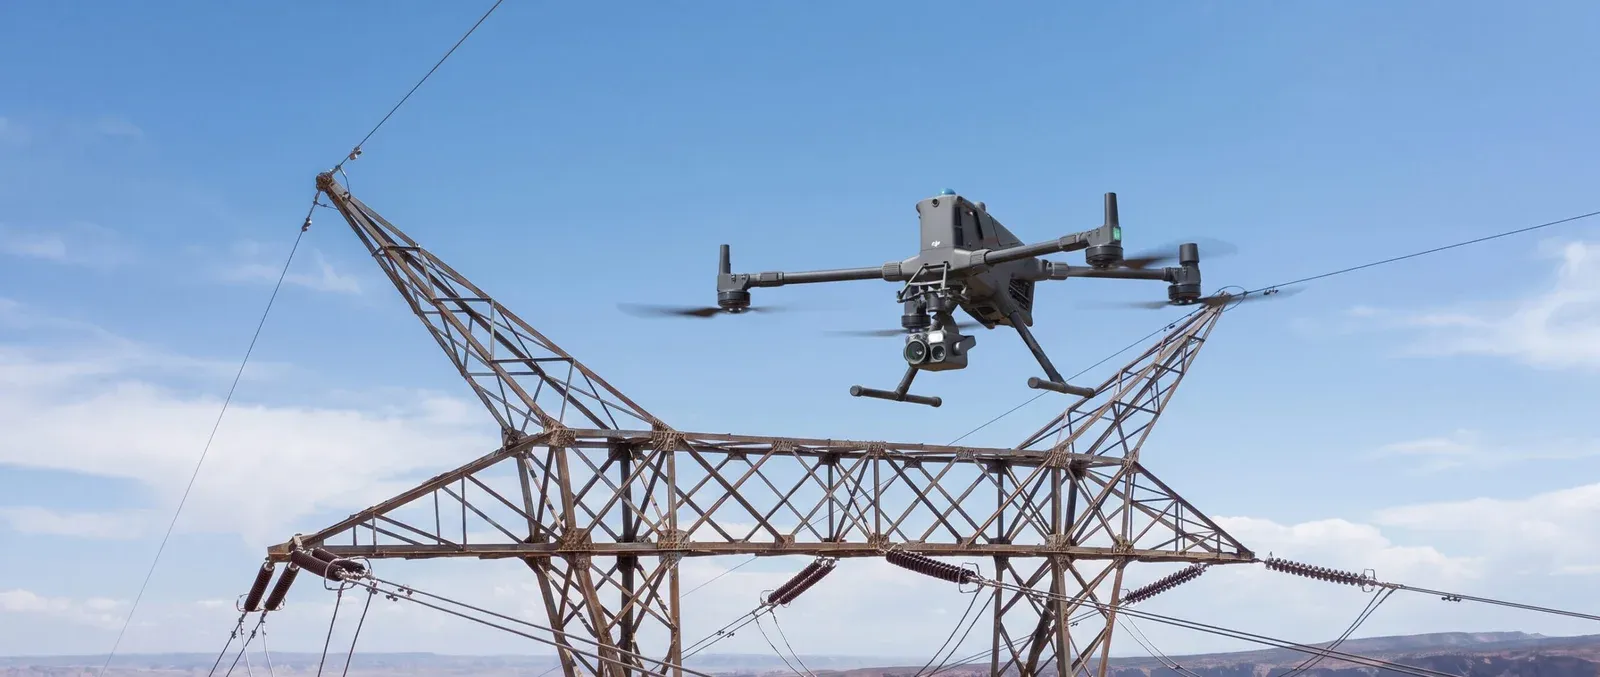
Bridges, pipelines, transmission towers, water tanks, and industrial plants all share a common inspection problem: the parts most likely to fail are usually the hardest and most dangerous to reach. Infrastructure drone surveys exist to solve exactly that. If you're planning one for the first time, here's what the process actually looks like from first call to final report, and where the real value gets created (or lost).
Step 1: Define what you're actually inspecting for
This sounds obvious, but it's the step most projects skip, and it's the one that determines everything after it. "Inspect the pipeline" isn't a scope, "identify corrosion, coating damage, and support bracket condition along this 4km stretch" is. Infrastructure inspection services should start with a conversation about the specific failure modes you're worried about, because that decides which sensors you need: a standard high-resolution camera for visible defects like cracking or corrosion staining, a thermal camera for electrical hotspots or insulation gaps, or a zoom lens for close detail on structures too tall or hazardous to fly near directly.
Step 2: Site assessment and flight planning
Before any drone leaves the ground, the flight team maps out the asset's geometry, identifies obstacles (power lines, guy wires, nearby structures), and checks airspace restrictions. In the UAE this includes confirming GCAA registration is current and securing any location-specific permits, infrastructure sites like substations, ports, or facilities near restricted airspace often need additional clearance beyond a standard commercial drone permit. Flight paths are then programmed to capture the asset from consistent angles and distances, which matters enormously if this is a repeat inspection you'll want to compare against a future one.
Step 3: Data capture
The drone flies the programmed route (or is piloted manually for complex geometries like the underside of a bridge deck), capturing overlapping high-resolution images and, where scoped, thermal data. For linear assets like pipelines or transmission lines, this often means multiple shorter flights rather than one continuous pass, both for battery management and airspace compliance. A good operator captures redundant angles on anything that looks questionable in the field, rather than waiting to discover a gap once they're back at the office reviewing footage.
Step 4: Processing and defect identification
Raw images and thermal data get processed into a reviewable format, typically an annotated image set, a stitched orthomosaic for large linear assets, or a thermal overlay showing temperature anomalies against the visible structure. This is where a trained reviewer (not just software) matters: automated defect-detection tools are improving, but corrosion patterns, coating degradation, and early-stage cracking still need an experienced eye to distinguish a real defect from a shadow or surface stain.
Step 5: Reporting
A useful infrastructure inspection report does three things a photo dump doesn't:
- Locates each finding precisely enough that a maintenance crew can find it again without re-inspecting the whole asset
- Prioritizes findings by severity, so budget and crews go to the most urgent issues first
- Compares against previous inspections where available, so you can see whether a defect is stable, worsening, or new
If your provider hands you a folder of labeled photos with no severity ranking or location referencing, you're doing the engineering analysis yourself, which defeats a lot of the point of paying for the inspection.
Step 6: Acting on the findings
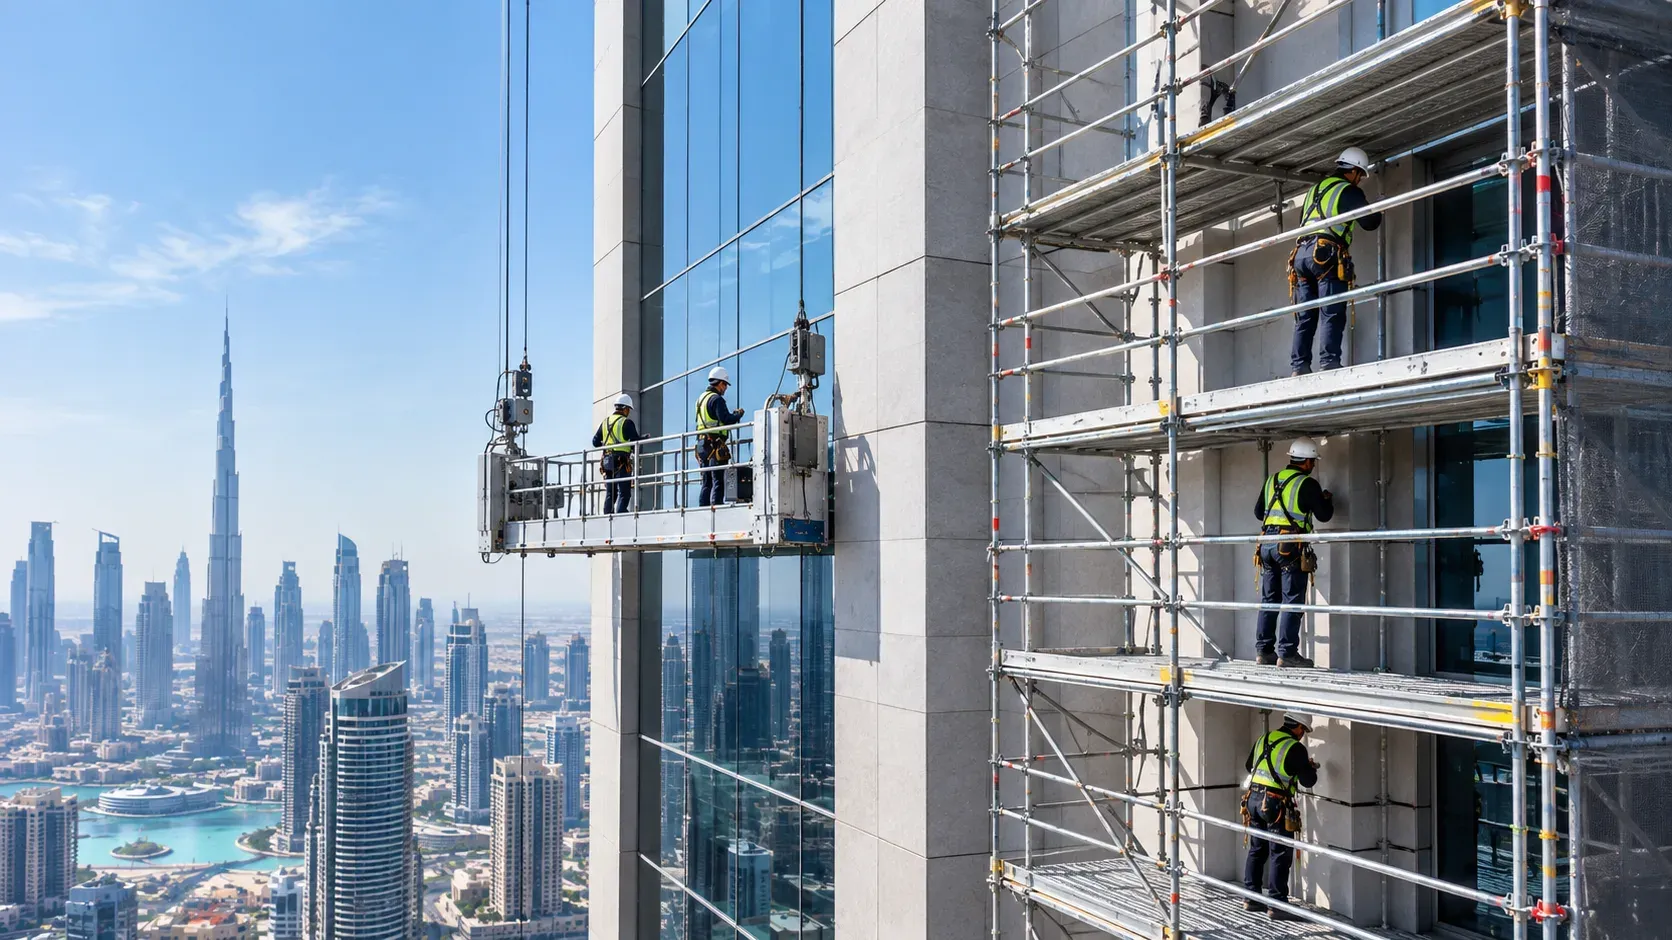
The output should plug directly into your maintenance or asset management workflow. This is also where combining methods pays off: a drone survey is excellent at telling you where to look, but some findings, a suspected coating failure, a joint that needs testing, still require hands-on verification. Pairing aerial inspection with rope access teams for close-up confirmation on flagged areas gets you both the broad coverage of a drone and the certainty of a physical check, without paying for full rope access across an entire structure.
What a realistic timeline looks like
For a single asset, a bridge, a short pipeline segment, a substation, expect flight and data capture to take anywhere from a few hours to a full day depending on size and access complexity, with processing and reporting typically adding another few days to a week. Larger linear assets or multi-site programs scale up accordingly, and it's worth asking a provider for a realistic turnaround estimate tied to your specific asset rather than a generic "48-hour report" promise that may not hold once the actual data volume is known.
What to ask before you commission one
- Does the provider have experience with your specific asset type (oil & gas is different from a building facade is different from a solar farm)?
- What sensors are included, and are thermal or zoom capabilities extra?
- What does the final report actually contain, raw images, or a structured, prioritized findings document?
- How do they handle repeat inspections, is the flight path and reference framework consistent enough to compare year over year?
Infrastructure drone surveys are only as useful as the report they produce. If you're scoping one, it's worth describing your asset and inspection goals directly and asking for a sample report format before you commit, a good provider will have one ready to show you.























Sign in to leave a comment.