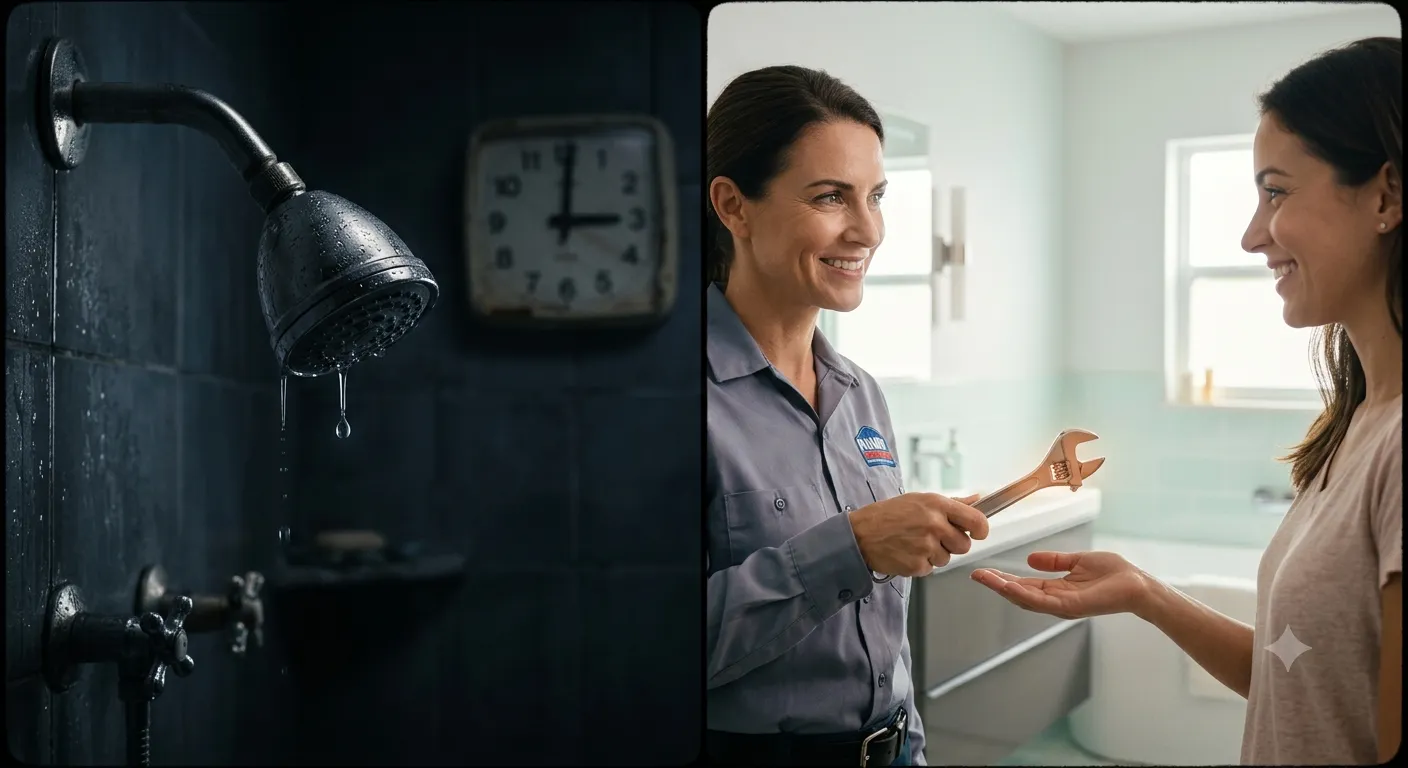

The price of silencing a dripping shower head depends entirely on where the water is escaping and who is holding the wrench. For most homeowners, the financial commitment ranges from the cost of a cup of coffee for a roll of thread tape to a few hundred dollars for a professional intervention. Understanding these price brackets is the only way to prevent "invoice shock" when a technician arrives at your door.
As of 2024, a simple DIY fix targeting seals or tape remains the most cost-effective route. However, if the failure is mechanical—located in the valve cartridge behind the wall—the complexity and the price of parts rise sharply. In high-demand areas like South Florida, professional labor rates often reflect the local cost of living and the scarcity of licensed technicians.

Quick Cost Snapshot: 2024 Estimates
According to recent industry data, a professional plumber in Florida typically charges between $100 and $160 for a standard service call, with hourly rates averaging $80–$100 [1], [2]. In many Miami service zones, a "2-hour minimum" policy is the industry standard, effectively setting the baseline at $160 even for a ten-minute fix. Emergency calls on weekends or after hours can easily spike to $250+ per hour [2].
For those choosing the DIY path, the cost to fix a leaking shower head is largely determined by the replacement cartridge—the "engine" of your shower—which costs between $15 and $80 depending on the brand [3]. For example, a genuine Moen Posi-Temp cartridge typically retails for $60–$80, while compatible aftermarket parts for Delta systems can be found for approximately $25.99 [3].
60-Second Diagnosis: Debris, Gaskets, or Mechanical Failure?
Before heading to the hardware store, you must identify the "rhythm" of the leak. A drip that only occurs when the shower is running is a surface-level nuisance; a constant, 24/7 drip is a sign of a failing internal valve. Pinpointing the source prevents you from replacing a perfectly good shower head when the real culprit is a $2 rubber washer.
The Soap Bubble Test: Finding Micro-Leaks
To find leaks invisible to the naked eye, mix dish soap with water and apply it to the threaded joints. Turn the water on slightly. If bubbles begin to grow at the connection point, the seal is compromised. This usually indicates that the Teflon tape (thread sealant) has degraded or the threads were stripped by over-tightening. Note: thread sealant tape should only be applied to the male threads of the shower arm; if your shower head uses a rubber washer, adding tape can actually prevent a proper seal [3].
The Miami Mold Risk: Shower Head vs. Behind-the-Wall Leaks
In the high-humidity climate of South Florida, a leak behind the wall is a structural emergency. While a visible drip wastes water, a hidden leak into the wall cavity promotes toxic mold growth in as little as 24 to 48 hours.
If you hear water running behind the tiles when the handle is off, or notice soft spots on the drywall in the adjacent room, the DIY window has closed. A hidden leak can quickly escalate from a $200 plumbing visit to a $5,000 mold remediation project.
"The shower head itself is never the expensive part — it's $20 at the hardware store either way. What costs real money is when someone keeps tightening a leaking connection for six months hoping it'll seal itself, and by the time we open the wall, the studs are soft and there's mold up the back of the tile. Five minutes with a flashlight checking for moisture behind the access panel can save you a five-figure remediation job."
— Diego Vasquez, Bathroom Plumbing Specialist at H2Osolutions
4 Common Causes of Shower Head Leaks
Most leaks result from the slow degradation of inexpensive components. Over time, heat and mineral exposure strip rubber and plastic of their elasticity.
1. Worn O-Rings and Gaskets: The O-ring is a small rubber loop that maintains the watertight seal. Constant friction eventually causes it to crack. Replacing it is the simplest plumbing fix in existence.
2. Mineral Buildup: In areas with hard water, calcium deposits clog the tiny nozzles. This creates internal back-pressure that forces water out of the seals. Soaking the unit in a white vinegar solution for several hours often restores flow.
3. High Water Pressure: Pressure exceeding the 80 psi (pounds per square inch) limit set by the International Plumbing Code (IPC) acts as a slow-motion wrecking ball for your plumbing [4]. The optimal range for residential systems is 40–60 psi [4]. High pressure can reduce a cartridge's lifespan by 50%.
4. Worn Valve Seats and Springs: In older compression-style faucets, the seat (where the valve closes) or the small springs behind the seals can corrode, preventing a full shut-off.
Step-by-Step DIY Repair Guide
Option A: Fixing an External Leak (15–30 Minutes)
*Tools: Adjustable wrench, rag (to protect finish), new rubber washer, Teflon tape.*
1. Shut off the water: Use the main house valve or local shut-offs if available.
2. Remove the head: Unscrew the shower head from the arm.
3. Inspect the washer: Replace the rubber gasket inside the head if it looks flattened or cracked.
4. Apply Tape: Clean the threads of the shower arm. Wrap Teflon tape 2–4 full rotations clockwise [2], [3].
5. Reinstall: Hand-tighten the head, then give it a 1/4 turn with a wrench.
Option B: Replacing the Faucet Cartridge (1–2 Hours)
*Tools: Allen key, screwdriver, needle-nose pliers, cartridge puller (optional).*
1. Shut off water: This is non-negotiable for internal repairs.
2. Remove Handle: Use an Allen key to loosen the set screw and pull the handle off.
3. Extract Clip: Use pliers to remove the U-shaped retaining clip holding the cartridge in place.
4. Swap Cartridges: Pull the old cartridge out. Take it to the store to ensure an exact match. A Moen part will not fit a Delta valve.
5. Lube and Install: Apply silicone-based plumber’s grease to the new O-rings and slide it in.
Prevention: The 5-Year Leak-Free Plan
Proactive maintenance is the only way to avoid emergency repairs. In coastal regions, salt air and heavy minerals accelerate corrosion. A $10 tub of silicone-based plumber’s grease can add years to your O-rings, potentially saving you a $300 service call.
Frequently Asked Questions (FAQ)
How much does a drip actually add to my bill?
A slow leak wastes between 347 and 500 gallons of water per year [6]. If it accelerates to one drop per second, you lose over 3,000 gallons annually [7], which can spike a household water bill by 25%.
Can I use WD-40 to fix a leak?
No. WD-40 is a solvent. It causes rubber O-rings to swell and degrade. Always use silicone-based plumber's grease.
How do I check my water pressure?
Buy a $10 pressure gauge at any hardware store and screw it onto an outside hose bib. If it’s over 80 psi, your Pressure Reducing Valve (PRV) needs adjustment.
Your 1-Hour Action Plan
1. Locate the Leak: Verify if it's the head, the arm, or the handle.
2. Photo ID: Take a clear photo of the faucet brand logo for parts matching.
3. The Vinegar Soak: If the spray is uneven, start with a 2-hour vinegar soak.
4. Assess the Risk: If you see water seeping from the wall, call a pro immediately.
References
[1] HomeGuide: Plumber Cost Estimates 2024 — https://homeguide.com/costs/plumber-cost
[2] South Florida Handyman & Plumbing Service Rates
[3] Cranach Home / Delta Faucet Support Documentation — https://www.deltafaucet.com/service-parts
[4] International Plumbing Code (IPC) - Pressure Regulations
[5] MyFloridaLicense.com - Official Portal for License Verification — https://www.myfloridalicense.com/
[6] EPA WaterSense: Statistics on Water Waste and Leaks — https://www.epa.gov/watersense
[7] USGS Water Science School: Drip Calculator — https://www.usgs.gov/special-topics/water-science-school/science/drip-calculator
A home is more than a series of pipes and valves; it is the boundary between your family and the elements. While a dripping shower head might feel like a minor annoyance, tackling it today is an act of stewardship. Whether you choose to pick up a wrench yourself or call in a professional to protect your investment, you are doing more than stopping a noise—you are ensuring your home remains the dry, safe sanctuary it was meant to be.






























Sign in to leave a comment.