
Creating a backyard cold plunge setup with a chiller is a fantastic way to enjoy the benefits of cold therapy from the comfort of your home. From muscle recovery to improved mood and resilience, a cold plunge can become a powerful part of your daily routine. With the right approach, you can build an efficient, low-maintenance system without breaking the bank.
Choosing the Right Tub
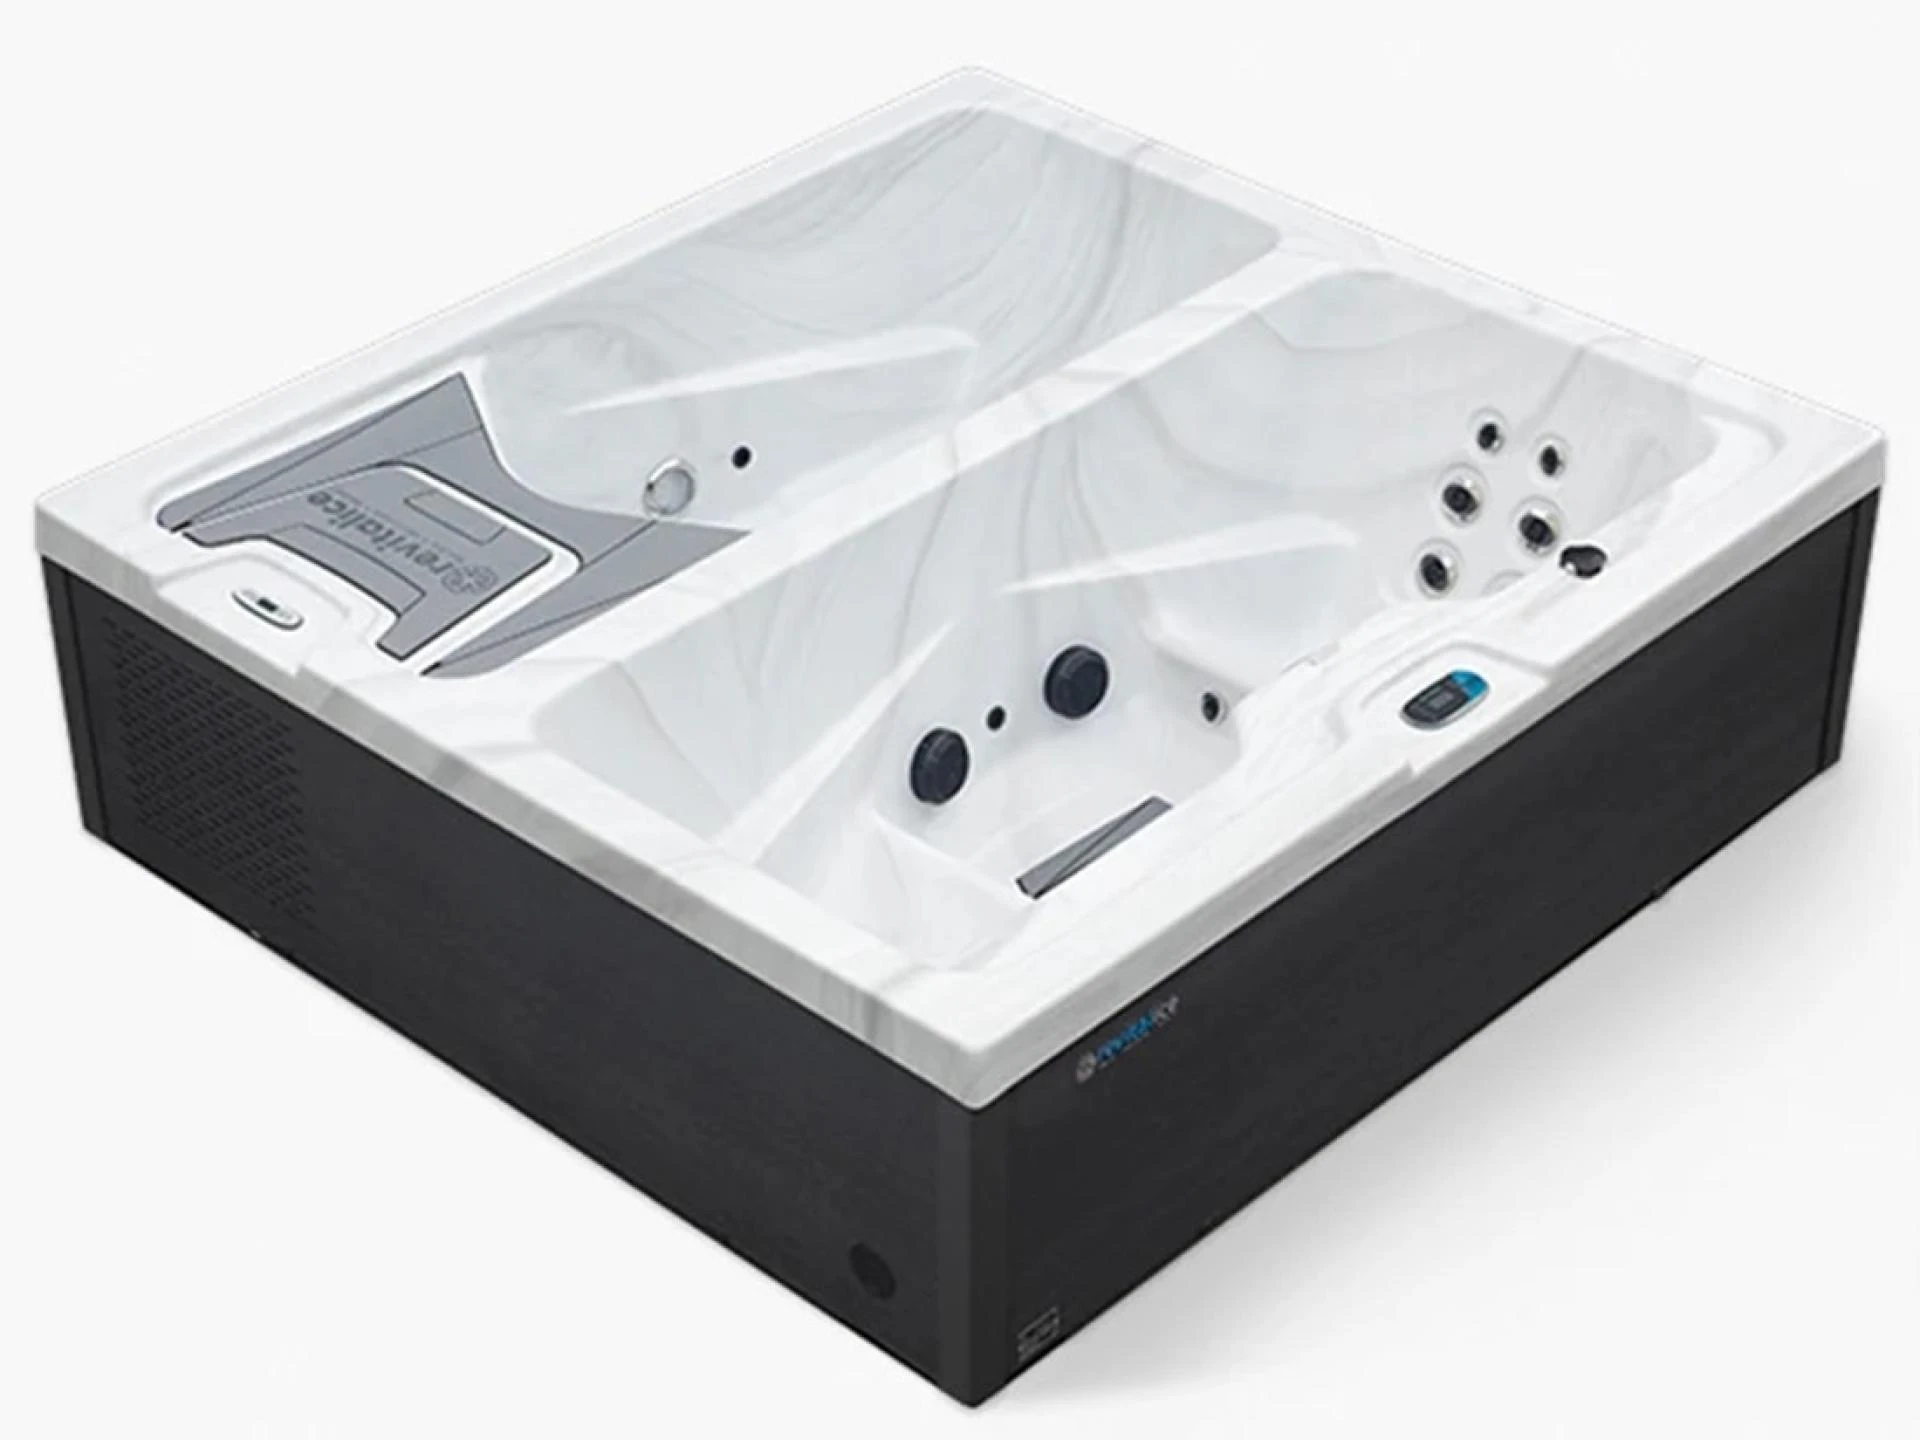
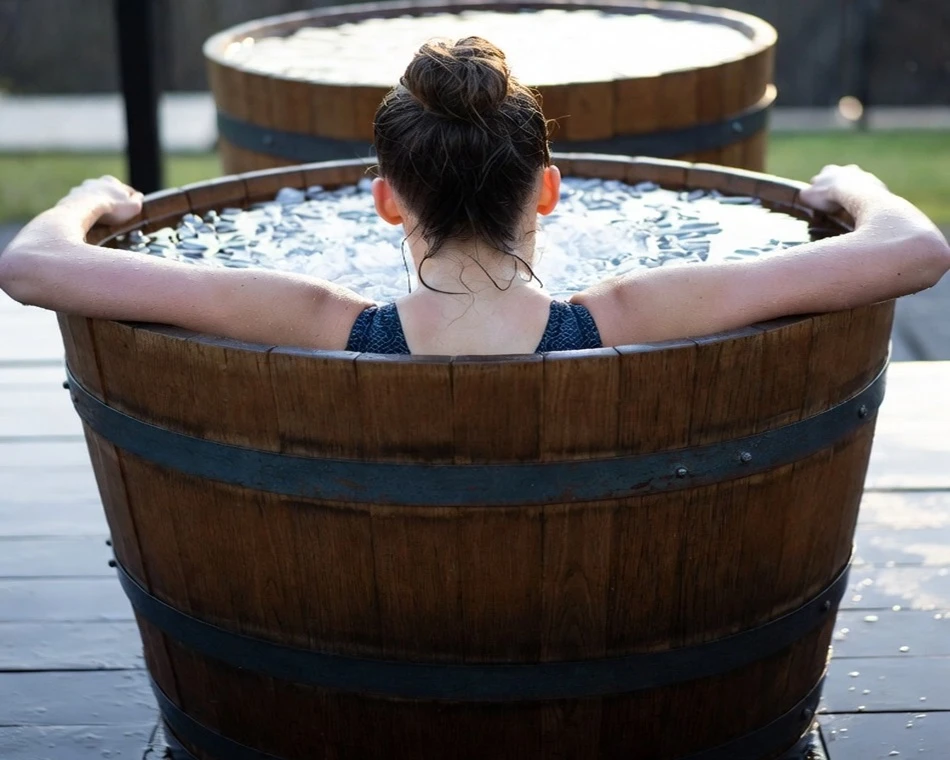
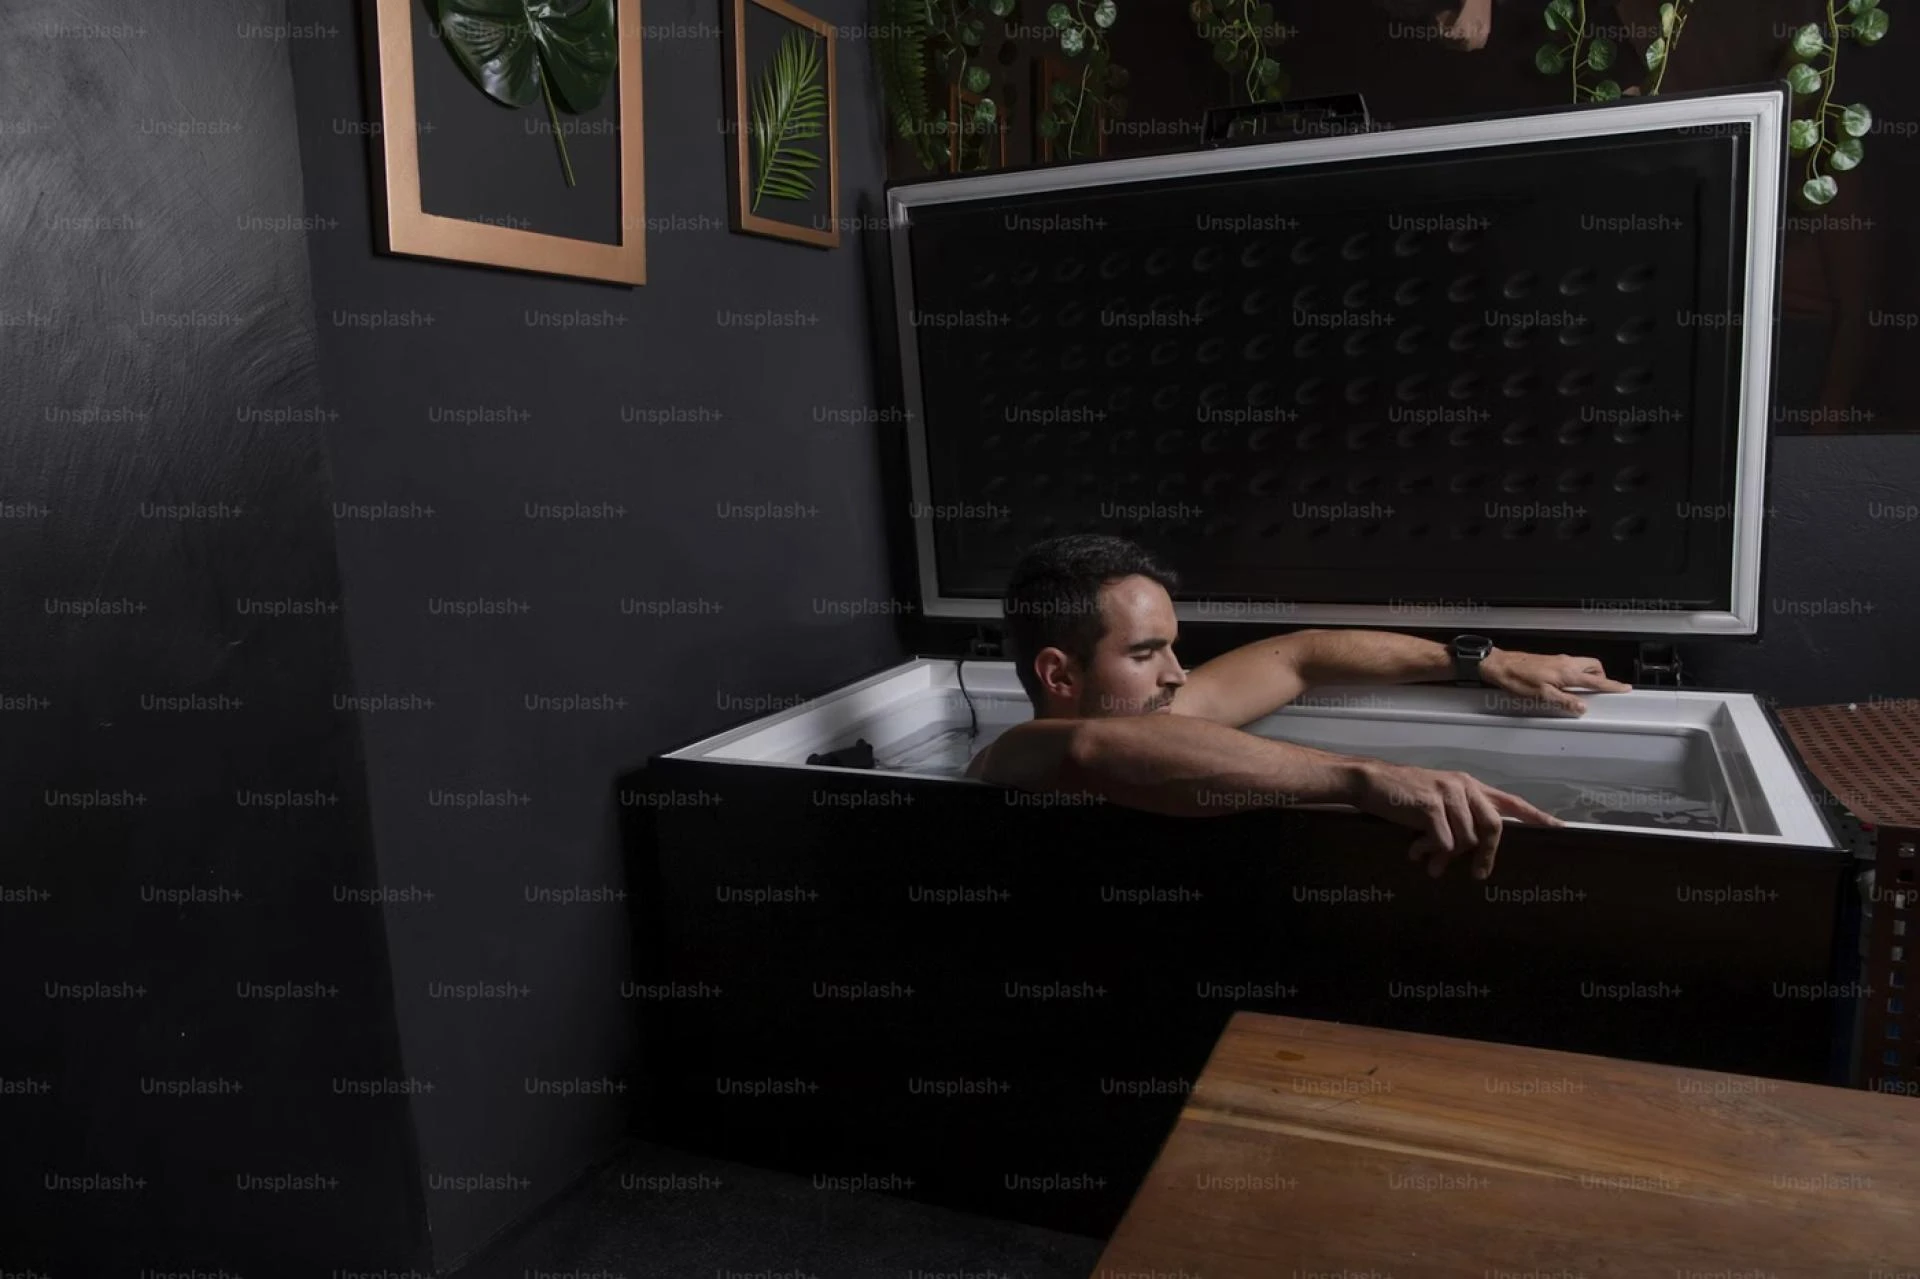
The foundation of your cold plunge setup is the tub itself. Many DIY enthusiasts prefer stock tanks, heavy-duty plastic tubs, or even repurposed chest freezers (with proper waterproofing and safety precautions). The key is to choose a container that is deep enough for full-body immersion up to your shoulders.
Durability matters here, especially if your setup will be outdoors year-round. Look for materials that can withstand temperature changes and exposure to the elements.
Selecting a Water Chiller
The chiller is what keeps your water consistently cold, making it the most critical component. Water chillers function similarly to air conditioning units, pulling heat out of the water and maintaining your desired temperature.
When selecting a chiller, consider your tub size and local climate. Larger tubs or hotter regions require more powerful units. Ideally, your chiller should be able to maintain water temperatures between 3°C and 10°C (37°F–50°F). Energy efficiency and reliable temperature control are also important factors to look for.
Pump and Filtration System
To keep the water circulating and clean, you’ll need a pump and filtration system. A submersible pump is typically used to move water from the tub through the chiller and back again. Make sure the pump is compatible with your chiller’s flow rate requirements.
Adding a filter—such as a pool or aquarium filter—helps remove debris and maintain water clarity. This reduces the need for frequent water changes and keeps your setup hygienic.
Plumbing and Setup
Connecting everything together involves some basic plumbing. Water flows from the tub to the pump, then through the chiller, and back into the tub. Use durable tubing and secure all connections tightly to prevent leaks.
Including ball valves in your setup can help you control water flow and make maintenance easier. Before using the system regularly, test it thoroughly to ensure everything is working smoothly.
Insulation and Efficiency
Proper insulation can significantly improve your system’s efficiency. Without it, your chiller will have to work harder, increasing energy consumption.
You can insulate your tub using foam boards, thermal wraps, or by building a wooden enclosure around it. A tight-fitting lid is equally important, as it helps retain the cold temperature and keeps debris out.
Water Maintenance and Hygiene
Keeping your water clean is essential for both safety and comfort. You can use small amounts of chlorine or bromine, similar to a hot tub, or explore alternatives like UV or ozone systems.
Regularly monitor water quality and change the water as needed, depending on how often you use the plunge. A clean system not only feels better but also prolongs the life of your equipment.
Placement and Safety Considerations
Choose a flat, stable surface in your backyard for your setup. Placing it in a shaded area can help reduce heat exposure and improve efficiency.
Ensure easy access to a power source for your chiller and pump, and always prioritize electrical safety. Using weatherproof outlets and keeping connections dry is crucial when working with water and electricity.
Final Thoughts
Building a backyard cold plunge with a chiller may take some initial effort, but the payoff is well worth it. With the right components and proper setup, you’ll have a reliable and refreshing recovery tool just steps away from your door. Whether you’re an athlete or simply looking to boost your well-being, a DIY cold plunge can be a game-changer.


Sign in to leave a comment.