Soil testing is one of the most essential steps in modern agriculture. It provides farmers and agronomists with valuable insights into soil fertility, nutrient content, and physical characteristics that directly influence crop yield. However, the accuracy of the results depends heavily on how the soil samples are collected, handled, and sent to a soil testing lab for agriculture.
This guide will walk you through the correct methods for collecting, preparing, and sending soil samples to an agricultural testing lab, along with tips for ensuring accurate results and maintaining sample integrity throughout the process.
Why Soil Testing Matters
Before diving into the process, it’s important to understand why soil testing is such a crucial part of sustainable agriculture. The composition of soil can vary significantly even within a single farm. Regular soil analysis helps farmers identify nutrient deficiencies, pH imbalances, and contamination levels that could affect crop performance.
By leveraging professional analytical testing services, farmers can:
- Determine the right type and amount of fertilizers needed.
- Monitor soil health over time.
- Detect potential contaminants that may harm crops or the environment.
- Improve the quality and consistency of agricultural commodities.
Ultimately, soil testing allows for data-driven decisions that save costs, increase productivity, and ensure compliance with agricultural quality standards.
Step 1: Planning the Soil Sampling Process
Accurate soil testing begins with a well-thought-out sampling plan. A poor sampling strategy can lead to misleading results, no matter how advanced the laboratory testing methods are.
Here are some factors to consider:
- Field Division: Divide your land into sections based on soil type, topography, crop history, and drainage patterns. Each section should be relatively uniform.
- Sample Timing: Ideally, collect samples before planting or after harvesting. Avoid sampling immediately after fertilization or irrigation, as it can distort nutrient readings.
- Sampling Depth: For most crops, soil is collected from the top 0–15 cm (for surface samples) or deeper (15–30 cm) for subsoil samples. The depth depends on the crop’s root zone.
Step 2: Equipment and Materials Needed
Before heading to the field, prepare the necessary tools. Clean equipment prevents contamination, ensuring the reliability of results. You’ll need:
- A soil auger, probe, or spade.
- A clean plastic bucket for mixing soil samples.
- Labelled sample bags or containers (preferably plastic or paper).
- A permanent marker for labeling.
- A GPS device or smartphone for recording sample locations.
Avoid using metal containers or tools that can contaminate the samples with trace elements. Always wash and dry tools between samples, especially if you’re testing for micronutrients or heavy metals.
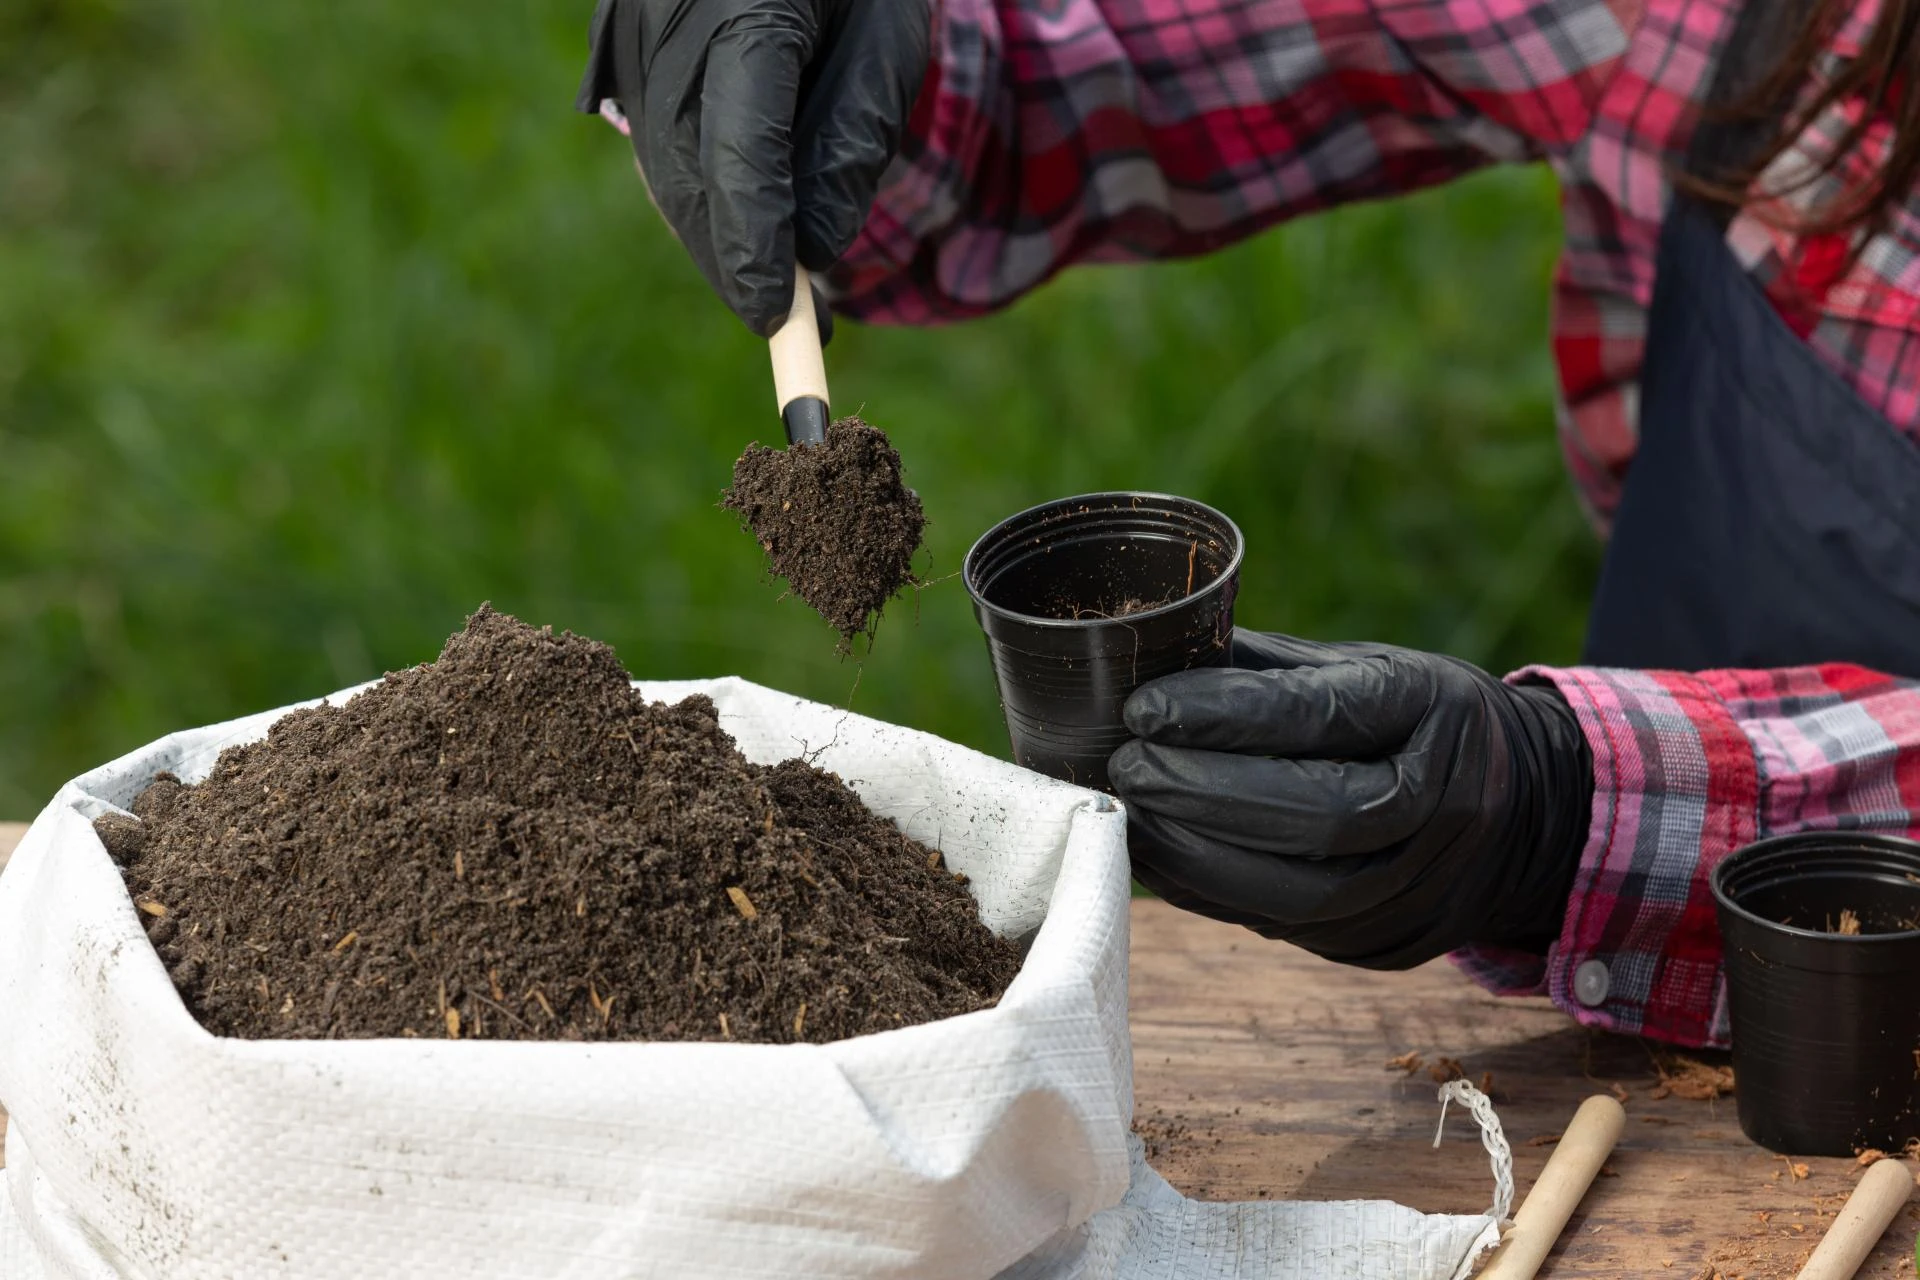
Step 3: Collecting Soil Samples
Now that you’re prepared, it’s time to collect the samples. Follow these steps carefully:
- Select Random Spots: Within each uniform section, take 10–15 sub-samples from random locations. Avoid unusual spots like near compost piles, fences, or water channels.
- Collect at the Right Depth: Insert the soil probe or spade into the ground to the desired depth. Remove any surface debris such as leaves or stones before sampling.
- Combine Sub-samples: Place all sub-samples from one section into a clean bucket and mix thoroughly to create a composite sample. This ensures that your test represents the average condition of that section.
- Take the Final Sample: From the mixed soil, take about 500 grams (or as required by your agricultural testing lab) and place it into a labeled sample bag.
Make sure the label includes essential details such as:
- Farm name and field ID.
- Sampling depth.
- Date of collection.
- Crop history or intended crop.
- Your contact information.
Proper labeling helps the lab accurately interpret results and provide relevant recommendations.
Step 4: Drying and Preparing the Sample
Before sending your sample for laboratory testing, it’s best to air-dry it to prevent microbial activity or chemical changes that could affect results.
Here’s how:
- Spread the composite sample thinly on a clean plastic sheet or paper in a shaded, dust-free area.
- Avoid direct sunlight or artificial heat sources.
- Once the soil is dry, gently crush lumps (but don’t powder them).
- Mix the sample again and remove stones, roots, and debris.
Once completely dry, transfer the soil to the labeled bag for dispatch.
Step 5: Sending the Sample to a Soil Testing Lab
After preparation, it’s time to send your soil sample to a soil testing lab for agriculture. Accuracy depends not just on collection but also on how quickly and safely the sample reaches the lab.
Here are some best practices for sending your soil samples:
- Choose a Certified Laboratory: Select a reputed agricultural testing lab that offers standardized analytical testing services. Accreditation ensures that the lab follows reliable testing protocols.
- Use Proper Packaging: Seal the sample bags properly to prevent leakage or contamination. If multiple samples are being sent, use separate bags and mark them clearly.
- Attach Documentation: Include a sample submission form with all necessary details such as sample ID, type of analysis requested (pH, NPK, organic carbon, heavy metals, etc.), and your contact details.
- Ensure Timely Delivery: Send the samples as soon as possible after collection. Avoid delays, especially if the soil has high moisture content.
Step 6: Understanding the Soil Test Report
Once your soil testing lab for agriculture completes the analysis, you’ll receive a detailed report. The report typically includes information on:
- pH and Electrical Conductivity (EC): Indicates soil acidity, alkalinity, and salinity.
- Macronutrients: Levels of nitrogen (N), phosphorus (P), and potassium (K).
- Micronutrients: Elements like zinc, iron, copper, and manganese.
- Organic Carbon Content: Reflects soil fertility and microbial activity.
- Texture and Moisture Retention: Indicates soil type (clay, loam, sand) and water-holding capacity.
A good lab will not only provide raw data but also interpret the results and recommend corrective actions, such as fertilizer application or pH adjustment.
Common Mistakes to Avoid During Soil Sampling
Even small errors in soil sampling can lead to inaccurate test results. Avoid these common mistakes:
- Using Contaminated Tools: Residues of fertilizers, rust, or soil from another field can alter chemical readings.
- Ignoring Field Variability: Combining samples from different soil types or slopes can skew results.
- Incorrect Sampling Depth: Nutrient levels vary with depth, so following the correct sampling depth is crucial.
- Sampling Right After Fertilization: This can lead to inflated nutrient levels and misleading results.
- Poor Labeling: Mislabelled samples cause confusion and inaccurate interpretation.
Following proper sampling procedures ensures that your laboratory testing accurately reflects the true condition of your soil.
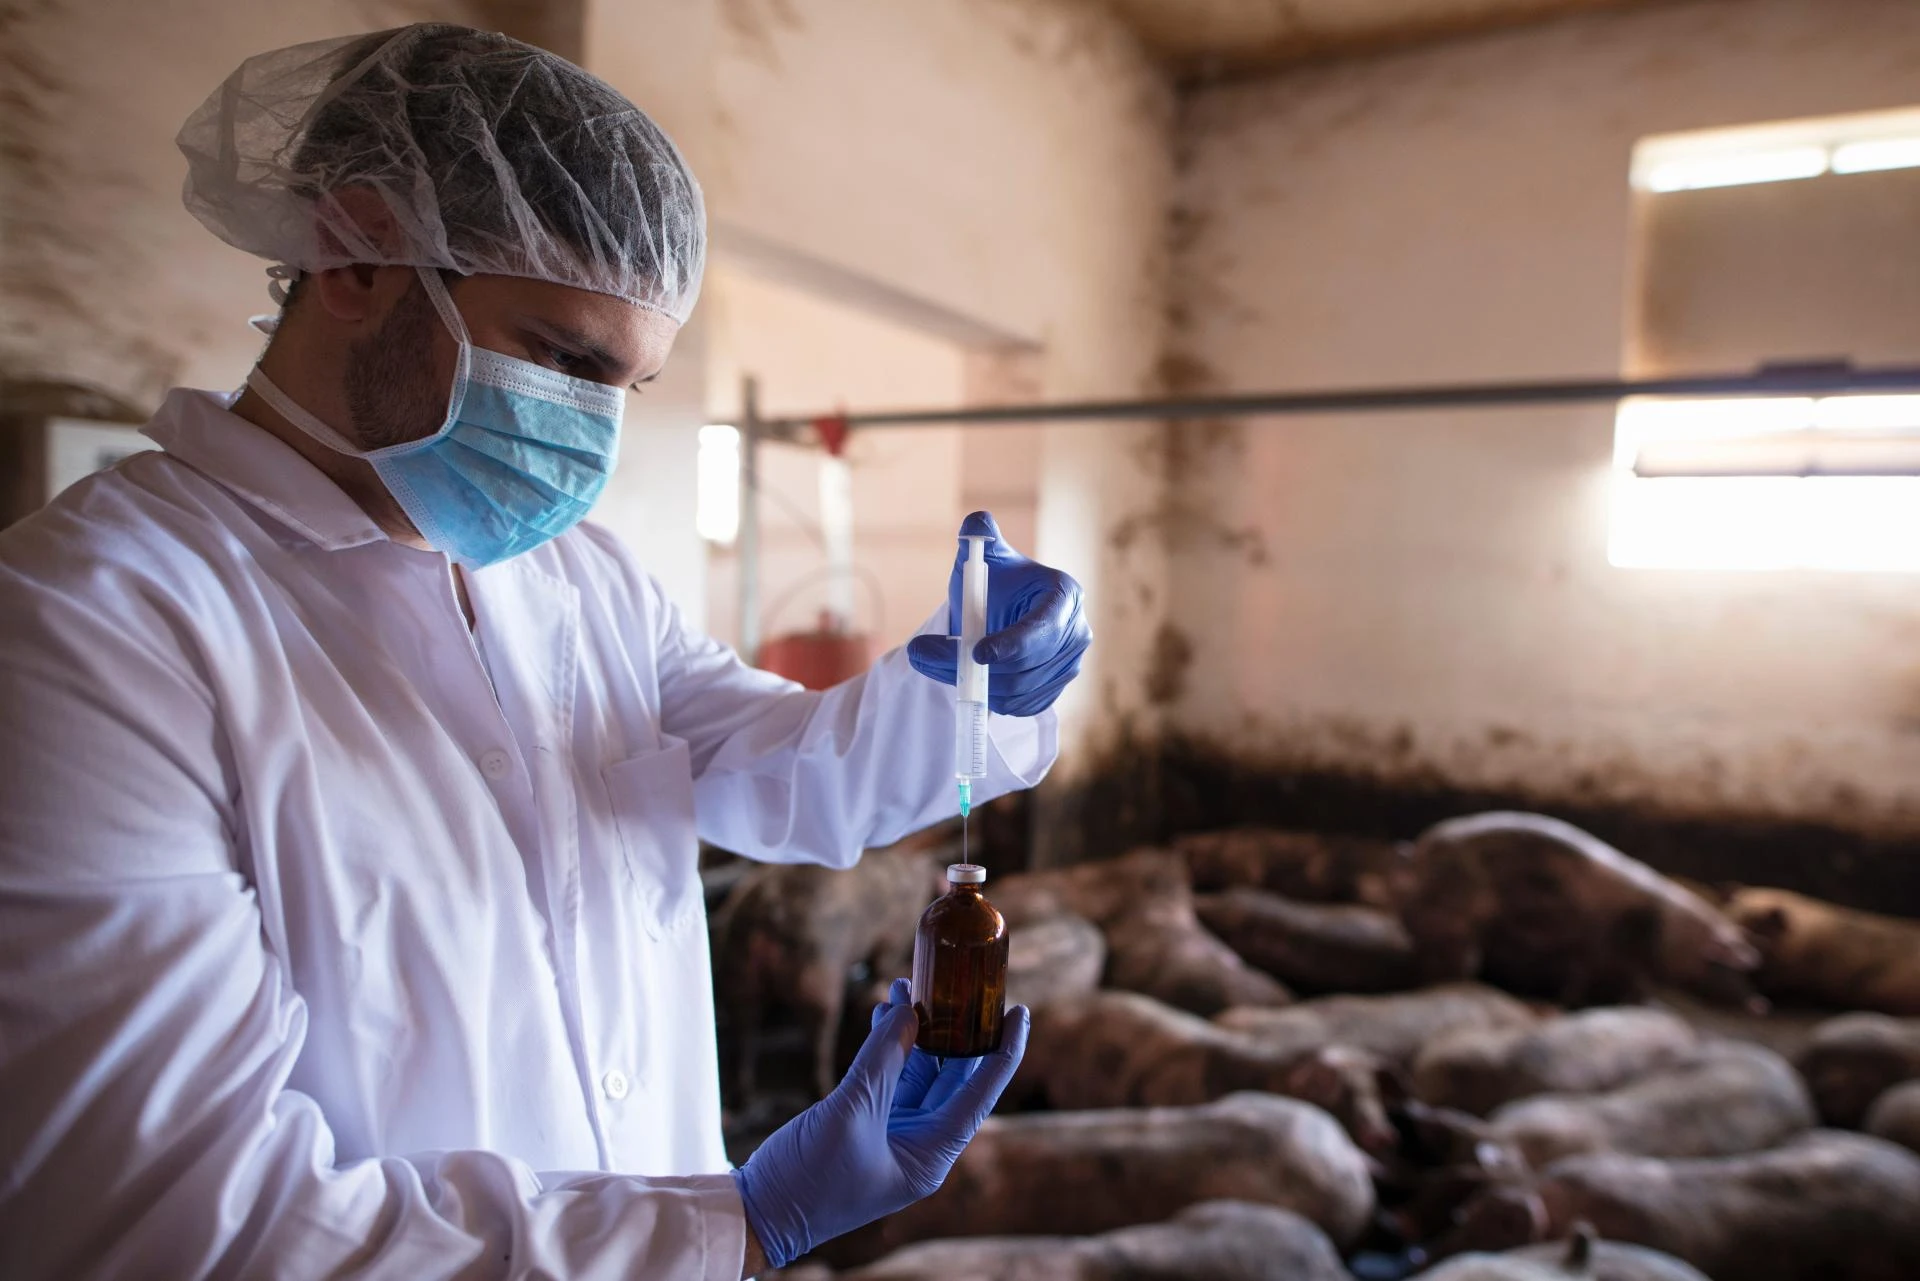
The Role of Laboratory Testing in Modern Agriculture
Today’s agriculture relies heavily on science and data. Advanced analytical testing services not only evaluate soil quality but also support precision farming practices. By combining laboratory data with on-field analytics, farmers can make informed decisions about crop rotation, irrigation scheduling, and fertilizer management.
Additionally, soil analysis plays a vital role in quality inspection services for agricultural commodities. Whether you’re producing food grains, fruits, or vegetables for domestic markets or export, ensuring soil quality directly impacts the safety and nutritional value of the produce.
Modern labs use sophisticated instruments like spectrophotometers, atomic absorption spectrometers, and chromatographs to deliver precise and reliable data. These technologies allow for multi-parameter testing, giving farmers a complete picture of soil health.
Best Practices for Long-Term Soil Health Monitoring
Soil testing shouldn’t be a one-time activity. To maintain productivity and sustainability, follow a regular soil monitoring schedule. Here’s how:
- Test Every 2–3 Years: Frequent testing helps you track changes in nutrient levels and soil pH.
- Maintain Records: Keep a log of all soil test reports and farm inputs. Over time, this data helps in trend analysis.
- Apply Recommendations Promptly: Use the fertilizer and amendment recommendations provided by the lab for optimal results.
- Work with Agronomists: Professional advice helps interpret complex test results and tailor interventions for specific crops.
By integrating these practices, you ensure that your land remains fertile and productive for generations to come.
Conclusion: Choose ITC Labs for Reliable Soil Testing
Accurate soil testing starts with proper sample collection, handling, and analysis. Whether you’re managing a small farm or a large-scale agricultural enterprise, partnering with a trusted soil testing lab for agriculture is key to obtaining reliable results.
Among the leading names in the field, ITC Labs stands out as one of the most reputable and advanced agricultural testing labs in India. With decades of experience in analytical testing services and quality inspection services, ITC Labs offers comprehensive soil testing, water analysis, fertilizer evaluation, and other agricultural diagnostics.
Their state-of-the-art facilities and expert team ensure that every report is precise, actionable, and tailored to your farming needs. By choosing ITC Labs, you gain a dependable partner committed to enhancing the productivity, sustainability, and profitability of your agricultural commodities.
In short, for accuracy, efficiency, and trusted expertise, ITC Labs is the best soil testing lab for agriculture — empowering farmers to make smarter, science-backed decisions for a better harvest.


Sign in to leave a comment.