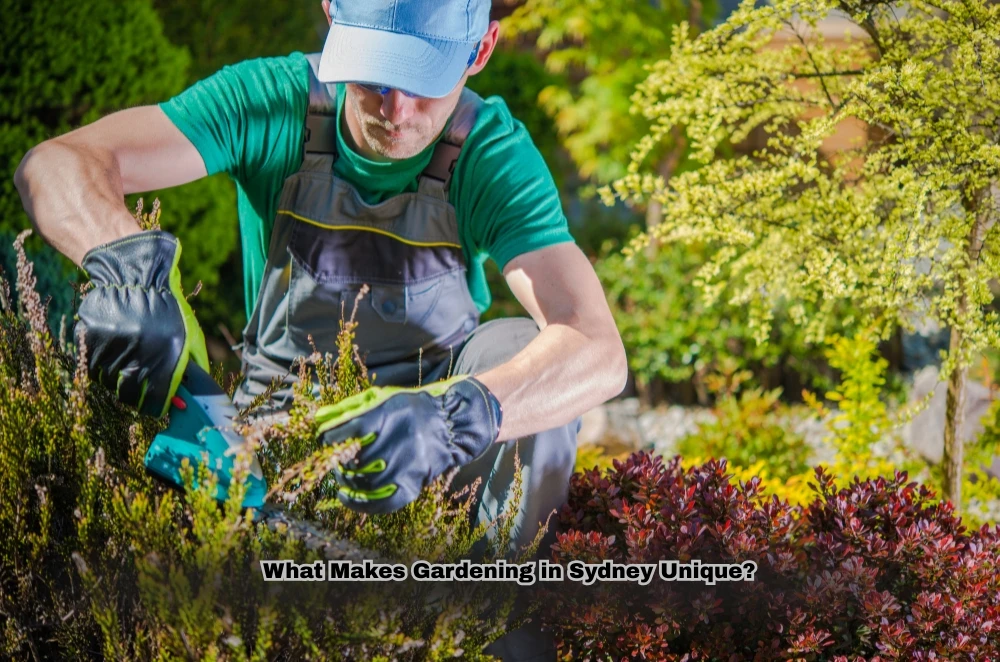
Landscape edging is an essential element for creating a clean and polished look in your garden. It defines boundaries, prevents soil erosion, and enhances the overall aesthetic of your outdoor space. Many homeowners wonder if they can install edging independently without hiring a professional. The answer is yes! With the right tools, materials, and guidance, you can easily complete this DIY project.
This guide will take you through the steps to install landscape edging and highlight tips, tools, and benefits to help you achieve professional-quality results. If you're in New Zealand, tools like a Lawn Edger NZ can be particularly useful for creating those crisp, straight lines that add curb appeal to your home.
Why Landscape Edging Is Important
Creating the edge of the landscape is more than just an aesthetic option. It offers many practical benefits, e.g.
- Prevents soil erosion: Provides edge soil to help keep soil in place, especially in flower beds and garden beds, and reduces water loss from rain or drizzle.
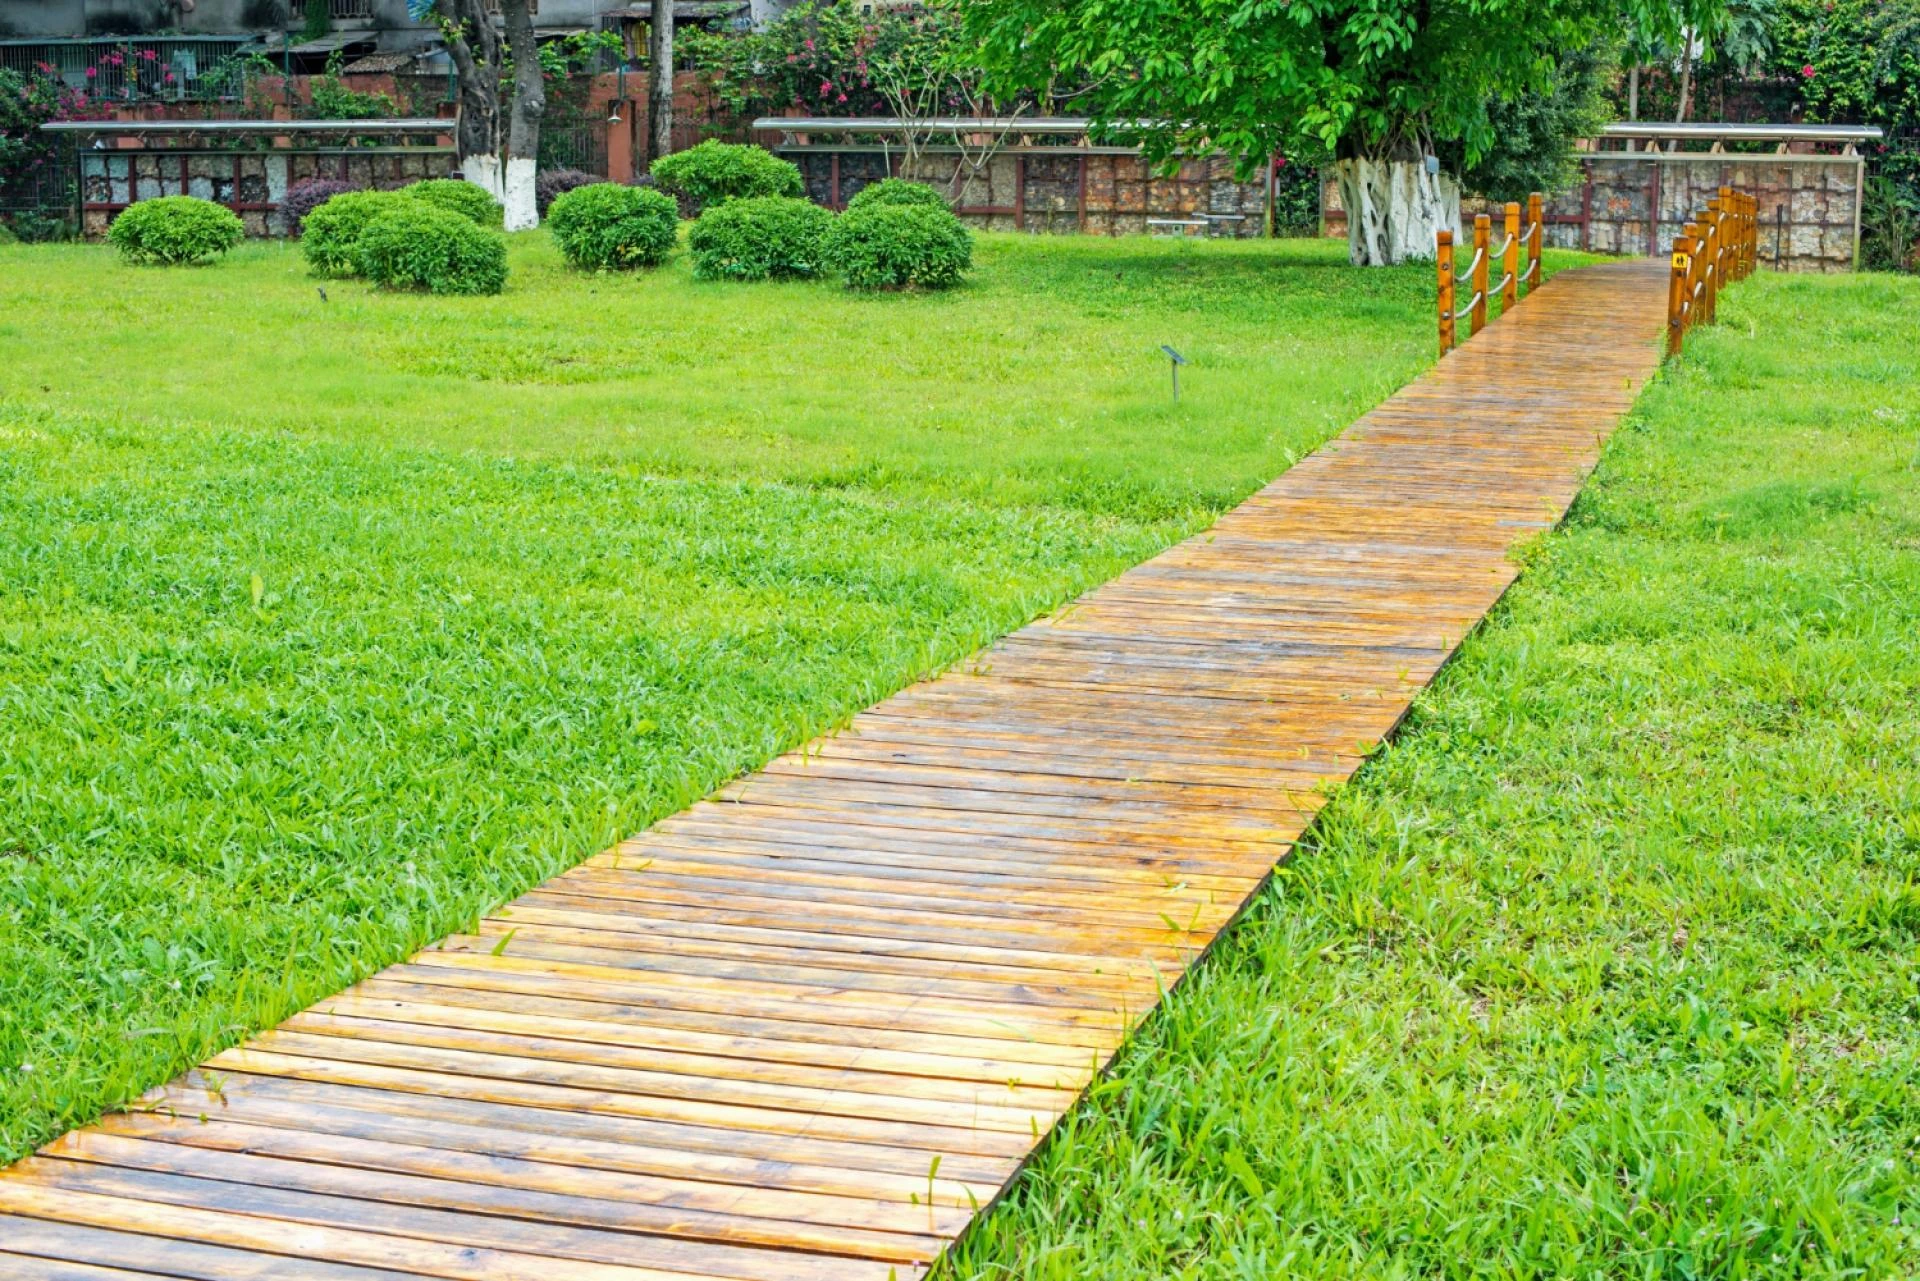
- Creates clean lines: Clearly defined lines create a beautiful look, separating lawns, pathways and garden areas.
- Adds curb appeal: A well-maintained lawn with a nice edge adds to the overall appearance of your property, and can increase its value.
- Reduces maintenance: The edges of the soil make it easier to mow and trim, preventing weeds from moving into garden areas.
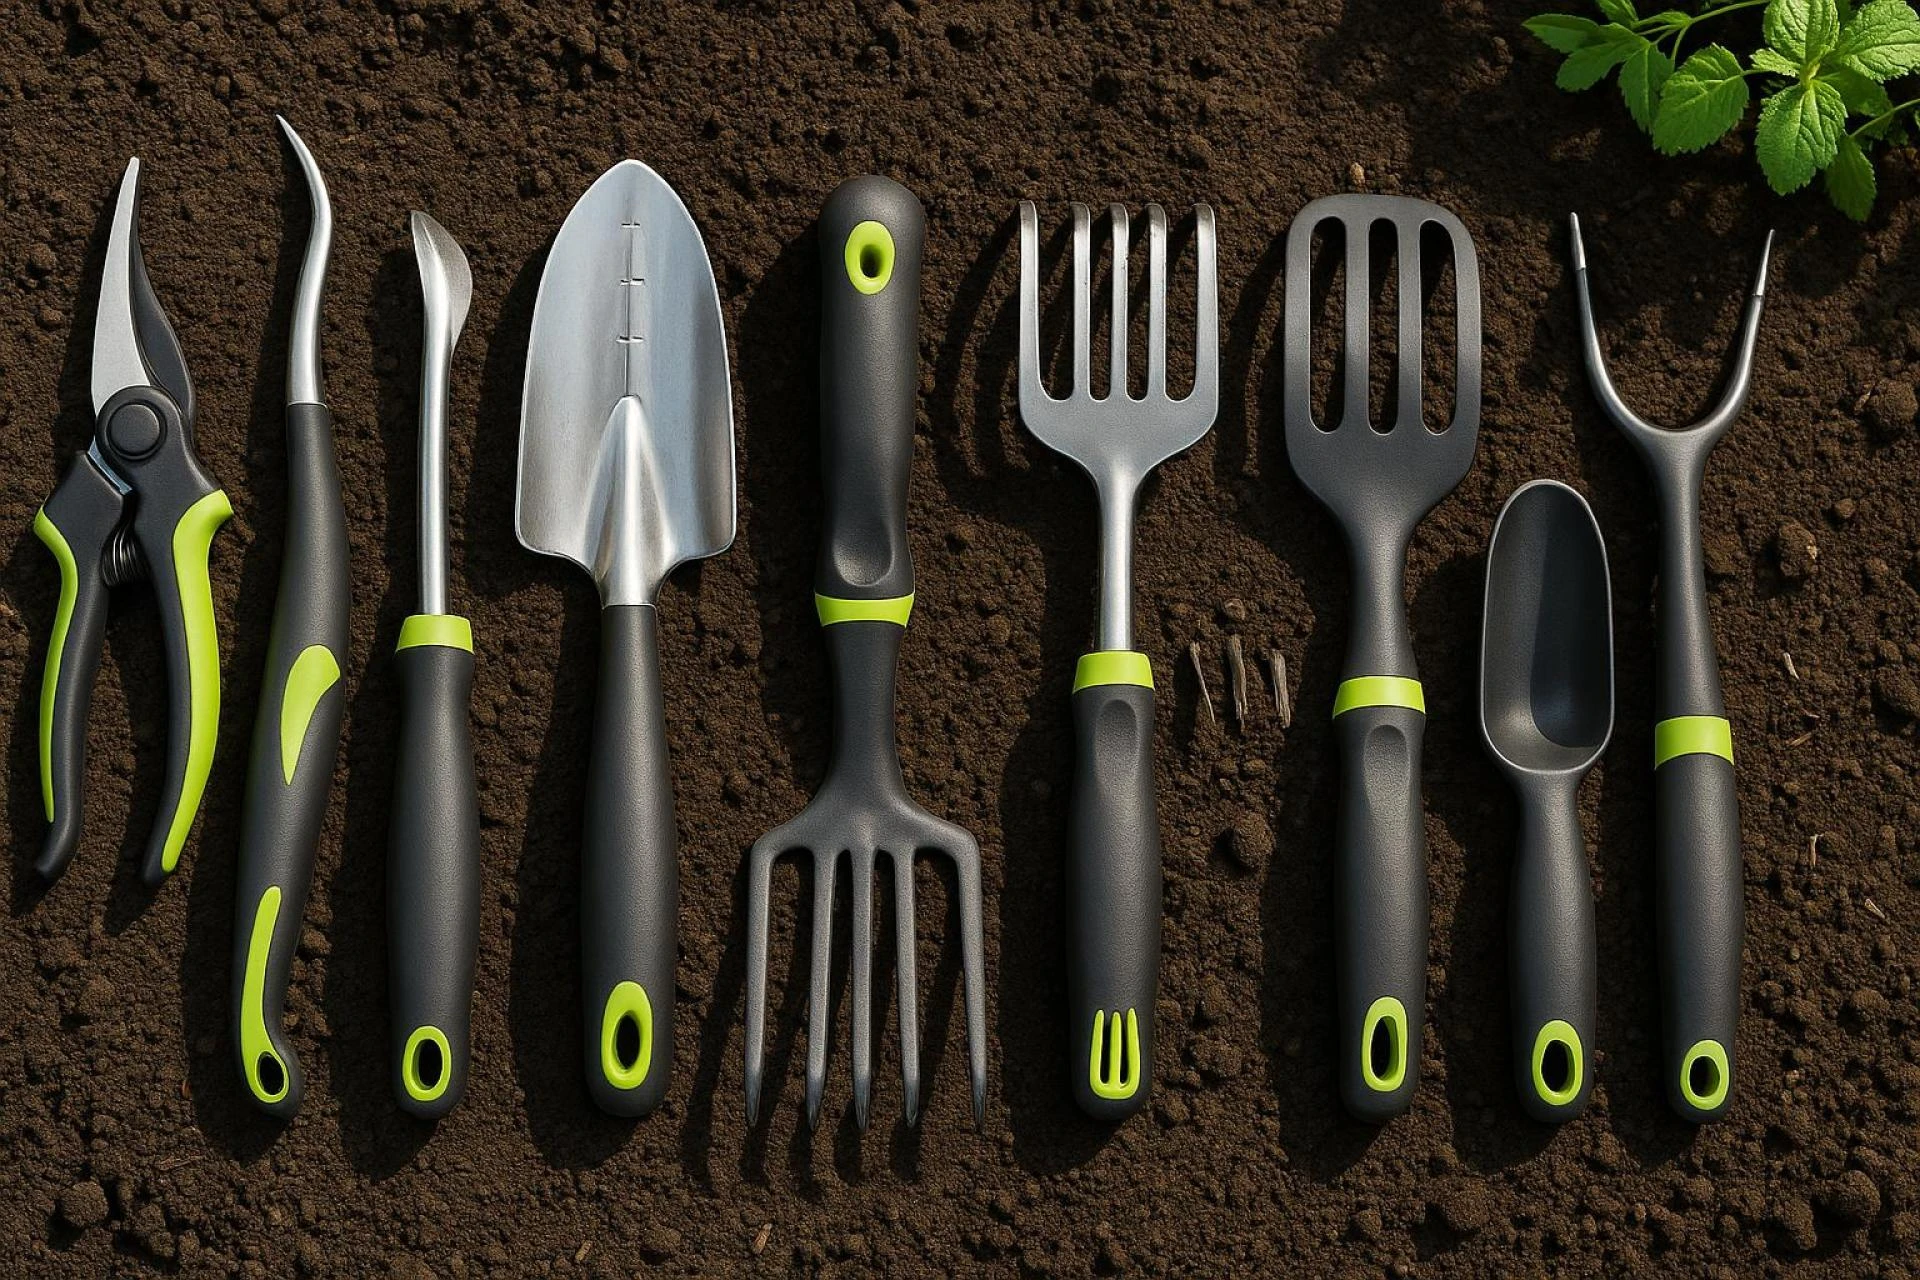
Tools and materials needed for DIY Landscape Edging
Before you begin, gather the tools and supplies you need:
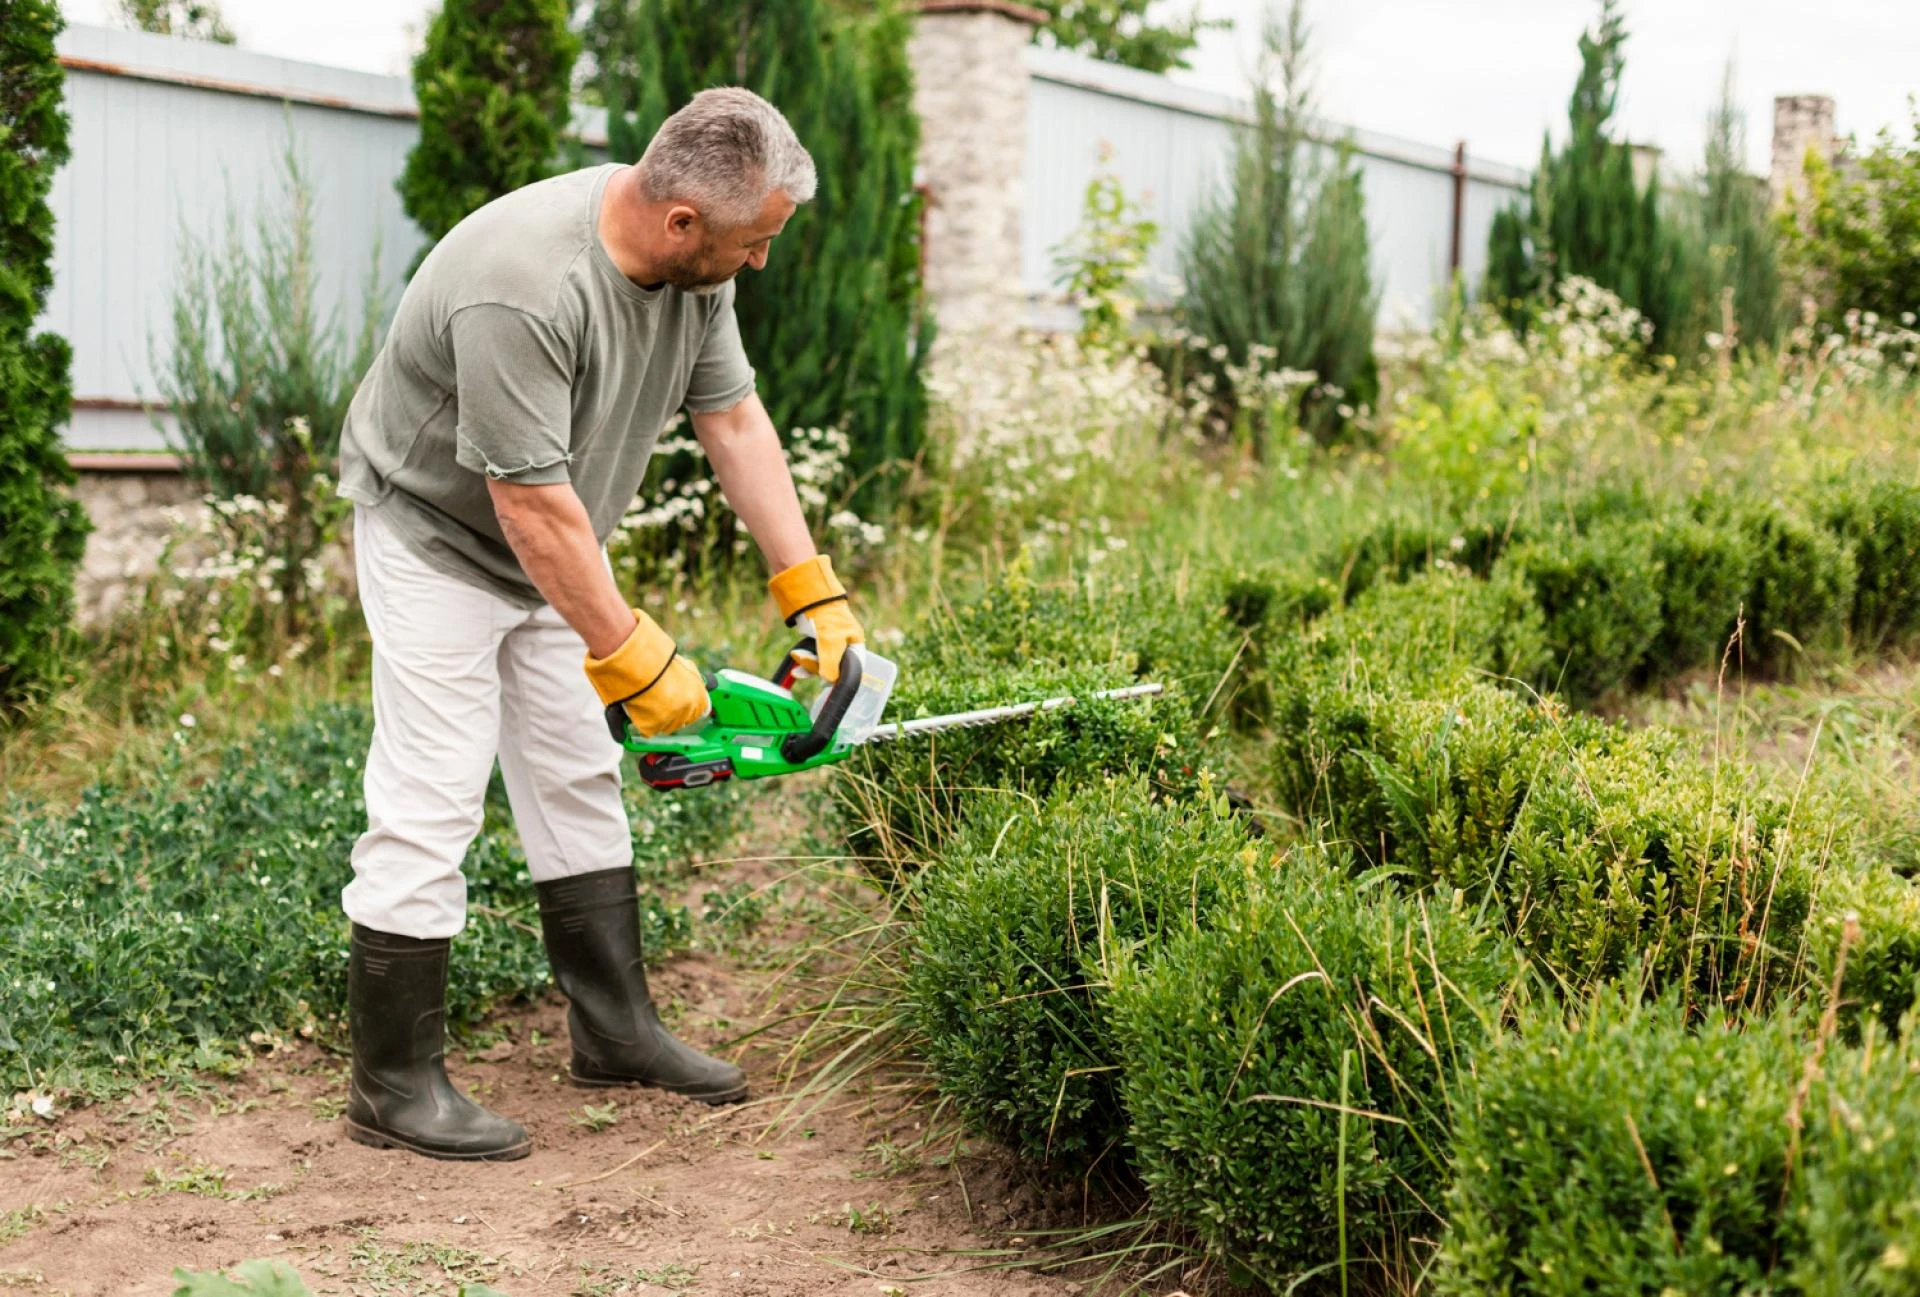
- Lawn Edger NZ: It is best to mow a level and straight line close to your lawn.
- Edge materials: Your choices are metal, plastic, brick, stone, or wood, depending on your style.
- Rubber Mallet: Useful for polishing edges like stones and bricks.
- Shovel or hoe: For digging trenches to keep edges in place.
- Measuring tape: Ensures accurate placement of the edge lines.
- Gloves and Safety Equipment: Protect your hands and eyes during installation.
Step-by-step instructions for setting the edges of the landscape
Step 1: Design your plan
Start by sketching out your edging scheme. Decide on the size and materials of the flower bed, pathway, or garden bed border. Straight lines are easier for beginners, but a curved design can create a more natural and elegant look.
Step 2: Prepare the area
Prepare where you plan to place the edging. Make sure the soil is smooth and firm and remove debris, rocks and weeds. Use Lawn Edger NZ to cut clean, straight lines at desired edges.
Step 3: Dig a trench
Use a shovel or shovel to dig trenches along your marked seams. The depth of the trench depends on the height of the edge elements you choose. Make sure the width and depth of the trenches are the same for the same results.
Step 4: Lay the Edging Material
Place the edging material in the groove. For materials such as bricks and stones, gently secure them in place with a rubber band. Prepare the soil as necessary to ensure even edges.
Step 5: Secure the edging
For plastic or metal edges, follow the manufacturer’s instructions and secure them with wood or wire. Natural materials, such as stone, may need additional support, such as concrete or mortar.
Step 6: Backfill is Compact
Fill the trenches with soil to keep the edges tight. Secure the soil firmly and it will not move over time.
Step 7: Finishing
Check your work to make sure the edges are aligned and tight. Remove excess soil or debris and clean the surrounding area.
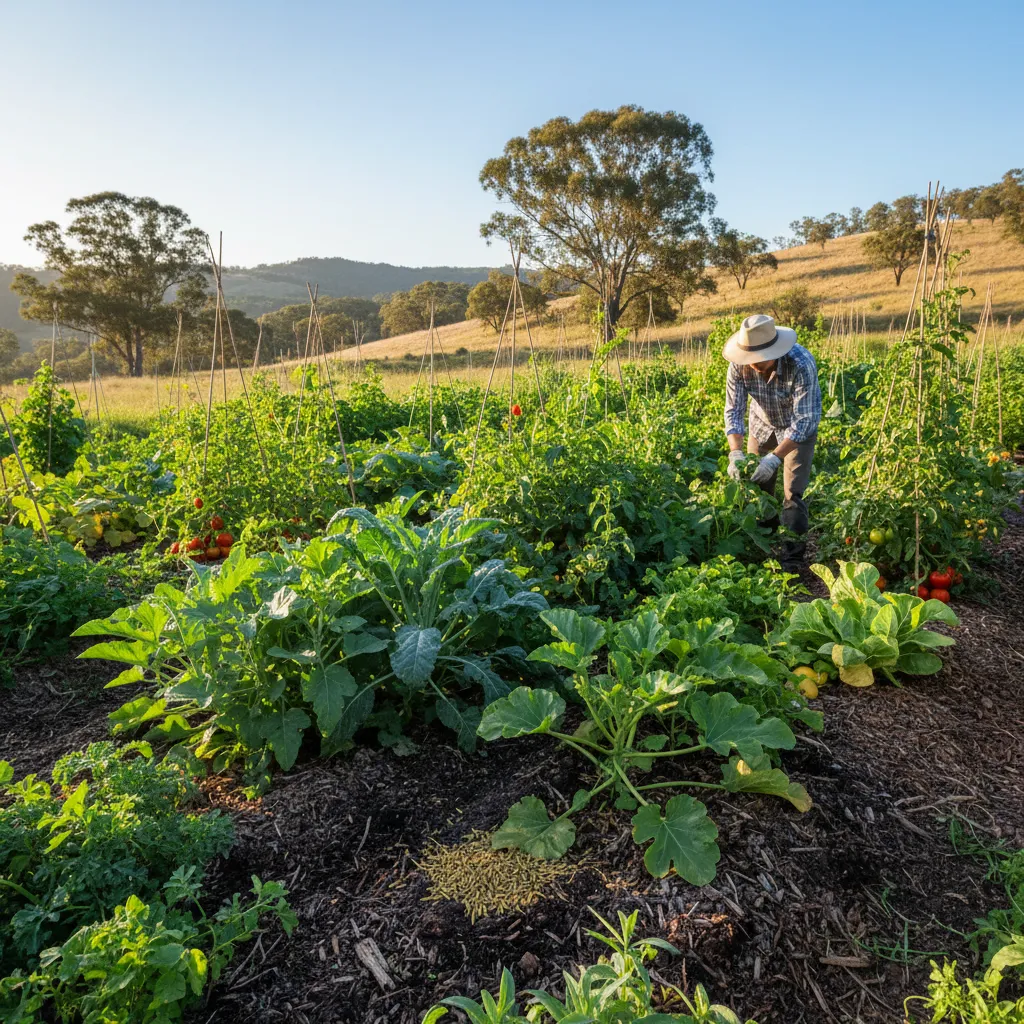
Edging ideas for your garden
If you’re looking for inspiration, here are some creative edging ideas to suit different styles:
- Modern look: Use sleek metal or concrete edges for a relatively simple design.
- Natural vibe: Choose wood or stone to blend in well with the surroundings.
- Colourful borders: Add painted bricks or wood for a stronger touch.
- Environmentally friendly materials: Reuse materials such as old wood or recycled plastic for a longer-lasting lip.
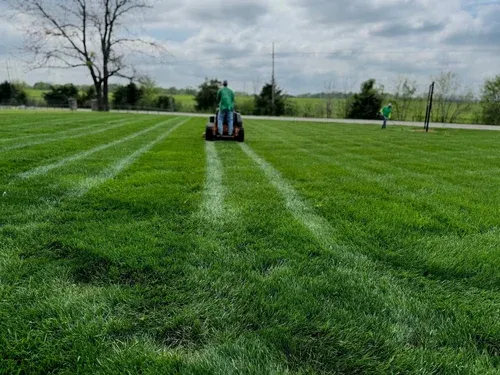
Benefits of using lawn ager NZ
Lawn edger NZ is a must-have tool for any DIY landscaping project. Here’s why:
- Precision: Easy to achieve crisp, professional-looking lines.
- Versatility: Perfect for wearing lawns, trails, and garden beds.
- Time savings: Cuts down on the time needed to do manual edging with a spade.
- Durability: A high-quality lawn edger is made to deal with New Zealand’s harsh soil conditions.
Common mistakes to avoid
While crossing the edge of the land is straightforward, be mindful of this common pitfall.
- Skip the plan: Always think and plan before digging to avoid any contradictions.
- Use the wrong materials: Choose materials that suit your climate and soil type for longevity.
- Pit irregularity: The consistency of depth and width is an important factor in performance results.
- Ignore maintenance: Check your edges regularly for signs of wear or leakage.
Can I order Edging without professional support?
exactly! Even without professional help, installing the edge of the land is a task that most homeowners can handle. With readily available tools and materials like Lawn Edger NZ, you can create stunning, permanent borders that enhance the functionality and appearance of your garden.
Conclusion
DIY landscape edging is a rewarding project that can transform your outdoor space. From preventing soil erosion to defining clear boundaries, edging offers both aesthetic and practical benefits. With proper planning, the right tools, and creative edging ideas, you can achieve a professional look without the added cost of hiring an expert.
Whether you’re creating neat flower beds or experimenting with garden edging, investing in quality tools like a lawn edger NZ ensures smooth and efficient results. So roll up your sleeves, gather your materials, and start your next DIY project today!


Sign in to leave a comment.