
Most artificial grass failures don't come from the turf. They come from what's underneath it. A correctly fitted synthetic lawn sits on layers most homeowners never see, and yet those layers decide whether the garden looks the same in year five as it did on day one.
If you're scoping a synthetic lawn installation, this is what a proper job actually involves, in the order it happens.
Why the Sub-Base Decides Everything
Skip the sub-base and the lawn ripples in two summers. A proper sub-base for a UK garden is roughly 50mm of MOT Type 1 compacted with a wacker plate, then 25mm of granite dust screeded flat. The MOT layer is structural; the granite dust is the laying course.
Skip either layer and you're trading a one-day saving for a multi-year problem. Soil heave from frost and seasonal moisture pushes the lawn into ridges and dips that no amount of brushing fixes. The sub-base is the only thing standing between your finished lawn and the British weather underneath it.
The Synthetic Lawn Installation Process Step by Step
Day one: existing lawn or paving comes up, ground is dug down 75 to 100mm depending on the level you're matching, edges are framed with treated timber or galvanised steel, and a permeable membrane goes down on top of the dug-out subsoil. Day two: MOT Type 1 is brought in, levelled, compacted in two passes.
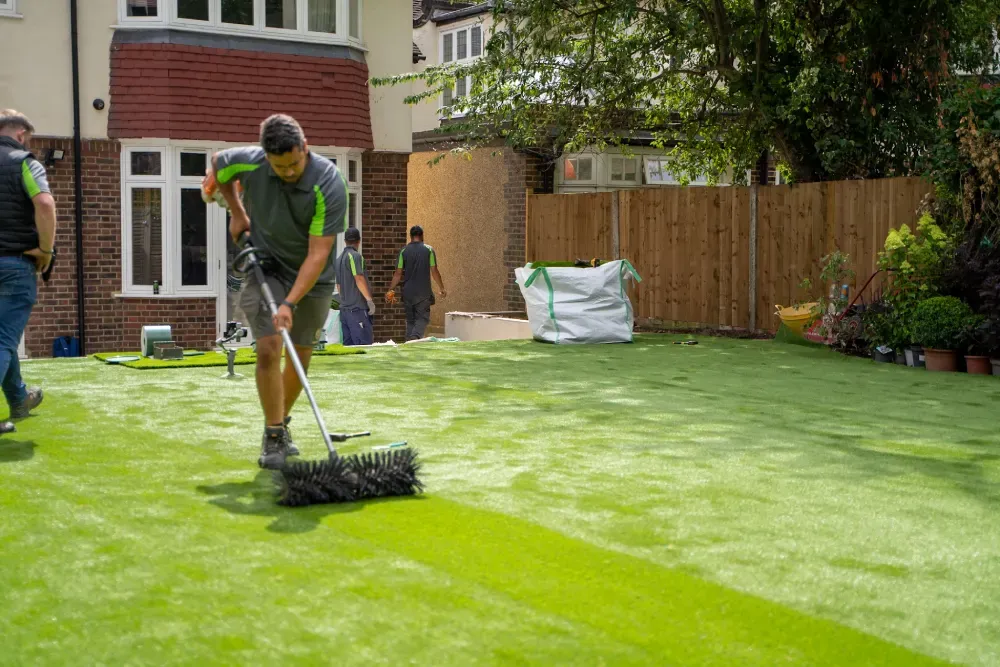
Day three: granite dust laid and screeded, turf rolled on, jointed with proper jointing tape and outdoor adhesive at every seam, trimmed to the edging, and infill brushed in if specified. The seams are the one place where amateur jobs always show themselves.
If you want the layer-by-layer breakdown with material quantities and timings, the ground-up installation guide covers what a working installer does on each day.
How Long Does Synthetic Lawn Installation Take?
A typical 30 m² UK back garden takes a two-person crew two to three working days from clearing the existing surface to brushing the lawn for the first time.
A 60 m² job stretches to three to four days because the materials volume goes up and so does the compacting time.
Weather matters less than people assume. Dry weather is preferred, but professional crews work in light rain because the membrane and the compaction layer aren't water-sensitive. Heavy rain pauses the screeding and laying steps.
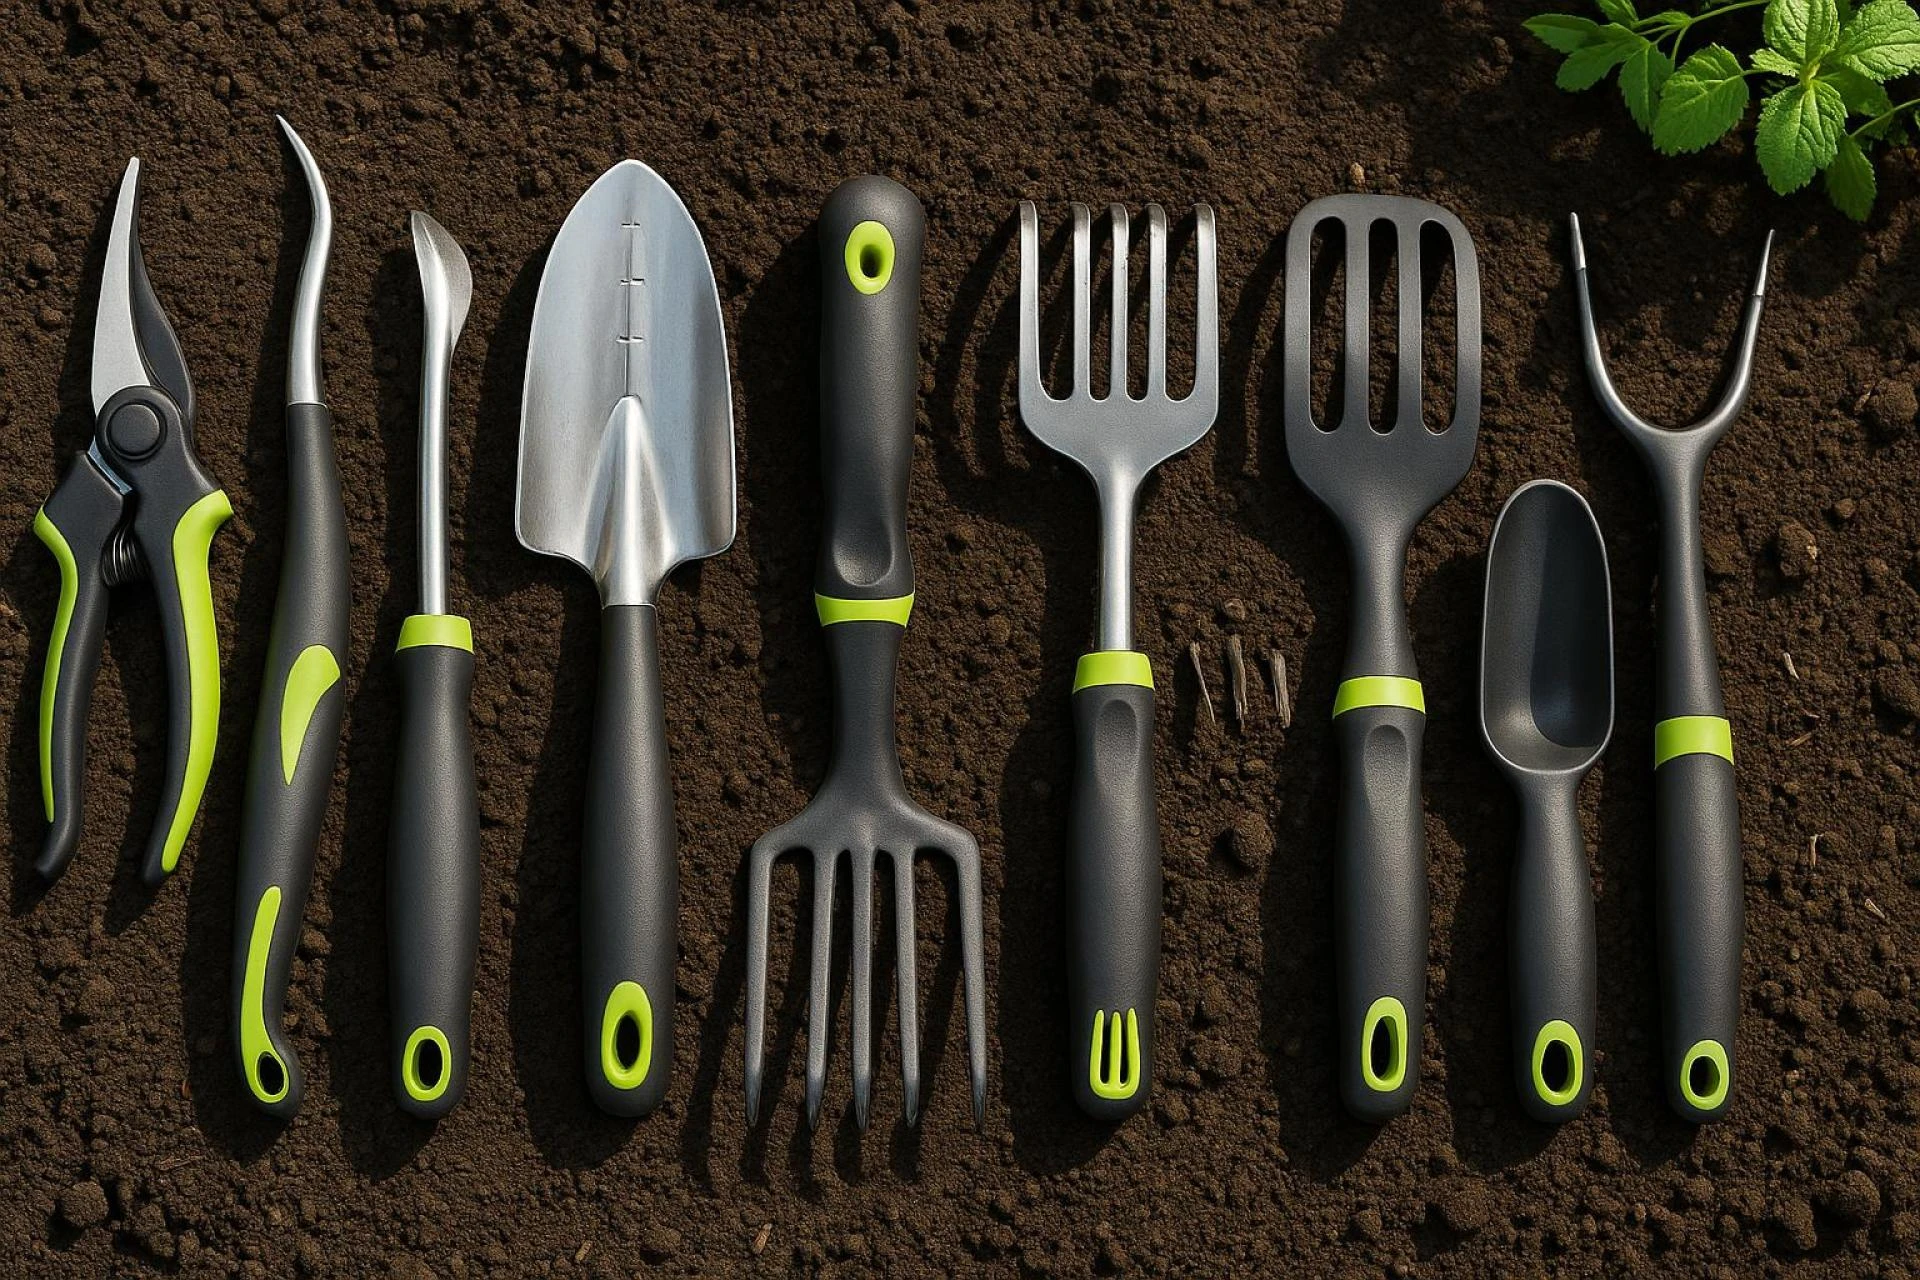
The right tools matter as much as the right materials. A wacker plate for compaction. A 2-metre screed bar to level the granite dust. A heavy-duty Stanley knife for trimming turf to edges. Outdoor adhesive and 300mm jointing tape for the seams. Hire kits cost about £80 to £120 a day from most local plant-hire counters.
DIY or Professional Synthetic Lawn Installation?
DIY is plausible on small gardens, under 20 m², if you've got the back for moving aggregate and the patience to compact properly. The hire cost of a wacker plate, screeding bar, and ground saw plus the materials runs around £400 to £600 for a 20 m² job.
Above 30 m², most homeowners come out ahead hiring a crew. The labour saving on a DIY install evaporates if the lawn ripples in year two and needs lifting and relaying. Spend the day rate on someone who does this every week.
Final Thoughts
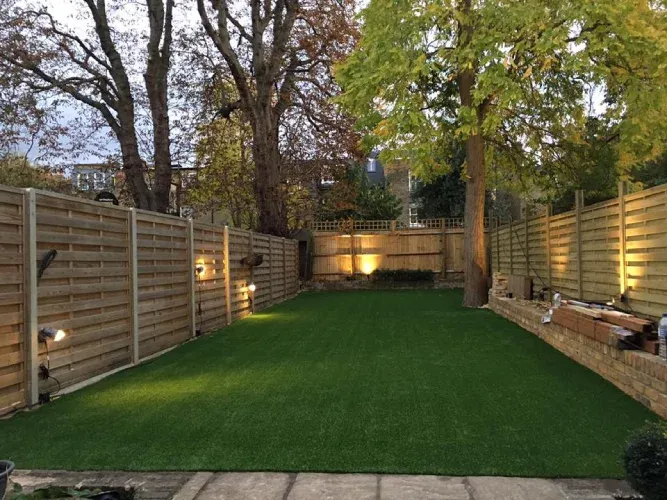
Synthetic lawn installation isn't complicated, but every step matters. Sub-base depth, compaction, screeding, jointing, edging — get all five right and the lawn will look the same in year ten as it did when the crew left site. Get any one wrong and the failure shows up well within the warranty window.


Sign in to leave a comment.