Introduction
Marble has a way of making any room feel finished. The cool surface, the natural veining, that quiet sense of luxury, it's why so many homeowners choose it for bathrooms, kitchens, and living spaces.
But here's something not enough people talk about before they install it: marble is surprisingly vulnerable. It stains, it etches, and without proper care, it starts looking tired fast.
The single most important thing you can do right after laying marble tiles is start sealing marble to protect against stains and wear. It's not complicated, but it does need to be done right.
Why Marble Needs More Care Than You Think
Most people assume that once marble is installed and polished, it can handle daily life. That assumption costs a lot of homeowners their surface.
Marble is a natural stone made largely of calcium carbonate. That same mineral composition that gives it those gorgeous, unique veins also makes it porous and acid-sensitive.
Coffee, lemon juice, red wine, even plain water left sitting too long can all seep in or chemically react with the surface.
The result is either a stubborn stain or something even harder to fix: etching, which is when the surface texture itself gets dull and uneven.
Sealing doesn't make marble indestructible. It buys you time. It fills and lines the microscopic pores of the stone so that spills sit on top instead of diving straight in, giving you a chance to wipe them up before damage happens.
How to Know When It's Time to Reseal
Marble doesn't send a notification when it needs attention. But it does give you signals if you know what to look for.
The simplest method is the water drop test. Put a few drops of water on the marble surface and watch what happens over the next 10 to 15 minutes.
If the water darkens the stone or soaks in, the protective layer is gone and resealing is overdue. If the water beads up and sits on the surface, you're still in good shape.
General guidelines for resealing frequency:
- High-traffic floors (entryways, hallways): every 6 to 12 months
- Bathroom marble (shower walls, floors): every 1 to 2 years
- Kitchen countertops: every 6 months due to constant exposure to food and liquids
- Decorative wall tiles or low-use areas: every 3 to 5 years
Newly installed marble should always be sealed before use, even if the installer says it looks fine. Many slabs are not factory-sealed, and even those that are benefit from an additional application once laid.
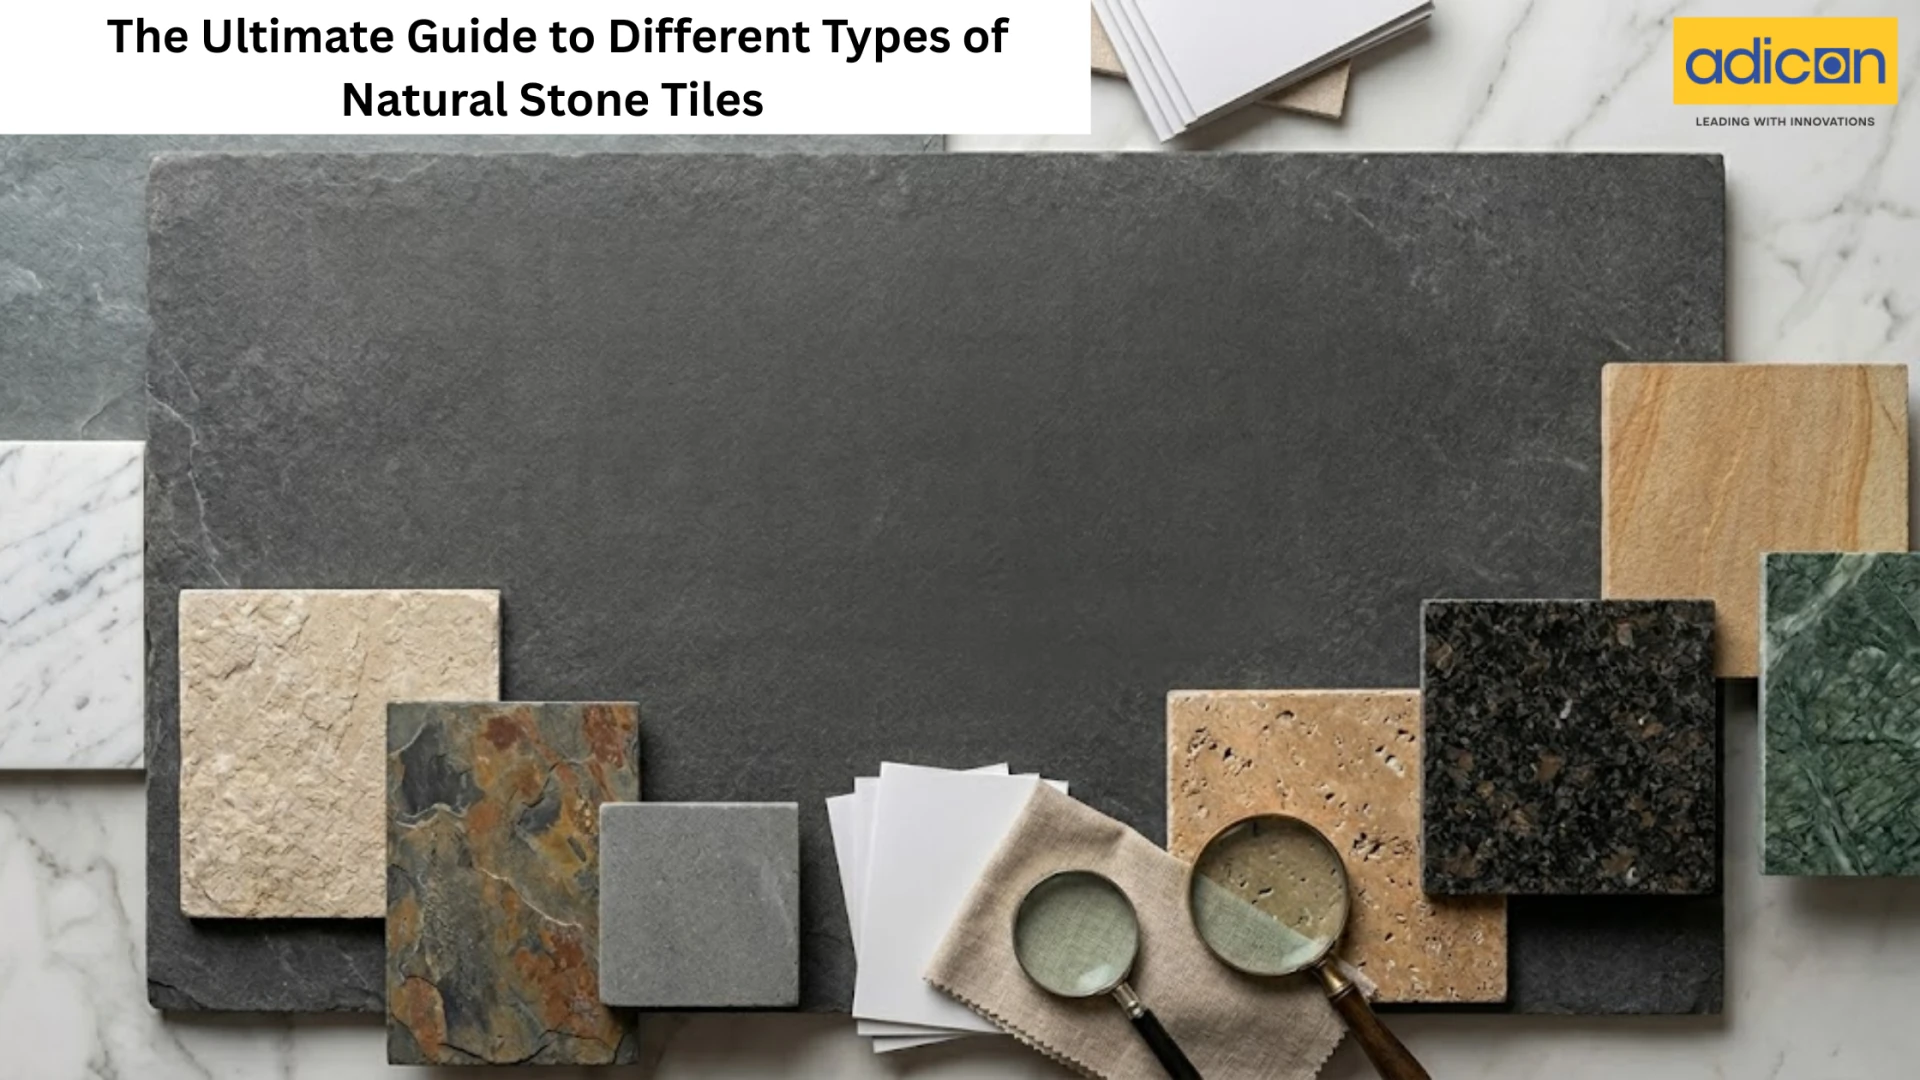
Choosing the Right Sealer for Marble Tiles
Walk into any hardware store and you'll find a wall of stone care products. Not all of them are suited for marble tiles. Generic tile or grout sealers won't cut it ,you need something specifically formulated for natural stone.
There are two main categories to understand:
Penetrating sealers (also called impregnators) absorb directly into the stone and create a protective barrier below the surface. They don't change how the marble looks or feels.
The stone still breathes, still looks natural, still has that texture you paid for. This is the go-to choice for most marble installations, especially floors, countertops, and shower areas.
Topical sealers. These form a film on top of the surface. They can add a sheen or even slightly enhance the color of the stone, which some homeowners like for decorative applications.
The downside is they wear off with foot traffic, can look uneven over time, and sometimes change the finish of the marble in ways that feel artificial on honed or matte surfaces.
For practical, everyday marble, especially in kitchens and bathrooms, a high-quality penetrating sealer is almost always the better call.
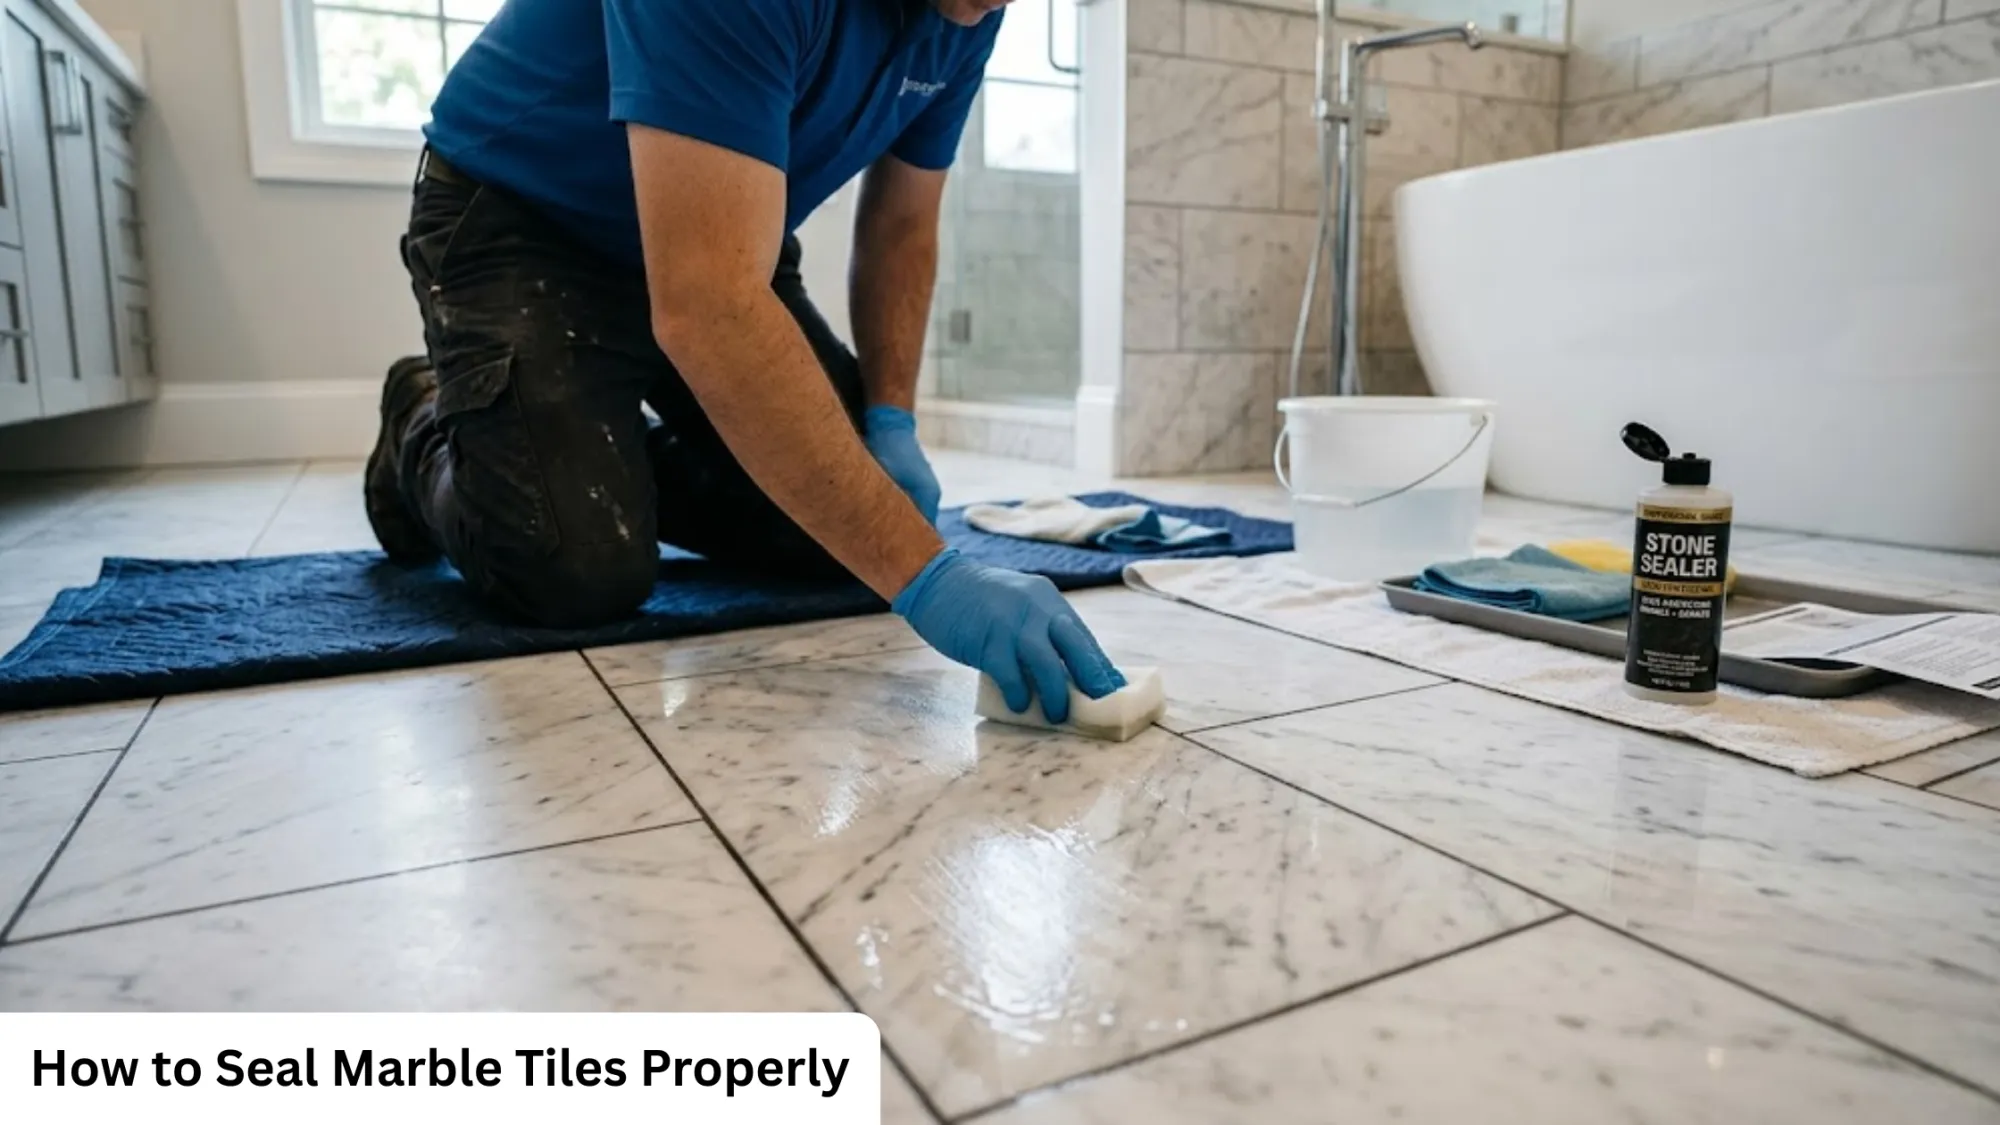
Step-by-Step: The Marble Sealing Process
This is easier than most people expect. You don't need professional tools or experience. Here's how to do it properly:
Step 1 - Deep Clean the Surface
Any dirt, oil, soap residue, or moisture on the marble will prevent the sealer from bonding correctly. Use a pH-neutral stone cleaner - never bleach, vinegar, or anything citrus-based, as these will etch the surface before you've even started. After cleaning, let the marble dry completely for at least 24 hours.
Step 2 - Apply the Sealer in Sections
Work in manageable areas - roughly 3x3 feet at a time. Use a soft lint-free cloth or applicator pad and spread the sealer evenly with overlapping strokes. Don't pour too much at once and don't let puddles form.
Step 3 - Let It Penetrate
Allow the sealer to sit on the surface for the time the product recommends - usually between 10 and 20 minutes. You'll often notice the marble's appearance shift slightly as it absorbs. If dry spots appear before time is up, add a little more sealer to those areas.
Step 4 - Wipe Off Every Bit of Excess
This step is critical and often skipped. Before the sealer dries completely, use a clean microfiber cloth to buff off everything that hasn't been absorbed. Any residue left behind will dry into a hazy, cloudy film that's genuinely annoying to remove.
Step 5 - Second Coat and Cure Time
A second coat applied after the first has dried (usually 1 to 2 hours later) significantly improves protection, especially on more porous marble. Once both coats are done, keep the area dry and low-traffic for at least 24 hours while the sealer fully cures.
Everyday Habits That Keep Sealed Marble Looking Good
Sealing is one side of the equation. How you treat the marble day-to-day determines how long that protection actually lasts.
- Wipe spills immediately - especially anything acidic or deeply pigmented
- Use coasters, trays, and trivets in kitchens and on vanities
- Stick to pH-neutral cleaners - most standard household cleaners are too harsh
- In showers, use a squeegee after each use to stop water from sitting on the surface
- In living spaces, place mats at entry points to reduce grit and abrasion underfoot, especially relevant if marble is part of a living room makeover where foot traffic increases
These small habits are what separate marble that looks great after five years from marble that looks worn after two.
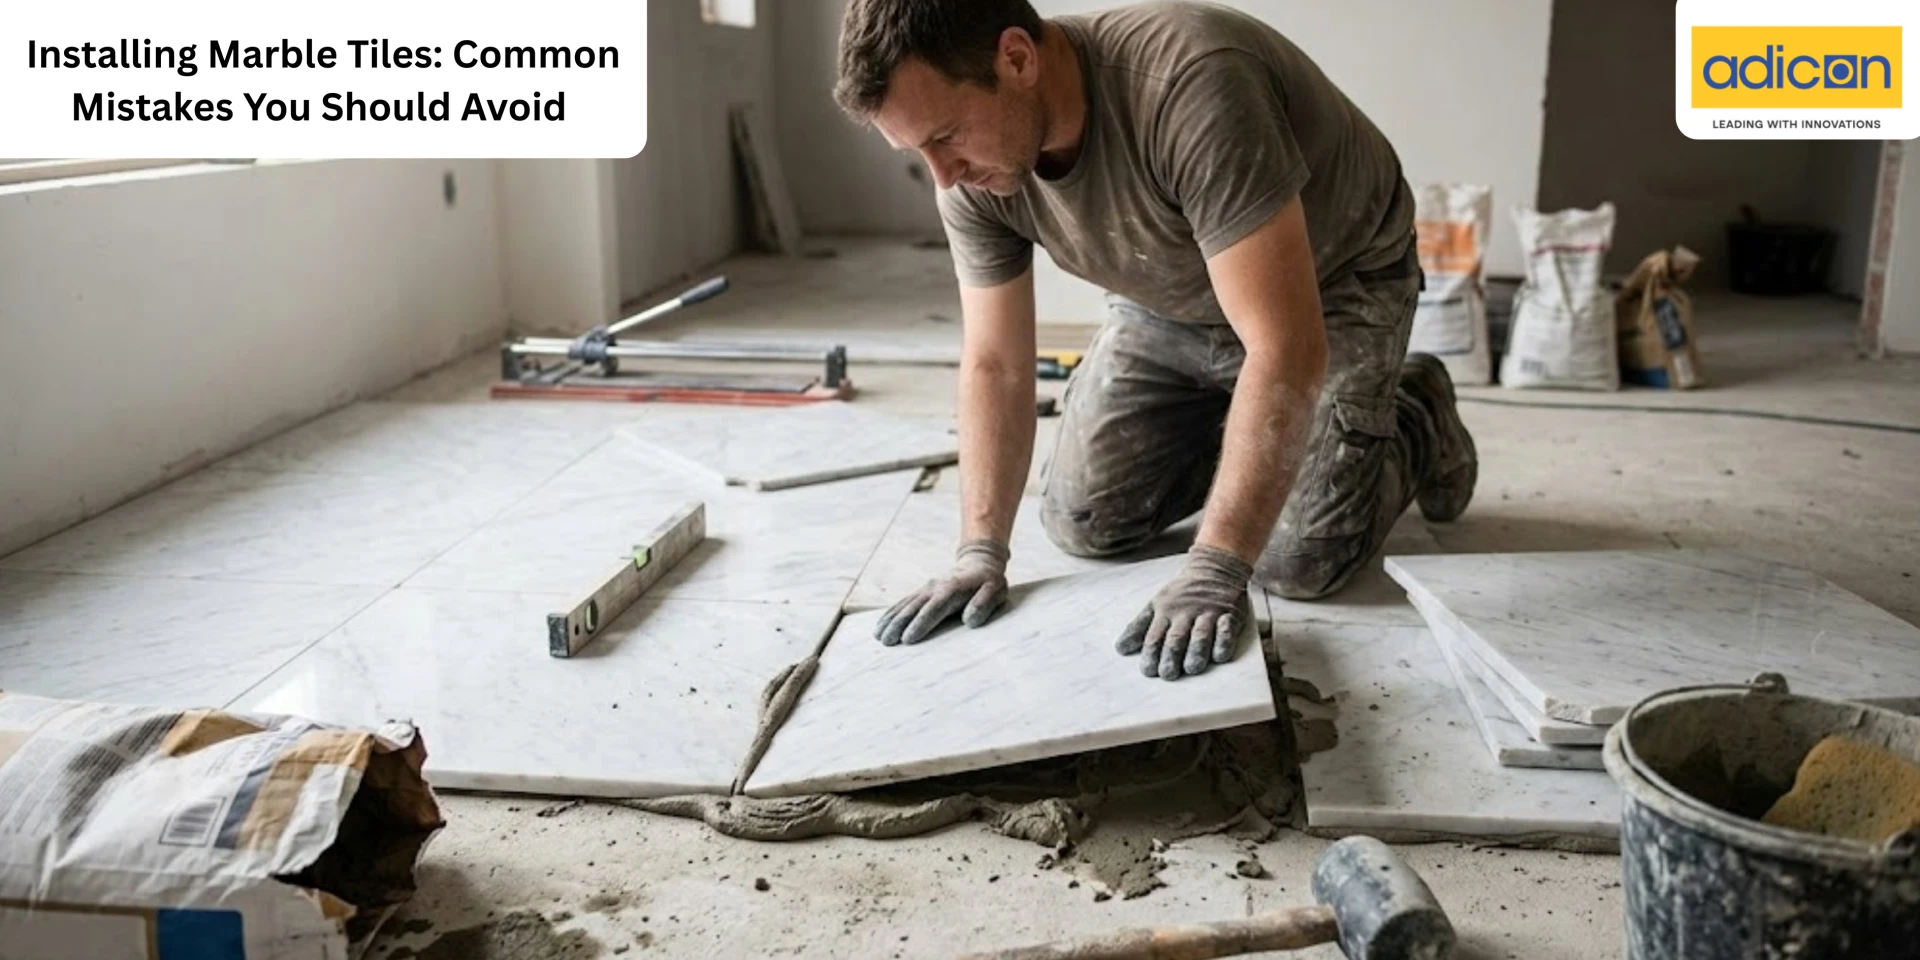
Mistakes That Quietly Ruin Marble
A few common errors that even careful homeowners make:
- Applying sealer over a damp or insufficiently cleaned surface
- Using too much product and not removing the excess
- Sealing only once and never reapplying
- Assuming sealed marble is stain-proof and skipping quick cleanups
If cloudiness appears after sealing, applying a thin layer of the same sealer while it's still relatively fresh can reactivate the residue and let you wipe it away. Fully cured haze requires a dedicated residue remover.
Preserve the Beauty and Lifespan of Your Marble Tiles
Marble is an investment in both money and aesthetics. Whether it's a bathroom, a kitchen, or a statement floor, the marble tiles you've chosen deserve to last. Sealing is what makes that possible.
The process takes less than an afternoon. Done properly, it protects the surface for months or years, depending on use. Done consistently, it's what separates marble that looks timeless from marble that just looks old.
If you're exploring marble style tiles for an upcoming renovation, factor in the sealing process before you start, not as an afterthought, but as part of the plan.
Because beautiful stone, properly protected, is one of the few things in home design that genuinely gets better with age.


Sign in to leave a comment.