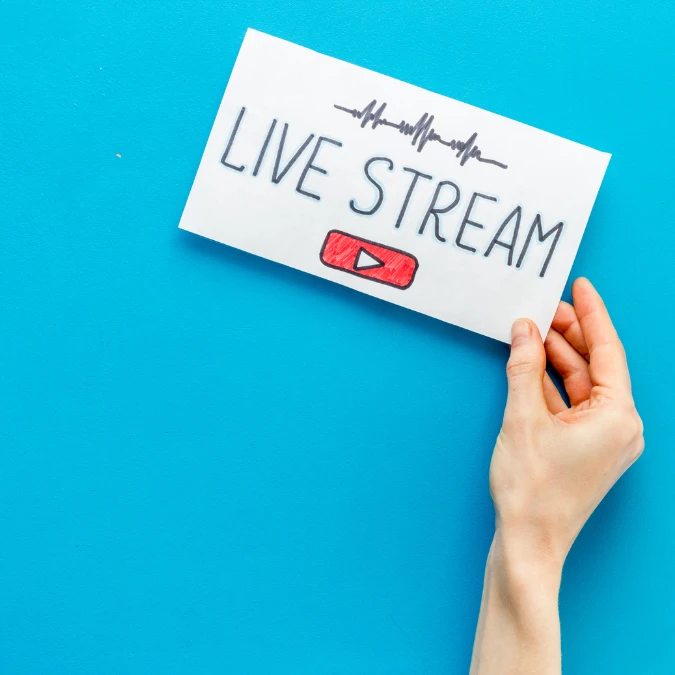
Live shopping has rapidly transformed the eCommerce experience, allowing brands to connect with customers in real time, showcase products, and boost conversions. Shopify’s Live Streaming API makes it possible to integrate these interactive streams directly into your Shopify store, while OBS Studio (Open Broadcaster Software) provides a professional-grade broadcasting platform. When combined, they create a powerful setup for hosting engaging live selling events. Here’s a step-by-step guide to get you started.
Step 1: Understand the Basics
Before diving in, it’s important to know what each tool does:
- Shopify Live Shopping API enables your store to display a live video feed, sync product listings in real-time, and track viewer engagement during the event.
- OBS Studio is a free, open-source broadcasting tool that lets you create professional live streams with scenes, overlays, multiple camera feeds, and more.
Your goal is to stream from OBS Studio and have it appear seamlessly on your Shopify storefront via the API.
Step 2: Prepare Your Shopify Store
- Enable live streaming features in your Shopify store or app.
- Create a dedicated live shopping page or section where the stream will appear.
- Obtain your stream key and RTMP server URL from your Shopify Live Streaming API settings. These credentials are essential for connecting OBS to Shopify.
Step 3: Install and Set Up OBS Studio
- Download and install OBS Studio from the official website (available for Windows, macOS, and Linux).
- Launch OBS and go to Settings → Stream.
- Select Custom Streaming Server as the service.
- Paste your RTMP server URL and stream key from Shopify’s API dashboard.
- Apply changes and return to the main OBS interface.
Step 4: Configure Your Live Stream Layout
OBS allows you to create an attractive, branded stream:
- Add a Video Capture Device (your camera or webcam).
- Add an Audio Input Capture for your microphone.
- Include overlays such as your store logo, promotional banners, or “Buy Now” prompts.
- Arrange scenes so you can switch between different views (e.g., product close-ups, split screen, etc.).
Step 5: Test Your Stream
Before going live:
- Use OBS’s Start Recording feature to preview your audio, video, and overlays.
- Check your internet connection to ensure stability.
- Verify that the API connection is active in Shopify so the feed will display properly.
Step 6: Go Live
- Click Start Streaming in OBS.
- Your video feed will be sent to Shopify via the Live Streaming API.
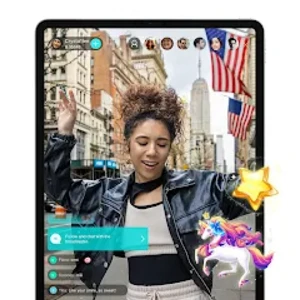
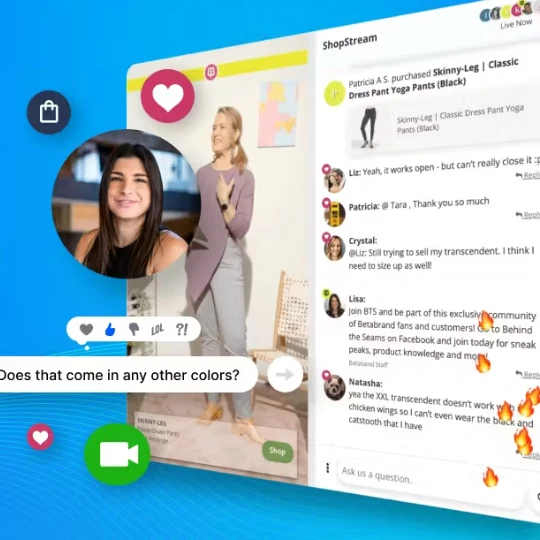
- Viewers on your store’s live shopping page will see the stream and can interact by browsing or purchasing showcased products in real time.
Step 7: Engage and Monitor
While live:
- Highlight products as you talk about them so they appear on-screen in Shopify.
- Answer viewer questions in real time.
- Keep an eye on performance metrics, viewer counts, and conversion rates through your Shopify dashboard.
Step 8: End and Review
After your event:
- Stop the stream in OBS.
- Save a recording for future use on your site or social media.
- Analyze your Shopify analytics to see which products performed best.
Final Tip: Combining Shopify’s Live shopping platform API with OBS Studio gives you the flexibility of a professional broadcast and the sales integration of a dedicated eCommerce platform. With practice, you can create interactive live shopping experiences that not only entertain but also drive serious revenue.


Sign in to leave a comment.