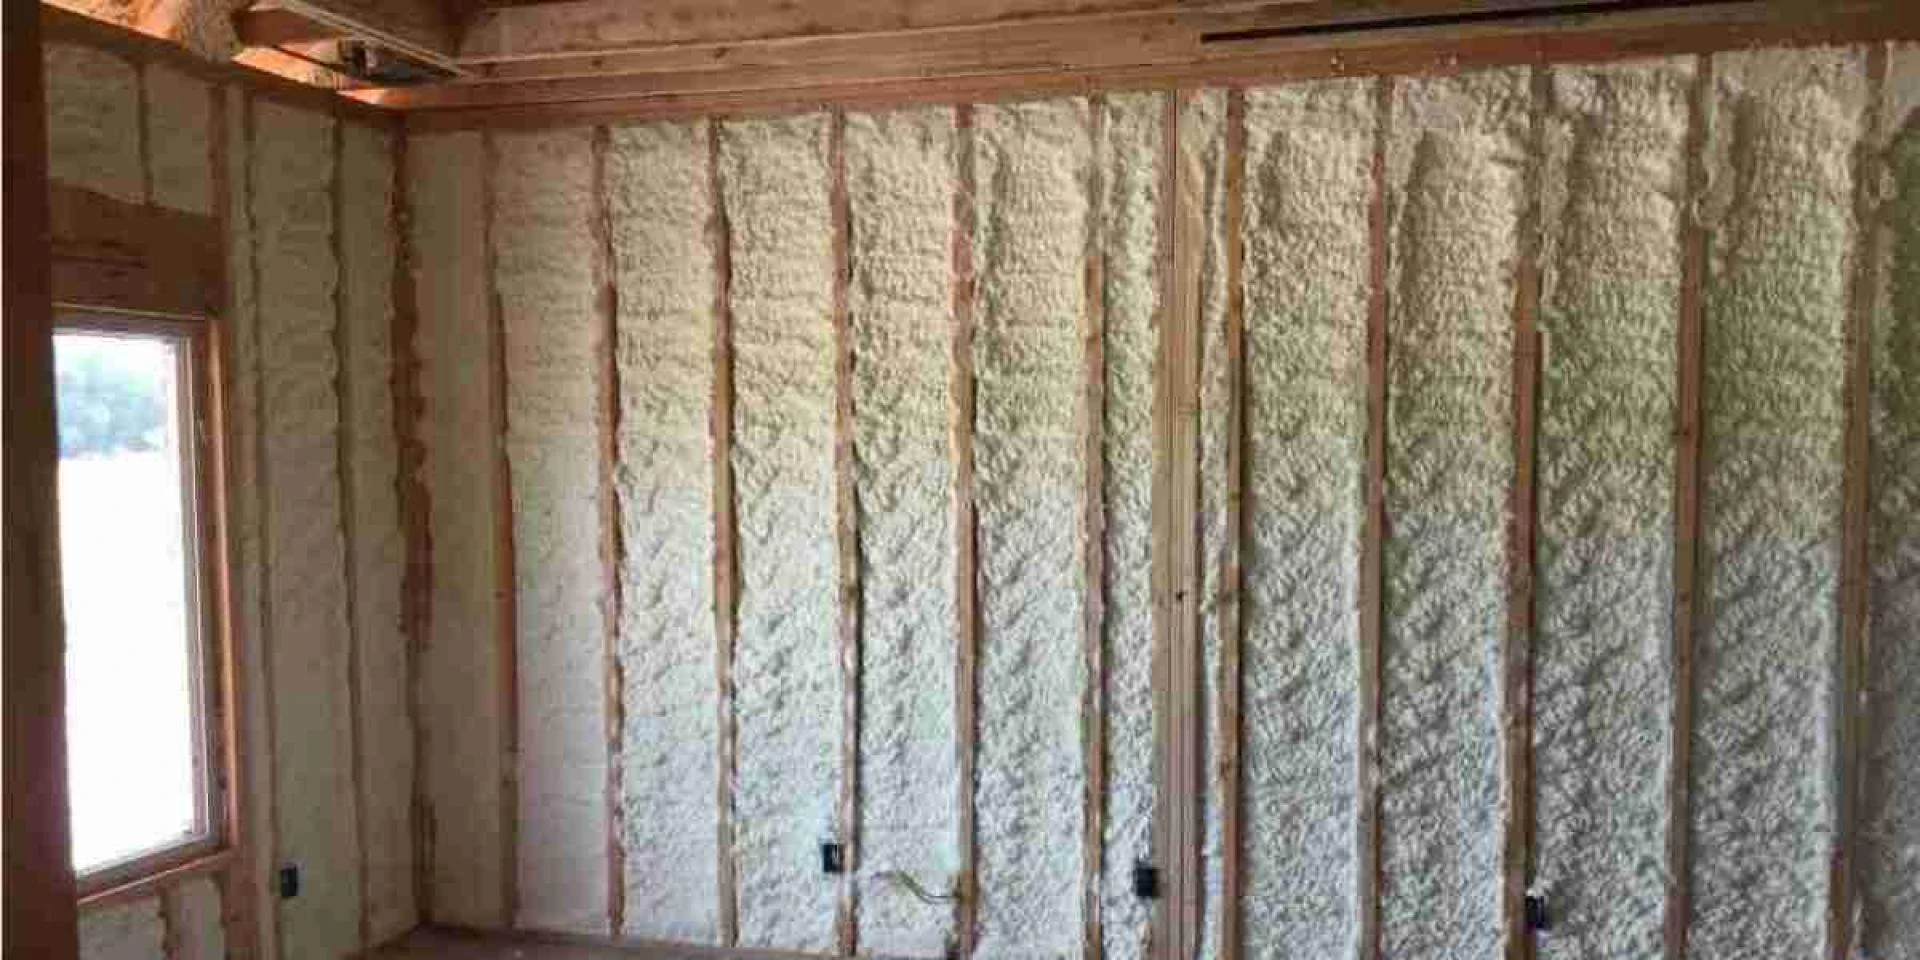
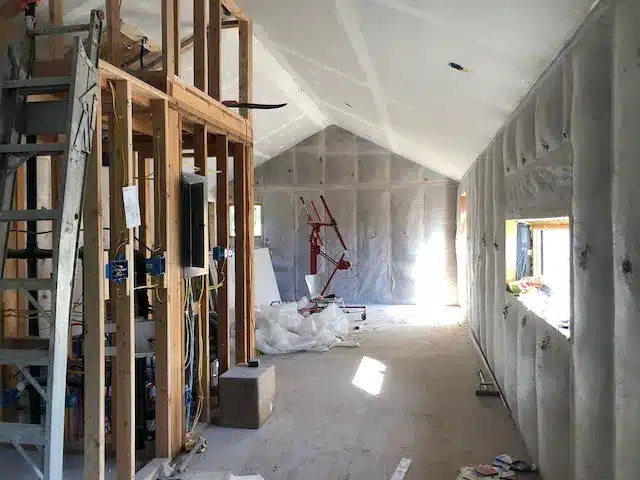
Installing closed-cell spray foam insulation isn’t something most people lie awake dreaming about—but getting it wrong? That can haunt your utility bills for years. Whether you're insulating a home, a retail space, or an office, poor application, wrong timing, or cutting corners can wreck your investment faster than you can say "thermal resistance."
This isn’t just about slapping on foam and hoping for the best. Professional closed-cell spray foam insulation is one of the highest-performing insulation options on the market—but only if the install is done right. Gaps, bad substrate prep, or misjudged lift thickness can drop your R-value and leave you with condensation, uneven temps, and wasted money. Here’s how to avoid the mess and get the most out of every inch of foam.
Preparing the Surface Makes or Breaks the Job
Spray foam doesn't like surprises. Dust, moisture, oil, and temperature swings can all mess with adhesion, curing, and coverage. Prepping the substrate is the one thing most people try to rush, and it almost always backfires.
Check Temperature and Humidity First
Closed-cell spray foam has a narrow Goldilocks zone: too cold or too damp and the foam can’t cure right. Ideally, the surface should be between 60°F–80°F with relative humidity below 60%.
If it’s too cold, you get poor expansion. If it’s too humid, expect poor adhesion and possible blistering. Use a digital thermometer and hygrometer before starting.
Clean and Dry = Better Adhesion
Surfaces need to be completely dry, dust-free, and free from oils or coatings. Use a leaf blower or vacuum to remove debris. For metal, wipe with a solvent-based cleaner. Wood should be dry to the touch with no visible dampness.
Fun Fact: A thin film of oil left from a greasy handprint can ruin adhesion in a 3-foot radius.
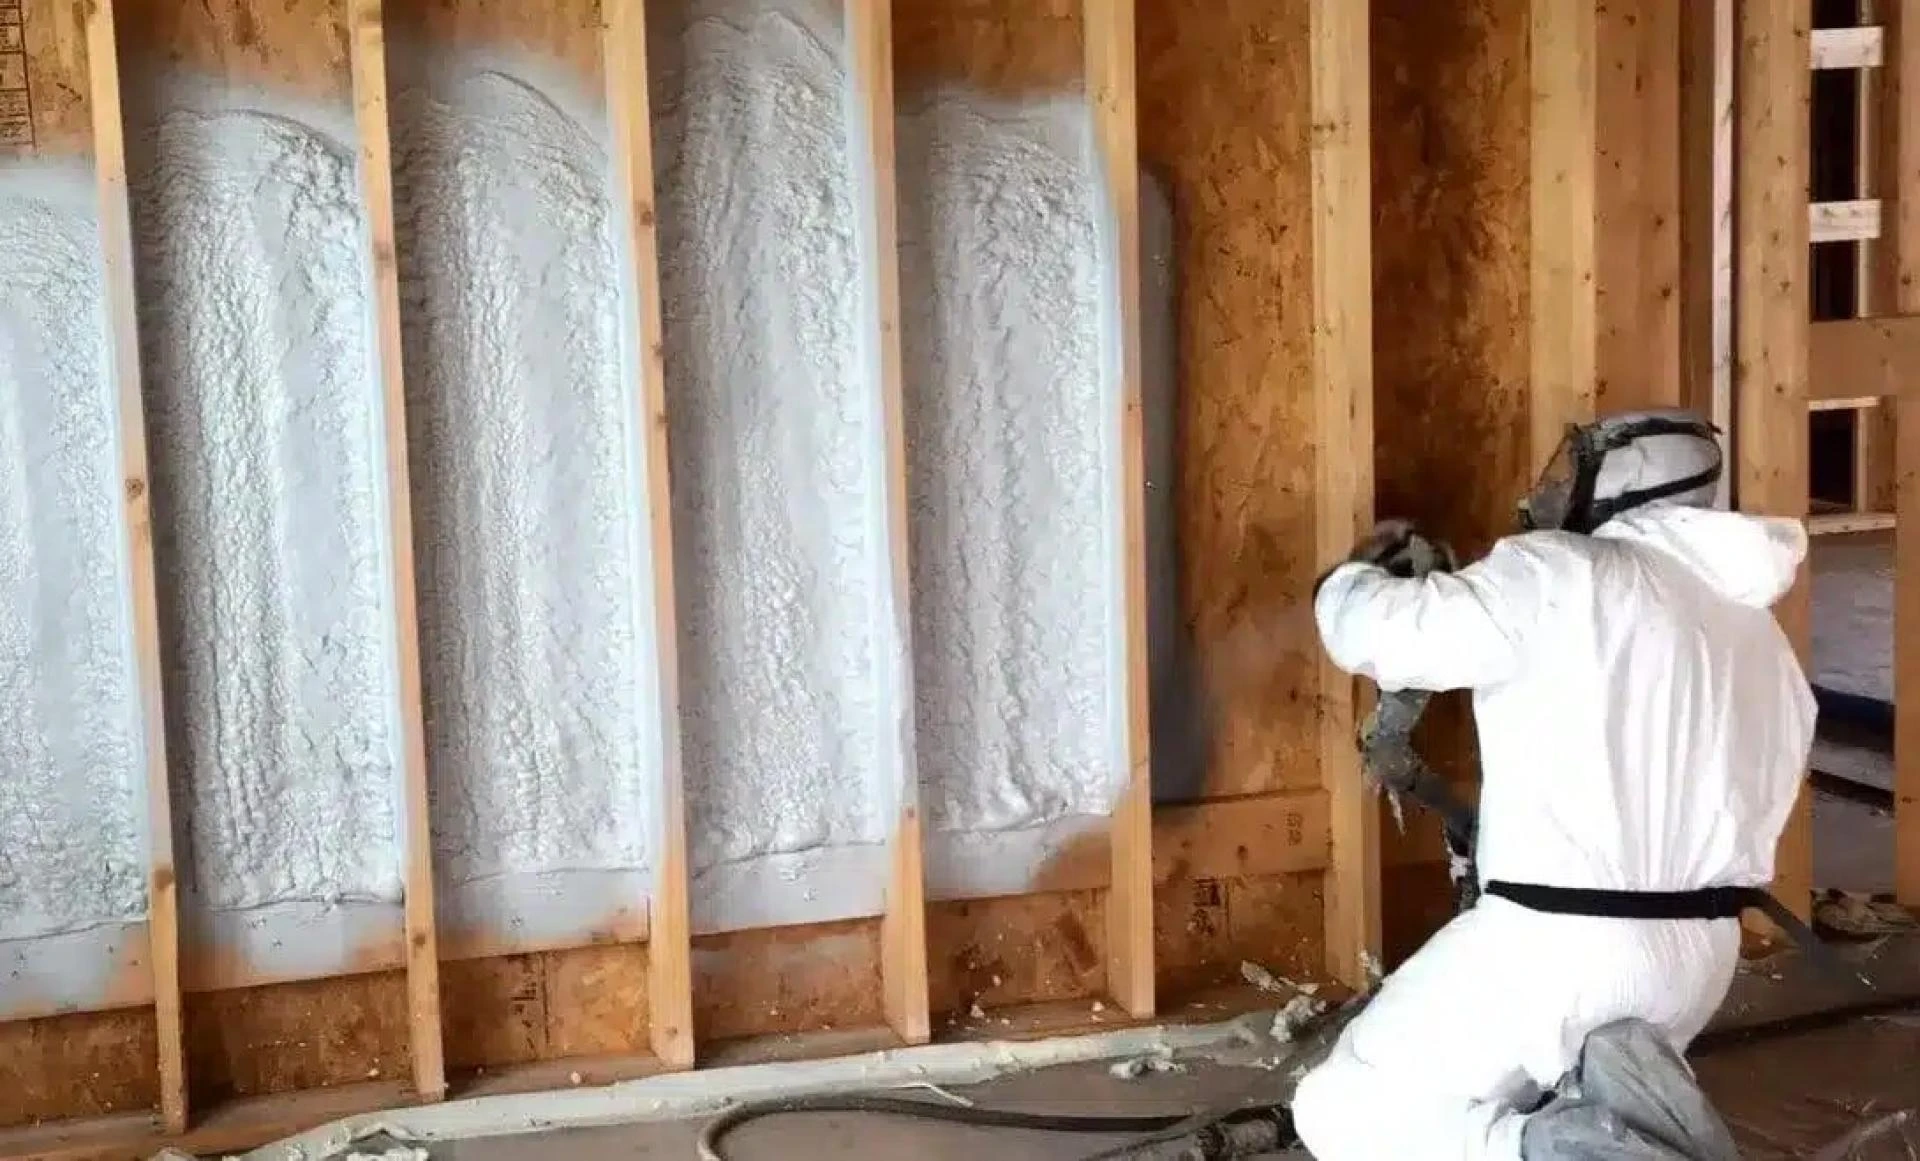
Thickness and Lift Control Affects R-Value and Safety
Closed-cell foam is dense, rigid, and packs a high R-value—but it’s also more sensitive to over-application than open-cell foam. Installing too much too quickly doesn’t just lower performance; it can create combustion risk and structural pressure.
Follow Maximum Lift Thickness
Most closed-cell foams are designed for a max lift of 2 inches per pass. Go beyond that, and you trap too much heat during the exothermic reaction. That heat doesn’t just affect curing—it can lead to scorching or charring of the material.
Allow Full Cure Between Passes
Each pass needs to cool down completely before spraying the next layer. This typically takes 10 to 20 minutes depending on ambient conditions. Rushing it may reduce bond strength between layers.
Spray Foam Layering
Result
2" per lift with full cure
Optimal R-value, strong adhesion
>2" per lift or poor cure time
Voids, shrinkage, safety risks
Fun Fact: A single over-puffed lift can expand with enough pressure to crack drywall seams behind it.
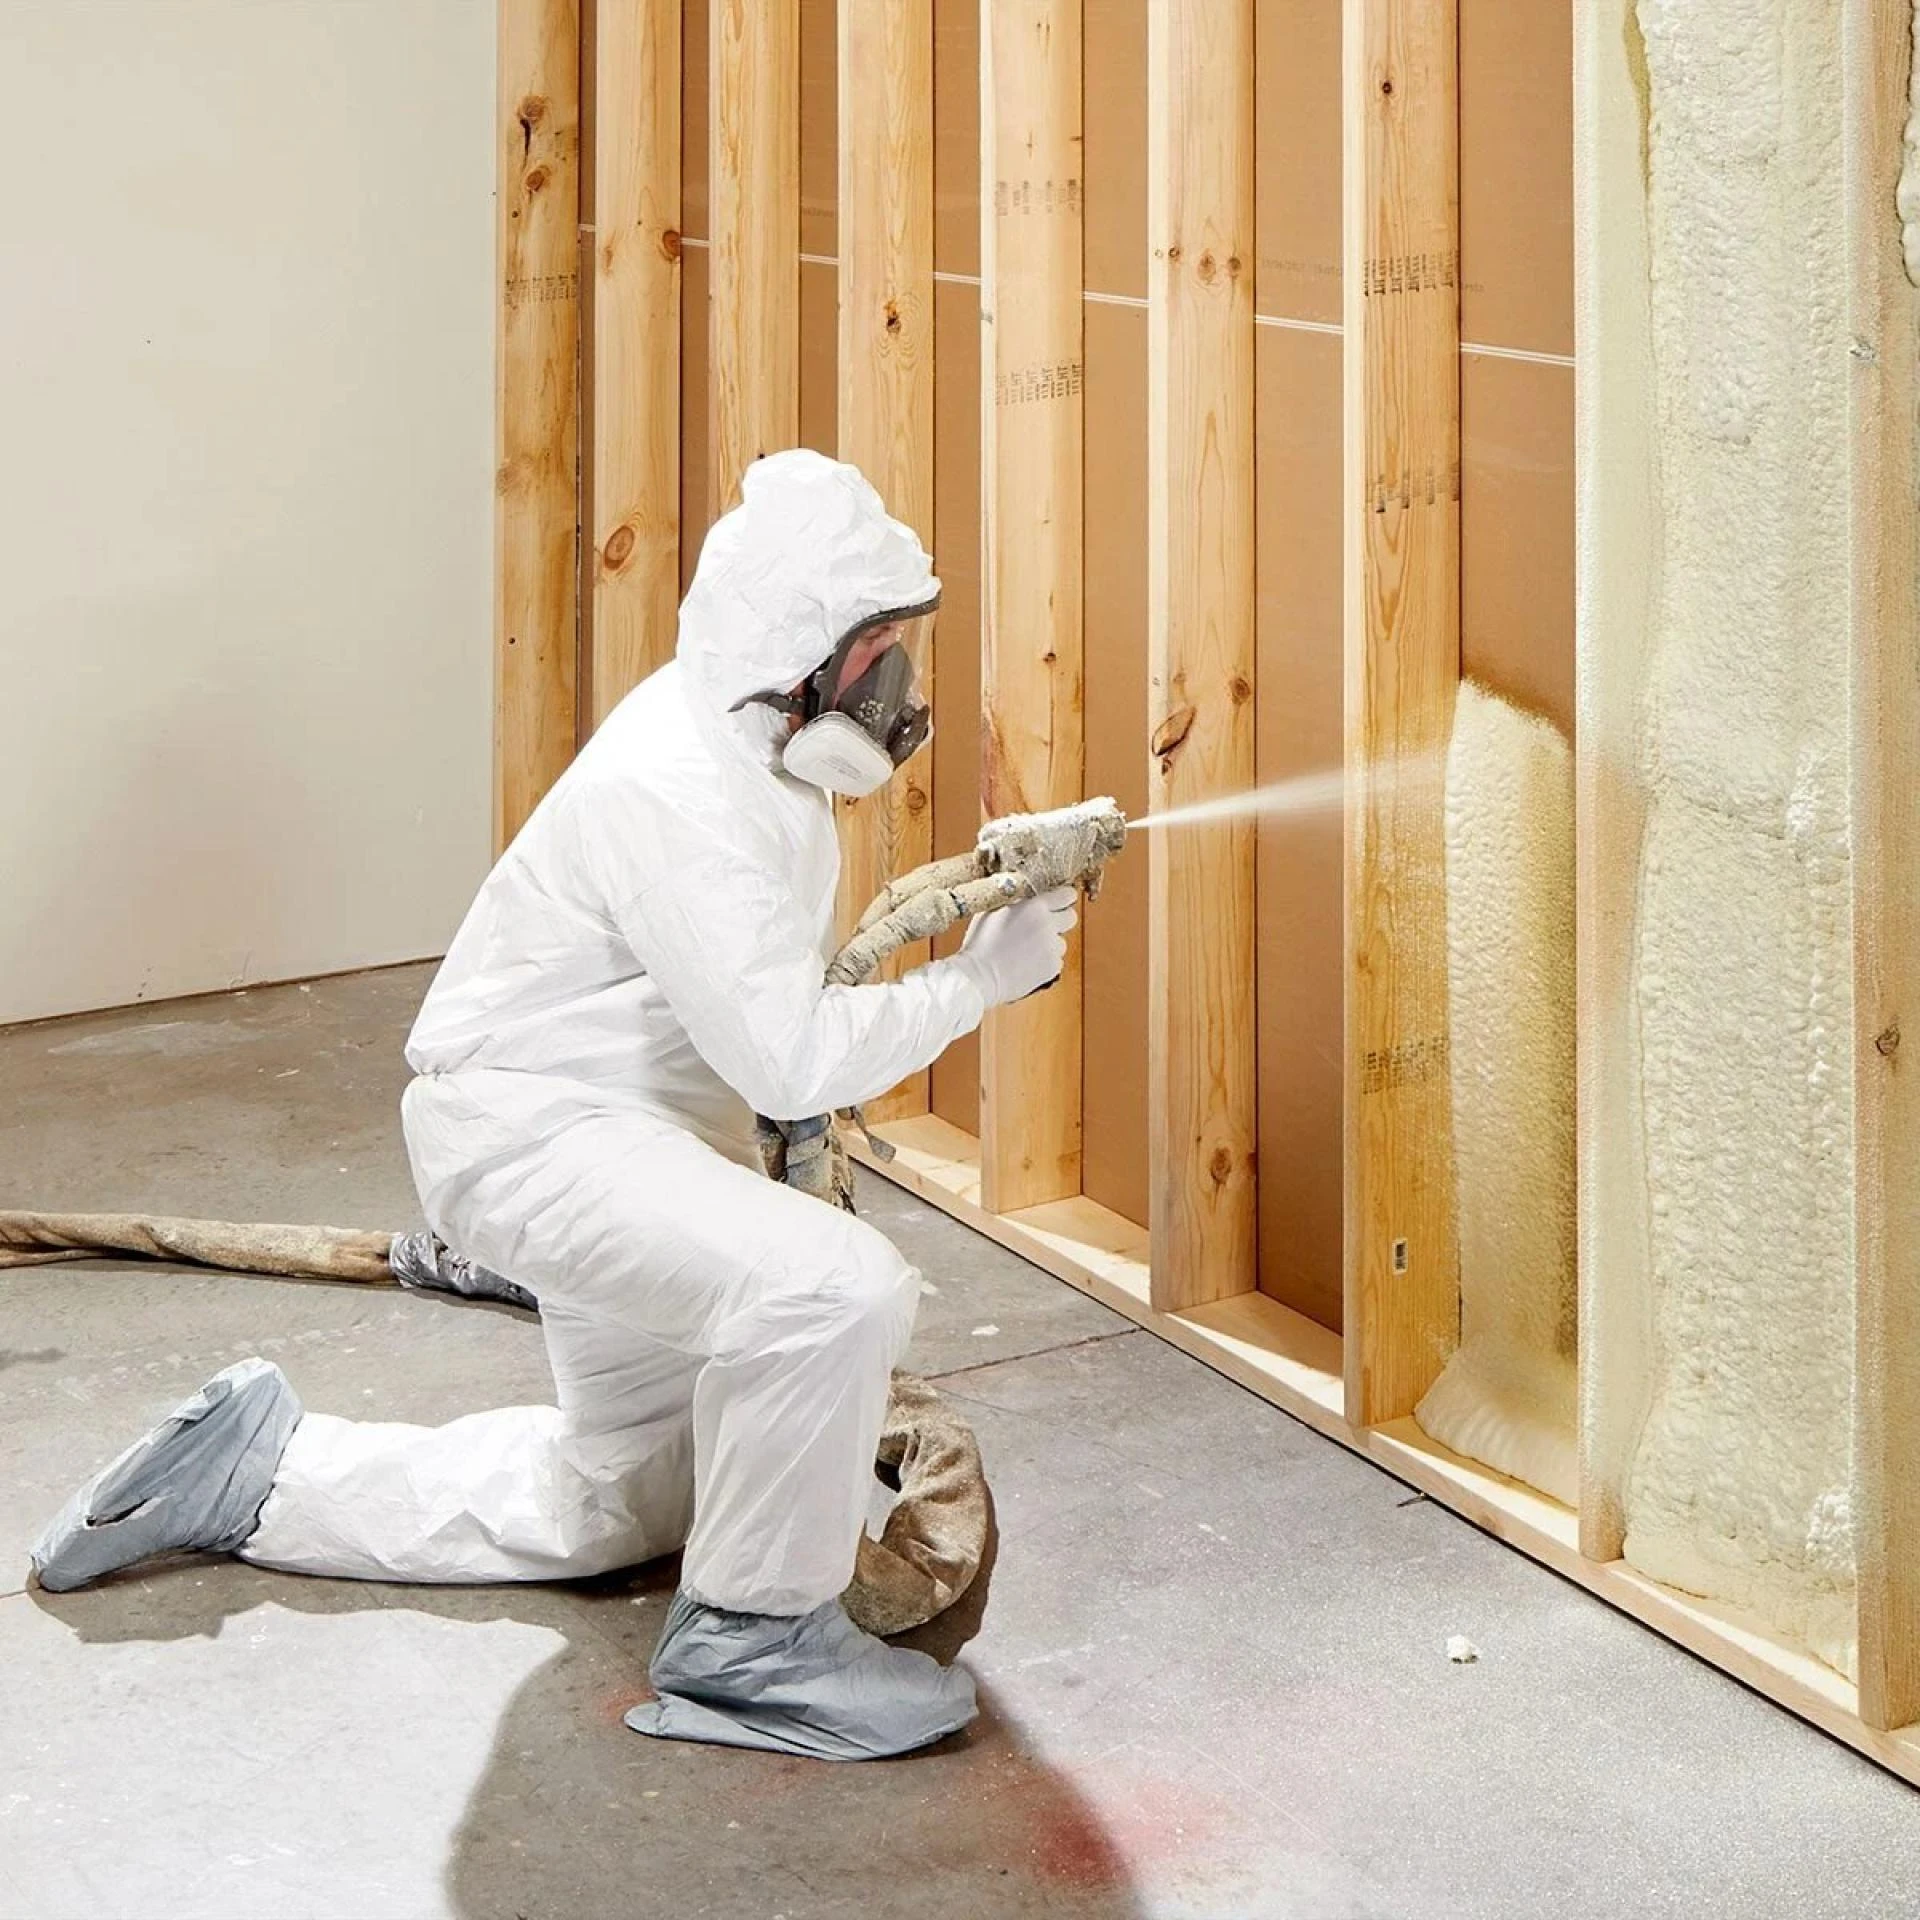
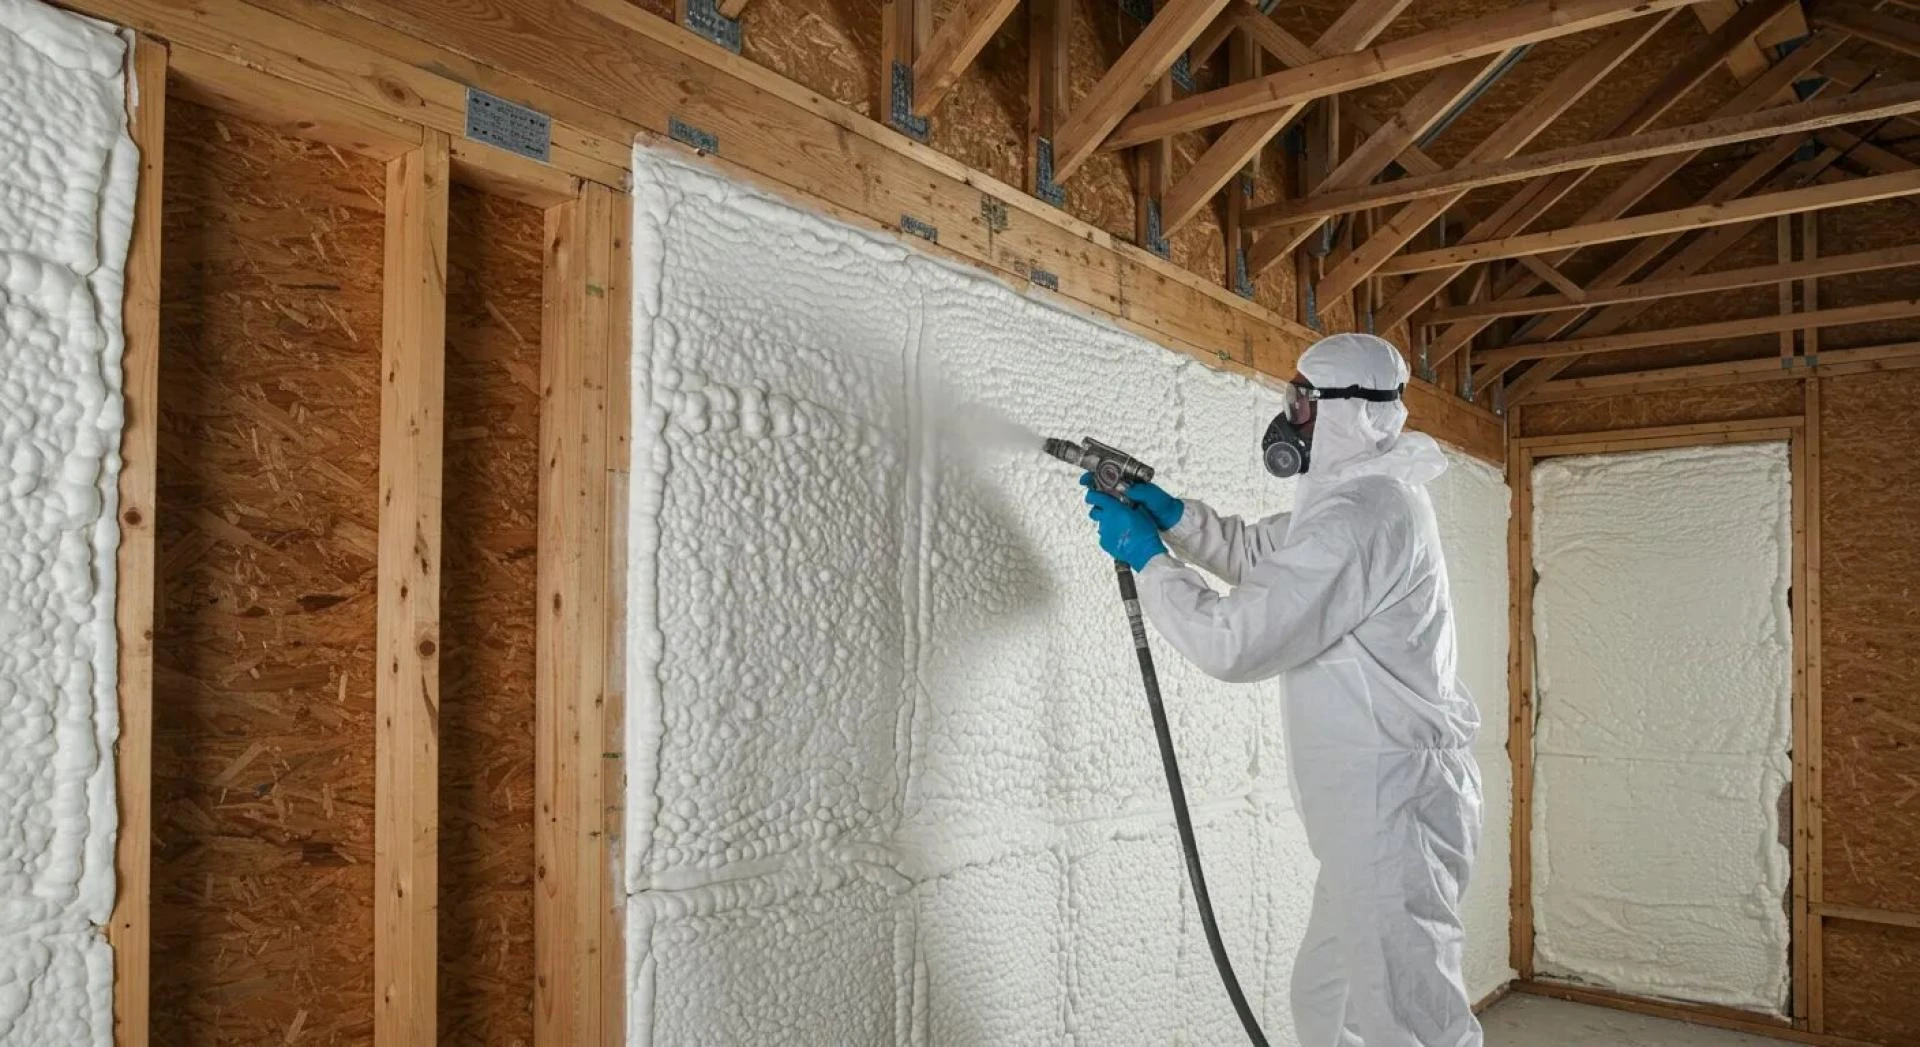
Spraying Pattern and Equipment Setup Directly Impact Foam Performance
Spray technique plays a much bigger role than most expect. Small changes in nozzle angle, trigger control, and gun maintenance can cause inconsistencies in foam density, thickness, and adhesion.
Maintain Proper Gun Distance and Angle
Stay about 18–24 inches away from the surface and keep the gun at a 90-degree angle for even distribution. Arcing or tilting the gun causes thin edges and potential thermal gaps.
Keep Equipment Clean and Calibrated
Clogs or uneven mix ratios create off-ratio foam. If it’s too rich in isocyanate or resin, expect improper cell structure and weak foam. Clean the gun daily and check for worn tips or filters.
Sequence of Application Affects Air Sealing and Thermal Bridging
Foam application isn’t just about hitting the square footage. It’s about how and where you apply it. Missing corners or skipping recessed areas reduces total coverage and opens the door to thermal bridging.
Start With Rim Joists, Edges, and Gaps
Corners, transitions, and seams are where air leakage starts. Spray those areas first while visibility is high, then fill in broader areas. Avoid the temptation to go straight for the big, flat wall.
Watch for Thermal Bridging on Structural Components
Spray foam can’t perform magic over steel or uninsulated studs. You’ll need full cavity fills and optional thermal breaks on metal to avoid heat transfer points.
Curing and Post-Install Inspection Lock In Long-Term Benefits
Once installed, spray foam doesn’t need much babysitting—but it does need some time to settle. And what you do after the application has a lot to do with how well it performs long-term.
Let Foam Cure Undisturbed for 24 Hours
Avoid covering it, trimming it, or installing drywall during this window. The internal curing process continues beyond what’s visible and helps achieve peak R-value and rigidity.
Inspect for Voids, Pull-Aways, and Overfill
After curing, walk the space and check for areas where foam has pulled away from studs or failed to expand fully. These are weak spots. Use a utility knife to cut out bad sections and reapply foam where needed.
Conclusion
Getting closed-cell spray foam to perform at its best isn’t just about buying quality materials—it's about smart, methodical application. If the prep is sloppy, the weather’s off, or the foam is sprayed too thick, you're likely to lose out on both insulation and air-sealing benefits. Think of every step as a multiplier: the more you get right, the more you gain in performance.
From substrate prep to layering, curing, and inspection, each stage plays a part in making the insulation last, seal tight, and stay energy efficient for years. And when it's done right? You'll notice the difference every time the energy bill comes in.
Learn more about at: https://avinsulation.net/?utm_source=backlink
FAQs
How thick should closed-cell spray foam be for optimal performance?
Closed-cell spray foam should typically be installed in 2-inch lifts. Final thickness depends on insulation goals, but going beyond 2 inches per lift can create curing and safety issues.
Why is my spray foam pulling away from the studs?
This usually happens from spraying onto a cold or damp surface, or from applying the foam in overly thick passes. It indicates poor adhesion and should be corrected by removing and reapplying the foam.
Can you install closed-cell foam in humid weather?
You can, but you’ll need to control the interior environment. Keep relative humidity below 60%, and ensure the substrate is dry. Using a dehumidifier or waiting for better conditions helps ensure adhesion and curing.
What happens if the foam is sprayed too thick in one pass?
Spraying too thick causes excessive heat during curing. That can result in shrinkage, voids, or even combustion. Always follow the manufacturer’s recommended max lift thickness.
How long should you wait before covering spray foam with drywall?
Give it at least 24 hours to fully cure. Covering it too soon traps heat and solvents, which can lead to long-term off-gassing or weak foam integrity.
Reviewer: Charlotte King reviewed this article based on her 7 years of spray foam experience, contributing thoughtful advice about building customer relationships and improving local visibility.


Sign in to leave a comment.