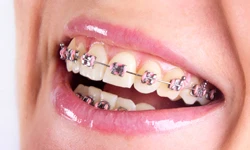
If you want to straighten your teeth without metal braces, a custom Invisalign treatment plan is the best option. Clear aligners are comfortable, look great, and fit easily into a teenager's busy life.
But how does the whole process work? This simple guide breaks down the timeline, steps, and what you need to know from start to finish.
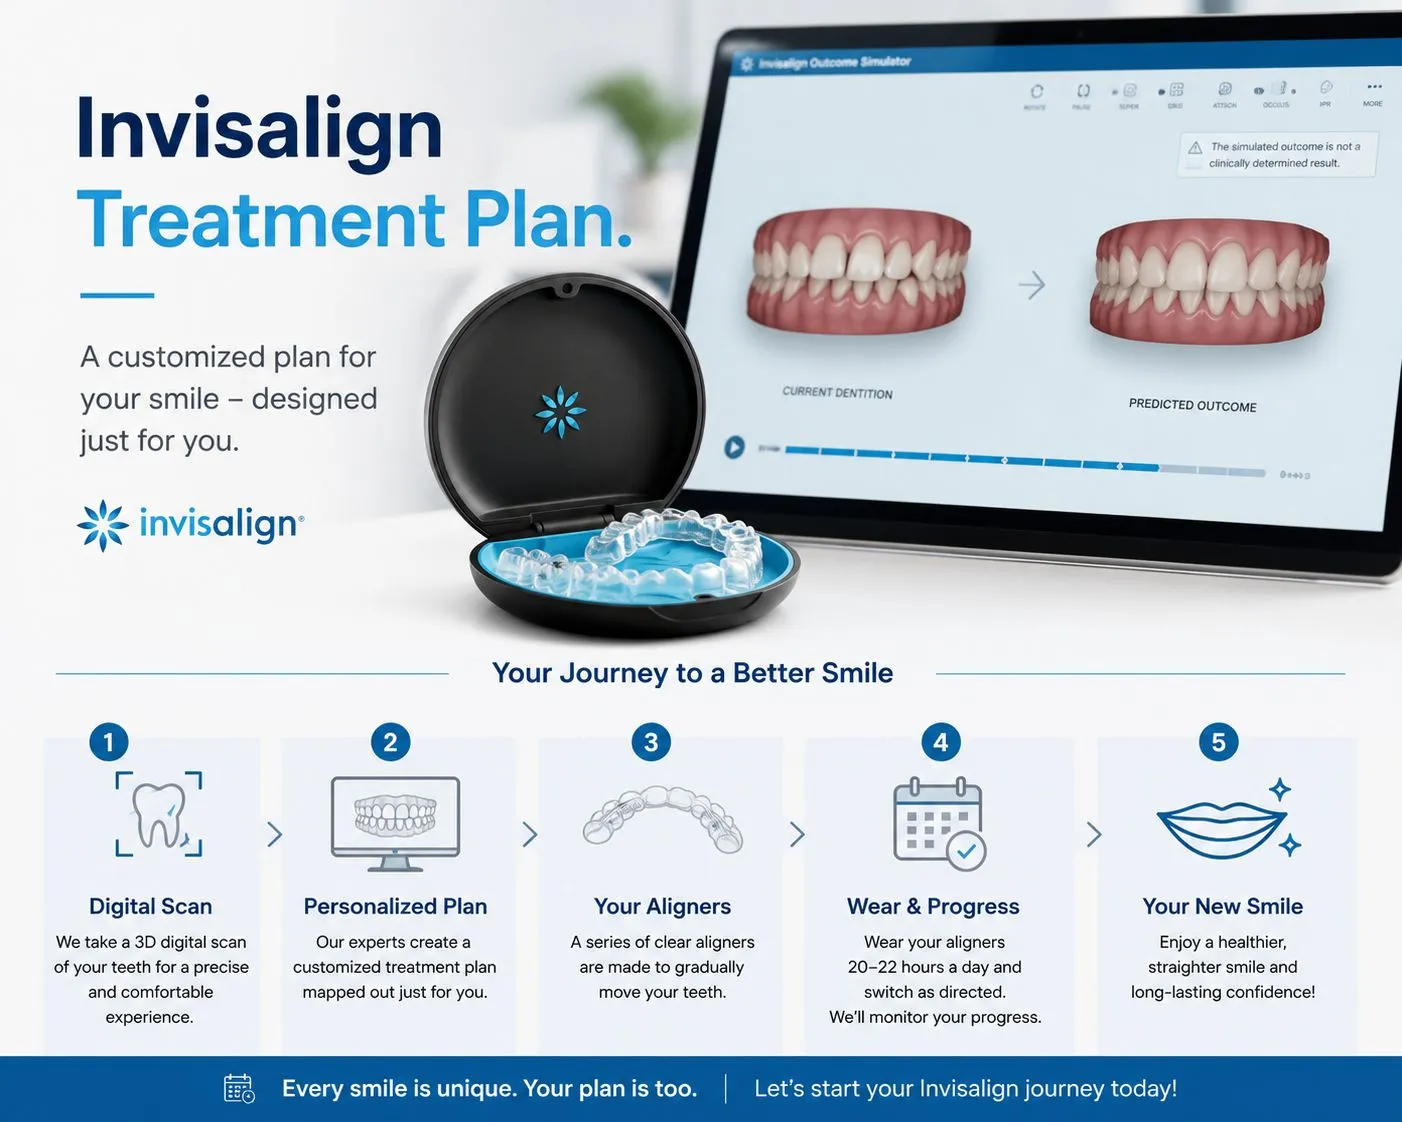
What Is an Invisalign Treatment Plan?
An Invisalign treatment plan is a personalized map for your teeth. Every smile is different, so every plan is unique.
Instead of wires, you wear clear, plastic trays called aligners. Each tray shape is slightly different. They apply gentle pressure to move your teeth over time. Your orthodontist designs this path using 3D scans so you can see your future smile before you even start.
Step 1: The First Consultation
The journey begins with a quick checkup. Your orthodontist will look at your teeth, take X-rays, and make a digital 3D scan of your mouth. This scan is fast and painless.
The doctor will then tell you if clear aligners can fix your specific teeth issues. If you are a good match, they will start creating your plan.
Step 2: Making Your Custom Aligners
Next, the doctor sends your 3D scans to the lab. Technicians use these scans to make your custom plastic trays. This step usually takes two to four weeks.
The aligners use smooth, BPA-free plastic. They fit tightly over your teeth, so they are hard for other people to see.
Step 3: Starting Your Treatment
When your trays arrive, you go back to the clinic. The doctor might attach small, clear bumps called buttons to a few teeth. These help the trays grip your teeth and guide their movement.
You must wear your aligners for 20 to 22 hours every single day.
Take them out only to:
- Eat meals and snacks
- Drink anything besides water
- Brush and floss your teeth
This is a huge plus for teens because you do not have to change what you eat.
Step 4: Changing Trays Every Week
Every one or two weeks, you switch to the next set of trays in your series. Each new tray moves your teeth just a tiny bit more.
You might feel a little pressure for a day or two when you start a new tray. This is normal and shows that the aligners are doing their job.
Step 5: Quick Progress Checks
You will visit your orthodontist every six to eight weeks. These visits are short. The doctor makes sure your teeth are moving correctly and gives you your next set of trays.
How Long Does It Take?
Total treatment time depends on your teeth:
- Mild cases: Can take around six months.
- Average cases: Usually take 12 to 18 months.
- Complex cases: Can take up to two years.
Your doctor will give you an exact estimate at your first visit.
Keeping Your Smile Straight
Once your last tray is done, the treatment is over, but you still need to protect your new smile. You will get a custom retainer to keep your teeth from moving back to their old spots.
You wear it all day for the first few months, and then only at night after that.
Is It the Right Choice for Your Teen?
Invisalign works great for gaps, crowding, and bite issues. Because the trays come out, success depends on wearing them as told. For teens who follow the rules, it is a simple way to get a confident smile without the stress of metal braces.


Sign in to leave a comment.