
When it comes to designing or upgrading a smaller bathroom or WC, every detail matters. Cloakrooms demand thoughtful choices that balance functionality, durability, and appearance without overwhelming limited space. This is where Tapron Ireland has carved out a strong reputation, offering a wide range of well-crafted bathroom taps and fittings suited to both compact and full-sized bathrooms. Alongside choosing the right products, understanding correct installation is just as important to ensure long-term performance and reliability.
This article explores Tapron Ireland’s approach to bathroom tapware and provides a clear, step-by-step explanation of how to install cloakroom taps correctly, whether you are a DIY enthusiast or simply want to understand the process before hiring a professional.
Understanding Tapron Ireland and Its Bathroom Tap Collection
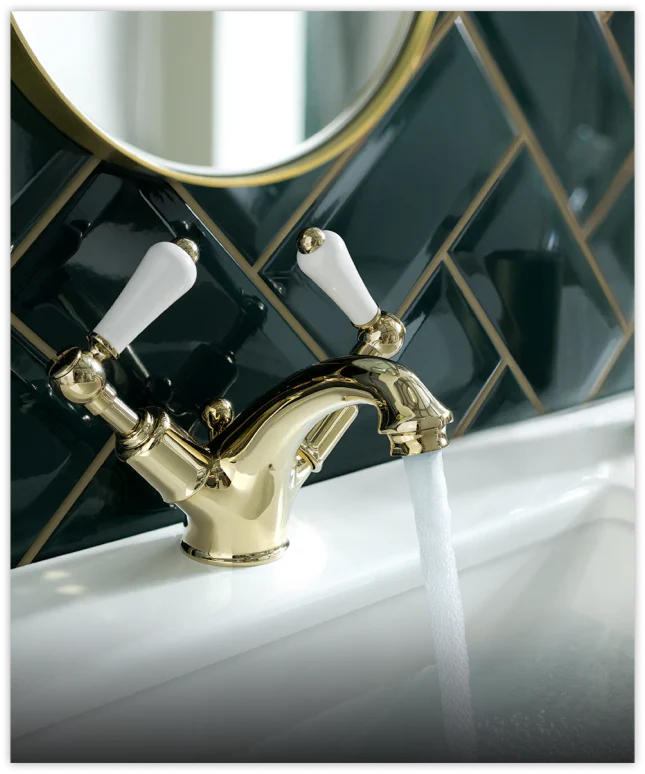
Tapron Ireland focuses on supplying high-quality bathroom taps and accessories designed for modern living. Their range includes basin taps, cloakroom taps, bath fillers, showers, and complementary accessories, catering to a variety of styles from contemporary minimalism to classic designs. What makes cloakroom taps particularly important is their ability to function efficiently in small basins without compromising water control or comfort.
Cloakroom taps from Tapron Ireland are typically compact in size, making them suitable for reduced-depth basins commonly used in guest toilets. Despite their smaller footprint, these taps are engineered with durable internal components, smooth handles, and finishes designed to withstand daily use. This attention to quality ensures that even the smallest bathroom spaces maintain a sense of refinement and practicality.
Why Cloakroom Taps Require Proper Installation
Cloakroom taps may be smaller than standard basin taps, but they still rely on precise installation. Poor fitting can lead to leaks, uneven water flow, or long-term damage to pipework and basin surfaces. Given that cloakroom basins are often wall-mounted or installed in tight spaces, accuracy during installation becomes even more critical.
A properly installed tap not only improves usability but also protects your bathroom furniture and plumbing system. Understanding each step helps prevent costly repairs and ensures the tap performs exactly as intended.
Tools and Preparation Before Installing Cloakroom Taps
Before starting the installation, it’s essential to prepare adequately. You will need basic plumbing tools such as an adjustable spanner, basin wrench, plumber’s tape, a bucket, and a soft cloth. It’s also important to turn off the water supply at the isolation valves or mains supply before beginning any work.
Inspect the cloakroom tap and its components carefully. Most taps come with flexible hoses, a fixing kit, washers, and a threaded mounting rod. Ensuring all parts are present and undamaged before installation saves time and avoids interruptions once the process has started.
Step-by-Step Guide to Installing Cloakroom Taps
The first step involves positioning the tap correctly on the basin. Insert the tap through the pre-drilled hole in the basin, ensuring the base sits flush against the surface. A rubber washer is usually placed beneath the tap to prevent water from seeping under the base and to protect the basin finish.
Once the tap is positioned, secure it from underneath the basin. This is done by sliding the fixing plate and washer onto the threaded rod, followed by tightening the fixing nut. Care should be taken not to overtighten, as this can crack ceramic basins or distort thinner materials.
After securing the tap, connect the flexible hoses to the hot and cold water supply. Wrap plumber’s tape around the threaded connections to ensure a watertight seal. Tighten the connections firmly but gently to avoid damaging the threads.
With the hoses connected, slowly turn the water supply back on and check for leaks. Allow the tap to run for a short period, observing all joints and connections. If any dripping occurs, tighten the fittings slightly until the leak stops.
Finally, clean the tap and basin area with a soft cloth to remove fingerprints or residue. This finishing touch ensures the installation looks neat and professional.
Common Mistakes to Avoid During Installation
One common mistake is failing to align the tap correctly before tightening it in place. Once fully secured, adjusting alignment becomes difficult without loosening the fitting again. Another issue is overtightening connections, which can lead to cracked basins or damaged seals.
Skipping the use of plumber’s tape or rubber washers is another frequent error that often results in slow leaks over time. Paying attention to these small details can significantly extend the lifespan of your cloakroom taps.
Maintaining Cloakroom Taps After Installation
Once installed, regular maintenance helps preserve both appearance and performance. Cleaning with a mild soap solution and a soft cloth prevents limescale buildup and protects the finish. Avoid abrasive cleaners or harsh chemicals, as these can damage protective coatings over time.
Checking connections periodically for any signs of moisture or loosening ensures issues are addressed early before they develop into larger problems.
Final Thoughts
Tapron Ireland offers a reliable solution for homeowners seeking quality bathroom fittings, particularly for compact spaces like cloakrooms. Choosing the right tap is only part of the process; correct installation plays a crucial role in ensuring durability, efficiency, and everyday comfort.
By following a careful installation process and maintaining your taps properly, cloakroom fittings can perform efficiently for years while enhancing the overall look of your bathroom. Whether upgrading a guest WC or fitting out a new space, attention to detail at every stage makes a lasting difference.


Sign in to leave a comment.