HP printers are one of the most fantastic and powerful printing machines available on the market. These printers are lashed with cutting-edge technology and advanced features that make the printing jobs feel seamless. However, it is necessary to connect the printer to WiFi and complete the setup procedure before you start your print job. Many novice and new users need to learn how to do these processes. Also, there are huge changes in people making mistakes while doing so. Hence, to help you, this blog post is to share all the steps in-depth for connecting an HP printer to WiFi.
Step 1: Turn Your HP Printer in Setup Mode
Before you connect your HP printer device to the power outlet, you have to first turn on the setup mode in your printer. Follow the below methods to turn setup mode on different types of printers.
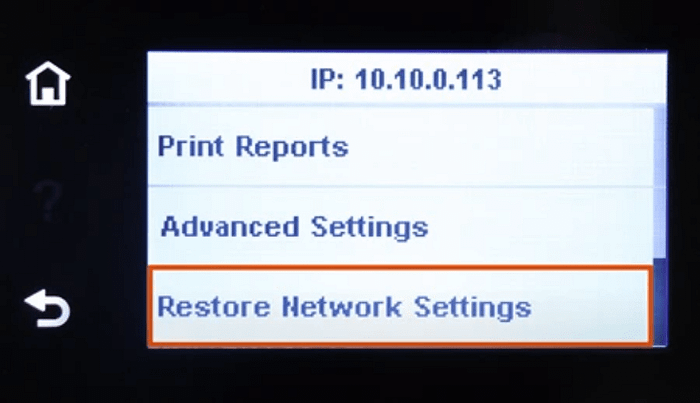
HP Printer With Touchscreen
- Access the printer control panel and then tap on the Setup or Wireless icon.
- After that, select the Settings or Network Setup option.

- You have to select the Yes option if a confirmation prompt appears on the screen.
- Now, wait for a minute until the wireless starts to flash blue.
- Lastly, the printer setup mode is ON, and now you have to move to the app.
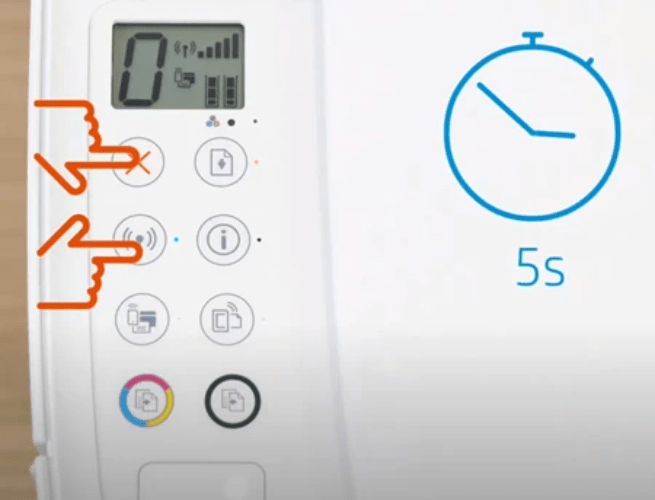
HP Printer Without Touchscreen
- On your printer, press the Cancel (X) button to make it ready.
- Next, press and keep holding the Wireless and Cancel buttons simultaneously until
you see the Power button blinking.

- Now, wait at least 60 seconds until the wireless lights turn blue.
- Finally, you have to go to the HP within two hours to complete the further procedure.
Step 2: Download and Install the HP Smart App
The next step is to download and install the HP Smart app on your device. The HP app is available for both computer and mobile phone devices. Follow the below procedure to install the HP app for connecting an HP printer to WiFi.
Windows/Mac
- Begin by opening the regular browser you use on your PC.
- And then, go to the HP support page.
- On the website, enter the exact model number of the printer device you use.
- After that, you have to look for the HP smart app compatible with your device.
- Once you find the app option, click on the download option.
- Then, the app file will be downloaded to your PC.
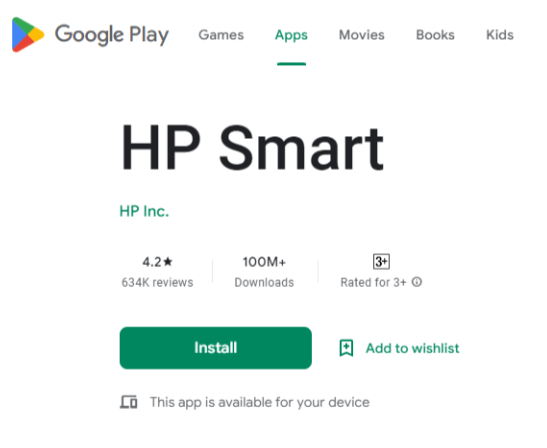
Android/iOS
- Firstly, Go to the Play Store or App Store, respective to the smartphone device you
are using. - Next, tap on the search bar and enter the name HP Smart Print.

- When the application icon appears on the mobile phone screen, tap on it.
- Now, the app download will begin to wait for the download to complete. ‘
- Once the download is complete, you have finished and you can move to the printer
setup.
Step 3: Complete the HP Smart App Install
On smartphones, the app gets automatically installed on your device. But, you have to install the app manually in your computer system. So, the below method will help you do that.
- First, double-click on the downloaded setup file.
- Then, agree with the terms and conditions of the app.
- After that, do as the on-screen prompts suggest.
- Lastly, the app installation will be complete.
Step 4: Connect the HP Printer to the WiFi
Once the app installation is complete, you need to set up the machine to connect it to WiFi. The below steps will assist you in doing that.
- First, ensure the PC or mobile is already connected to a network connection.
- After that, on the app, look for the Add Printer option.
- When you see the connection type screen, then choose WiFi, USB, or Network.
- Now, you just have to follow the guide on the display to complete the HP printer
setup. - Once the machine setup is complete, the WiFi connection of your HP printer will be
complete. - Finally, you can perform your printing work.
Frequently Asked Questions
What is the Process of Connecting an HP Printer to WiFi?
The process to connect your HP printer to WiFi is as follows:
- First, you have to open the setup mode on your HP printer machine.
- After that, download the HP Smart app from the official support page of the brand.
(For mobile devices, download the app from the App Store or Play Store.) - Once the download is complete, installation of the app.
- Then, open the app and set up your machine. (Make sure your PC or mobile is
connected to WiFi) - When the setup is complete, the printer will be connected to WiFi.
Why is the HP Printer Not Connecting to WiFi?
Here are some of the primary reasons your HP printer does not connect to WiFi.
● The printer is far away from your WiFi router.
● The HP printer setup process is not done correctly.
● You have downloaded the faulty or incompatible driver for the HP printer.
● The WiFi connection is not steady or is weak.
● The computer and printer are not connected to the same network.
● The printer is restricted to connecting to the WiFi you want it to connect to.
What is the HP Smart App?
HP Smart app is a program that helps in the setup process of HP printer devices. The app is available for both Windows and Mac devices. Besides that, you can download the app on your smartphone devices too. If you want to connect your printer to WiFi, then it is necessary to download this app.
Source: Connecting An HP Printer To WiFi


