This project is about building a basic Bluetooth speaker from scratch using cheap, easy to find modules. No custom PCB. No microcontroller programming. Just a Bluetooth audio module, a small Class D amplifier, and two speakers. The idea is simple. Your phone sends audio wirelessly, the module receives it, the amplifier boosts it, and the speakers make noise. That is it.
It exists for one reason. To show that wireless audio is not magic. It is just signal flow. Bluetooth in. Audio out. A little power in between.
The build is compact and feels very direct. You wire things together, power it up, pair your phone, and music comes out. No firmware flashing. No app development. It is a clean electronics exercise that gives instant feedback.
The Core of the Build
At the center of this electronics project is the JDY 62 Bluetooth 4.2 audio module. This board handles the wireless side of things. When powered, it waits for pairing. Once connected, it outputs left and right analog audio signals. Nothing fancy. Just stereo line level output.
Those L OUT and R OUT pins go straight into a PAM8403 stereo amplifier board. This amplifier runs on 5V and is designed for small speakers. It is efficient and does not get very hot, which makes it practical for small builds powered from USB or a power bank.
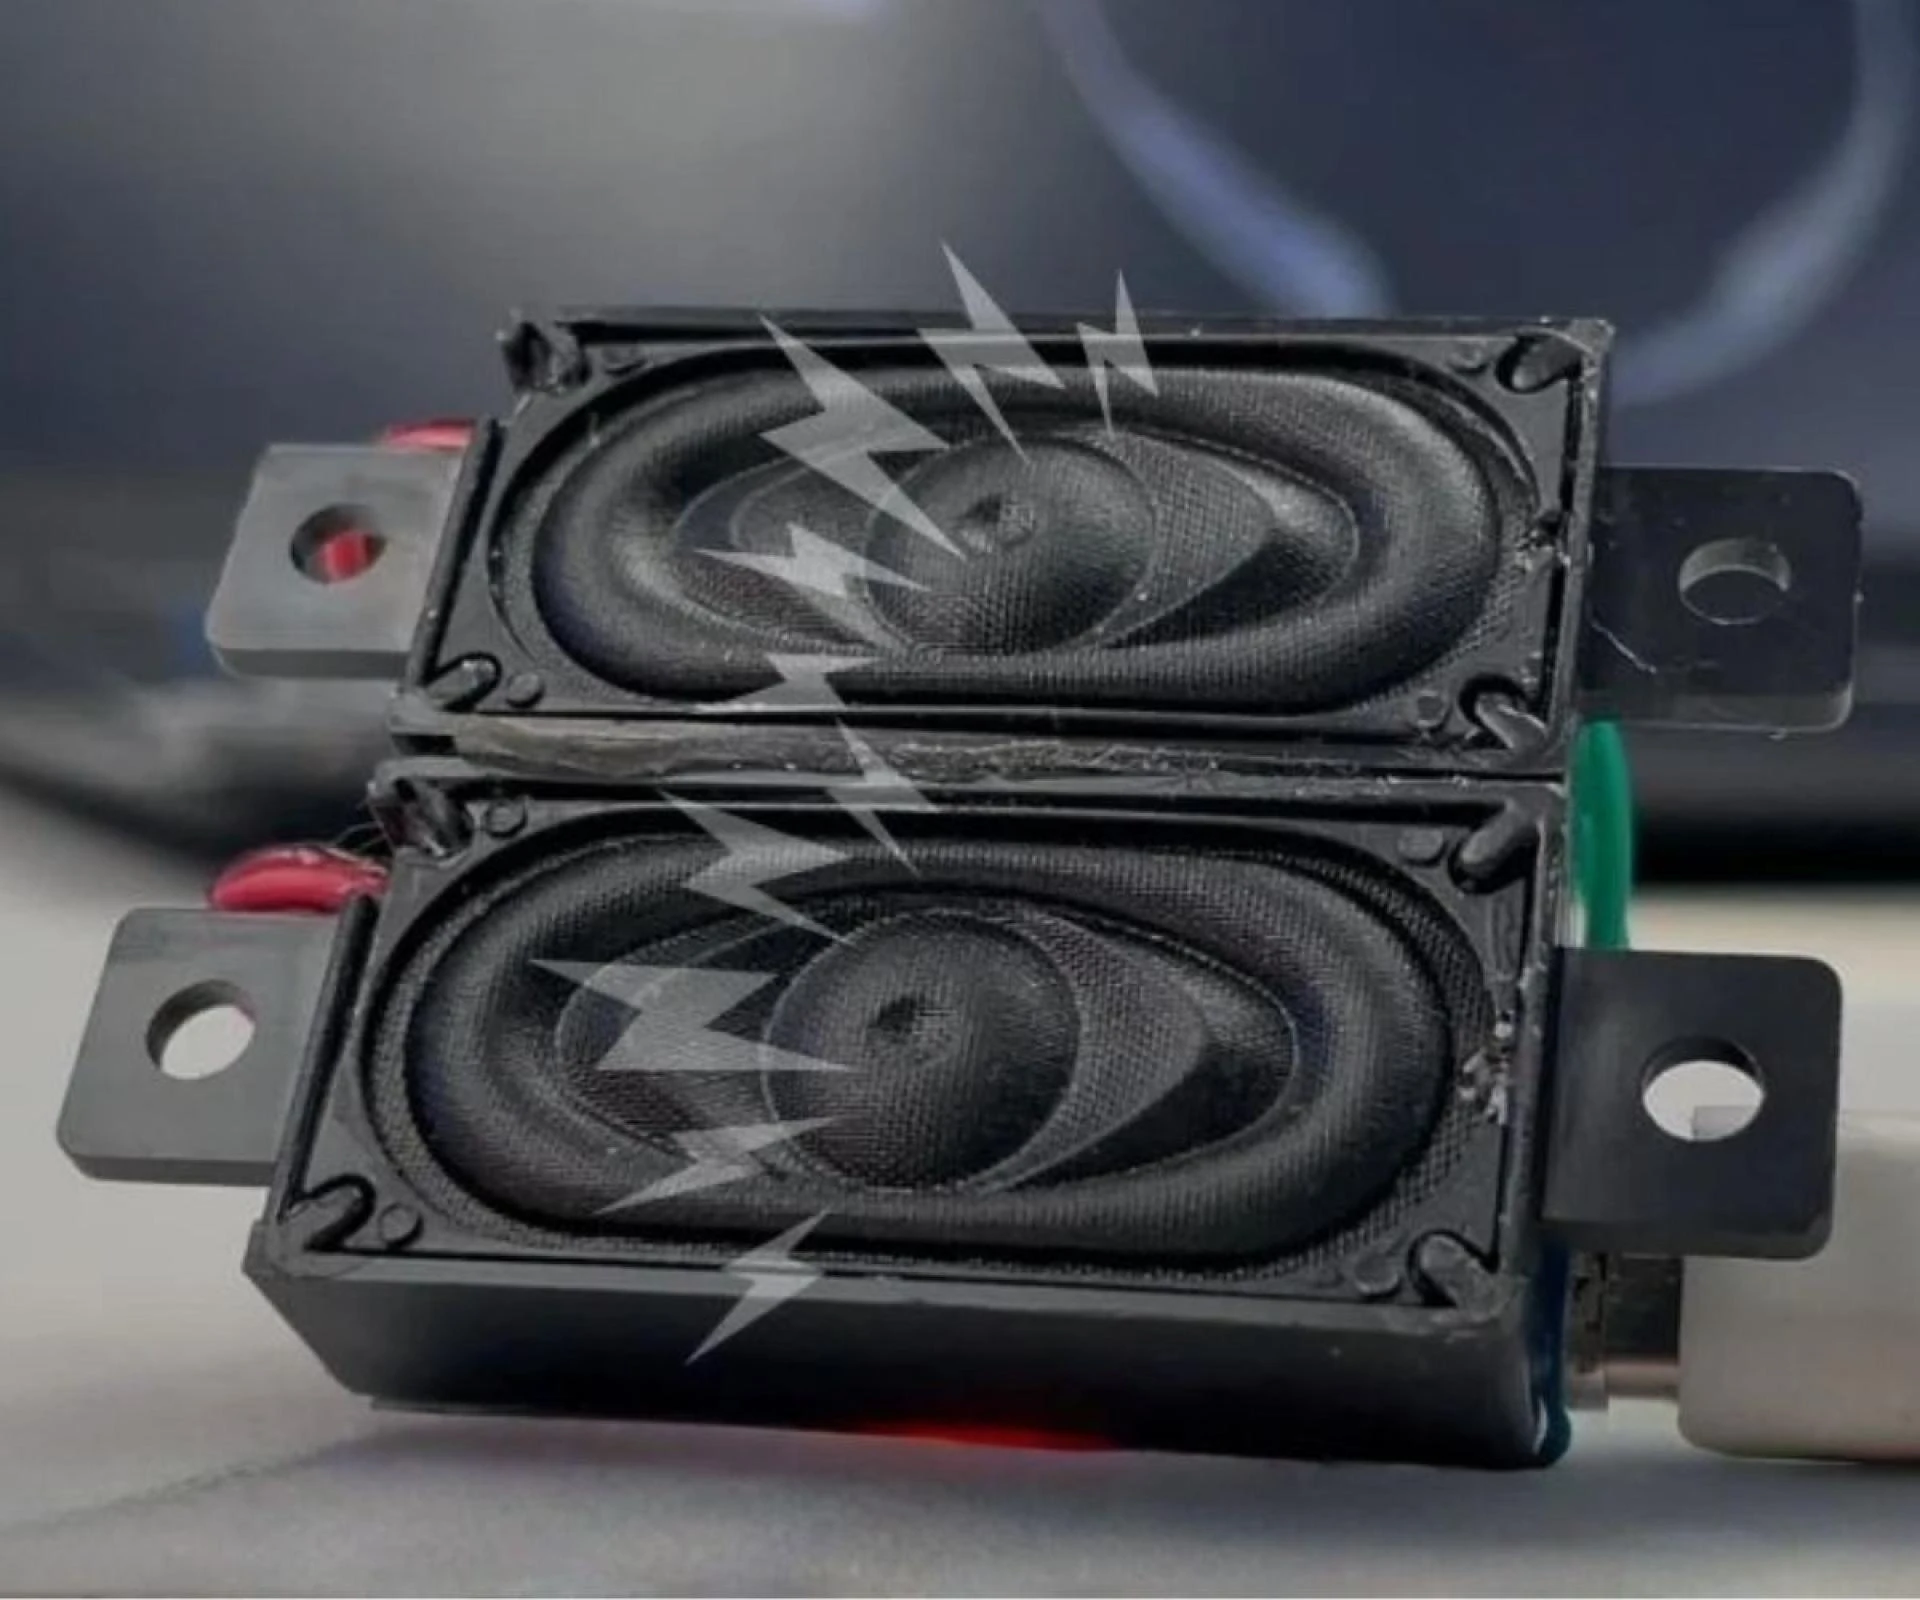
From there, the amplifier drives two 2 watt 8 ohm speakers. One for left. One for right. Basic stereo.
That is the entire signal path. Phone to JDY 62. JDY 62 to PAM8403. PAM8403 to speakers.
It is simple enough that you can hold the entire system in your hand while testing it.
Understanding the Modules Before Wiring
The JDY 62 module is straightforward. It has VCC and GND for power. Then L OUT and R OUT for audio. Power it with 5V. Share ground with the amplifier. Take the audio outputs to the amplifier inputs. There is no configuration step described. It behaves like a ready to use Bluetooth audio sink.
The PAM8403 amplifier also runs on 5V. It has L IN and R IN for audio input, and L OUT and R OUT terminals for the speakers. Again, nothing complicated. It is almost plug and play if you think in terms of signal direction.
One important thing here is polarity and clean wiring. The source stresses that wrong polarity can damage components. That is real. Reverse power connections can kill these small boards instantly. So even though the circuit is simple, it is not careless work.
When you look at both modules side by side, you see how clean the mapping is. Left to left. Right to right. Shared ground. Shared 5V.
It feels neat. Very linear.
Wiring It Together
Both the Bluetooth module and the amplifier share the same 5V supply. That makes the power layout easy. Positive goes to VCC on both boards. All grounds tie together.
Then you connect L OUT from the JDY 62 to L IN on the PAM8403. Same for the right channel.
After that, the speakers connect to the amplifier outputs. Each speaker must be connected to its respective left or right output terminals, and polarity should be respected. Even though small speakers will still produce sound if reversed, proper polarity keeps stereo imaging correct.
The project suggests using thicker wire for speaker connections and slightly thinner wire for signal connections. That is not overkill. Thin wires on speaker lines can introduce resistance and minor losses, especially if the runs are long.
You can also add a switch between the power supply and the boards. Or even a volume potentiometer if your amplifier board supports it. But the base version works without those extras.
When fully wired and powered, it feels surprisingly clean for something built on loose modules.
First Power On and Pairing
This is where the project becomes satisfying.
You power it up. The Bluetooth module enters pairing mode automatically. If it has been paired before, it reconnects on its own. If not, you open Bluetooth settings on your phone and look for JDY 62 in the device list.
Tap to connect. That is it.
There is an indicator light that confirms status. Once paired, any audio you play on your phone goes straight to the speakers. No app needed. No configuration.
The feeling when it first works is simple but solid. It just plays. No noise bursts. No complicated setup. It behaves like a regular Bluetooth speaker.
The sound quality is described as clear and high quality. Realistically, with 2 watt 8 ohm speakers and a PAM8403, you get decent room audio at close range. It is not party loud. It is not deep bass heavy. But for a small DIY build, it is clean enough.
Many people immediately ask how to make it louder. That tells you something. The base configuration works, but it is modest.
Where It Feels Limited
The PAM8403 is efficient and compact, but it runs at 5V and is designed for low power output. With 2W speakers, you are not going to shake walls. If you push volume too high, distortion will creep in.
Power supply quality also matters more than people expect. If the supply cannot provide enough current, volume and clarity drop. The source mentions that many volume problems are actually current limitations. That is accurate. These amplifiers need stable current even at 5V.
Another limitation is enclosure. If you leave the speakers exposed without a box, bass response is weak. Sound waves cancel out easily in open air. The project mentions building a proper enclosure to improve perceived loudness and bass. That is not cosmetic. It makes a real difference.
So while the circuit itself is simple, the acoustic side becomes the real upgrade path.
Upgrading the System
If you want more volume, the most direct change is replacing the PAM8403 with a higher power amplifier like PAM8610 or TDA7297. But that shifts the design. You now need a higher voltage supply and higher current capability. The build stops being a simple 5V USB project.
Upgrading speakers from 2W to 5W or 10W also helps, but only if the amplifier can drive them properly. Impedance matching matters. You cannot just swap parts randomly.
The source also suggests better wiring, thicker speaker cables, and proper soldering. It sounds basic, but bad joints and thin wires absolutely degrade performance.
And then there is enclosure design. A sealed box sized according to the speaker specifications improves bass and perceived loudness. Even a simple wooden box can make the system feel more serious.
Once you start tweaking these areas, the project moves from beginner to hobbyist territory.
What This Project Really Teaches
At its core, this is not about building the best DIY Bluetooth speaker. It is about understanding signal flow in audio electronics.
Bluetooth module receives. Amplifier boosts. Speaker converts.
You see how power distribution works. You learn why shared ground matters. You notice how current supply affects volume. You realize enclosure changes sound more than code ever could in this case.
It is hands on and immediate. When you test it, you hear your mistakes instantly. Miswire a channel and one side goes silent. Weak power and volume collapses. Reverse polarity and you risk killing a board.
That feedback loop is what makes it useful.
It is simple. Slightly rigid. Very direct. And it works.


Sign in to leave a comment.