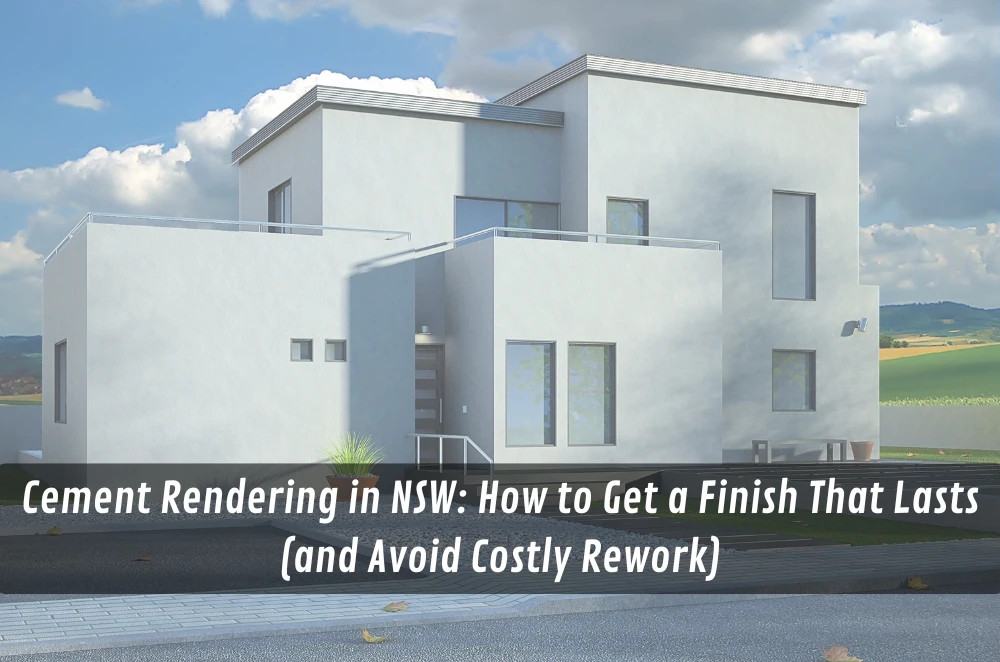
Cement rendering can make a tired façade look sharp, modernise an extension, or help blend old and new parts of a building. It can also go wrong in slow, frustrating ways: hairline cracking that keeps coming back, drummy patches that sound hollow, stains that bleed through paint, or sections that debond after the first rough season.
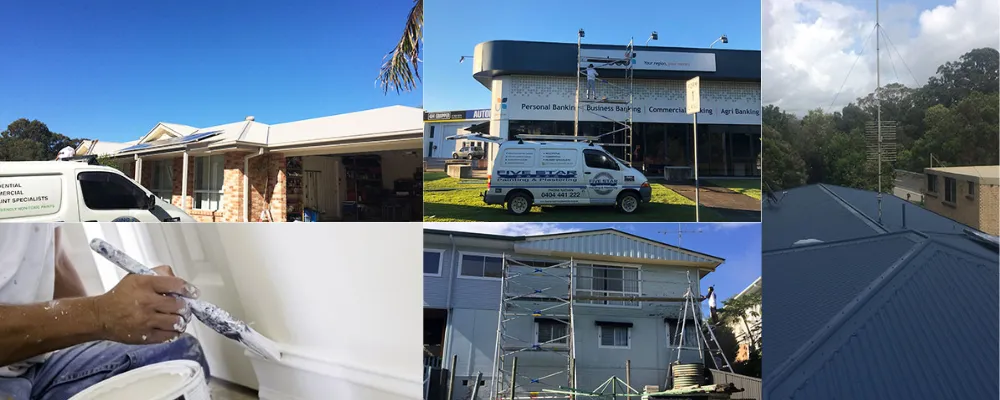
In NSW, “looks good on day one” isn’t the same as “holds up for years”, which is why working with Sydney cement render finish specialists can make a real difference. Rendering lives outdoors. It has to cope with heat, rain, movement in the building, and the reality that not all walls behave the same.
This guide is for homeowners, builders, and property managers who want a clear way to choose an approach and a renderer—without getting buried in trade jargon.
What cement rendering actually does (and what it can’t do)
Rendering is a coating system applied over a substrate (brick, block, concrete, some sheeting systems with the right prep). It can create a uniform surface, improve aesthetics, and help protect the wall.
It’s not a magic fix for structural issues. If the wall is moving, damp is rising, or the substrate is unstable, a render finish will often show the symptoms sooner or later.
A durable result usually comes from doing the boring parts well: surface prep, correct mix/application, suitable reinforcement, and curing.
The “render decision” that saves most headaches: match the wall type
Before anyone quotes, the wall needs to be understood.
Different substrates behave differently:
- Brick can be uneven and absorbent; mortar joints telegraph through if not handled well.
- Concrete block can move and crack along joints if reinforcement and control are ignored.
- Concrete can be dense and need the right bonding approach.
- Mixed surfaces (old + new, patchwork repairs) often need extra attention because movement and suction vary across the wall.
Render failures often start when a single system is applied as if every wall is the same.
Common mistakes that lead to cracks, hollows, or peeling paint
These are the patterns that create rework and disputes.
- Skipping proper cleaning and prep, then relying on a thick coat to “cover it”.
- Rendering over damp or salt-affected walls without addressing moisture pathways.
- Ignoring movement joints and expecting the render to bridge building movement.
- Applying inconsistent thickness, creating weak spots and stress points.
- Not using appropriate reinforcement where it’s needed (openings, junctions, mixed substrates).
- Painting too soon or using an incompatible coating system, then blaming the paint for what started underneath.
- Rushing curing, especially in hot or windy conditions.
The frustrating part is many of these issues don’t show immediately. They appear after the job “looks finished”.
Decision factors for choosing an approach and a provider
If you’re trying to hire trusted cement render professionals, these factors tend to predict whether the finish holds up.
1) How they assess the substrate before quoting
Ask what they need to see before they quote properly: wall type, condition, existing coatings, cracks, damp signs, and access.
A reliable operator will talk about prep and constraints early, not treat them as an afterthought.
2) Their plan for movement and transitions
Ask how they handle junctions: old-to-new, brick-to-block, around windows, and any known movement points.
A good plan acknowledges that buildings move and designs around it.
3) Reinforcement and detailing approach
Ask where they typically reinforce and why. You’re looking for a practical explanation, not a speech.
Detailing around openings is a common failure point, so it’s worth checking.
4) Thickness, consistency, and finish expectations
Ask what finish level you should reasonably expect and what it depends on (substrate flatness, repairs, coating build).
A trustworthy provider won’t promise a perfect finish without noting the wall condition and what preparation is required.
5) Curing and coating timing
Ask what the curing approach is and when painting is appropriate.
If the schedule is “render today, paint tomorrow” without a clear reason, it’s a red flag for many situations.
Operator Experience Moment
I’ve seen render jobs fail that looked great at handover, simply because the wall had moisture issues that nobody wanted to talk about.
I’ve also seen repeated cracking where the real problem was movement and transitions, not “bad render”.
The best renderers tend to spend more time up front explaining what the wall is doing and what the system can realistically handle.
The mid-job “next step”: what to confirm before work starts
Once you’ve chosen a provider, a short pre-start checklist prevents most misunderstandings.
Confirm:
- what prep is included (cleaning, patching, removing loose coatings)
- how cracks and junctions will be treated
- expected finish level and what “touch-ups” look like
- curing and weather allowances
- when painting is recommended and what coating type is suitable
If you want a simple reference that outlines what cement rendering involves and what to expect from a professional scope, the trusted cement render professionals is a practical point to compare against.
Local SMB Mini-Walkthrough: a NSW rendering job that stays on track
The site is inspected for substrate type, existing coatings, cracks, and damp signs.
Access is confirmed and wall elevations are measured for a consistent scope.
Prep is documented: cleaning, patching, and any removal of loose material.
Movement points and openings are marked for reinforcement/detailing.
Curing and weather windows are scheduled realistically.
A short handover note explains what was done and when painting should occur.
A simple first-actions plan for the next 7–14 days
Whether you’re planning a render job or trying to fix one that’s failing, this plan creates clarity fast.
Days 1–2: Walk the walls and document issues.
Take photos of cracks, staining, hollow-sounding areas, and transitions (old-to-new, around openings).
Days 3–4: Identify moisture and movement clues.
Look for recurring damp, saltiness, bubbling paint, or cracks that widen with heat/cold.
Days 5–7: Get a scope that names assumptions.
Ask for a written scope that includes prep, reinforcement/detailing, and curing allowances.
Days 8–10: Align the finish and coating plan.
Confirm finish level expectations and when painting should happen (and what coating system is appropriate).
Days 11–14: Finalise access, timing, and decision-making.
Lock in site access, weather contingencies, and who approves any scope changes if the wall condition differs from expectations.
This keeps the job predictable, even if the wall isn’t.
Practical Opinions
Prep is where quality lives, not in the last coat.
If damp or movement is present, address it first or expect cracks later.
A clear scope beats a cheap quote every time.
Key Takeaways
- Cement rendering lasts when the system matches the substrate and the wall’s behaviour.
- Most failures come from skipped prep, ignored moisture, and poor transition detailing.
- Choose providers by how they assess, detail, and cure—not just how smooth the sample looks.
- A two-week planning routine reduces rework, delays, and disputes.
Common questions we hear from businesses in NSW, Australia
Q: How do we know if cracks are “normal” or a sign the render is failing?
Usually small hairline cracks can happen, but it depends on location and whether they keep returning; as a next step, photograph the cracks over two weeks and note any pattern, because NSW weather swings and building movement can reveal whether it’s cosmetic or structural.
Q: Can we render over existing painted walls?
It depends on the coating type and how well it’s bonded, but in most cases proper preparation and compatibility checks are essential; as a next step, ask for a prep plan in writing, since many NSW properties have layered coatings that can affect adhesion.
Q: When should we worry about damp before rendering?
Usually you should treat visible staining, bubbling paint, saltiness, or persistent musty smells as warning signs; as a next step, identify where water could be entering and have it addressed before rendering, because NSW rain and coastal humidity can quickly undermine a new finish.
Q: How long should we wait before painting new render?
It depends on conditions, thickness, and the system used, but in most cases curing time matters for long-term performance; as a next step, ask the renderer for a recommended timeline and coating approach, noting that NSW heat and wind can speed surface drying while the underlying render still needs time.


Sign in to leave a comment.