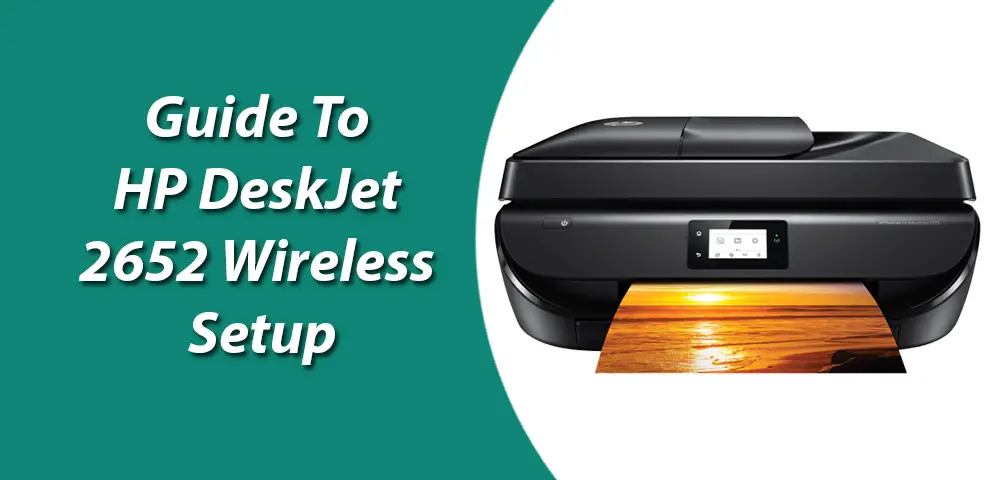
The HP DeskJet 2652 is an InkJet all-in-one printer that fulfills all your printing, copying, and scanning requirements. This excellent device is suitable for both public and private use. It offers its users a wide range of features such as space-saving design, LED screen, and the HP smart app, which enhance the printer's overall performance. The device can also copy color documents and give excellent results. To access all the wireless printing features of the printer, you need to complete the HP DeskJet 2652 Wireless Setup. If you don't know how to go about it, follow the guide until the end.
Steps To Connect HP DeskJet 2652 Printer To Wifi
If you don't know How to Connect HP DeskJet 2652 to Wifi, follow the steps mentioned below:
To begin with the wireless setup, unpack the printer.
Follow the HP DeskJet 2652 setup instructions to remove the package.
Then, you have to plug in the power cord, turn on the HP printer and install the HP DeskJet 2652 print cartridges. Now, you have to allow the printer to perform its startup process.
Ascertain your printer and wireless router support the WPS push button mode. You can also refer to the HP DeskJet 2652 manual for your printer and wireless router.
The wireless router needs to have a physical WPS push button.
Your network must use WPA or WPA2 security as most WPS wireless routers cannot connect using the WPS process if WEP is used or security is not used.
Most WPS wireless routers cannot connect using the WPS method if you use the manufacturer's default settings for the network's name and without security.
To connect your HP DJ 2652 wireless printer to your wireless router using the WPS method, start the WPS push button mode on your printer.
Lastly, press the WPS push button on your router within 2 minutes.
So these were the steps required for the HP DeskJet 2652 setup in wireless mode. We hope you find this blog helpful and informative.
Read Related Blogs: –
HP Officejet Pro 9015 Driver Download
HP Officejet Pro 8620 Wireless Setup


