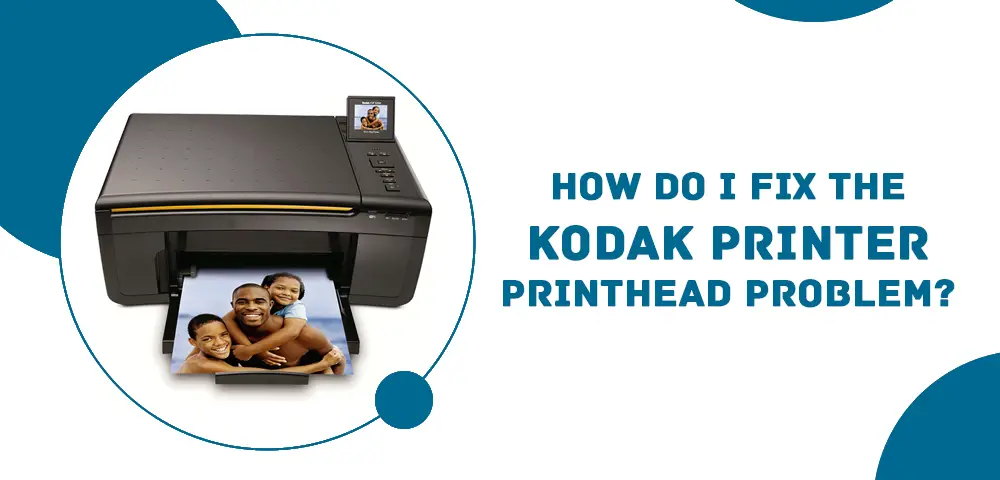
Kodak is one of the most famous American companies that has been providing its service for a long time and is known for its authenticity and reliability. Kodak produces various products related to photography and imaging. Among all its excellent products, Kodak printers are also quite famous and authentic. But instances occur when users have to face some common technical issues, Kodak 5300 Printer Head problem is one of the common problems encountered by most of the users. There are various reasons responsible for causing Kodak printer printhead issues. One of the best ways to get rid of such problems is to do regular cleaning of Kodak printhead.
Why Kodak Printhead Problems Occur?
The Kodak Printer Head Jammed is quite common but something that can perplex easily. So, the main work of the printhead is to shoot ink from the ink cartridges onto your pages. So, it is pretty easy for the ink to dry on the end of the printhead nozzles and cause the issue of clogging. Cleaning Kodak printhead can really be a huge help for such common issues and can be used to resolve kodak printer printhead problems.
How to Clean the Kodak Printer Printhead?
Here are the steps mentioned below following which you can easily clean the Kodak printer printhead and solve the Kodak Printer Head Problem:
Step 1: First of all, you need to turn on your Kodak printer and then open the top cover. After opening the top cover, just wait for a couple of seconds.
Step 2: In the next step, you need to unplug the cord from the rear end of the Kodak printer. Also, remove the cord and after unplugging the cords, turn off your printer; this will help you to keep the print cartridge in the correct location.
Step 3: Next, lift the printhead latch that houses the cartridges. Then, you have to pull the printhead out of the slot.
Step 4: After this, take a soft cloth and wipe the contact pads on the printhead, and remember to not wipe the nozzles that are present on the bottom of the printhead because doing so can cause severe damage to the printer.
Step 5: Now take some distilled water and dip a cotton cloth in that. After this, wipe the contact pads again using the wet cloth because ink residue can present there.
Step 6:Place the printhead on a paper towel and ensure that the nozzles are not touching the paper.
Step 7: Go to the printhead slot and clean the contact points using a cotton cloth and wait for 5 minutes so that everything can dry out properly.
Step 8: After cleaning everything, plug the power cord back into the wall outlet and another cord into the rear side of the printer. At this time, the control panel can display a “printhead is missing” message.
Step 9: Just put the printhead in the correct slot and gently press down and confirm that you have placed the printhead at the appropriate location.
Step 10: Now, apply some force to close the printhead latch and also confirm that the printhead latch is engaged.
Step 11: Lastly, close the printer cover, and now your Kodak printer will begin the printheads.
That was all about how you can clean the Kodak Printhead and solve the kodak printer head problem without any Kodak Printer Head Replacement. Hopefully, this guide helped you in getting rid of the problem.
Read Related Blogs: –
How to Connect HP Deskjet 2540 Wireless
HP Photosmart C4795 Printer driver


