Have you already downloaded the Windows 11 Beta or Dev version from the Windows Insider Program on your desktop computer or laptop?
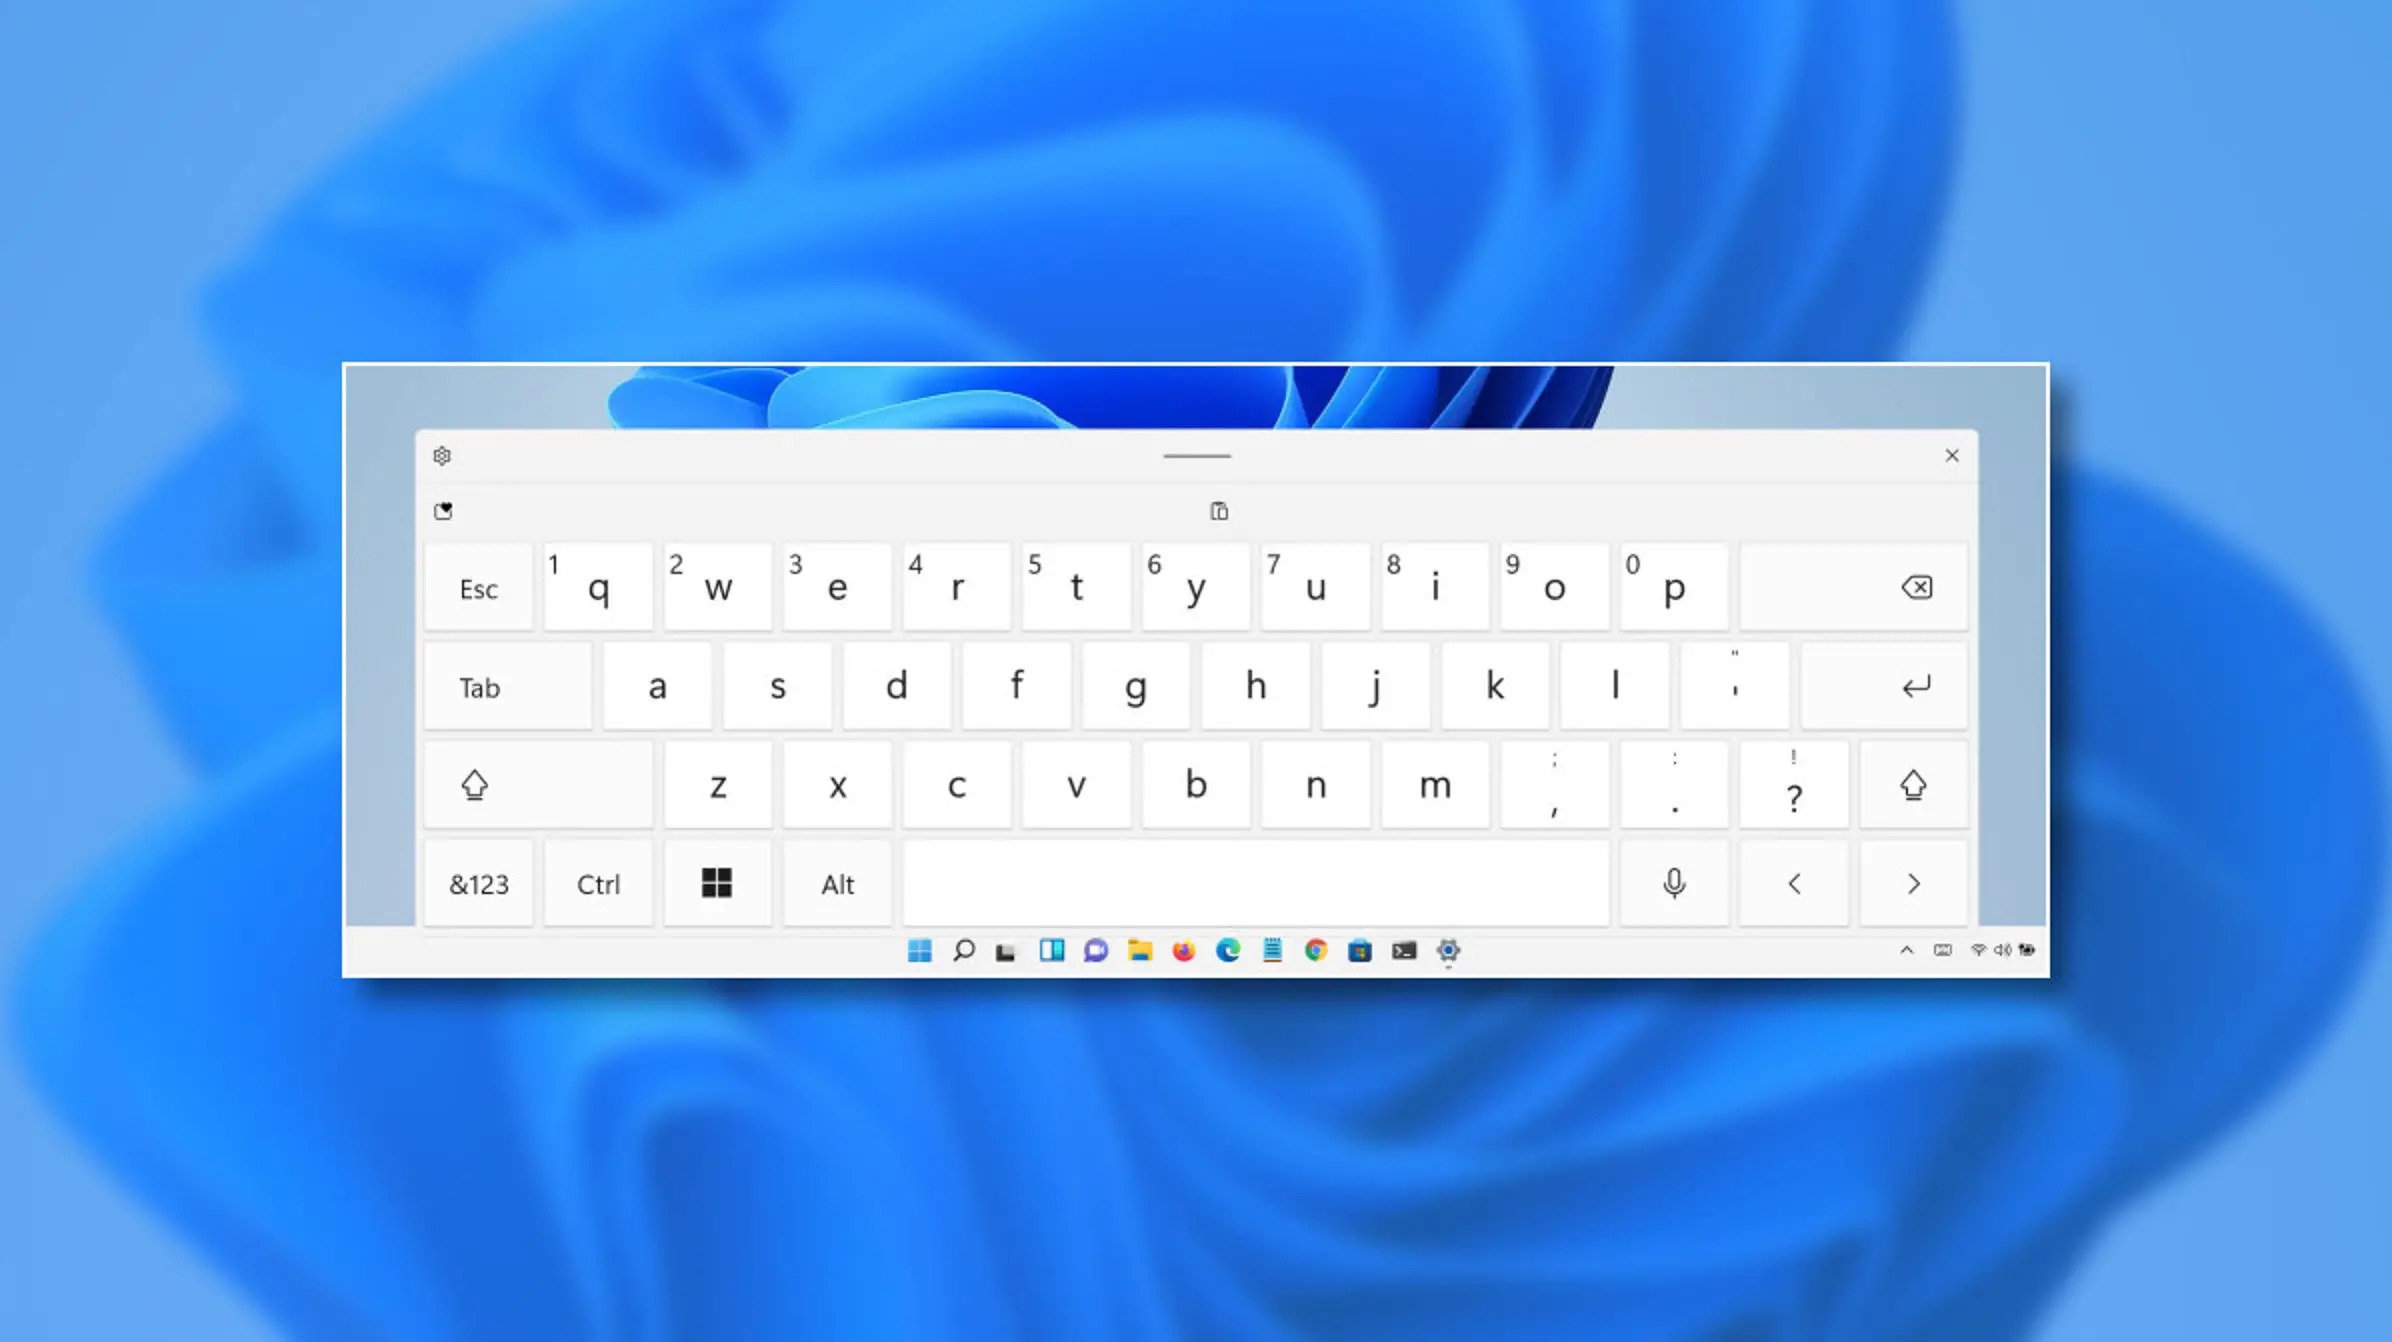
If you own a touch screen PC on which you have downloaded this upgraded Windows version, then you possibly know about a feature that you can use to activate the touch screen keyboard, also known as a virtual keyboard on your device.
Microsoft is a tech giant that is best known for its Windows operating system. And soon, the company is going to release Windows 11 for all of its users.
It is a significant update to Microsoft’s Windows operating system, and it includes a lot of exciting features that will improve the experience of the users. From a redesigned Start Menu to an improved system tray with a new split notification, Windows 11 has everything new.
Officially, Windows 11 will be made available to all users from October 5. But for now, the operating system’s Beta and Dev versions are available to download. If you have already downloaded the earlier version of Windows 11 on your touch screen PC, you can easily activate or disable the touch screen (virtual) keyboard.
Similar to the smartphone keyboards, Windows 11 touch keyboard also comes with support for auto-correct. Auto-correct is a feature that corrects your words automatically as you type using the on-screen keyboard.
And you can easily enable or disable this option on your Windows 11 touch keyboard. Do you want to know how to do so? Want to see what you will need to do to enable or disable the auto-correct feature in your Windows 11 touchscreen keyboard?
To figure this out, you will have to keep reading this article. Here, you will learn the methods you can easily apply to enable or disable the auto-correct feature in the Windows 11 touchscreen keyboard.
All About Enabling or Disabling the Autocorrect for Touchscreen Keyboard in Windows 11
Auto-correct is a pretty helpful feature that anyone can use to correct their spellings automatically while typing anything on their devices. It is a great option, especially for those who find it challenging to spell. Or you can activate it while using any foreign language.
Also, if you find it quite annoying, then you can disable it with much ease. Here, we have explained the methods following which you will be able to activate or disable the auto-correct feature in Windows 11 touch keyboard.
The techniques include some simple instructions that you need to follow. So, let’s see how you can use the auto-correct option in your Windows 11 touch keyboard without more delays.
Instructions to Turn on Auto-Correct in Windows 11 Touch Keyboard
Follow the given steps to turn on the auto-correct option in your Windows 11 touchscreen keyboard:
- To get started, you will first need to launch the Settings application on your Windows 11 computer. To do so, press the “Windows + I” keys altogether, and then click on “Settings” from the list of the options appearing on your screen.
- Alternatively, you can go to the Settings screen by clicking on the Start Menu on your computer.
- And once you finally get to the Settings page, you will have to click on the “Time and Language” section located in the left sidebar.
- And then, click on the option of “Typing” located on the right side of the page.
- Under the Typing section, you will now see an option named “Autocorrect Misspelled Words.”
- You need to enable this option by turning on the toggle button located next to it. And that’s it.
Steps for Turning Off the Auto-Correct Feature in Windows 11 Touchscreen Keyboard
If you don’t find the auto-correct option helpful in your Windows 11 touch keyboard, you can disable it by following the instructions given here:
- Firstly, you will open the Settings app on your Windows 11 computer using a shortcut key, “Windows + I.”
- On reaching the Settings page, move on to the “Time and Language” section in the left sidebar.
- Here, you will have to click on the “Typing” option located on the right side of your computer screen.
- Now, you will have to locate the “Auto-correct Misspelled Words” option. And then click on it to proceed further.
- At last, turn off the toggle button located next to the option. And that’s it. Now, whenever you type using the touchscreen keyboard on your Windows 11 device, the words will not be automatically corrected until you want them to be correctly spelled.
So, this is how any Windows 11 user can easily enable or disable the auto-correct feature in the touchscreen keyboard on their device. You can try the methods at any time. And if you want to know more about Windows 11, go to our official website right away.
Visit: mcafee.com/activate


