Do you know how to make acrylic cake toppers with Cricut? If not, then don’t worry! I am going to make it easy for you in this blog. Recently, I made some toppers for my daughter’s birthday. And believe me, it hardly took a few hours. I think you can complete this custom project in just a few minutes.
Since I have made this topper and other crafters before, I can teach you the process of making these cake toppers in simple steps. But wait! Are you concerned about the capabilities of the Cricut machine? Are you unsure whether it can cut acrylic plastic or not? Well, Cricut Maker is designed to cut a wide range of materials up to 300+. Please don’t worry about it! The process is quite simple, and I will show each step with the help of images.
So, ready to get started with me? Let’s take a deeper look at this!
Tools and Supplies Required for Custom Cake Toppers
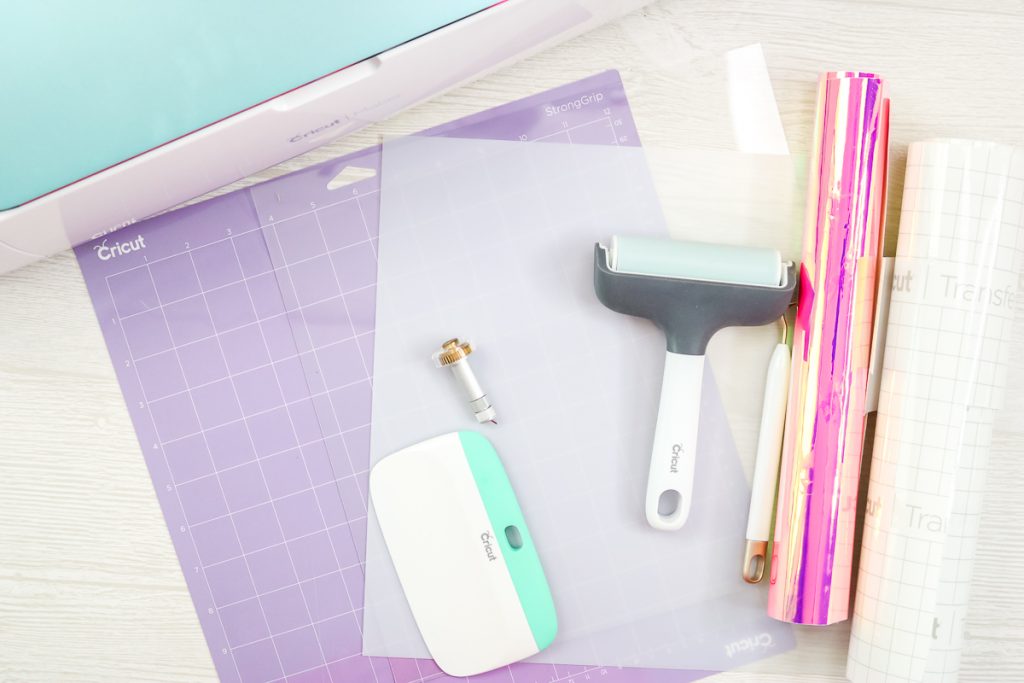
I know you are eager to learn how to make acrylic cake toppers with Cricut, but before that, you have to make sure that you have all the essential items. Let’s have a look at them:
- Cricut Maker
- Knife Blade
- Strong grip mat
- Weeding tools
- Design for cake toppers
- Scraper
- Brayer
- Acrylic Sheets (.020 size fits perfectly with the Maker)
- Pink Holographic Vinyl
- Transfer tape
- Painter’s Tape
Step 1: Creating Cake Toppers on Cricut Design Space
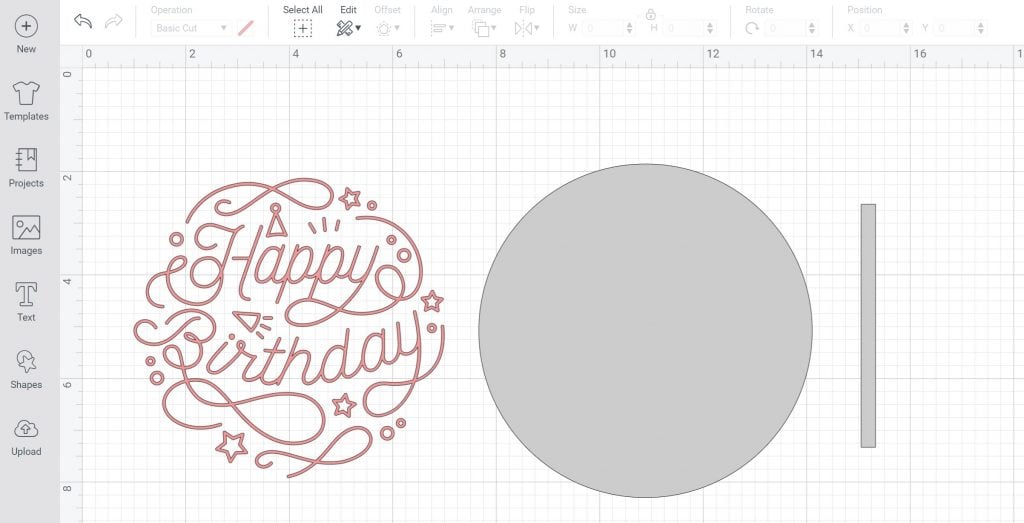
So, let me first start with the design of the cake topper. On the Design Space, you can find various topper designs. Otherwise, if you can afford it, then you can buy many affordable topper designs on the same platform. But, in my case, I designed this topper myself, and I can show you how to make acrylic cake toppers with Cricut Design Space. For this, you need to follow the steps provided below:
- I found this design from Design Space. So, you can also find it.
- Next, I added a circle and a skinny rectangle. You can find these shapes from the shape tool.
- After that, I merged the circle and rectangle together. I have also aligned these two by centering horizontally.
- Then, I hit the Weld button to get the design, and finally, it was ready to cut.
Above, I explained to you the process of creating a topper on Design Space. Further in the next section, I will show you how to cut acrylic with Cricut Maker.
Step 2: Cut Acrylic With Your Cricut Machine
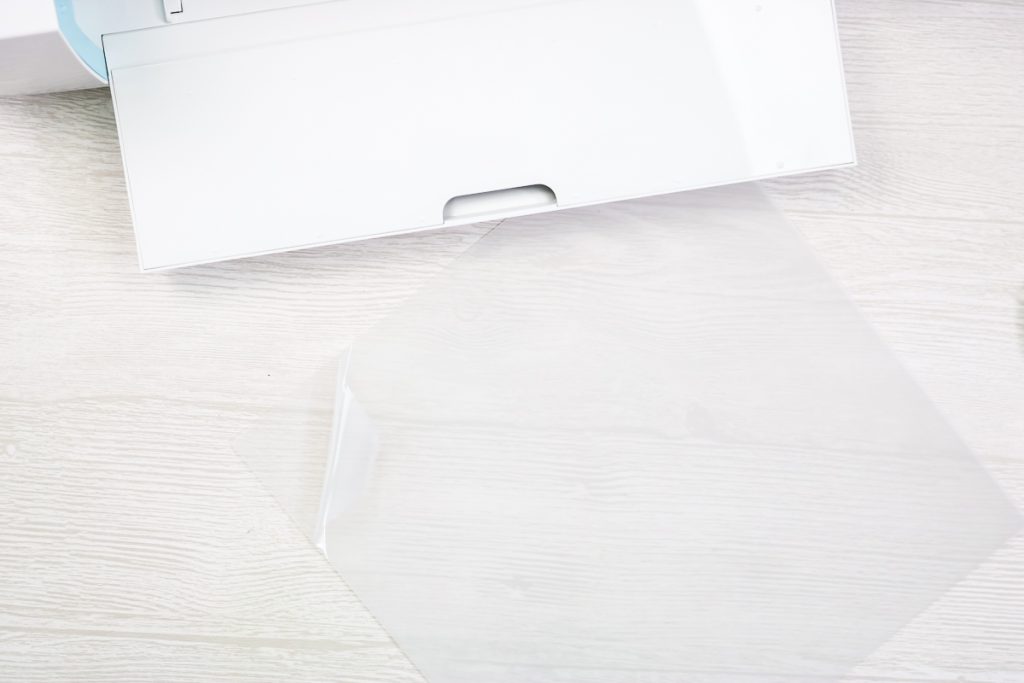
After finishing the design, the next step is cutting, and it is the most important step for bringing the ideas into reality. So, get ready with your acrylic sheet and make sure you have removed the protective layer from the sheet.
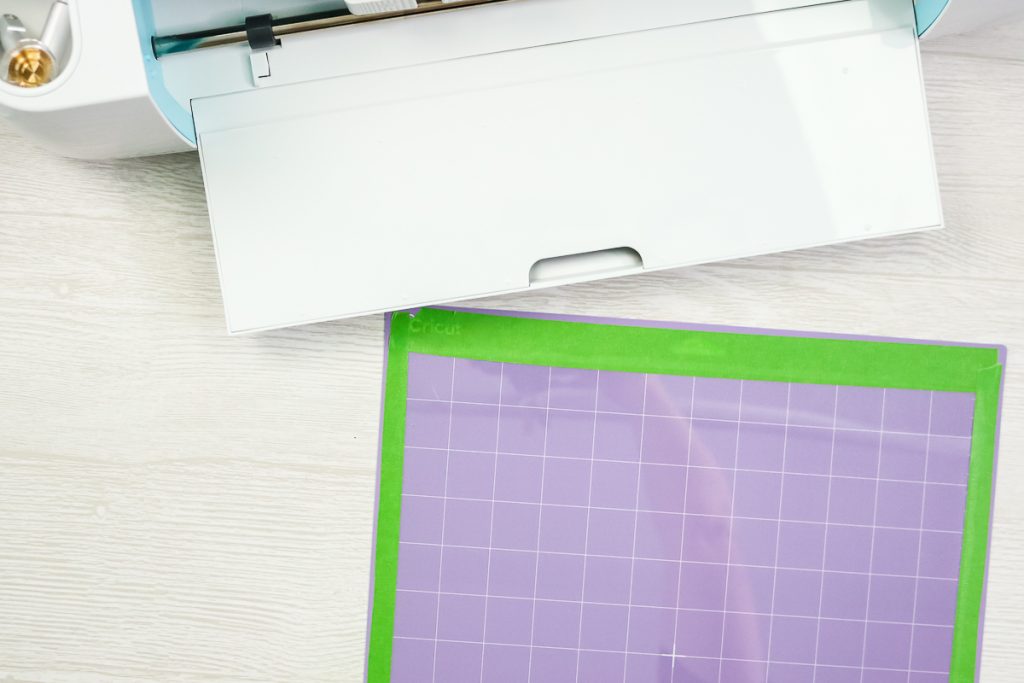
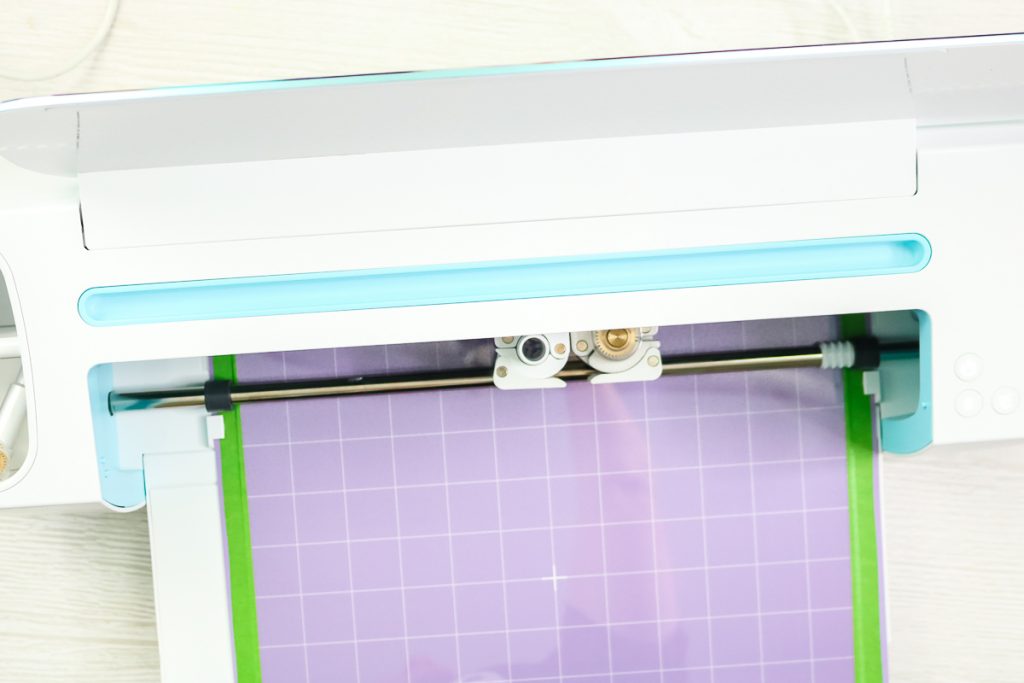
Next, you have to use the strong grip mat on which you will need to place your acrylic sheet. You can use the brayer tool to stick it on the mat and also use the tape to secure it.
Insert the mat into your Cricut machine and keep an eye on the process to ensure the right cutting of your design.
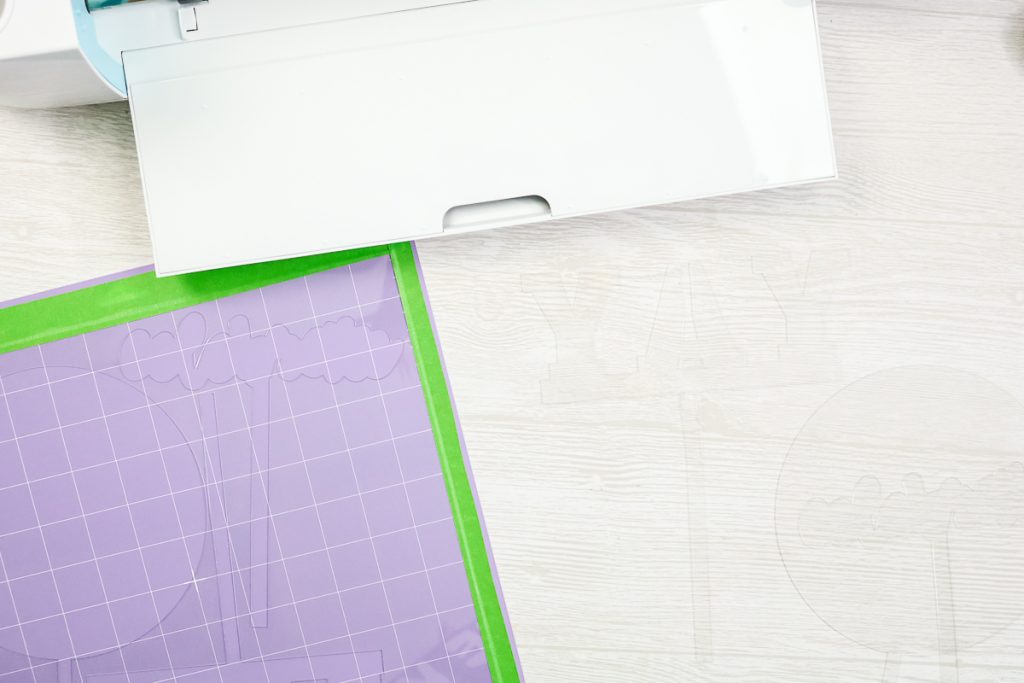
After cutting, just unload the mat by pressing the unload button on the Cricut Maker.
Step 3: Adding Vinyl to an Acrylic Topper
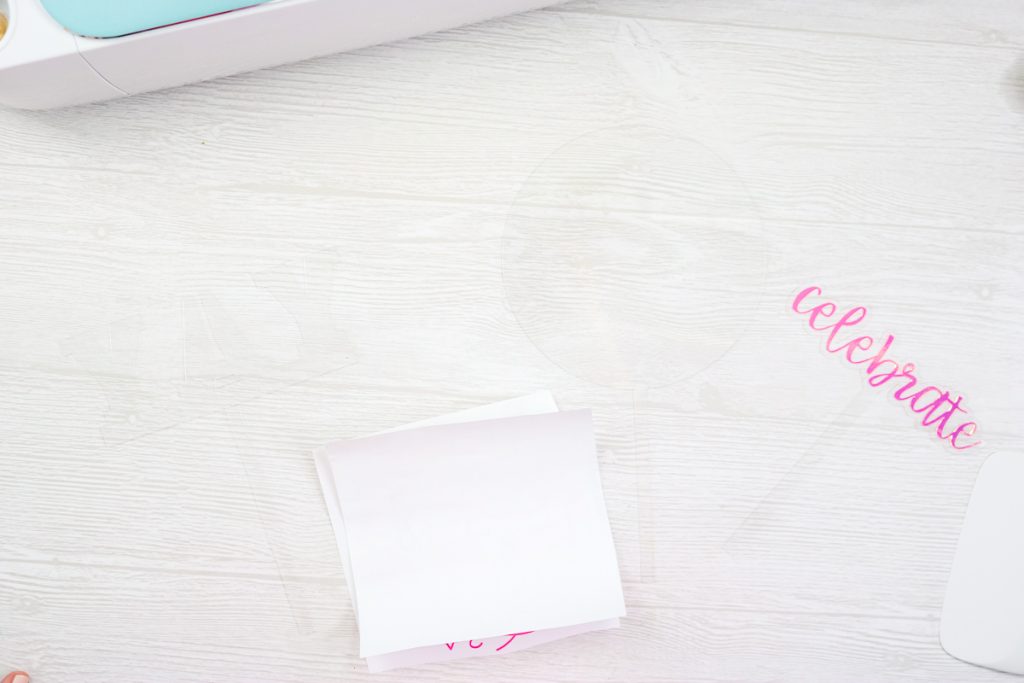
Here, I have cut some pieces of vinyl that I will add to the topper. Make sure you are weeding the cut vinyl properly, and then add the transfer tape over the top.
Next, peel off the vinyl from the back then place it on the cut pieces of acrylic. Afterward, you have to press down using the scraper then remove the transfer tape. Finally, you have made your cake topper using the acrylic material!
With this guide, I have explained how to make acrylic cake toppers with Cricut, and thus, you should now be able to make your own topper by adding different types of creativity.
FAQs
Question 1: Can I make cake toppers with Cricut Joy?
Answer: Yes, you can make cake toppers easily with Cricut Joy, too. In addition, it can cut the acrylic material smoothly and intricately. Besides, most of the design will be done in the Design Space, and then you have to cut it on the Cricut Joy. All you need to do is insert the right tool for cutting your acrylic, and you are good to go.
Question 2: Can I cut acrylic with a Cricut machine?
Answer: Yes, cutting the right type of acrylic with a Cricut is possible. The Cricut has developed a high-tech machine that easily cuts materials up upto 2.4 mm thick. In contrast, the Cricut Maker is 10 times stronger than other machines, and hence, it is possible to cut acrylic with your cutting machine.
Question 3: What size of acrylic material can I engrave with my Cricut?
Answer: If you are using a Cricut Maker, then you should have a minimum thickness for the acrylic of about 2 mm. In inches, it will be 1/16th of an inch or maybe less than that to engrave without scratching the surface. So, the answer is that 2 mm is the most suited size for engraving.
Final Words
This guide explores how to make acrylic cake toppers with Cricut and explains each step in detail. Following this post, you can make similar crafts or toppers. All you need are the supplies that I have mentioned in this blog. Despite this, you should try to make your own design if you don’t want to buy any designs. Last, you can follow the steps carefully, it will surely help you transform your idea to the next level.
Read more: install cricut design space app
