Introduction
Dental photography has become an essential part of modern dental practice. From clinical documentation and treatment planning to patient communication and marketing, high-quality images play a critical role in all of these areas. Traditionally, professional dental photography required DSLR cameras, flashes, and complex setups. Today, however, smartphones combined with advanced lighting tools like the Twin Light for mobile dental photography are changing the game.
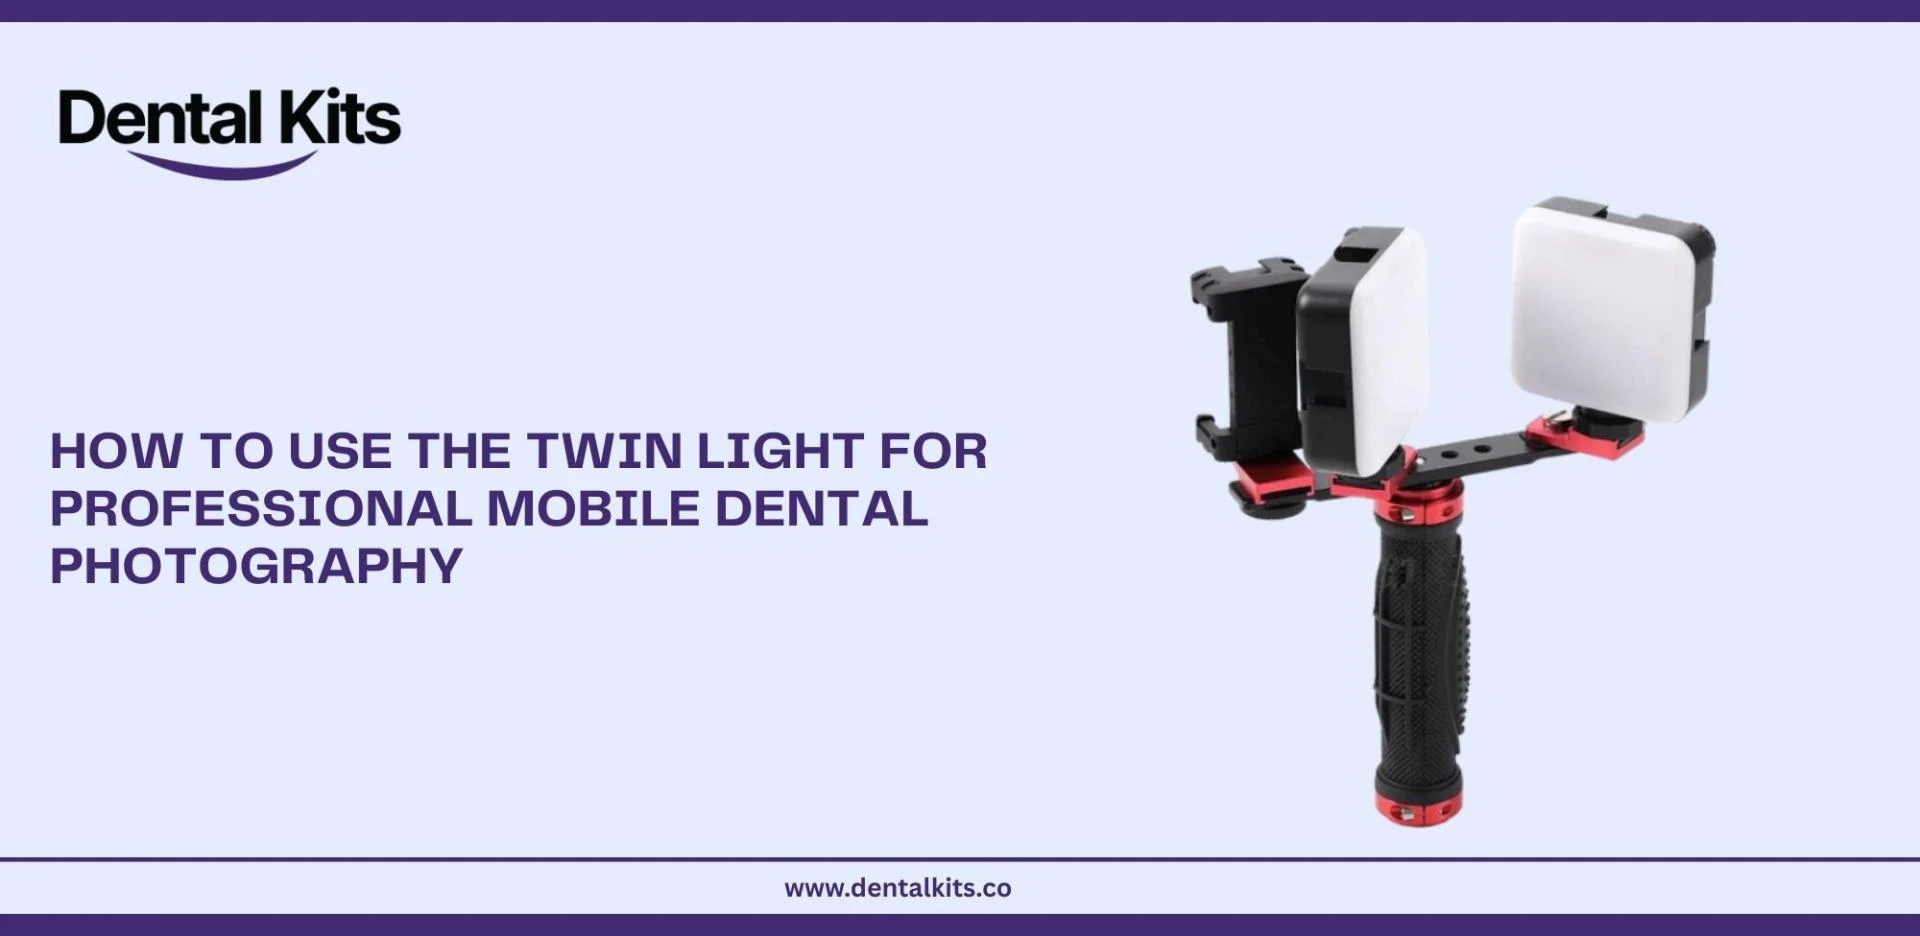
The Twin Light for Mobile Dental Photography is specifically designed to solve the biggest challenge in mobile dental photography: lighting. Smartphone cameras are powerful, but without proper illumination, images often suffer from shadows, glare, and inaccurate colors. With the right technique, the Twin Light allows dental professionals to capture clear, consistent, and clinically accurate images using just a mobile phone.
This guide explains how to use the Twin Light for professional mobile dental photography, covering setup, positioning, best practices, and advanced tips — all written for real-world dental use.
What is the Twin Light for Dental Photography, and Why Do Dentists Use It
The Twin Light for dental photography is a dual-LED lighting system created for smartphone dental photography. Unlike a single flash or ring light, the Twin Light uses two balanced light sources to illuminate the oral cavity evenly.
Key Benefits of Mobile Twin Light for Dental Photography
- Reduces harsh shadows inside the mouth
- Improves visibility of posterior teeth
- Enhances texture and surface details
- Produces more accurate tooth color and shade
- Creates consistent results for before-and-after photos
For dentists, hygienists, orthodontists, and dental students, the Twin Light provides a practical and portable alternative to bulky camera systems while maintaining professional standards.
Step-by-Step Guide: How to Use the Mobile Twin Light for Dental Photography Correctly
1. Prepare Your Smartphone Camera
Before attaching the mobile twin light for dental photography, make sure your phone is ready:
- Clean the camera lens thoroughly
- Disable beauty filters or automatic enhancements
- Use the highest resolution available
- If possible, lock focus and exposure
A clean lens and neutral camera settings alone can dramatically improve image sharpness.
2. Attach the phone twin light for dental photography Securely
Mount the phone twin light for dental photography onto your smartphone using its adjustable clip or holder:
- Align the lights symmetrically around the camera lens
- Ensure the LEDs do not block the lens
- Tighten the mount to avoid movement during shooting
Stability is essential. Even slight movement can affect focus, especially in close-up intraoral photography.
3. Adjust Light Intensity and Angle
Lighting control is where the Twin Light truly shines:
- Start with medium brightness
- Increase intensity for deeper intraoral shots
- Angle the lights slightly outward to soften reflections
- Avoid pointing both lights directly at enamel surfaces
Balanced lighting helps prevent glare while maintaining enough brightness to capture fine details.
4. Position the Patient Properly
Correct patient positioning improves both comfort and image quality:
- Seat the patient upright or semi-reclined
- Use cheek retractors for clear visibility
- Ensure lips and cheeks are fully retracted
- Ask the patient to relax and remain still
For posterior shots, slight head tilting can significantly improve access and lighting.
5. Frame, Focus, and Capture
When shooting:
- Keep the camera parallel to the teeth
- Fill the frame with the area of interest
- Tap to focus on the tooth surface
- Hold steady and capture multiple shots
Avoid digital zoom whenever possible — move closer instead to preserve image quality.
Best Practices for Professional Dental Results
Maintain Consistency
Consistency is critical for clinical records and comparisons:
- Same lighting level
- Same angle
- Same distance
- Same patient position
This makes before-and-after images more reliable and professional.
Use Neutral Backgrounds
A neutral background minimizes distractions and keeps focus on the teeth and tissues. Clean retractors and mirrors also prevent unwanted reflections.
Control Reflections and Glare
Teeth are naturally reflective. To reduce glare:
- Slightly adjust Twin Light angles
- Lower brightness instead of increasing distance
- Capture multiple angles if needed
Subtle adjustments often produce dramatic improvements.
Advanced Twin Light for Mobile Dental Photography Techniques
Macro Dental Photography
For close-up details such as cracks, restorations, or texture:
- Use a macro lens attachment if available
- Increase brightness slightly
- Stabilize your hands or use arm support
This technique is ideal for documentation and educational content.
Shade Matching and Color Accuracy
Accurate lighting is essential for shade selection:
- Keep lighting consistent across sessions
- Avoid mixed lighting (chair light + Twin Light)
- Review images on a calibrated screen when possible
The Twin Light’s balanced illumination helps maintain realistic tooth shades.
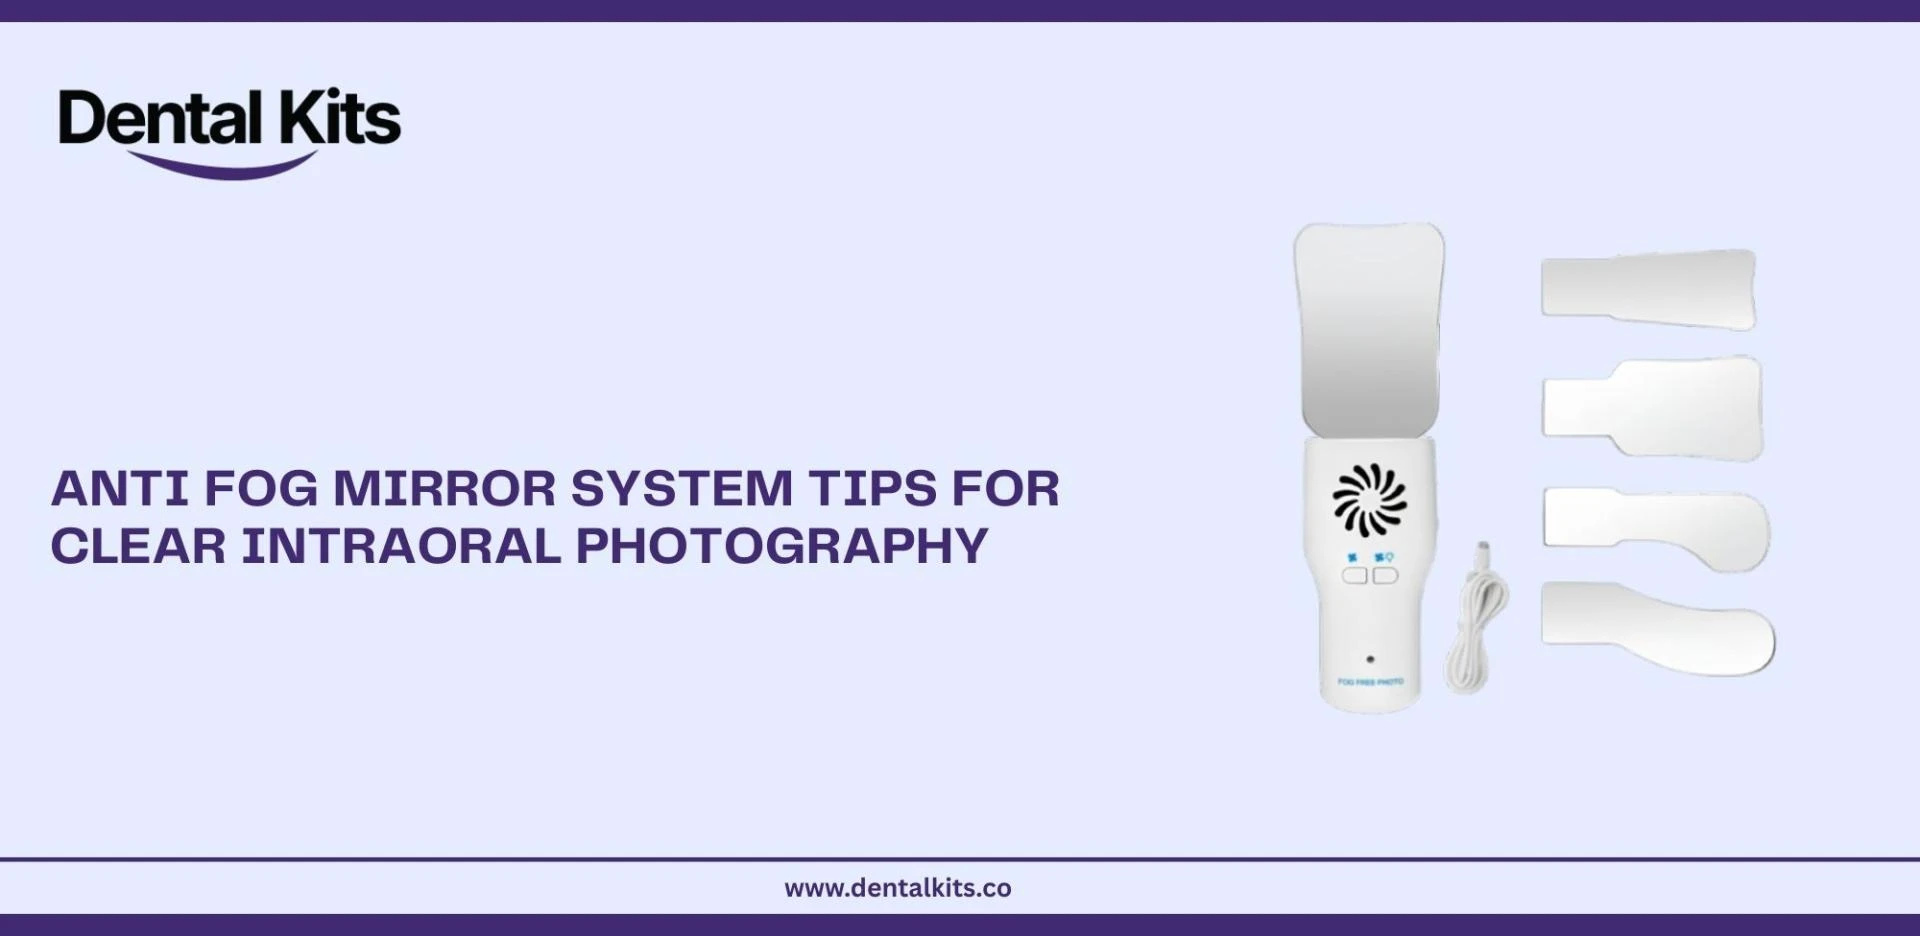
Intraoral Mirror Photography
When using mirrors:
- Angle the twin light for mobile dental photography to avoid direct reflections
- Clean mirrors thoroughly before shooting
- Capture multiple exposures to ensure clarity
Common Mistakes to Avoid
Overexposure
Too much light washes out texture and detail. Always adjust brightness instead of relying on automatic camera correction.
Relying on Phone Flash
Built-in flashes create harsh shadows and uneven lighting. The mobile twin light for dental photography should be your primary light source.
Inconsistent Technique
Changing angles, distance, or lighting between sessions reduces clinical value and visual impact.
Clinical and Practical Uses of mobile twin light for dental photography
Clinical Documentation
High-quality images support:
- Diagnosis
- Treatment planning
- Case progress tracking
Clear photos strengthen patient records and clinical confidence.
Patient Communication
Patients understand treatment better when they can visually see issues. Well-lit images improve trust and acceptance.
Practice Marketing
Professional images enhance:
- Website galleries
- Social media posts
- Educational content
High-quality visuals reflect professionalism and attention to detail.
Why Twin Light for Dental Photography Builds Trust
Using consistent, accurate photography demonstrates:
- Experience through real clinical application
- Expertise via proper lighting and technique
- Authority through professional-quality documentation
- Trustworthiness with transparent patient communication
Well-executed dental photography supports both clinical outcomes and brand credibility.
Final Thoughts: Mastering Twin Light for Mobile Dental Photography
The Twin Light for Dental Photography is more than just an accessory — it’s a professional tool that transforms smartphones into powerful dental photography devices. With proper setup, thoughtful positioning, and consistent technique, dental professionals can achieve clear, accurate, and repeatable results without complex equipment.
By mastering the Twin Light, you improve clinical documentation, enhance patient understanding, and elevate the overall presentation of your dental work — all with a simple, mobile-friendly setup.


Sign in to leave a comment.