Installing open-cell spray foam shouldn’t feel like solving a puzzle with missing pieces. Yet, that's how it can feel for property owners trying to figure out the “right” way to insulate a home or commercial building. Between air sealing, moisture concerns, and the million types of advice online, things can spiral from “simple upgrade” to “I wish I’d just left the attic alone.”
Open-cell spray foam insulation can be one of the smartest insulation choices—if done correctly. The catch? Getting it right means knowing what can go wrong. If you're tackling a renovation, managing energy bills, or fixing drafty walls, this article breaks it down without the jargon or headaches.
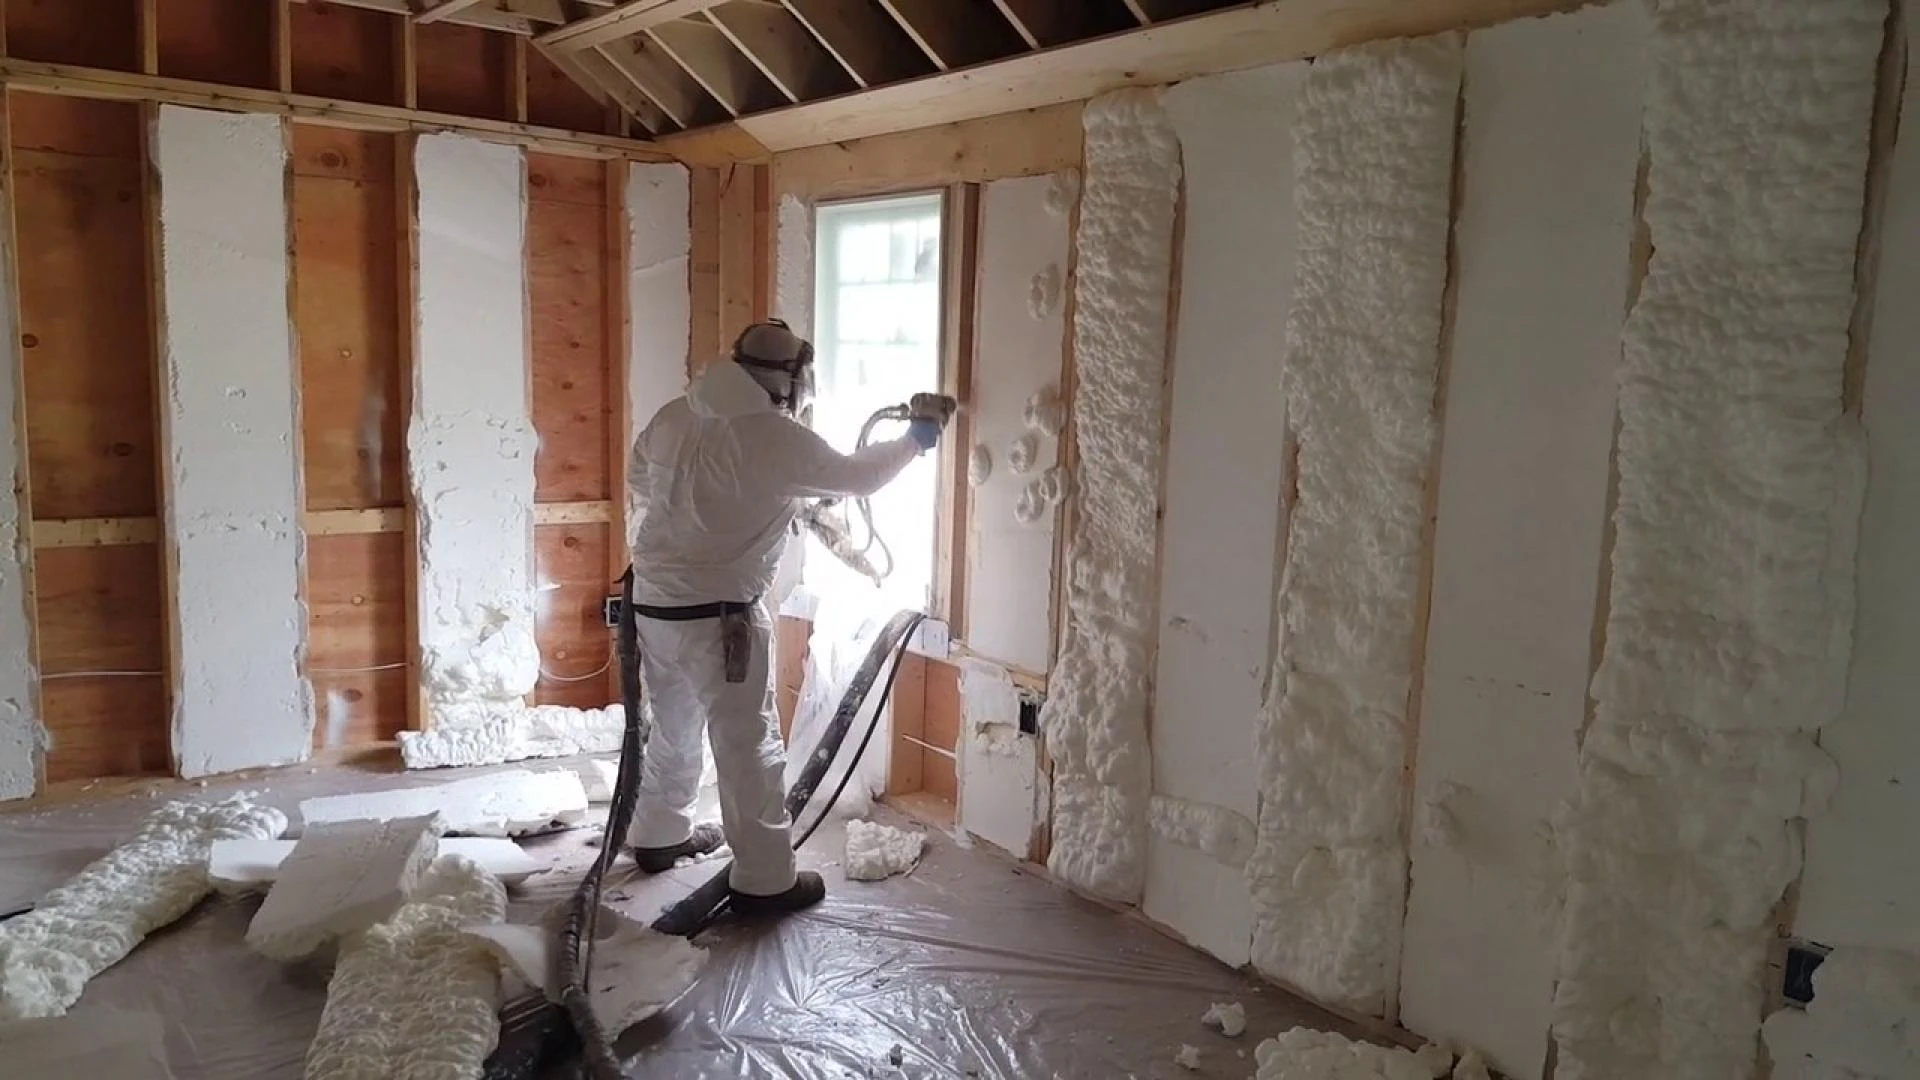
How Open-Cell Spray Foam Works (and Why It’s Not Like the Others)
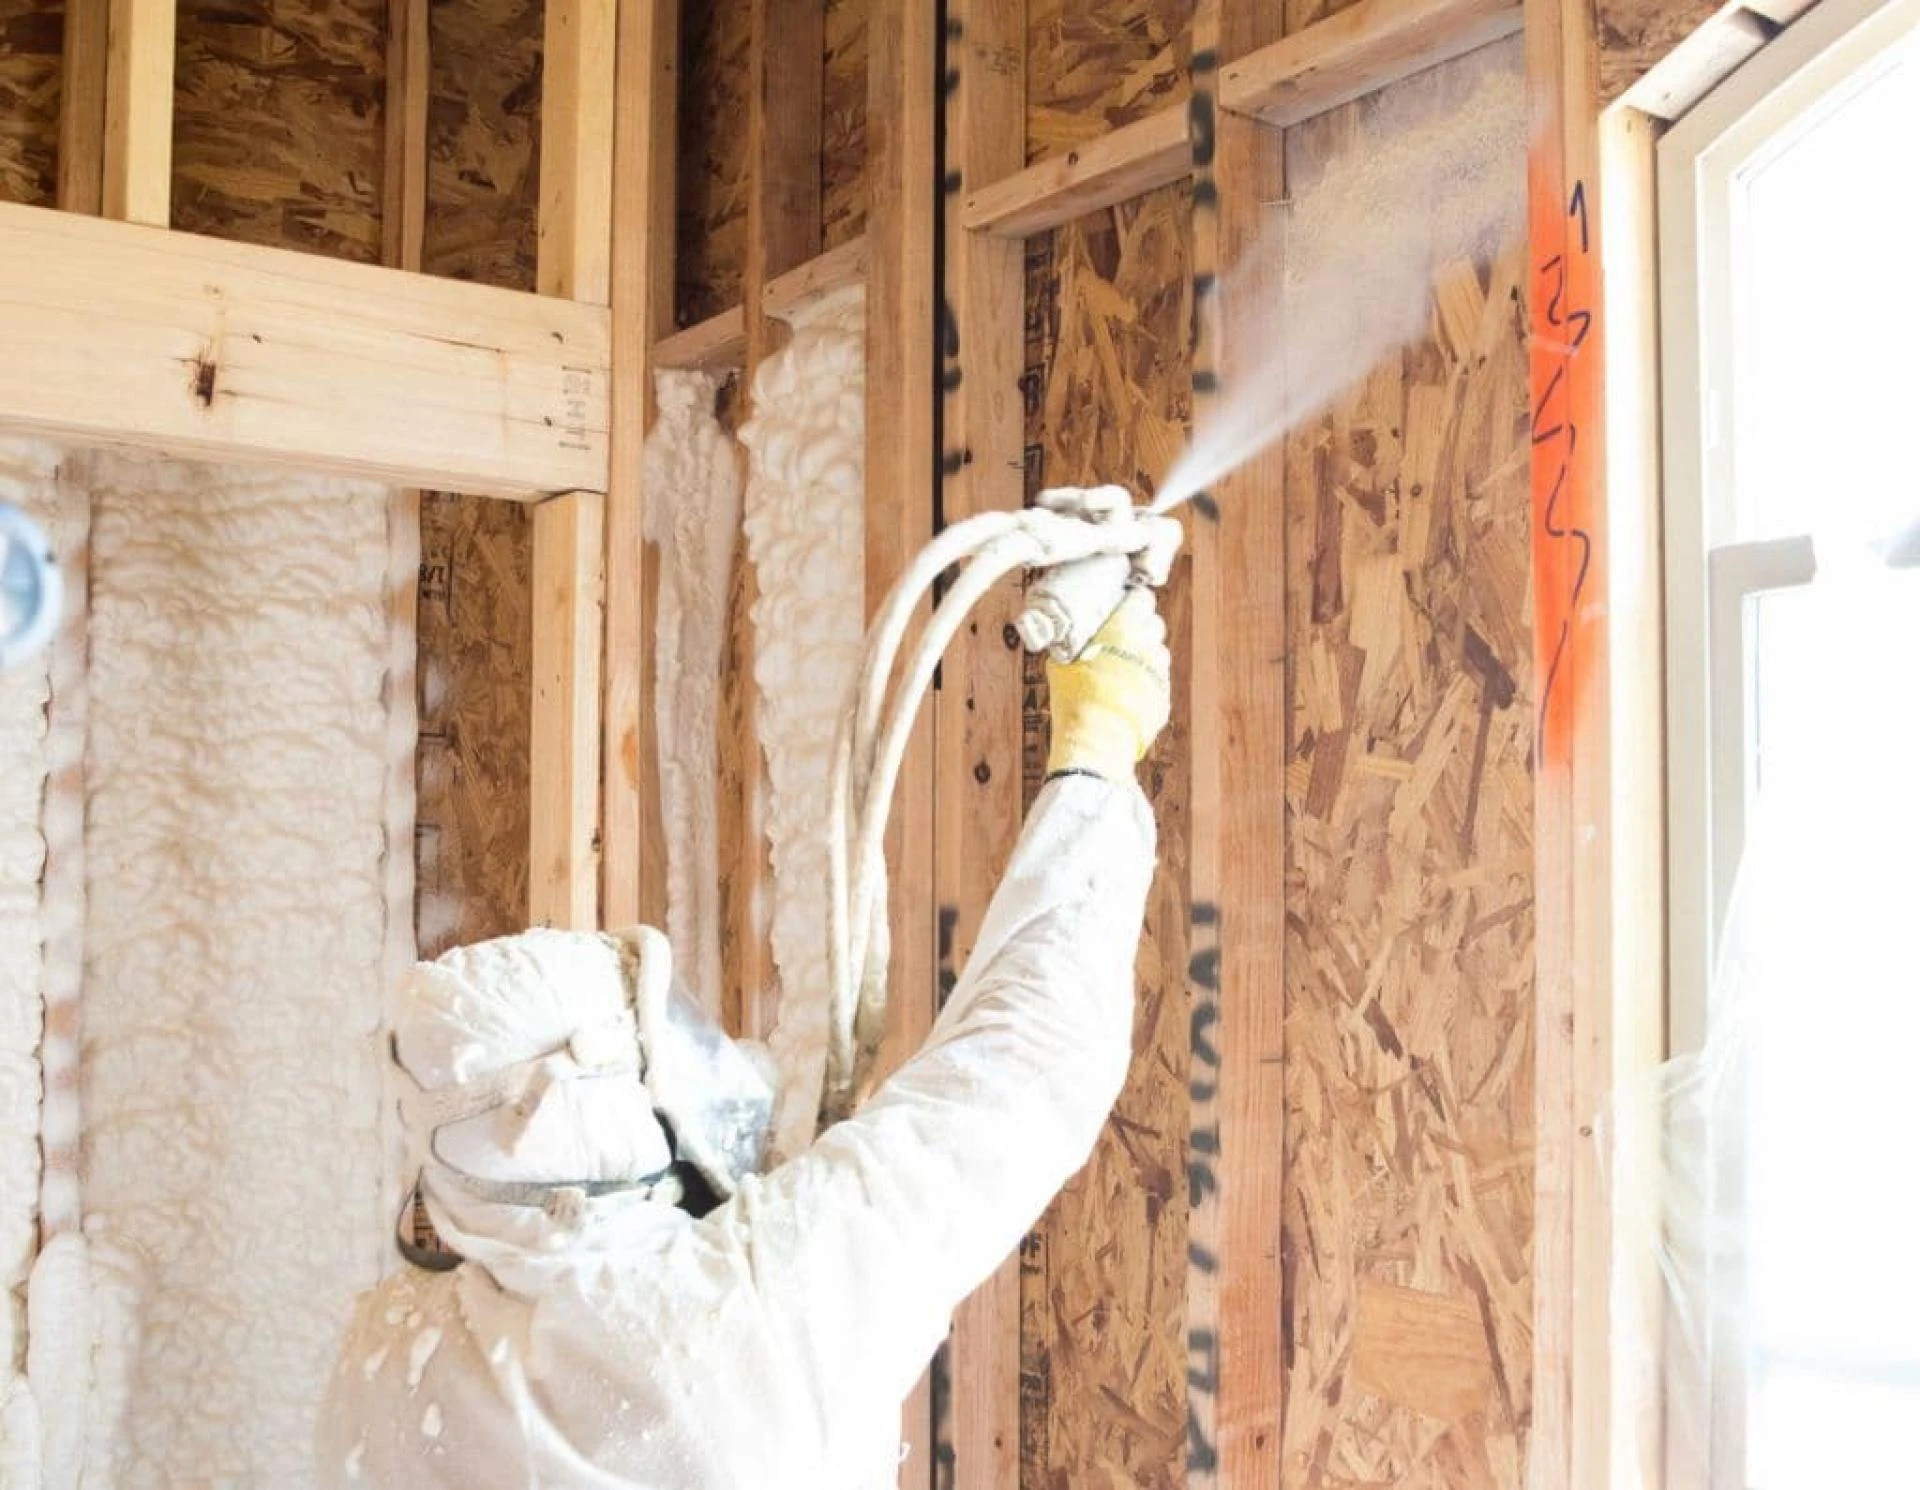
Open-cell foam isn’t a one-size-fits-all fix—but when it fits, it really fits. It expands rapidly and creates an airtight barrier, while still allowing vapor to pass through. That’s not a flaw—it’s by design.
Why the “Open-Cell” Part Matters
Open-cell foam traps air inside its structure but remains breathable. It’s soft, flexible, and ideal for interior walls, attics, or sound-sensitive spaces.
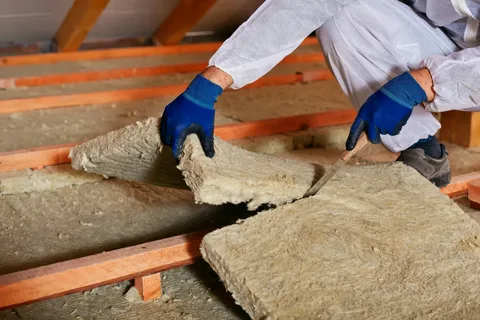
How It Differs from Closed-Cell Foam
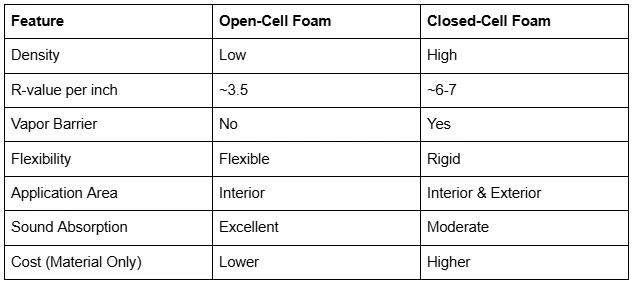
Fun Fact: Open-cell foam expands up to 100x its liquid volume—yes, 100x. So precision matters.
Key Areas Where Open-Cell Spray Foam Performs Best
Not every wall needs open-cell foam. But in the right spots, it outperforms traditional insulation without breaking a sweat.
Attics and Rooflines
Air sealing here saves the most energy. Open-cell foam keeps conditioned air inside and hot attic air out, even in complex rooflines.
Between Interior Walls
Perfect for deadening sound—open-cell foam is used in media rooms, bedrooms, and offices for a reason.
Floor Cavities and Crawlspaces
It offers air sealing and thermal performance while adapting to oddly shaped floor cavities or beams.
Fun Fact: NASA originally developed foam insulation for cryogenic tank linings—not bad for something now sitting in your attic.
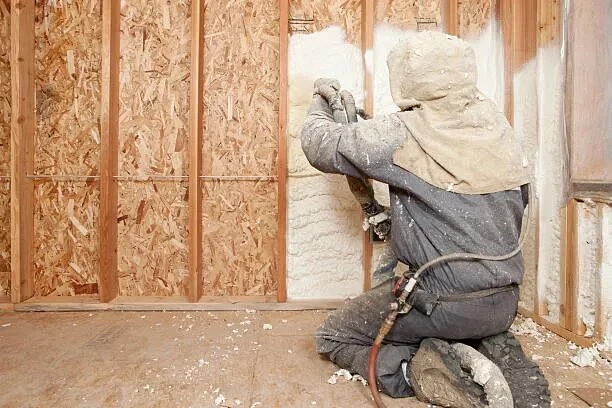
What to Do Before Installing Open-Cell Spray Foam
Preparation is everything. Even the best foam won’t fix poor prep work. Here’s how to set things up for success.
Check for Moisture Issues First
Don’t spray foam over wet surfaces or mold. Fix roof leaks, plumbing issues, or humidity build-up before touching a spray gun.
Confirm Surface Compatibility
Spray foam sticks to clean, dry, and stable surfaces. Wood, metal, and masonry are fine—but dusty, flaky, or oily surfaces are not.
Airflow and HVAC Planning
Sealing off airflow changes how buildings breathe. Reassess ventilation and HVAC loads before and after spraying.
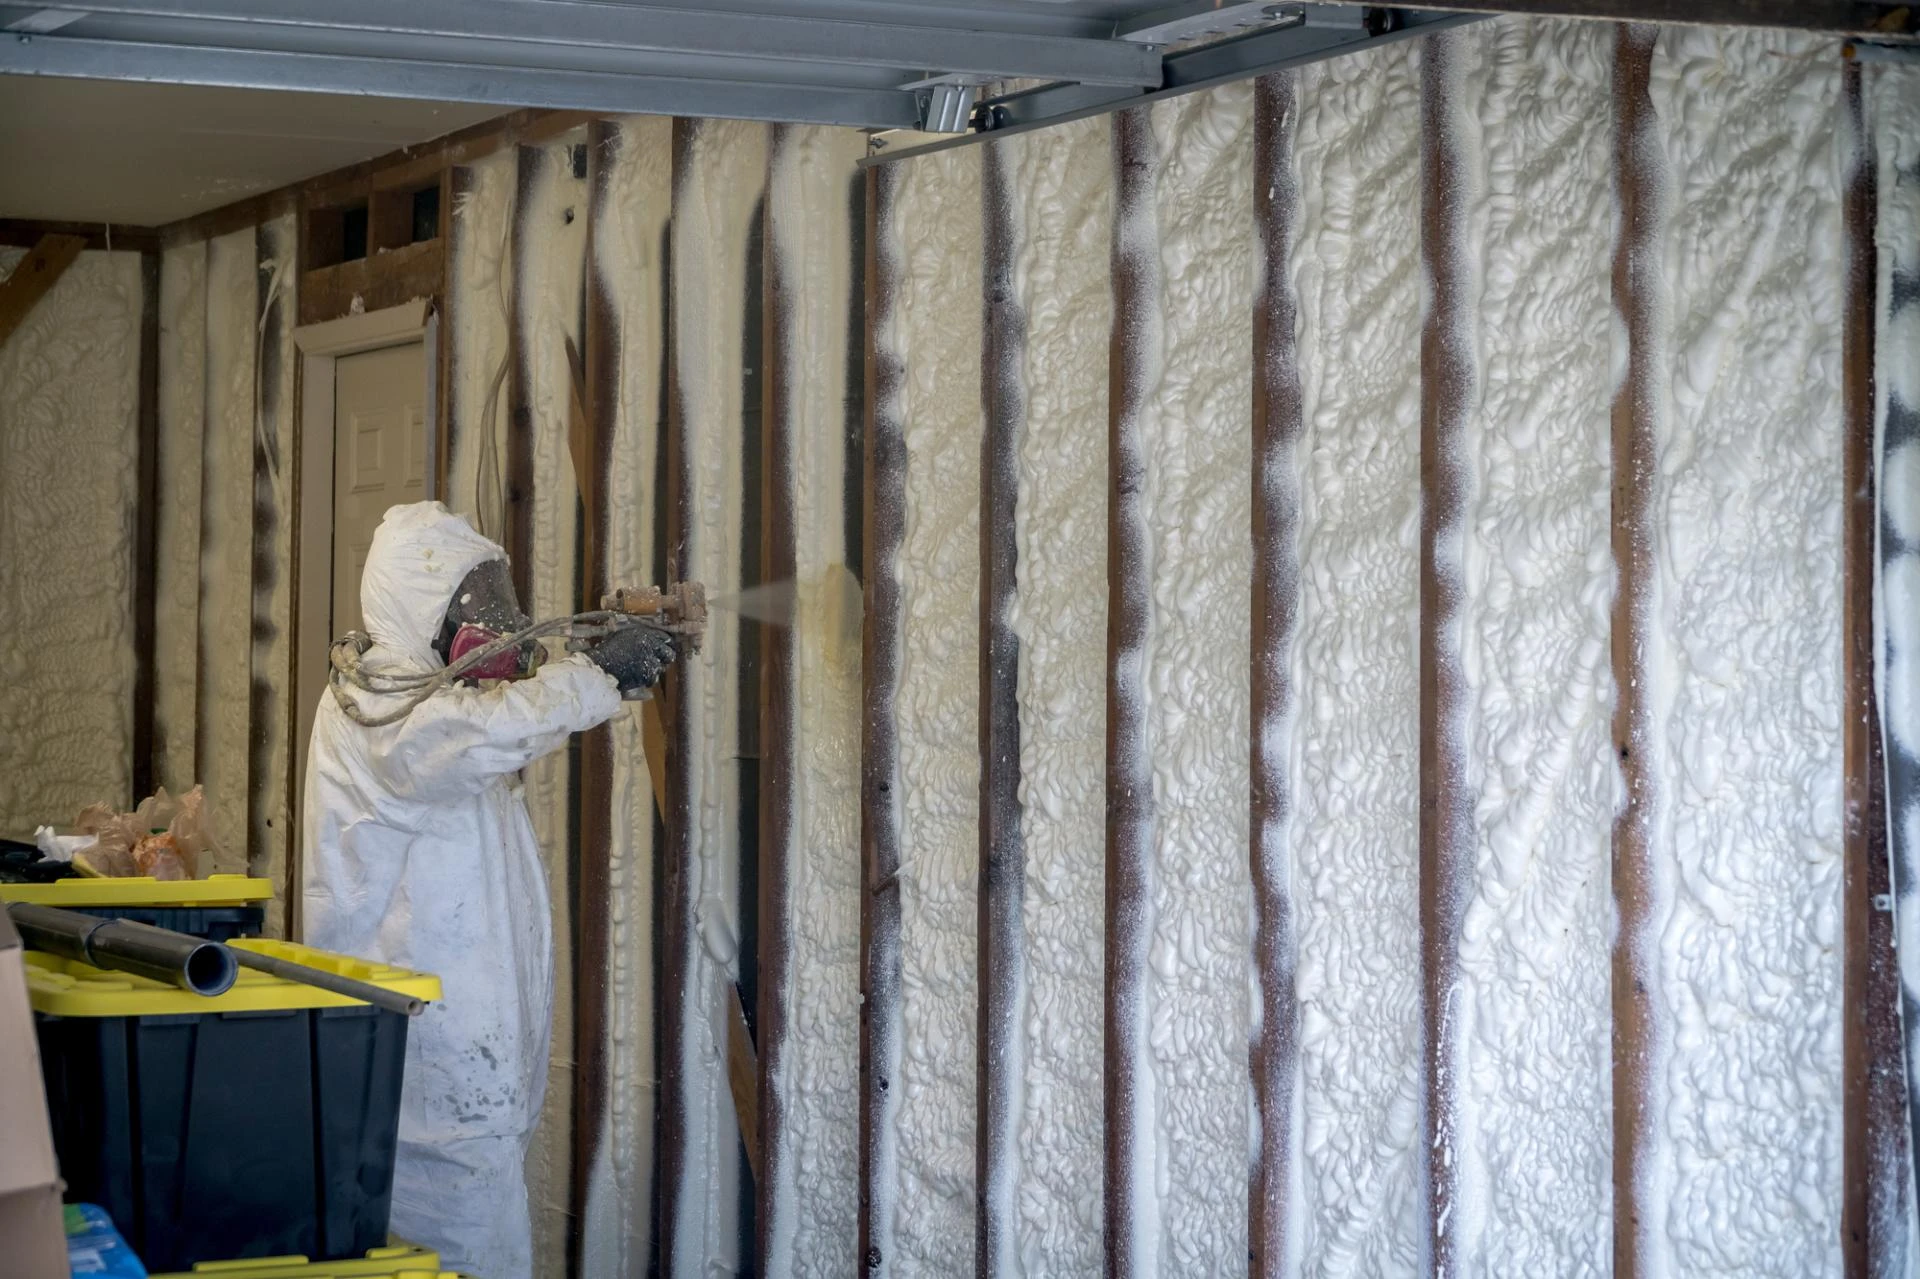
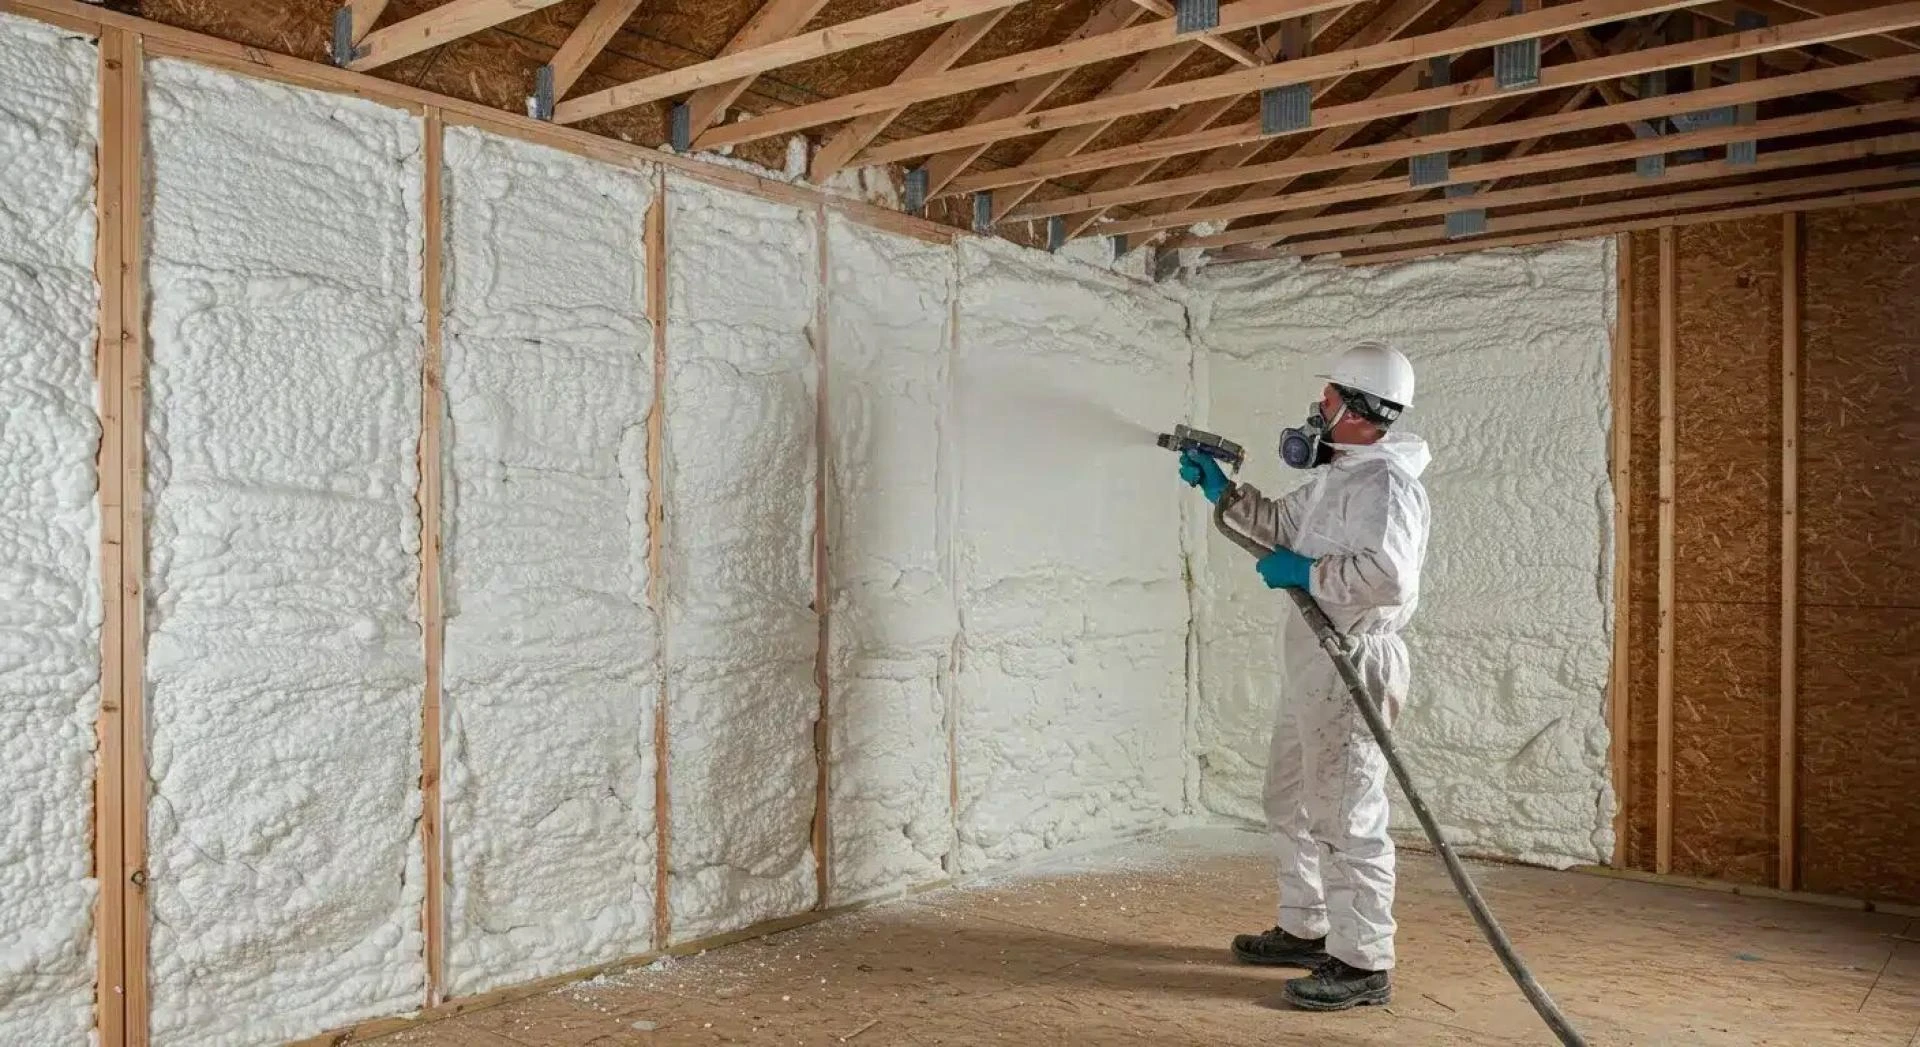
During Installation: Watch for These Pitfalls
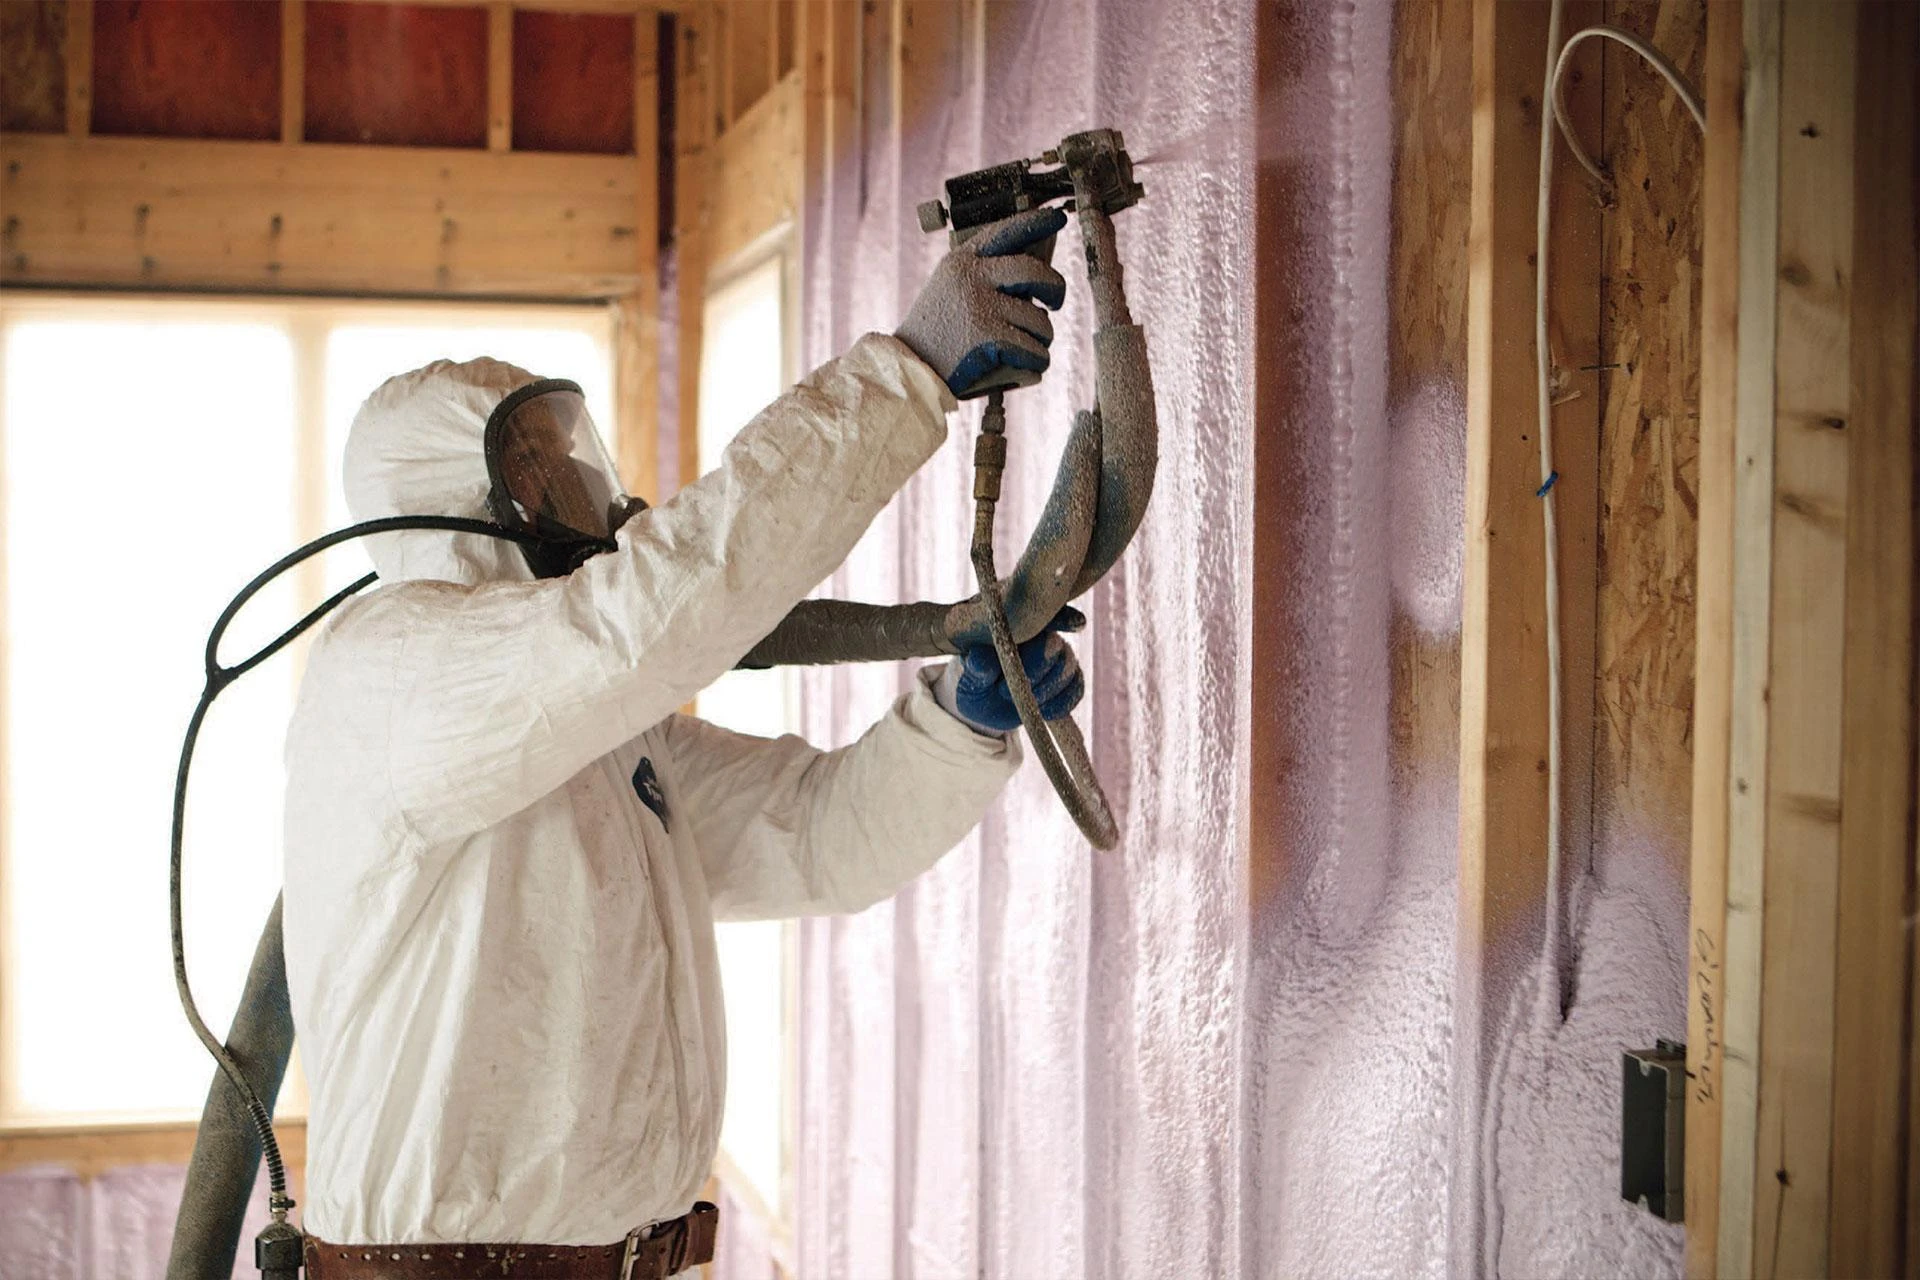
Spray foam application looks easy online. In reality, it's equal parts chemistry, timing, and technique. Get one wrong, and you’ll be scraping foam instead of sealing gaps.
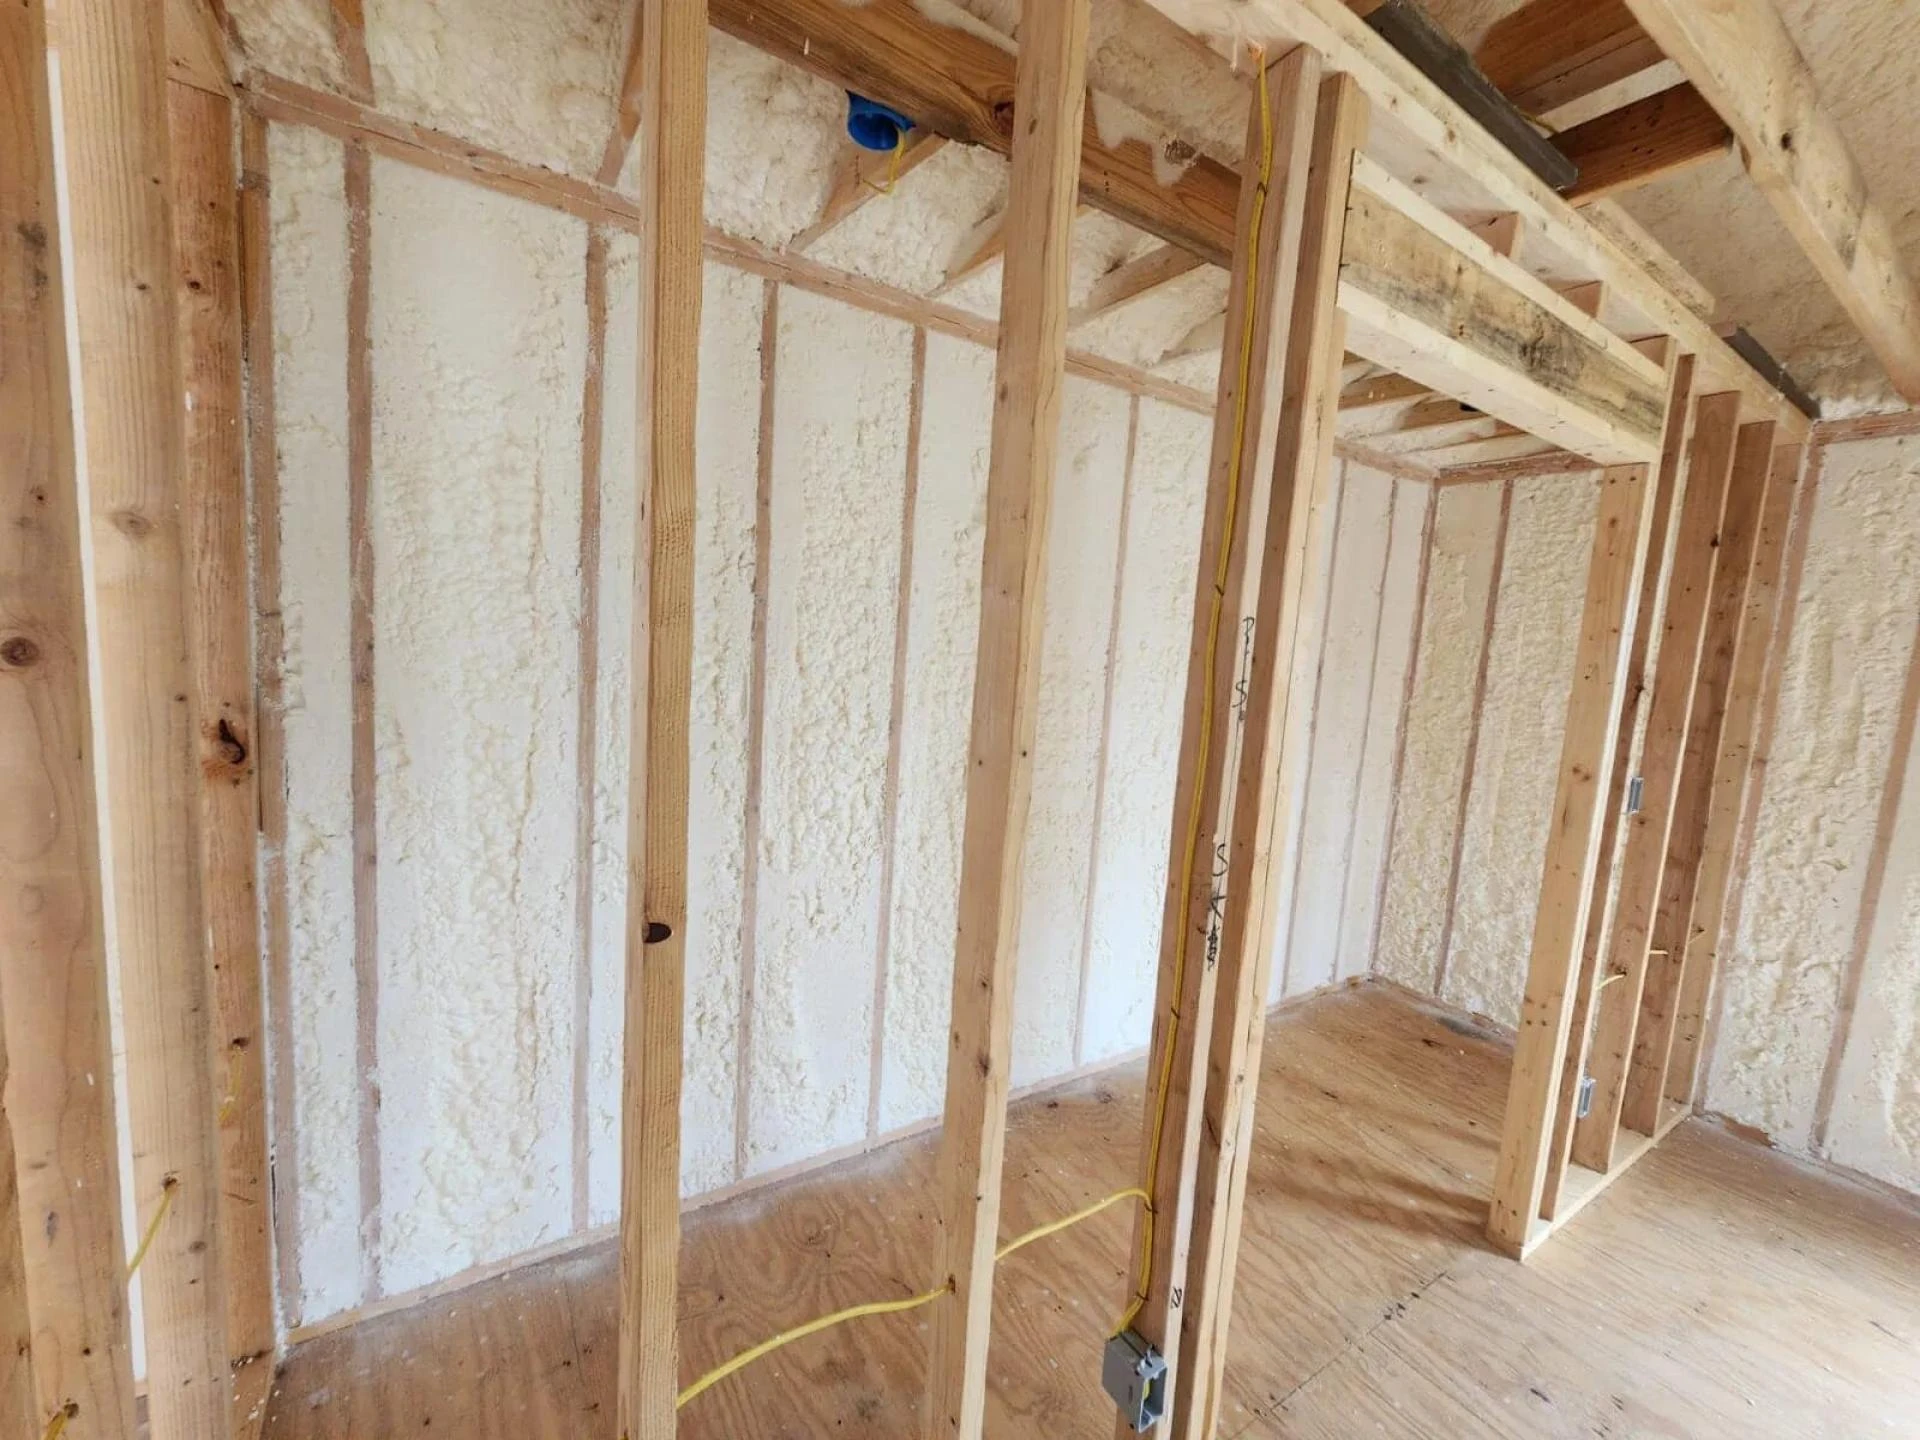
Application Thickness Matters
Open-cell foam typically needs 3 inches or more for effective thermal and sound performance. Spraying too thin wastes material and energy.
Let It Cure Before Touching
The foam needs time to off-gas and cure—usually 24 hours for full expansion and bonding. Don’t trim, paint, or press it prematurely.
Don’t Block Vents or Fixtures
Covering recessed lighting, vents, or plumbing with foam can create serious safety hazards. Keep clearances in mind.
How to Ensure Long-Term Performance
Open-cell foam lasts for decades—but only if it’s protected from moisture and mechanical damage.
Seal Gaps Without Overfilling
Over-expanding foam can bow drywall or compress framing. Apply in layers if needed and let each layer expand fully.
Protect Against UV and Humidity
Open-cell foam degrades with UV exposure. In exposed areas like crawlspaces or attics, add drywall or fire-rated coating as needed.
Inspect After Seasonal Changes
Temperature swings can affect older buildings. Check foam insulation seasonally for signs of cracking, shrinking, or water intrusion.
Common Misunderstandings to Clear Up
Open-cell foam has its strengths—but it’s not magic. Here are a few things it can’t or shouldn’t do.
It's Not a Water Barrier
Open-cell foam absorbs water. That’s good for vapor diffusion in walls but terrible if you’re trying to stop a leak.
More Isn’t Always Better
Doubling the thickness won’t double your savings. R-value gains flatten out beyond a certain point.
It's Not Always Right for Exteriors
Open-cell foam doesn’t hold up well in exposed outdoor areas. Use only in enclosed, protected spaces.
Conclusion
Installing open-cell spray foam can make a serious impact on energy use, comfort, and indoor air quality. But like most good things, it works best when done with care. Focus on the right areas—attics, walls, crawlspaces—and follow prep steps to the letter. Don’t skimp on curing time, don’t spray blindly, and double-check ventilation before sealing things tight.
This isn’t about overhauling your entire building—it’s about making smart, strategic changes that actually work. Start small, apply correctly, and you’ll feel the difference where it matters: in your home’s temperature, sound levels, and monthly bills. Partnering with a trusted insulation contractor ensures those improvements are done right the first time, delivering lasting comfort and savings.
FAQs
How thick should open-cell spray foam be?
Open-cell spray foam typically performs best at 3 to 5 inches in attics or wall cavities. The exact depth depends on where it’s being applied and what level of air sealing is needed.
Can I install open-cell spray foam in a crawlspace?
Yes, it works well in crawlspaces if moisture is under control. Just make sure there’s no standing water or active humidity problems before applying.
Does open-cell foam help with soundproofing?
It does. The flexible, low-density structure absorbs airborne sound better than many rigid materials, making it ideal for interior walls and ceilings.
How long does it take open-cell spray foam to cure?
Full curing usually takes about 24 hours. During that time, keep the area ventilated and avoid touching or covering the foam.
Is open-cell spray foam safe to use near electrical wiring?
Yes, but don’t encase or compress wires tightly. Leave room for heat dissipation and follow local electrical codes during installation.
Author: With 15 years of banking experience and five years managing H&R Foam Insulation, Edith is passionate about building strong relationships with customers. Her favorite part of the role is connecting with clients and ensuring their needs are met as she works alongside them to improve the health, comfort, and energy efficiency of their homes.
Reviewer: With 7 years in the spray foam insulation business, Ella Adams offered useful feedback on this post, helping make sure the tips were both realistic and easy to apply.


Sign in to leave a comment.