Introduction
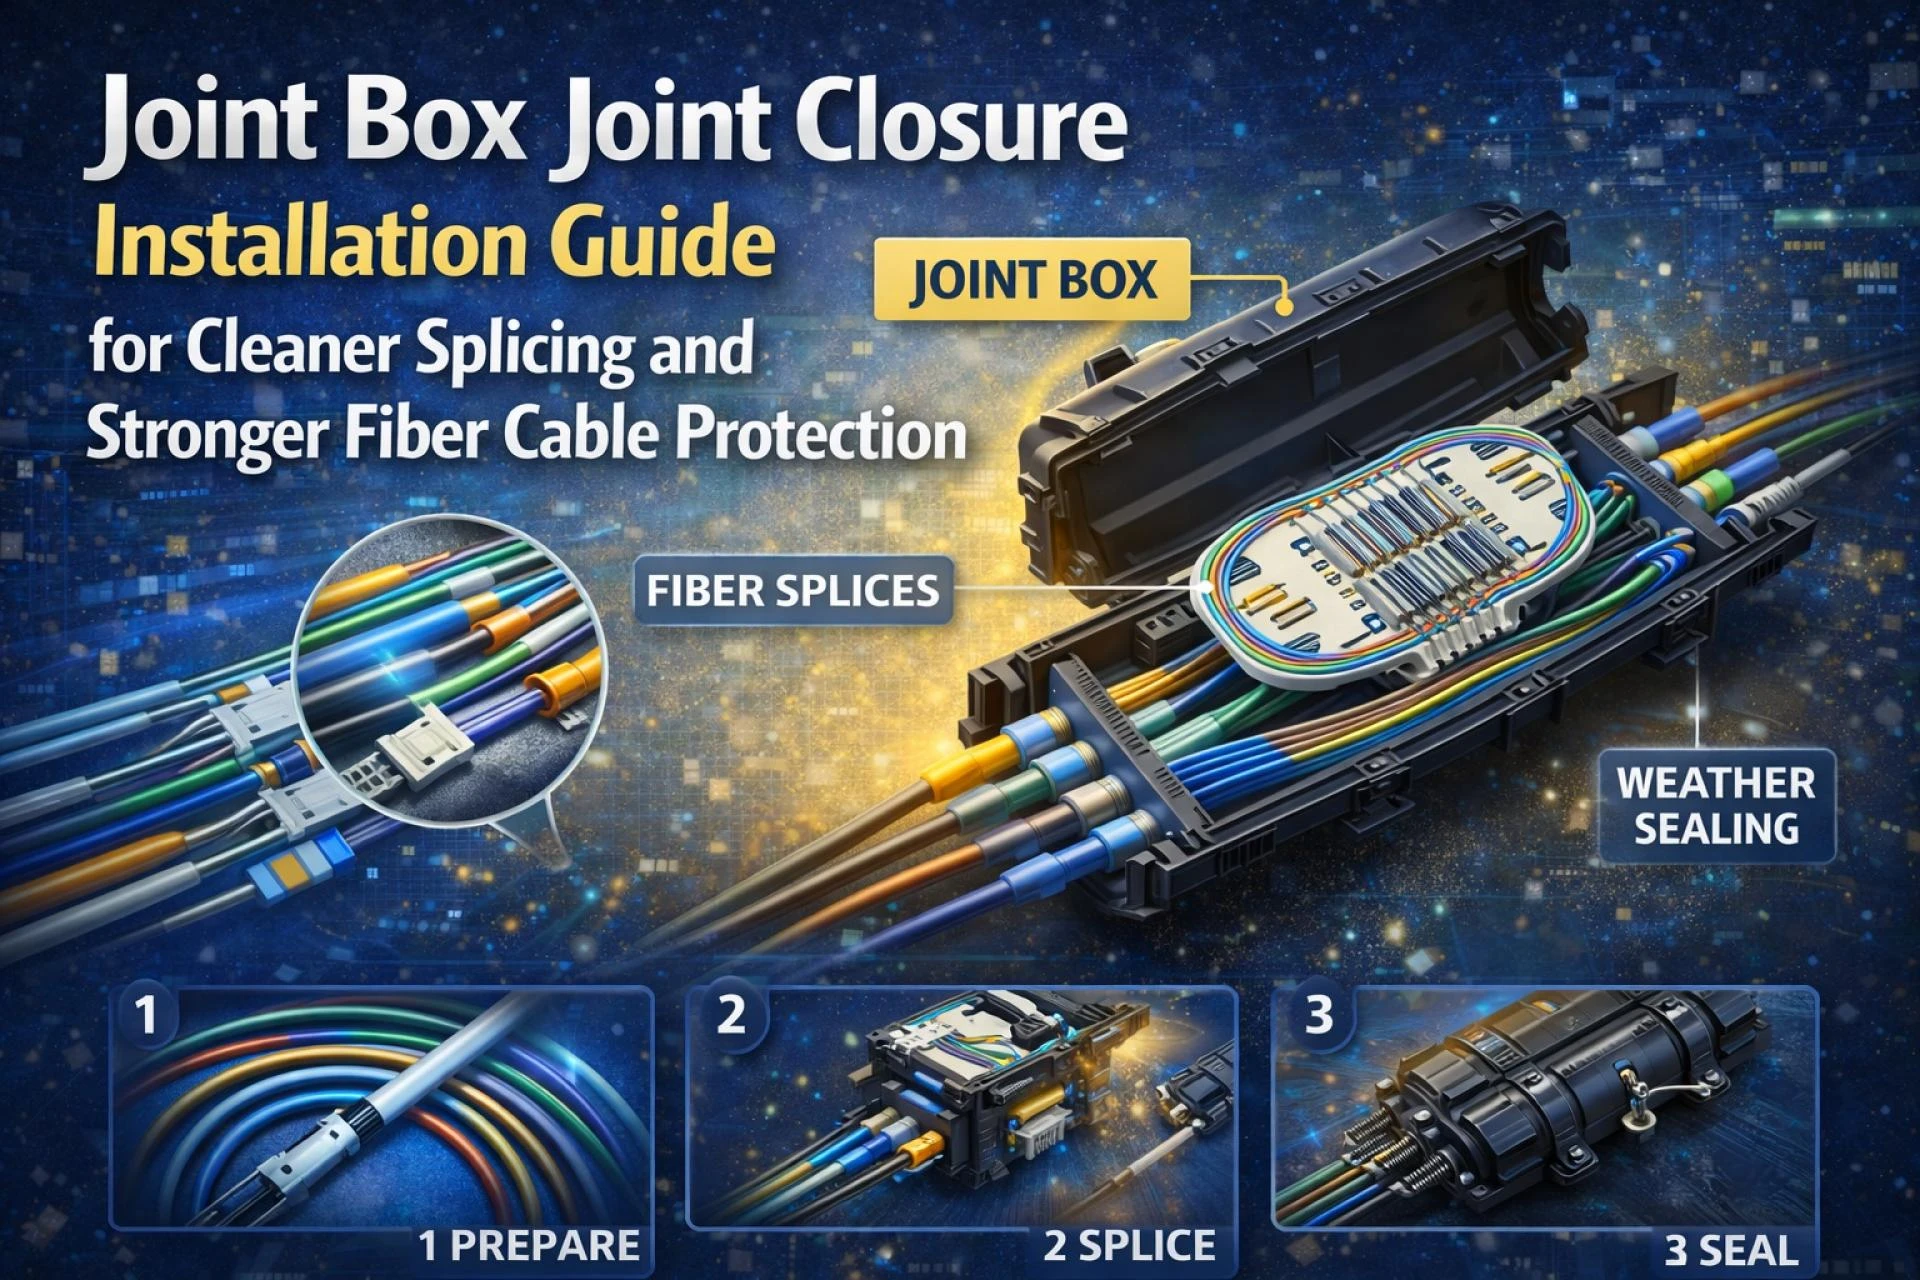
The strength of a fiber optic network doesn’t just rely on the quality of the cable—it also depends heavily on how well those cables are spliced, protected, and maintained over time. One of the most crucial components in ensuring this reliability is the joint closure, also known as the joint box. This device acts as a protective housing for fiber optic splices, shielding them from moisture, mechanical stress, and environmental threats.
Proper installation of Joint Box Joint Closure systems is essential for delivering stable signal performance, reducing long-term maintenance costs, and ensuring that fiber splices stay secure, clean, and undisturbed for years. A well-installed closure not only prevents contamination and cable stress but also allows for easy future access when maintenance or upgrades are needed.
In this detailed guide, we’ll explore everything you need to know to install joint closures like a pro—from preparing the cables to sealing the closure, and from organizing fibers to avoiding the most common mistakes in the field.
1. Why Clean Splicing and Proper Protection Matter
Fiber optic splicing is one of the most sensitive and critical processes in network installation. Even minor contamination, bending, or misalignment can cause serious signal loss. That’s where the joint box comes in—it provides a sealed, organized environment where fibers are protected from all kinds of external threats.
But here’s the catch: if the closure is not installed properly, it becomes a point of failure rather than protection.
Key benefits of correct joint closure installation:
- Maintains signal integrity and reduces attenuation
- Prevents moisture ingress and dust contamination
- Protects splices from mechanical strain and vibration
- Makes future re-splicing or troubleshooting easier
When the closure is done right, you won’t need to revisit that splice point for years—if ever.
2. Types of Joint Box Joint Closures
There isn’t a single universal joint closure design. Different projects demand different models based on environment, installation method, and fiber capacity.
Common types:
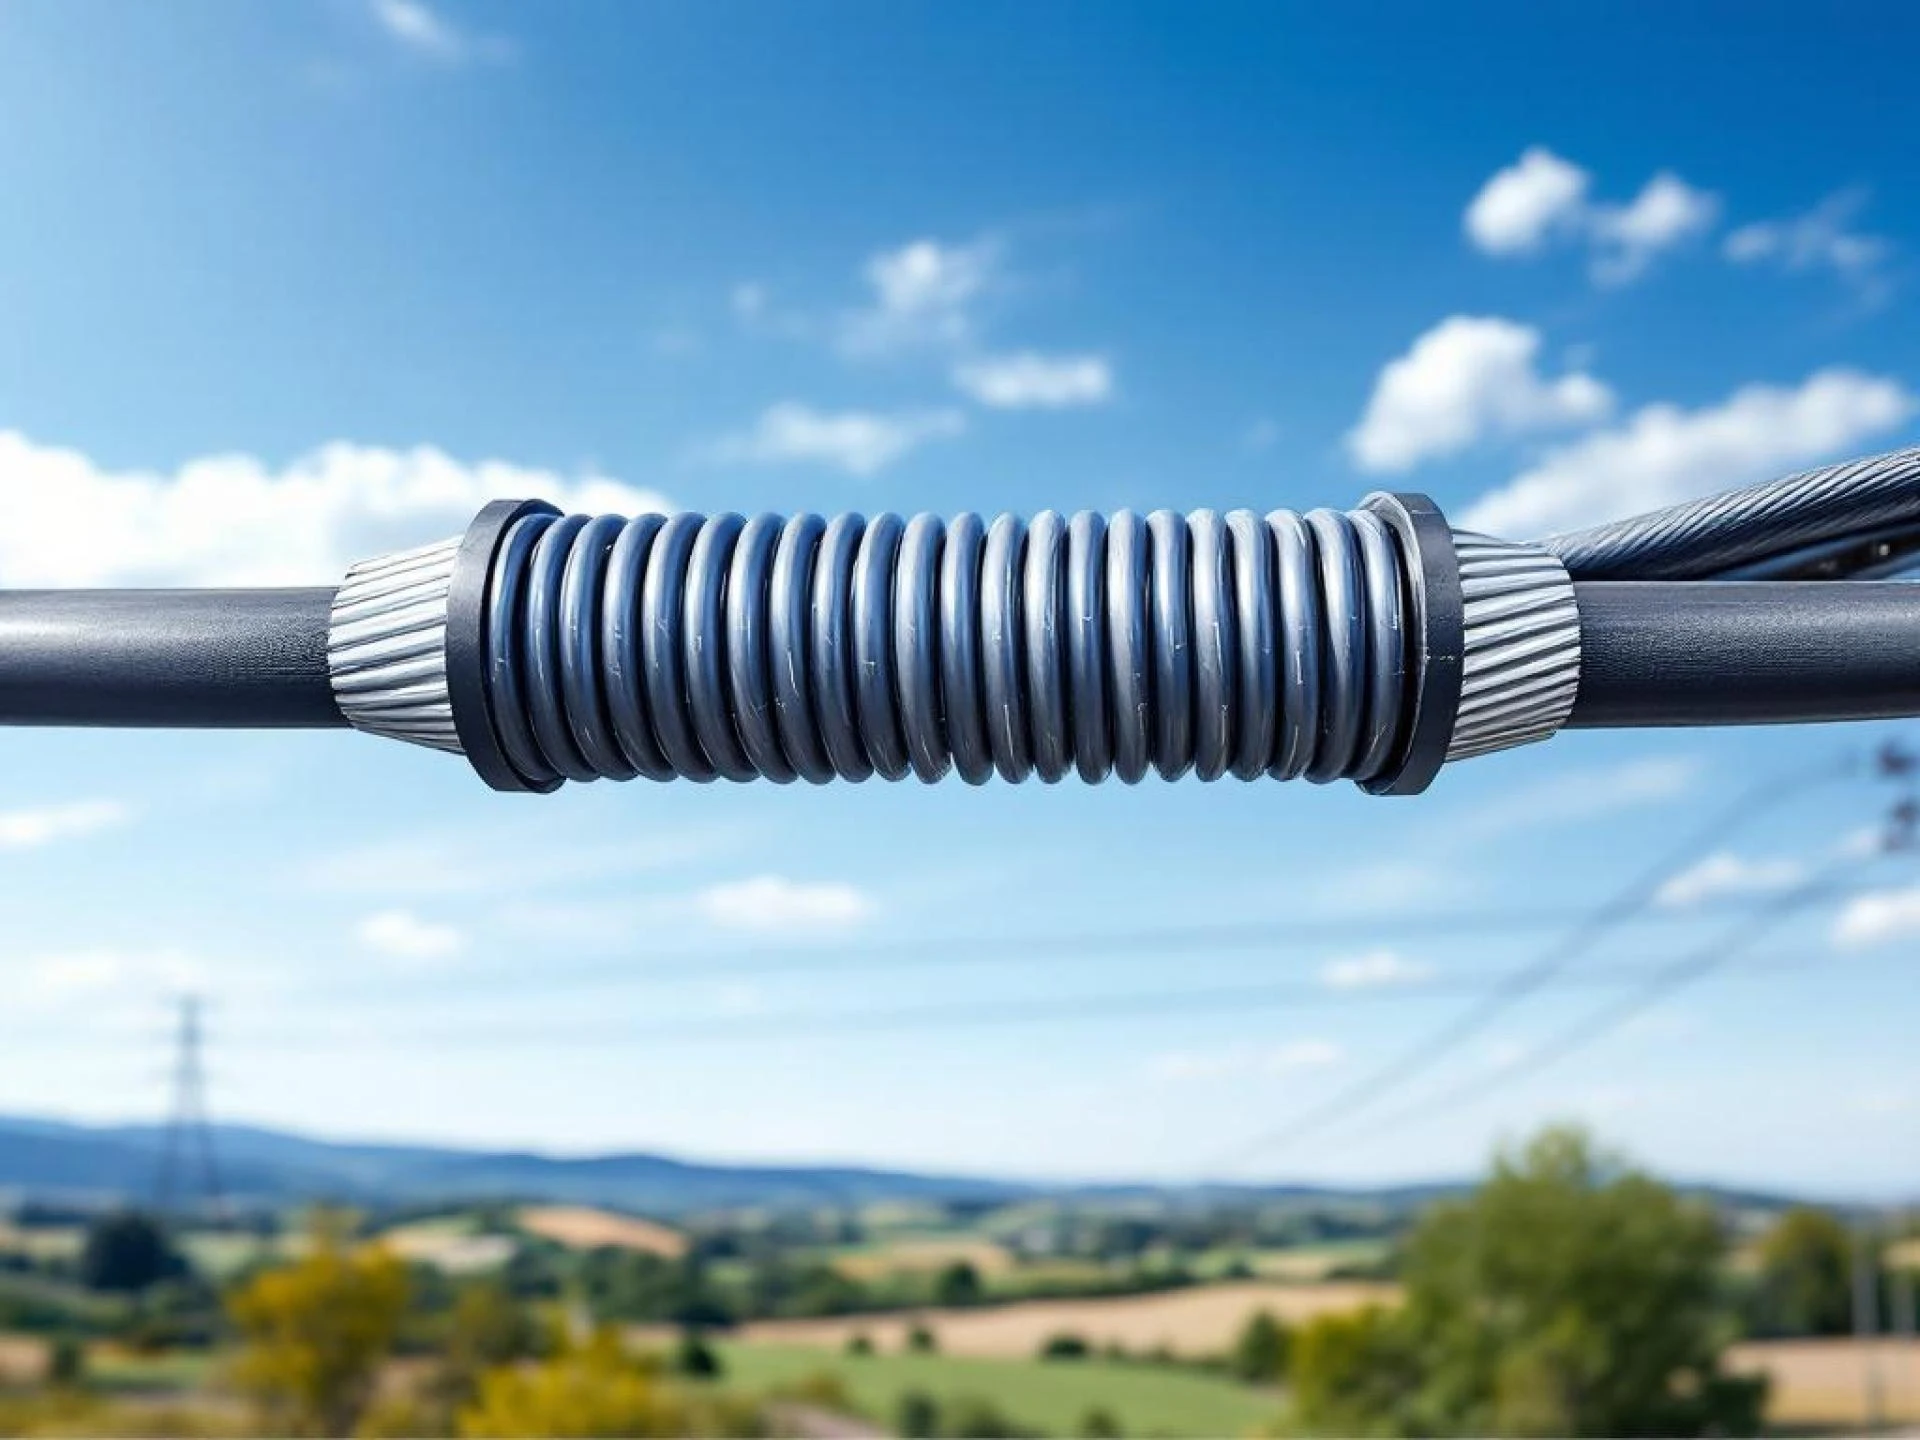
- Horizontal (Inline) Closures: Designed like a cylindrical or oval case. Ideal for underground and direct burial applications.
- Vertical (Dome) Closures: Typically pole-mounted or used in manholes. Suitable for larger fiber counts and branching configurations.
Each design offers specific benefits, but the installation principles largely remain the same. Make sure to choose a closure that matches your cable diameter, fiber count, and environmental exposure.
3. Pre-Installation Preparation
Before opening the box or prepping cables, ensure the workspace and tools are properly set up.
Checklist for preparation:
- Clean, dry work area (especially critical for fiber handling)
- Fiber preparation tools (stripper, cleaver, alcohol wipes, etc.)
- Splice tray, sleeves, and markers
- Heat gun (if using heat-shrink sleeves)
- Sealant materials provided with the closure (grommets, gels, etc.)
Proper preparation avoids delays and ensures that once the closure is opened, you can move swiftly and efficiently through the steps.
4. Fiber Cable Entry and Stripping
Start by carefully preparing the fiber optic cables that will enter the closure. Each fiber must be stripped, cleaned, and ready for splicing.
Steps:
- Measure and mark the cable according to closure specifications.
- Use a cable slitter to remove the outer sheath without damaging internal fibers.
- Cut and remove strength members (if necessary) and clean the cable core.
- Apply the sealing grommets or tubing to the prepared ends.
Be cautious not to nick or cut buffer tubes or fibers. Damage during preparation is one of the most common causes of future signal issues.
5. Organizing and Managing Fibers Inside the Closure
Once the fibers are stripped and ready, they need to be routed into the splice trays. This is where good organization becomes essential.
Best practices for internal routing:
- Follow the manufacturer’s recommended fiber routing paths inside the closure.
- Secure buffer tubes and fibers using holders or clips provided in the tray.
- Maintain minimum bend radius—avoid tight loops that stress the fiber.
- Label fibers clearly if multiple cables are entering the closure.
Disorganized fiber routing can lead to tangles, breakage, or trouble during future maintenance. Take your time to do it right.
6. Splicing the Fibers
With the fibers in place, it’s time to perform the splices. This can be done through:
- Fusion Splicing: The preferred method for permanent, low-loss connections.
- Mechanical Splicing: Faster but higher loss—best for temporary or emergency use.
Splicing steps:
- Clean each fiber end with isopropyl alcohol and a lint-free wipe.
- Cleave the fiber precisely to get a clean end face.
- Use a fusion splicer or mechanical splice tool to connect fibers.
- Protect each splice with a heat-shrink sleeve or splice protector.
- Place spliced fibers into the tray and cover them securely.
Once splicing is done, test for loss using a light source and power meter or OTDR to ensure the connection meets standards.
7. Sealing the Closure
Sealing the joint box properly is what protects your entire installation from water, dust, and pressure.
Sealing checklist:
- Insert all cables through the provided grommets or ports.
- Apply sealant or gel as instructed—don’t substitute with other materials.
- Tighten compression rings or cable clamps to secure the cable in place.
- Confirm the closure lid is sealed tightly, with no gaps or exposed ports.
Some closures require heat-shrink sleeves for final sealing. Follow the manufacturer’s guidance carefully—improper sealing is one of the most common causes of failure.
8. Mounting and Placement
Depending on your installation type, the closure may need to be buried, mounted on a pole, or installed inside a handhole or manhole.
Tips for secure placement:
- Underground: Place in a protective box or case, surrounded by sand or smooth fill.
- Aerial: Use brackets or hangers rated for the closure’s weight and size.
- Pole-Mounted: Ensure firm fastening to prevent vibration or movement.
Avoid tight bends on the incoming/outgoing cables at the mounting point, and always allow some slack for strain relief.
9. Final Testing and Inspection
Before walking away from the site, verify that everything is properly sealed, secured, and functioning.
Inspection points:
- Check all cable entries for tight seals.
- Verify fiber routing is neat and within bend radius.
- Test fiber loss at each splice using OTDR or power meter.
- Confirm labels are visible and correctly placed.
- Record splice details for documentation.
A few extra minutes here can save hours (or days) of troubleshooting later.
10. Common Mistakes to Avoid
Even experienced installers can make small errors that lead to big problems. Here are the most frequent issues to avoid:
- Over-bending fibers inside the splice tray
- Not cleaning fiber ends properly before splicing
- Forgetting to seal all entry ports
- Mixing up fiber identifiers in multi-cable closures
- Using the wrong splice tray size for the number of fibers
Paying close attention to detail ensures your closure delivers the performance it’s designed for.
11. Tips for Cleaner, Easier Future Maintenance
A well-installed joint closure shouldn’t need frequent attention, but when it does, your future self will thank you for keeping things organized.
Pro tips:
- Leave service loops or slack for each cable inside the closure.
- Use color coding and documentation for every fiber.
- Keep a copy of OTDR test results with each closure’s records.
- Consider using closures that allow re-entry without damage for high-maintenance areas.
Conclusion
Installing a Joint Box Joint Closure isn't just about protecting a few fiber splices—it's about safeguarding the entire network. When installed correctly, it shields your connections from water, dust, movement, and time. It ensures every splice point remains secure, accessible, and high-performing for the long run.
Whether you’re deploying a long-haul backbone or branching fibers for local access, attention to detail in closure installation will pay off in network uptime, reliability, and ease of maintenance.
To explore durable, high-performance joint closures built for real-world conditions, visit https://www.oyii.net/.


Sign in to leave a comment.