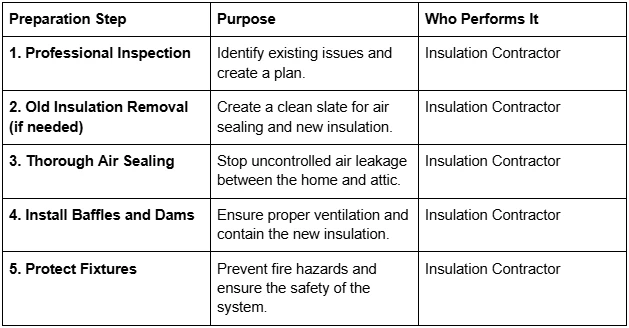
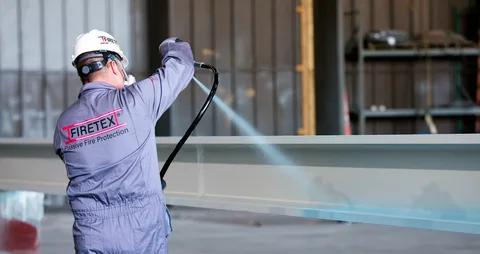
Preparing an attic for new blown-in insulation is a systematic process that goes far beyond simply clearing out old boxes. The goal is to create a clean, safe, and airtight space before any new insulation is added. This involves a thorough inspection for issues like leaks or pests, a decision on removing old insulation, and—most critically—detailed air sealing to close all gaps in the attic floor. Finally, special attention must be given to protecting light fixtures and mechanical equipment to ensure the entire system is safe and ready for the new layer of high-performance insulation.
This guide will provide a comprehensive, step-by-step overview of this essential preparation process. The information is based on the best practices of certified building science professionals and experienced insulation contractors who know that the performance of the final product is entirely dependent on the quality of the prep work.
Step 1: A Thorough Professional Inspection
Before any work begins, the attic needs a professional assessment. An experienced blown-in insulation contractor will go into the attic to look for several key things:
- Existing Insulation: They will measure the depth and assess the condition of any existing insulation. Is it settled, compressed, or contaminated?
- Moisture Issues: They will look for any signs of past or present roof leaks, such as water stains on the roof deck or damp insulation. They will also check for proper ventilation and signs of condensation.
- Pest Infestations: They will look for evidence of rodents, birds, or insects that may have made a home in the attic.
- Air Leakage Points: They will identify the major sources of air leakage between the attic and the living space below, such as gaps around plumbing pipes, chimneys, and recessed lights.
- Safety Concerns: They will check for any unsafe wiring, such as "knob and tube" wiring that cannot be covered with insulation, and ensure that all mechanical equipment, like bathroom fans, are properly vented to the outside, not into the attic.
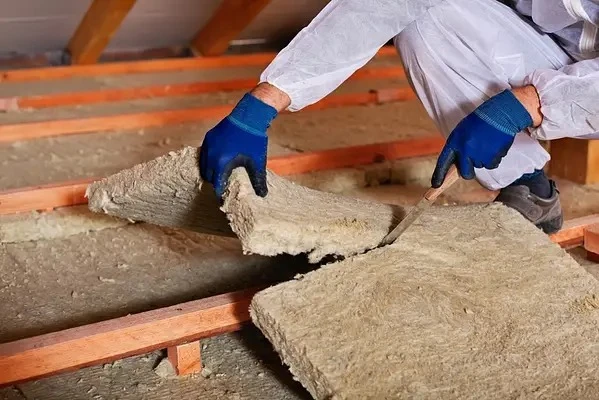
Step 2: The Decision to Remove Old Insulation
Based on the inspection, the next decision is whether to remove the old insulation or to install the new layer over it.
When to Keep the Old Insulation
If the existing insulation is dry, in good condition, and free of any contamination, it can often be left in place. The new blown-in insulation can be installed right over the top of it. The R-value of the old insulation will simply add to the R-value of the new, helping to create an even thicker thermal barrier.
When Removal is Necessary
In many cases, however, a full removal is the better choice. Removal is strongly recommended if the old insulation is:
- Contaminated: If it has been damaged by a significant pest infestation, it is full of allergenic droppings and should be removed for health reasons.
- Wet or Moldy: Any insulation that has been wet or shows signs of mold growth must be removed. Insulating over a moisture problem will only make it worse.
- Insufficient for Air Sealing: To do a truly thorough air sealing job, it is often necessary to remove the old insulation to get a clear view of the entire attic floor and all the small penetrations that need to be sealed.
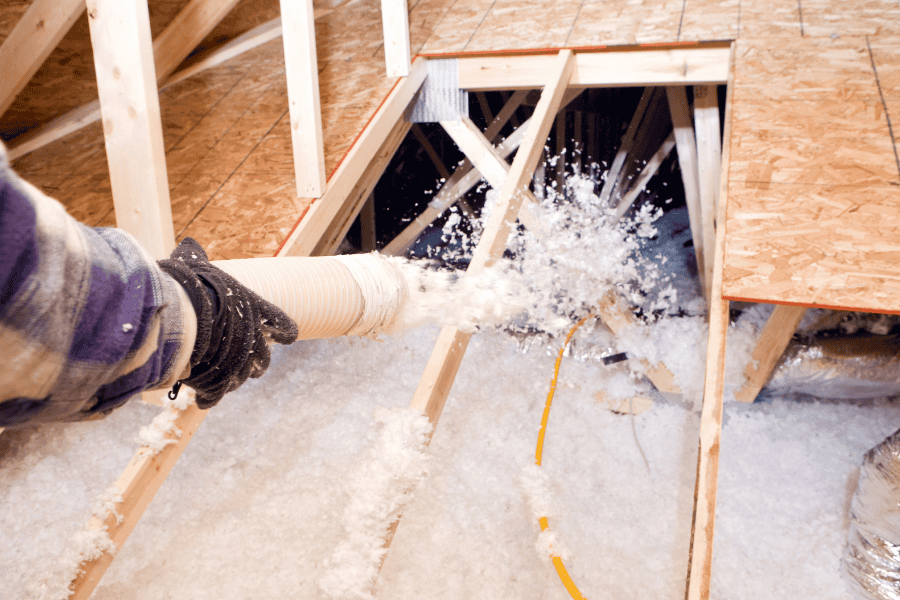
Bonus Tip: A professional insulation removal is done using a high-powered vacuum system that pulls all the old material out of the attic through a large hose and collects it in a sealed container outside the home. This is the cleanest and safest way to perform the removal, as it prevents any of the old, dusty material from getting into your living space.
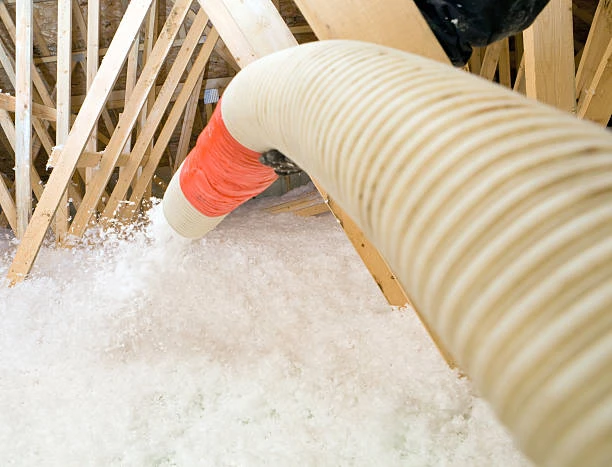
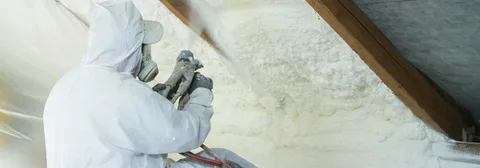
Step 3: The Most Important Step Air Sealing
This is the most critical part of the preparation process. Air sealing the attic floor stops the uncontrolled movement of air between your living space and your attic, which is a major source of energy loss and comfort problems.
Targeting the Leaks
A professional crew will go through the now-empty attic and systematically seal all the identifiable air leakage points. Common areas of focus include:
- Top Plates: Sealing the tops of all interior walls where they meet the attic floor.
- Penetrations: Sealing the gaps around every pipe, wire, and vent that passes through the attic floor.
- Recessed Lights: Installing special airtight covers over older, non-IC-rated "can" lights.
- Chimney Chases: Sealing the large gap that often exists around a masonry chimney.
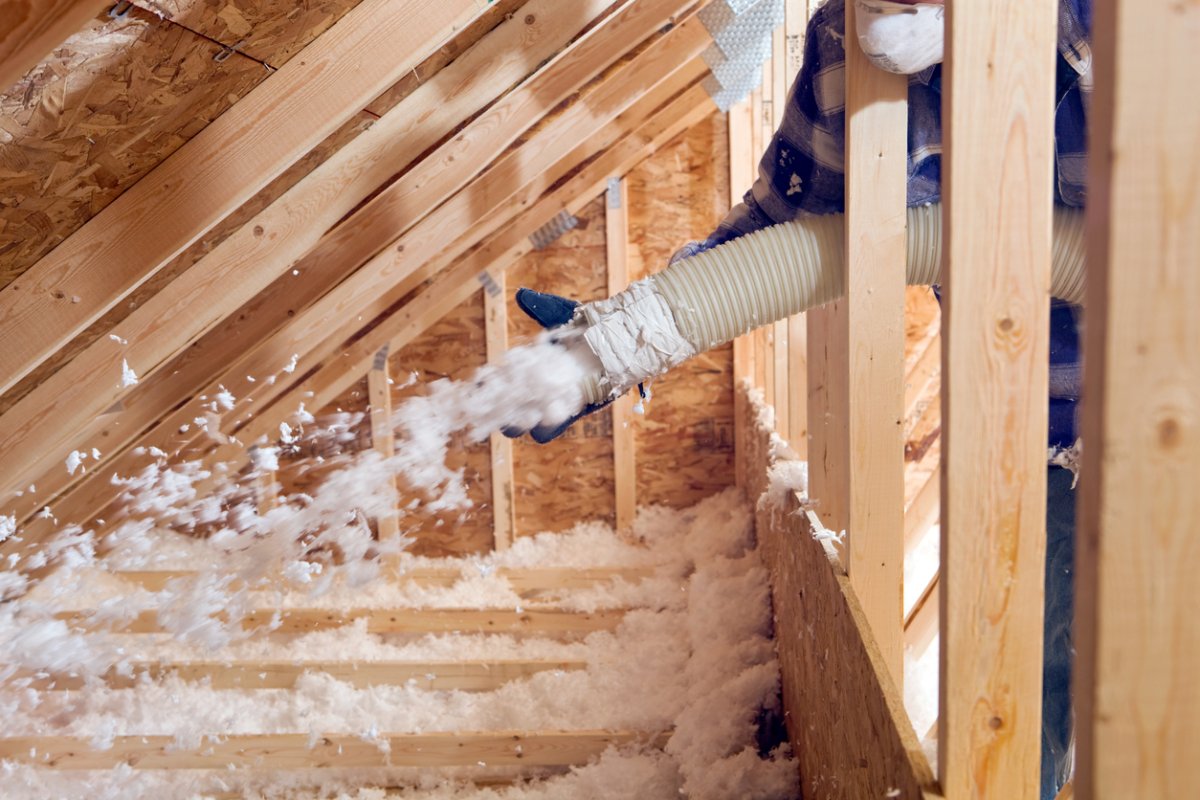
This work is typically done with a combination of caulk and one-part spray foam from a can. For larger, more irregular gaps, a professional may use a small amount of two-part spray foam.
Step 4: Protecting Fixtures and Ensuring Safety
The final stage of preparation involves making sure the attic is safe for the new insulation.
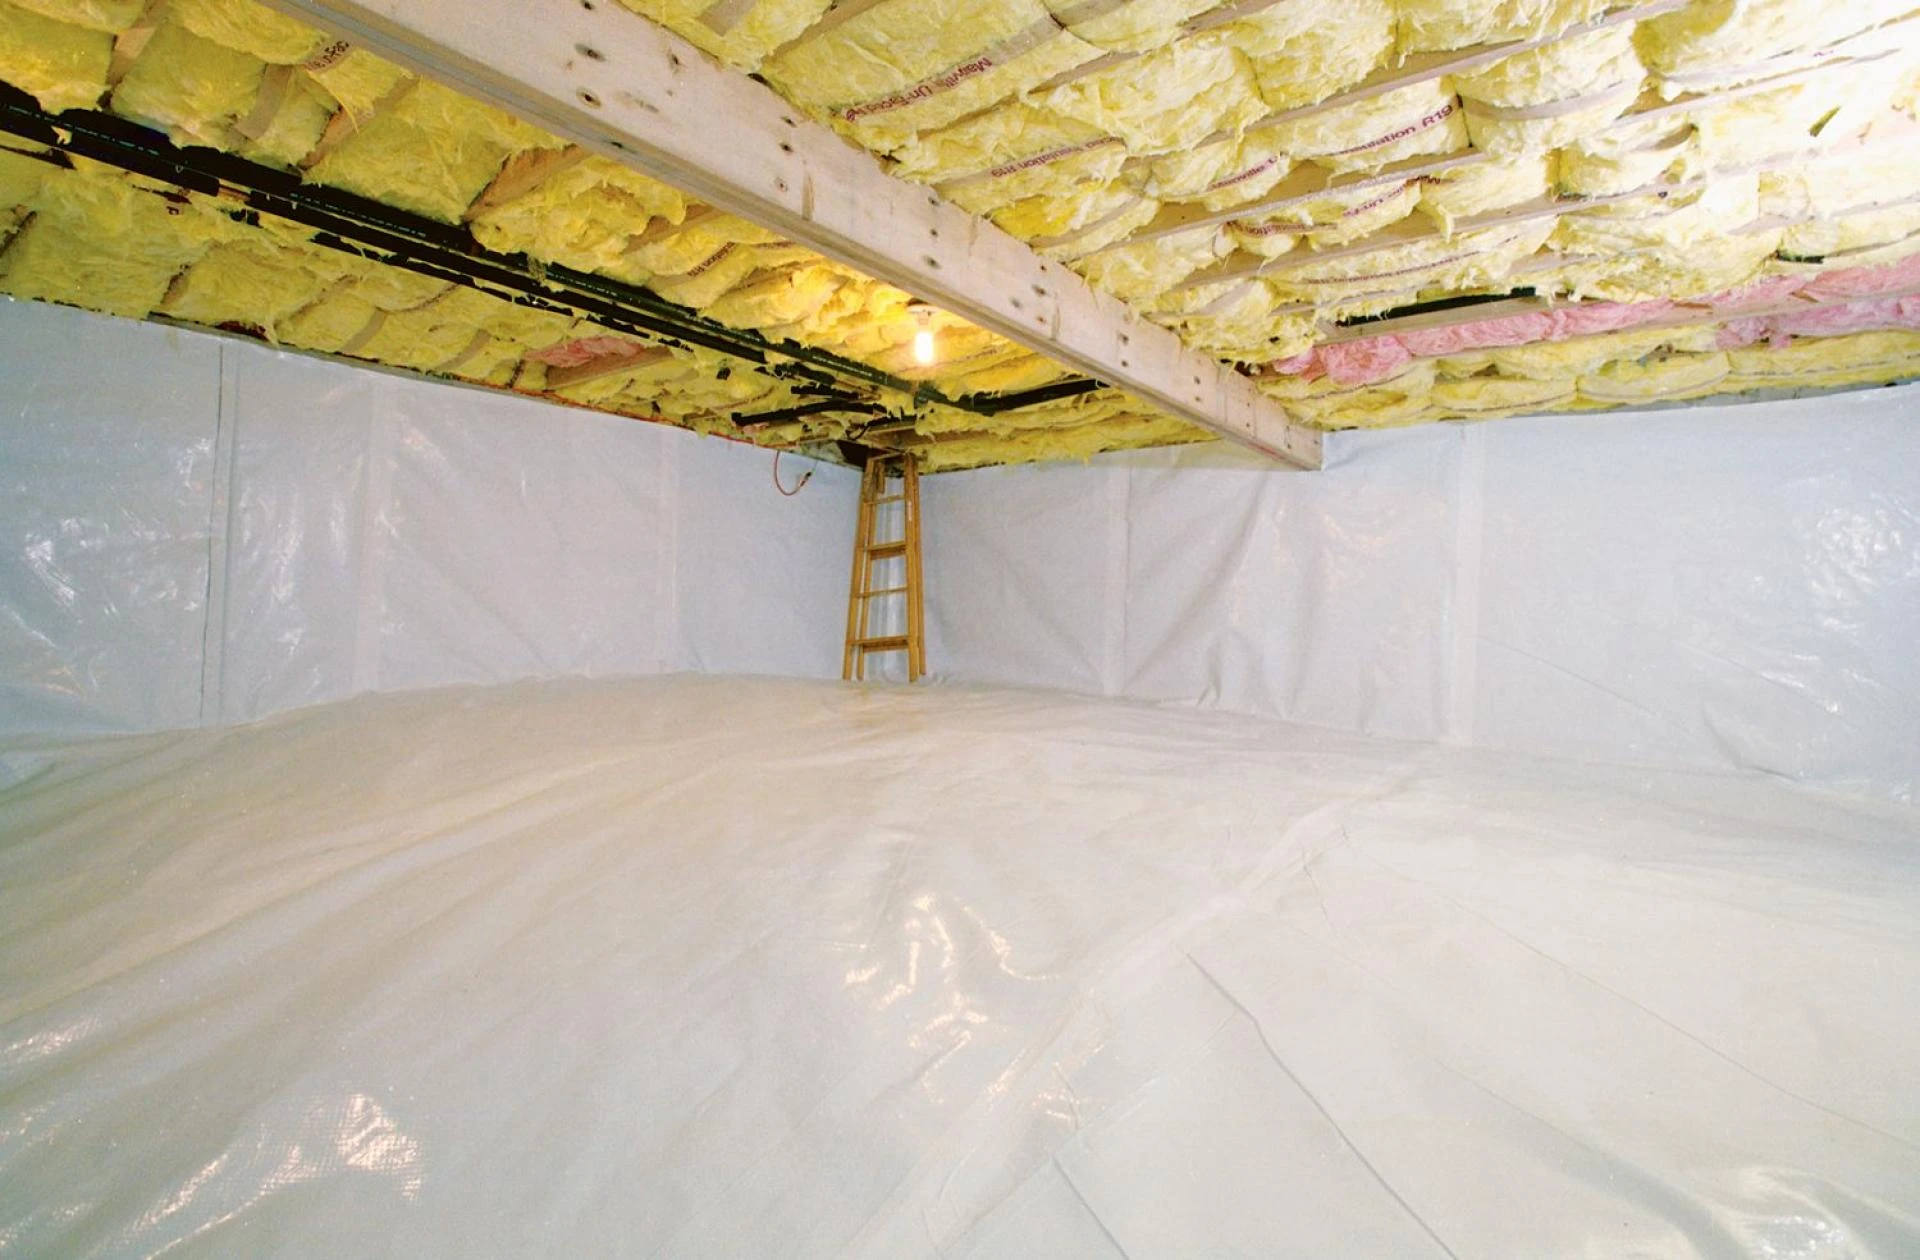
Soffit Vents and Baffles
It is very important that the new insulation does not block the flow of air from the soffit vents at the eaves of the roof. A professional will install special cardboard or plastic baffles in each rafter bay to create a channel that allows air to move freely from the soffits up toward the ridge vent, even after the new, deep layer of insulation is installed.
Dams and Rulers
If there is an attic hatch or a scuttle hole, a dam will be built around it out of rigid foam board or wood to hold the new, deep insulation in place when the hatch is opened. They will also install depth rulers throughout the attic so they can verify they are blowing the insulation to the correct, uniform thickness to achieve the target R-value.
Heat-Producing Fixtures
Any heat-producing fixtures, such as recessed lights or a furnace flue pipe, must be properly protected. Modern IC-rated (Insulation Contact) recessed lights can be safely covered with insulation. Older, non-IC-rated lights must be protected with special airtight and fire-rated covers to prevent them from becoming a fire hazard.
Here is a summary of the attic preparation checklist:
Things for the Homeowner to Do
While the vast majority of the preparation work is done by the professional crew, there are a few things a homeowner should do to get ready for insulation day:
- Clear a Path: Make sure there is a clear and safe path for the workers and their equipment from the door to the attic access panel.
- Remove Personal Items: If you use your attic for storage, all of your personal belongings will need to be removed from the area before the work can begin.
- Plan to Be Home: It is a good idea for the homeowner to be present at the beginning of the job to do a final walkthrough with the crew leader and to be available to answer any questions.
Final Thoughts on a Job Done Right
Properly preparing your attic is not just a preliminary step; it is the foundation of a high-performance insulation system. A clean, safe, and, most importantly, airtight attic is the key to unlocking the full potential of your new blown-in insulation. By taking the time to do this prep work correctly, a professional contractor ensures that your investment will pay for itself for decades to come in the form of lower energy bills, improved comfort, and a healthier living environment.
Get a Professional Attic Preparation Plan
To find out what it would take to get your attic ready for a high-performance insulation upgrade, the best first step is a professional assessment. An experienced insulation contractor can provide a detailed inspection and a clear, prioritized plan of action. For homeowners in the Chicago area, the team at South Chicago Insulation, LLC has deep expertise in attic restoration and insulation. They can be reached for a consultation by email at [email protected] or by phone at (779) 803-8025.
Author: Bob Gasca attended his first spray foam training in 2007 and has continued to pursue yearly training to stay current with the latest technology and practices. He is a certified Spray Foam Master Installer through the SPFA and a member of the SPFA. Additionally, Bob serves as a Spray Foam Worldwide Ambassador, sharing information with spray foam professionals globally. Recently, he returned from a building science training, where he expanded his knowledge on how weather conditions affect home performance, helping him better diagnose and improve home health for families. Bob specializes in finding solutions to complex moisture and air infiltration issues.
Reviewer: Noah Gonzalez reviewed this article and drew on 9 years of experience to offer suggestions that make the guidance more directly useful for insulation contractors.


Sign in to leave a comment.