Moisture meters are indispensable tools for flooring professionals, enabling them to ensure the success and longevity of flooring installations. These devices provide essential data about the moisture content of wood materials, helping prevent common issues like warping, buckling, and gaps in flooring. This article will guide you on using a moisture meter for flooring projects to achieve the best results.
Step 1: Preparation
Before using a moisture meter, ensure that you have the necessary equipment and a suitable environment:
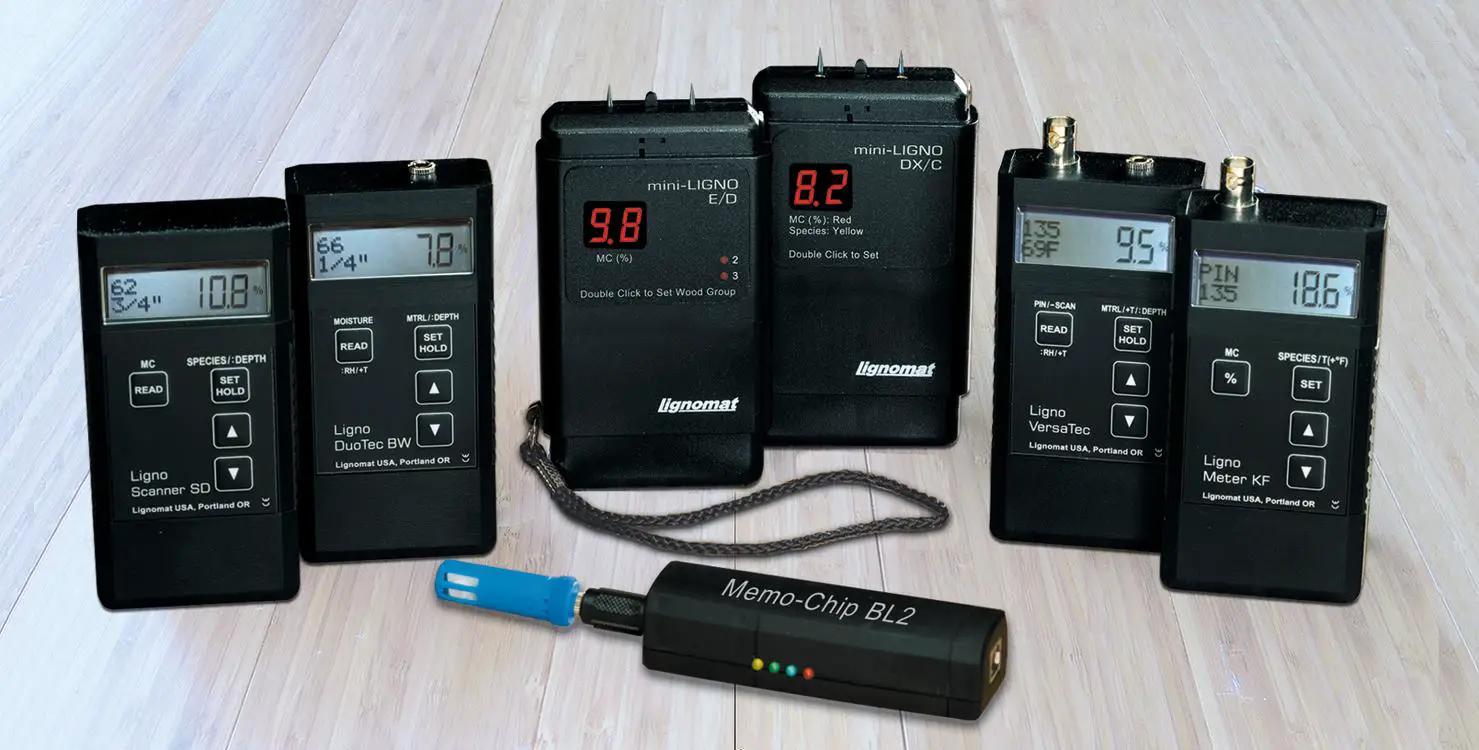
- Moisture Meter: Choose a moisture meter calibrated for wood with pin-type probes for precise measurements.
- Wood Flooring Material: Have the wood flooring material ready to install.
- Stable Environment: Ensure the installation area has stable environmental conditions, including temperature and humidity, as these can affect moisture readings.
Step 2: Acclimatization
If the wood flooring material has not been acclimated to the installation environment, it must be allowed to reach the appropriate moisture equilibrium. Place the wood in the installation area for sufficient time to ensure it adapts to the environment. This step is crucial to minimize moisture-related problems after installation.
Step 3: Moisture Meter Calibration
Before using the moisture meter, properly calibrate it for accurate measurements. Calibration instructions can typically be found in the user manual provided with the moisture meter. Regular calibration checks are essential to maintain accuracy over time.
Step 4: Selecting Test Locations
Identify several test locations where you will measure the moisture content of the wood. These locations should be representative of the entire installation area. Common test points include:
- Near Walls: Measure moisture levels near walls and corners, as these areas may have different moisture conditions.
- Center of the Room: Select areas in the middle to get a general sense of moisture distribution.
- Subfloor: If applicable, measure the moisture content of the subfloor to ensure it is suitable for installation.
Step 5: Conducting Moisture Readings
Here's how to use the moisture meter for accurate readings:
- Prepare the Probes: If your moisture meter has replaceable pins, ensure they are clean and in good condition. Insert the pins into the wood material at the selected test locations. Insert the pins parallel to the grain of the wood for optimal accuracy.
- Stabilize the Meter: Allow the moisture meter to stabilize in the test location briefly. This ensures that the readings are consistent.
- Take Readings: Record the moisture content readings provided by the moisture meter. Repeat the process at each selected test location.
- Interpret the Readings: Compare the moisture content readings to the recommended moisture content range for the specific wood species and installation environment. Ensure the readings are within the acceptable range.
Step 6: Making Informed Decisions
Based on the moisture content readings, you can make informed decisions regarding the installation:
- Acceptable Moisture Content: If the readings fall within the acceptable moisture content range, it is generally safe to proceed with the installation.
- High Moisture Content: If the readings indicate high moisture content. Identify the source of excess moisture and address it. Allow the wood material to acclimate further if necessary.
- Low Moisture Content: In cases of low moisture content, it may be necessary to introduce moisture to the wood material through conditioning, humidification, or other appropriate methods to bring it within the acceptable range.
Step 7: Documenting Readings
Keep detailed records of the moisture content readings obtained at each test location. This documentation is valuable for reference and quality control, ensuring proper moisture management procedures are followed.
Step 8: Final Inspection
Before proceeding with the flooring installation, inspect the wood material and the installation area. Confirm that the moisture content is within the acceptable range and that all necessary measures have been taken to address moisture-related issues.
Flooring professionals can mitigate moisture-related risks by following these steps: effectively using a moisture meter, achieving high-quality flooring installations, and ensuring customer satisfaction. Accurate moisture management is essential for the longevity and performance of wood flooring, making moisture meters an invaluable tool in the flooring industry.


