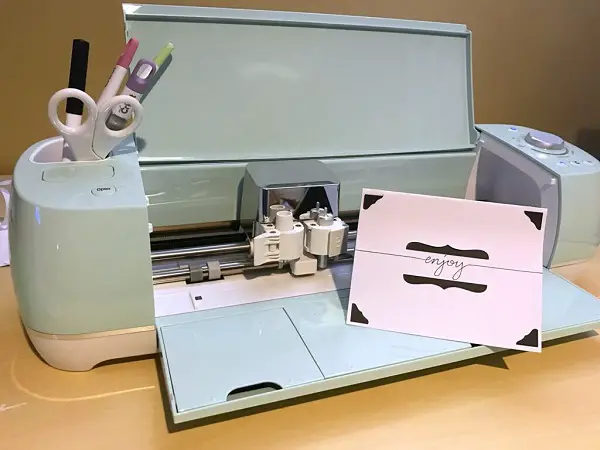
Experimenting with crafts using Cricut is exciting. But, before creating a project, you must first need to set up the machine. Do you think the Cricut Explore and Cricut Maker setup is a daunting task? I can help you with the complete process. Since I am a pro crafter and owner of a successful crafting business, I can help you with this. I have done a lot of projects using these Cricut machines and the Design Space software. Earlier, I used to work with my Windows computer, but on my birthday, my brother gave me a Mac computer. After that, I installed the machine and started using it on my Mac computer.
In this post, I will explain how to use both these machines on Windows, Mac, Android, and iOS devices. Further, I will also teach you how to connect the machine to your system. Thus, read this and find it easier to get the most out of your Explore and Maker machine.
How to Setup Cricut Explore or Maker on Windows/Mac?
If you have purchased a new Cricut machine, you will need to set it up first. I am here to help you with the Explore and Cricut Maker setup procedures. I have done so many projects with these machines; thus, I can help you with the same.
These are the easy setup steps to use the machine on your Windows and Mac computers. The same steps apply to the Cricut Explore Air 2 setup, too.
- Firstly, go to your Cricut machine.
- After that, plug in the machine and power it on.
- Then, use a USB cord to connect the machine to your system.
- Alternatively, you can pair the machine using Bluetooth.
- Afterward, launch your browser.
- Following this, go to the Cricut’s official site.
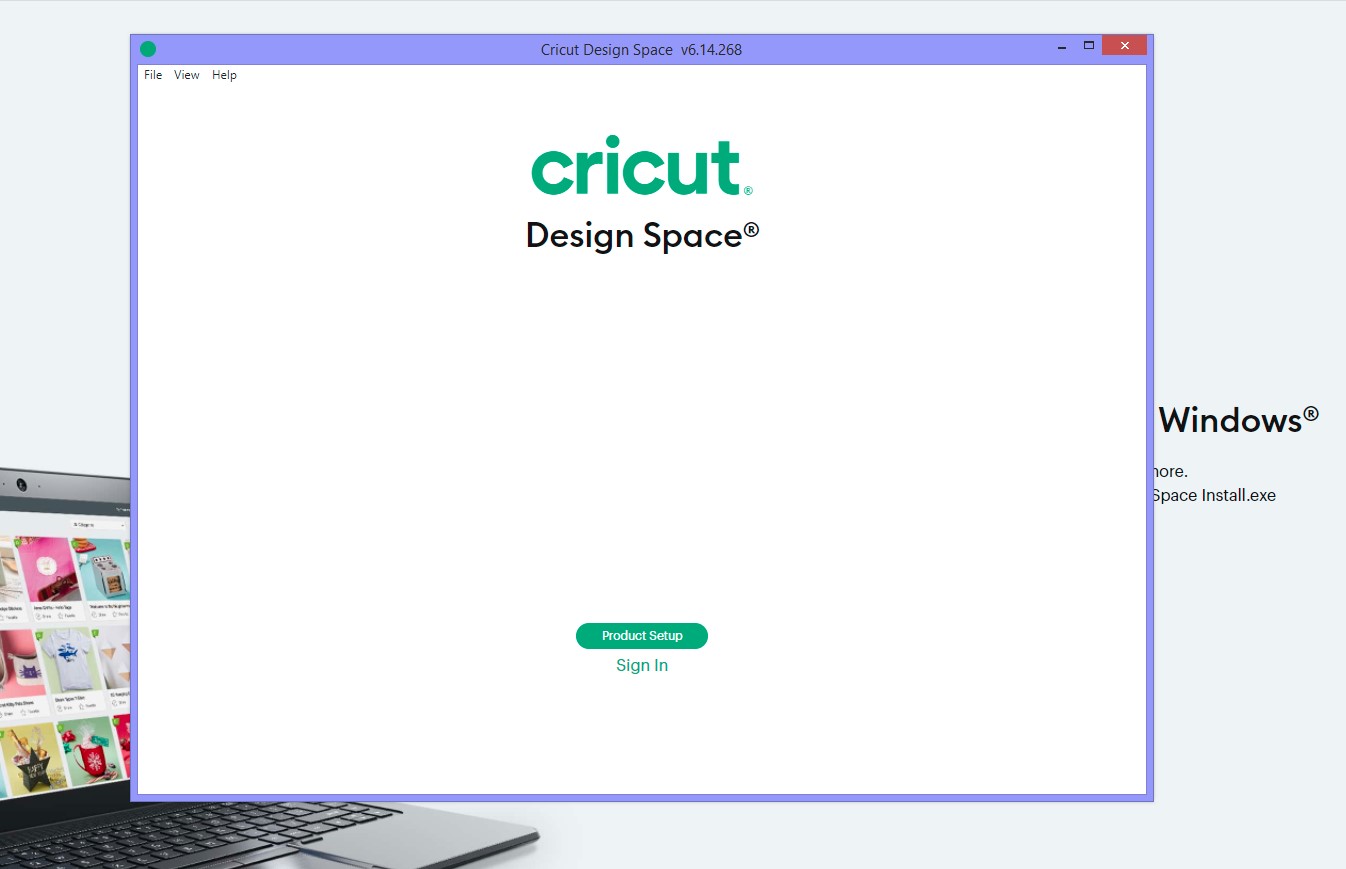
- Now, make sure to download and install Design Space for Desktop.

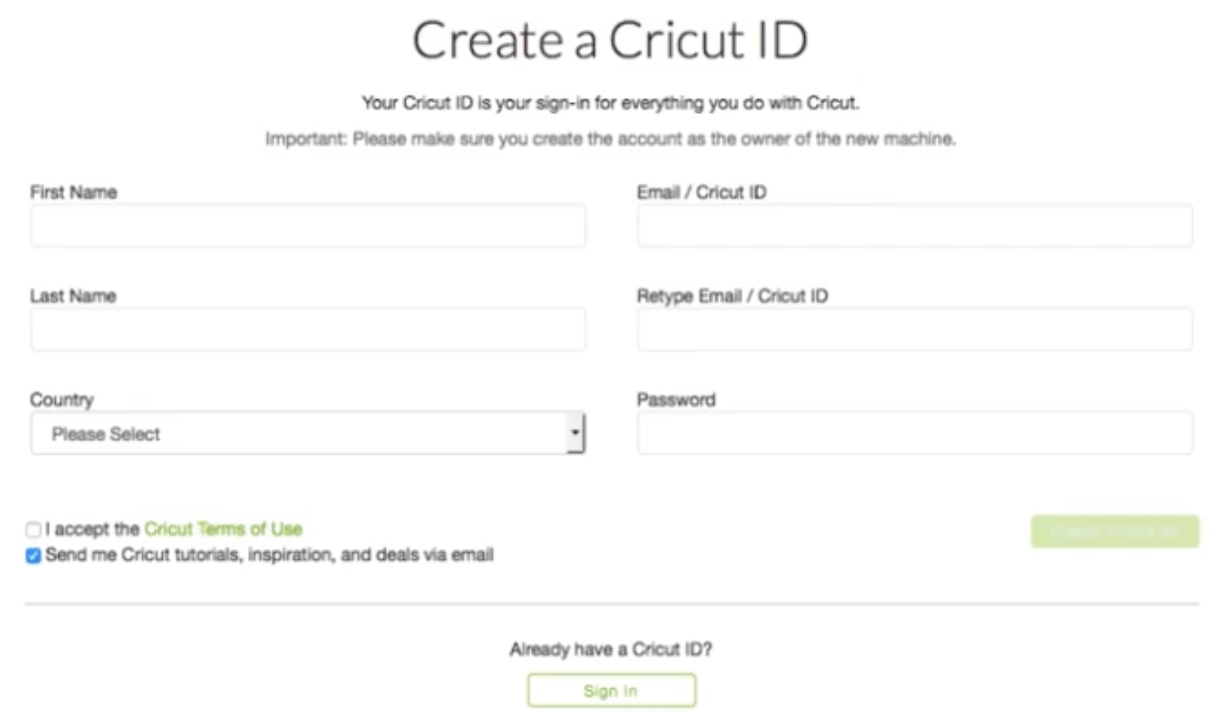
- Then, Sign in or create your Cricut ID.
- Thereafter, follow all the prompts and set up your machine.
- Finally, perform a test cut to verify the connection.
These are a few simple steps to help you with how to use a Cricut Maker and Explore machine on Windows and Mac computers. However, you can also set up these two machines on Android and iOS devices. I had helped one of my friends with these machines on Android and iOS. Thus, I am sharing those steps too.
How to Setup Cricut Explore or Maker on Android/iOS?
Do you want to use your Explore or Maker machine on your smartphone? Discover a few simple step-by-step instructions for the Cricut Maker setup (you can also perform these steps for the Explore machine.) These are easy to follow, and thus, you can do it yourself.
- In the initial step, go to your Cricut machine.
- Now, plug in the machine you want to use.
- After that, switch on your Cricut machine.
- In the next step, use a Bluetooth connection to pair your Android or iOS device.
- After that, go to Cricut’s official site on your device.
- Thereafter, download and install the Design Space app.
- Now, launch the app.
- Then, sign in and create a Cricut ID to use the app.
- Afterward, hit on the Menu and choose Machine Setup.
- In the following step, choose your machine model.
- Then, perform all the on-screen instructions and complete the setup.
- Lastly, perform a test cut to confirm the connection.
The Cricut Explore/Maker setup is much easier on Android and iOS devices. You just need to follow the above steps with caution, and you will end up with a successful connection.
How to Connect Cricut Explore or Maker to Windows?
In the Cricut Maker setup process on Windows, you will need to connect your machine. There are two basic ways of connecting Explore and Maker machines. One is via Bluetooth, and the other is through a USB cable.
Method 1: Via Bluetooth
You can pair your Windows computer to your Cricut machine via Bluetooth. Here are the detailed instructions.
- Begin by powering on your Cricut machine.
- After that, make sure that your machine is 10-15 feet from your system.
- Then, move to your Windows computer and select Settings.
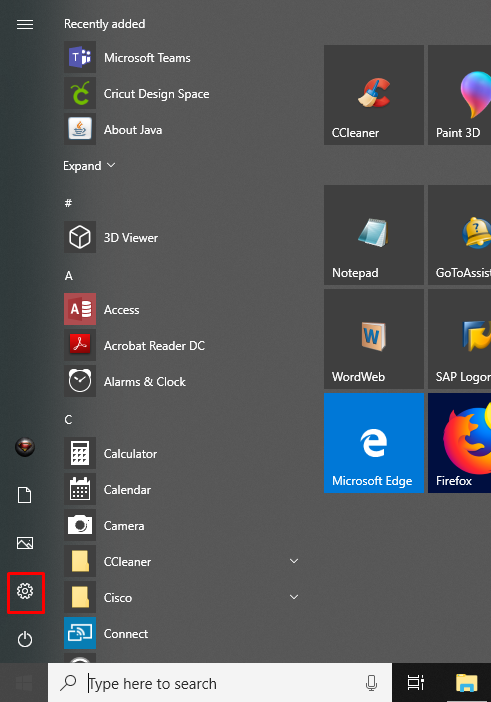
- In the following step, open Devices.
- Now, turn on Bluetooth.
- Then, tap on Add Bluetooth or other device.

- Afterward, select Bluetooth.
- Thereafter, choose your Cricut machine.
Now, you can see that your machine is properly paired for Bluetooth connection. Commencing the machine is one of the essential phases of the Cricut Maker setup or other Cricut models. Apart from Bluetooth, you can go for a USB connection, too. Find below the process.
Method 2: Using USB Cable
Cricut machines come with a USB cable to connect to a Windows computer. Here are some simple instructions to guide you through the process.
- First, connect one end of the USB cable to your computer.
- Then, connect the other end to your Cricut machine.
- After that, confirm that your machine is powered on.
- Finally, return to Design Space and New Product Setup.
These are a few instructions that can help you with the complete setup of your Cricut Maker or Explore machine.
Conclusion
Crafters can find the Cricut Explore and Maker machine versatile to craft a wide range of projects. But, to use these machines, it becomes essential to perform essential steps for Cricut Maker setup and other Cricut machines. As a crafter, you can use the machine on your Windows, Mac, Android, and iOS devices. You need to go through the process to download and install the Cricut Design Space, create a Cricut ID, and add the device to your system via a USB cable or Bluetooth.
Frequently Asked Questions
How to Connect Cricut Explore/Maker to Android?
Here is a quick step-by-step process to connect Explore and Maker to Android via a Bluetooth connection.
- Initially, power on your Cricut Explore or Maker machine.
- Now, confirm that your machine is 10-15 feet away from your Android device.
- After that, open Settings.
- Now, go to Bluetooth.
- Following this, turn on your Bluetooth,
- Finally, select your machine and pair it.
How Can I Setup My Cricut Maker on a Mobile Device?
Do you want to do the Cricut Maker setup on your Android device? Find below a few instructions to set up the Maker machine on mobile devices.
- Begin by plugging your Cricut machine into the power outlet.
- Then, pair your mobile device with Cricut Maker via Bluetooth.
- In the next step, download and install the Design Space.
- Now, Sign in or create your Cricut ID.
- After that, tap on New Machine Setup.
- Finally, follow all the instructions on the screen.
How to Do Cricut Maker Setup on a Mac Computer?
It is easy to set up Cricut Maker on a Mac device and begin with the project. Follow these quick instructions to get started with the setup.
- Firstly, power on your machine.
- Then, connect the machine to your computer.
- Now, download and install Cricut Design Space on your system.
- After that, perform all the instructions to Sign in or create your Cricut ID.
- Lastly, do a test cut.


