Cricut Mug Press is one of the supreme decisions one can take by adding the item to the craft room. However, you need to have complete knowledge of how to activate the Cricut Mug Press. The machine is a mug-shaped model of the Heat Press series, creating the product within a few minutes & in one-touch settings. It gives a professional/personal look to the mug as per the materials provided to it.
It got a patent-pending heat plate aiming to get magnificent, compatible results with a thoughtful auto-off feature. The Infusible Ink sheet and Infusible Ink marker’s smooth and seamless quality provide a mug that lasts a lifetime. The sheets are designed to fit perfectly into the machine’s Ceramic sublimation mug blacks.
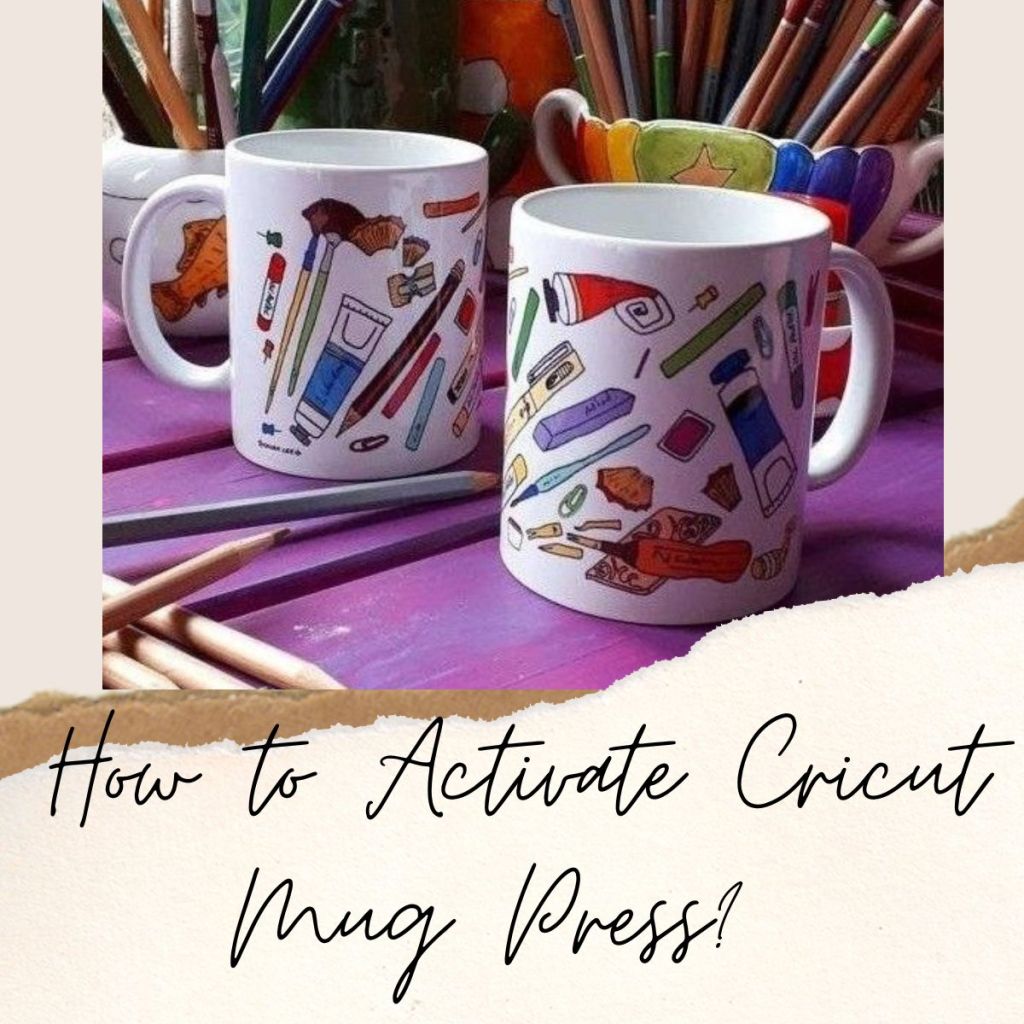
After adding projects and hats to the collection, you must also add a mug to show your creativity. To know about the process, keep going through the article.
Cricut Mug Press: An Overall Machine Review
Before deciding to add this heat press to your craft room, you must ensure that the product gives the result declared by the developers. However, it would be best to look at the reviews shared by the users already using the machine. The reviews will help you in making a final decision about whether to buy this mug press model or not.
Most users have experienced that it’s fun to use Easy Press as it is small and easily understandable. It doesn’t cover too much space on the table and offers users a high-quality result. The best equipment quality has been inserted inside the machine for the best effect. Other than that, one of the points they disliked was that everything is connected with the Design Space app.
What Does the Cricut Mug Press Bundle Include?
In order to satisfy their customers’ needs in developing the wished product, the users will be provided with many pieces of equipment that will play a unique role in designing the mug. After receiving the box, ensure that you keep them secured and in good condition during the development process. The names of the pieces of equipment include:
- One Mug Press Machine.
- One box of two 15oz Cricut Mugs [White-Dishwater and Microwave Safe].
- One Infusible Ink Transfer Sheet.
- Two 4.5 x 12 inches sheet-Black.
- Twenty-One downloadable SVG files specially designed for Cricut Mugs.
After learning about the essential equipment, you must learn about the Cricut Mug Press mechanism process. The following steps will give you a brief explanation of the machine activation process.
Steps to Activate the Cricut Mug Press Machine
There are a few items that the crafter must hold before starting the machine activation process. The items include a Mug Press machine, USB Cord, Windows/Mac with USB Type-A port, and Design Space software. The following steps will help you in learning about the process.
- Begin the procedure by arriving at the Cricut Design Space home page.
- To sign in to the account, enter your ID & Password. If you don’t have an account, then create one.
- The Cricut Setup option will be available on the Cricut Heat Press page.
- Inside its Dropbox, click on the Cricut Mug Press button.
- Follow the instructions on the screen to connect the press, check the firmware, and start completing the activation process.
- After the activation is completed, tick on Get Started to start the mug designing process.
Once the machine gets activated, you’ll be permitted to start crafting the designs on the mug as you wish. Moreover, it would be best if you prepared the mug for pressing, which can be done by overviewing the following section.
Process to Prepare Cricut Mug for Pressing
You need to follow these steps that will help you gather information about preparing a Cricut mug for pressing.
- For undamaged results, select the smooth and straight area of the mug and ensure the design is flat against the mug surface.
- Line in the design to make it stop before the beveled edge starts to avoid a blurred transfer result.
- To line up the full wrap on the beveled or stackable Ceramic mug, turn over the mug upside-down.
- Then use the straight edge of the top rim as a recommendation to get in on the right spot.
Ensure that the mug is placed on the right side of the Cricut Mug Press with the mug’s bottom on the base heater.
Stages to Change Cricut Mug Press Temperature
Due to any reasons if you want to adjust the machine temperature while creating the mug, then go through the following steps:
- First, hold on to the power button for 10 seconds, and you’ll hear two chimes, and all the LED lights will flash when Temperature Setting mode commences.
- Second, the LED’s row will showcase the current setting and push the power button to take a round of the setting options.
- Third, the LED display will showcase the desired settings; press the power button for 10 seconds to choose the settings of your choice.
- After that, a chime sound, the LED display, and the power button will flash.
- Then, the press will automatically turn off and exit from the Temperature Settings mode.
- Lastly, the new setting will appear when the press is switched on.
To exit the Temperature Setting mode without choosing the new option, you can unplug the power cable. After changing the machine temperature per reference, you will get the result within a few minutes.
Conclusion
Concluding the article, it’s clear that the Cricut Mug Press is a small, durable, and long-lasting machine. It easily adapts itself as per the direction given by the user and gives the wished product to them. You can easily activate and change the temperature setting as per the requirement.
Frequently Asked Questions
Question: Why does my Mug Press smell while heating?
Answer: The heat place of this machine is developed with different materials leading to some uninvited smell when it’s heating. You’ll notice that the odor will be gone with the timely usage of the machine, but it may not completely go away.
Question: What does the light on Mug Press indicate?
Answer: The progress light can be used to track the transfer process. No light means standby mode, Orange flashing means connect mode, and Solid Orange means warming up. Solid Green means ready to use for Lever and Heating elements.
Question: How can I ignore undesirable transfers?
Answer: Four simple tips that you need to keep in mind while transferring with Cricut Mug Press are as follows:
- First, remove the debris with a lint roller before commencing the pressing process.
- Make sure that the design is completely flat against the mug surface.
- Trim any excess transfer sheet liner close to the design.
Visit: Cricut.com/setup
Source: How to Activate Cricut Mug Press? [Review & Use]


