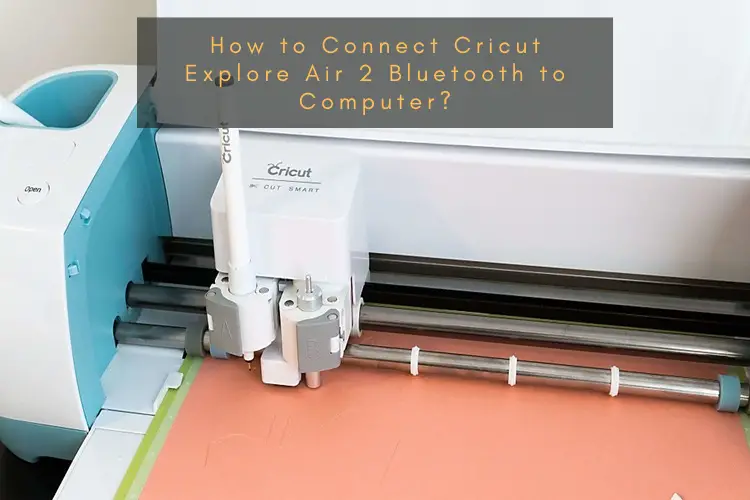
Do you want to learn how to connect Cricut Explore Air 2 Bluetooth? Let’s join me on a board to explore more in this write-up. I will never forget the day I got my first Cricut machine. I started my crafting journey with Cricut Explore Air 2. Although I have upgraded to Cricut Maker 3, this tool still works great. I still love using it for most of my crafts. Despite being an older machine, it still cuts precisely and is suitable for most DIY projects.
But do you know what is most important before trying a new Cricut machine? Of course, it’s the connection and setup. Most crafters find themselves in a dilemma and confused. Most are even afraid of connecting or setting up the machine themselves. But you don’t need to worry, as I am here to guide you on how to connect Cricut Explore Air 2 to Bluetooth. So, let’s get started.
How to Connect Cricut Explore Air 2 Bluetooth to Windows?
You know what, what silly mistake I made when I went to connect my Cricut for the first time😂? The distance between my computer and the Cricut machine was more than 15 feet. And I kept trying and worrying about why my computer could not find my Cricut.
But finally, I reread the Cricut manual to figure it out. Then, I realized that the minimum distance is 10 to 15 feet. You should also consider this as an essential tip.
Step 1: Power On Your Cricut Cutting Machine
I have taught you the minimum distance between your Cricut and computer. This is necessary to ensure better connectivity. After this, you must power on your Cricut machine. To do this, plug the power cable into a nearby power source.
If you are using the Cricut Explore model or Explore One, ensure you have inserted the wireless Bluetooth-enabled.
Step 2: Switch On Your Windows Computer
Now that the machine is turned on, it is time to turn on your PC, too. You should switch on your computer and move to the next step.
Step 3: Turn On Bluetooth
Here, we are going to turn on Bluetooth on our computer. To do this, you have to follow the steps below:
- First, right-click on your desktop and select Personalize to open Settings.
- As you enter your Settings, you have to go to Devices.
- Next, check if the Bluetooth is turned on.
- If not, you have to click on the toggle button to turn on.
Step 4: Pair the Cricut Explore Air 2 to Your PC
- Then, select the Bluetooth option from the next screen and let your PC find your Cricut machine.
- If it asks you to enter the PIN, you must enter 0000.
How to Connect Cricut Explore Air 2 Bluetooth to Mac?
When I was fed up with my Windows computer, I decided to switch to Mac from Windows. It’s been about 1 year since I started using my Mac for using my Cricut. My experience was really excellent. If you too want to try on Mac, follow the steps below:
Step 1: Turn On Cricut Explore Air 2 Machine
The first step is the same as for Windows. Ensure your devices are properly placed near each other.
Step 2: Switch On Your Mac System
Here, you need to turn on your Mac. Once your Mac is turned on, move to the next step.
Step 3: Turn On System’s Bluetooth
If you want to turn on Bluetooth, you have to follow the instructions below:
- On your Mac system, you have to click on the Apple icon.
- Then, hit the System Preferences.
- Now, you will need to look for the Bluetooth option.
- Here, you should turn on your Bluetooth if it is off.
- After that, let your Mac computer find your Cricut model.
Step 4: Pair Both the Cricut Machine and Your System
Lastly, you have to hit the Pair button and then type the PIN code 0000. Again, select the Pair button. By now, you might have learned how to connect Cricut Explore Air 2 Bluetooth on both Mac and Windows computers.
FAQs
Can I connect my device to Cricut Explore Air 2 without Bluetooth?
Certainly, yes! And it is easier than connecting to Bluetooth. Bluetooth might take a long to connect due to its long and complex steps. But connecting via a USB cord is all about inserting one end to Cricut and the other to the computer’s USB port. However, a USB cable can be used only when connecting to a computer, but you can’t use it on your mobile. For mobile, Bluetooth is compulsory. In short, you can connect your Cricut without Bluetooth only on computers but not smartphones.
Are all Cricut machines connected to Bluetooth?
With the latest machines, obviously, yes! However, the oldest Cricut Explore or Explore One model requires a Wireless Bluetooth Adapter to enable Bluetooth. On the other hand, the Cricut Explore Air, Air 2, and Maker series come with a built-in Bluetooth module. In a nutshell, not every machine has Bluetooth features, but the latest one has a wireless connection feature.
How to fix Cricut not connecting to PC via Bluetooth?
There could be many reasons for this problem. However, in order to fix this issue on your computer, you will need to do the following:
- Refresh your wireless connection
- Unpair and repair the Cricut machine
- Give the Cricut app permission from the Windows Firewall
- Check your Bluetooth driver
Conclusion
By the end of this blog, you will learn how to connect Cricut Explore Air 2 Bluetooth. In this guide, I have explained the connection process to connect your Cricut to a Mac or Windows computer. Each step consists of four steps to make it easier for beginners to understand. Lastly, try to maintain a proper recommended distance between your Cricut and computer to ensure smooth connectivity.
For more information visit: cricut.com/setup
www.cricut.com/setup login
cricut explore air 2 setup
Cricut Design Space software
Source: How to Connect Cricut Explore Air 2 Bluetooth


