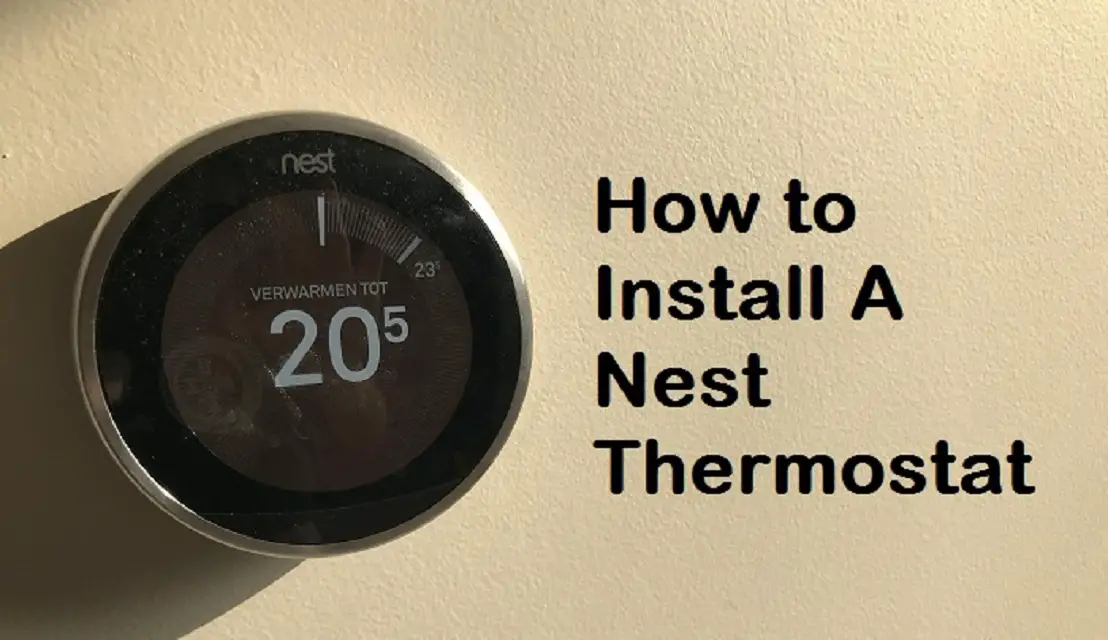
If you have purchased a smart thermostat and don’t know how to install it, stay with us. This guide will help you install a Nest thermostat to save money on electricity bills.
Is it easy to install a Nest thermostat?
Installing smart devices may be easy or complicated for someone. The main thing that creates confusion for many is the wiring. But installing a Nest thermostat is easy because many manufacturers like Nest are taking care of customer convenience and making the installation easy for anyone. If you are new to the installation of smart devices like thermostats, you can install a Nest thermostat easily. However, this comprehensive post will guide you through the step-by-step process to make the installation hassle-free.
Select the right thermostat for you
Choose the right one from different Nest models, including the original Nest Learning Thermostat and Nest Thermostat (2020). These two thermostats share the same installation process to some extent. If we talk about the Nest Learning Thermostat, it is a flagship model. On the other hand, the Nest Thermostat (2020) is a budget product. Moreover, you can choose the right one by reading their reviews on the internet.
Check your furnace compatibility
Before buying any Nest model, don’t forget to ensure the thermostat’s compatibility with your furnace. You can quickly check the compatibility on Nest’s website by knowing the wire of the current thermostat.
Consider a C-wire
In the installation process, you may need a C-wire that helps your thermostat to gain power correctly. This C-wire is used between the furnace and the thermostat. The Nest Learning Thermostat may work without a C-wire with an old furnace system, but you will need the wire with the Nest Thermostat (2020). While installing Nest thermostats are not tricky, but you can take the help of a professional. After you are ready with all the prerequisites, you can now start.
Follow these steps to install your thermostat
- First, you have todownload the Nest app. You can take advantage of the Nest app in the installation as it provides helpful videos and photos.
- Shut down the power from the main panel. Before you start the installation, make sure that you have turned off the power.
- Take out the current thermostat cover and look at the existing wiring. You can capture a photo of the wiring so you can remember it for later reference.
- Disconnect the wires and label them. It is useful to label wires so you can track them easily.
- Now take out the current thermostat. You have to replace the old base and wall plate with the new one and label them correctly.
- Connect your Nest thermostat. Take the help of the wiring diagram provided in the app and connect the wires correctly.
- Take the Nest faceplate and attach it.
- Turn on the power from the primary source. As you supply the power, your thermostat will be powered up. However, you may also need to power it up at first.
- Use the app to set up the thermostat. The Nest app will provide some useful settings to set your thermostat.
- The last step is to program your thermostat in case of the Nest Learning Thermostat. Let the thermostat complete its learning phase.
I am extremely passionate about blogging, running websites, and creating content. I have managed to turn my passion into a profession, and blogging has managed to teach me a lot about technology and myself. I write blog posts, instruction manuals, news releases, and technical descriptions, and reviews for many websites such as mcafee.com/activate | www.mcafee.com/activate
Source: How to Install A Nest Thermostat


