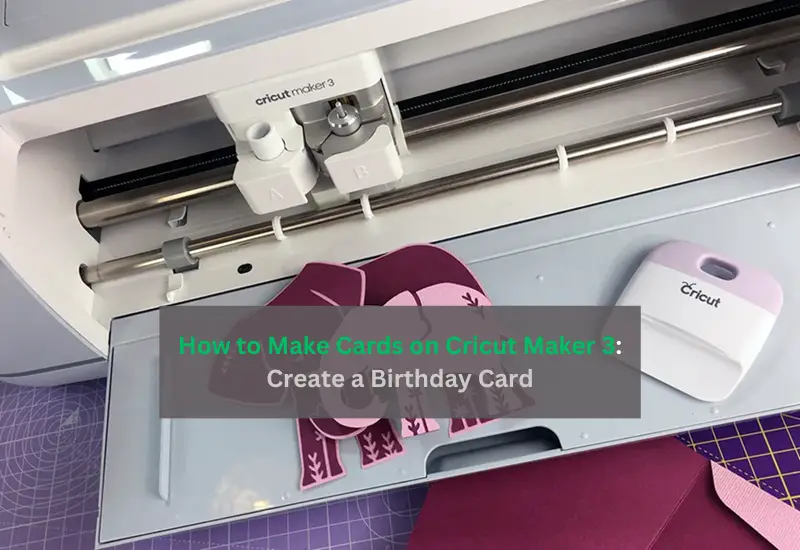
Hey daydreamers! Do you want to learn how to make cards on Cricut Maker 3? Look no further than this post, as it will guide you with every step of creating an amazing birthday card using the stunning Cricut Maker 3.
I started making this card when I wanted to meet one of my friends who had just returned from studying in Europe. I eagerly awaited to welcome her, and I thought it would be great to wish her a happy 26th birthday with this handmade card. She will arrive on her birthday (I AM SUPER EXCITED!😍).
Being a pro crafter, I have made several crafts for decor or other things. But this is the first time I am going to create something extraordinary. So, are you ready to be a part of my journey? If yes, join me on a board to craft birthday cards using Cricut that are easy to create.
Step 1: Cricut Tools & Supplies Needed for a Card
To learn how to make cards on Cricut Maker 3, ensure the following items are met. There are three different sizes of cardstock. Note down the sizes that you need while making cards using Cricut:
- 30cm x 30cm white cardstock (210gsm for the card)
- 30cm x 30cm copper glitter cardstock (250gsm for the card insert)
- 30cm x 30cm cream color cardstock (210gsm for the envelope)
After that, you will need a StandardGrip mat (Green). Despite these, you need a Cricut Metallic 1.0mm pen set, adhesive, or double-sided tape. Once you are ready with supplies, you have to move to the next steps, where I will show you how to create your own birthday cards.
Step 2: Upload the SVG Card Design
This is the first step, where I will add an SVG file from Design Space. For that, you have to go to the main page and tap on the + icon given at the bottom of the screen so that you can start a new project.
This is how you can browse the SVG file in your Design Space software.
Choose the file from your computer. Here is the SVG you need to add to your Cricut app. Finally, your file will be loaded here.
Step 3: Set Settings as per Your Project
You have to go to the Layers menu and make the changes as per the images below. Once done, select the Pen from the Operation drop-down menu. After this setting, you are ready to delve into the further steps explaining how to make cards on Cricut Maker 3.
Step 4: Edit Card Insert and Envelope
Now, you have to upload the insert design, which is again a Cricut SVG file. Next, you need to upload the envelope as your final part of the insert card design. Make the necessary changes, such as changes in color and size.
Step 5: Cutting Your Paper Card
After that, you will need to click on the Make It button from the top right-hand corner and then select the mat size accordingly.
When everything is done, you need to click on the Next button. Further prompts will ask you to Browse All Materials to select your Cardstock (for intricate cuts). Then, load the tool. Select the Scoring Stylus and click on the Continue option.
Now, you need to follow the screen’s prompts to cut the cards. After cutting, start assembling the Cricut insert card.
Here we go! This is the final birthday card and envelope.
You might have learned how to make cards on Cricut Maker 3 or other Cricut models. Try once, and let me know if you have created something unique and extraordinary.
FAQs
What different types of card ideas can I try with Cricut?
Numerous ideas are out there for cards you can easily make with Cricut. Almost all types of Cricut models can create cards easily in no time. Below are the different types of cards you can make with Cricut:
- Greeting cards
- Birthday cards
- Thank You cards
- Heart-shaped love card
- Congratulations cards and so much more.
What materials do I need to make cards on Cricut?
The material you will need to make beautiful cards is cardstock. These cards are thicker in thickness. This is the best material I can suggest to you to make any card. Besides these, you will need a LightGrip mat and a Cricut cutting machine for cards.
Can I make a card with Cricut without using a card mat?
There are ways to create a card with Cricut without using a card mat. Follow the steps below to create a card on Cricut without using a card mat:
- First, open the Design Space and find the image.
- After that, you have to select a project that you can make with cardstock.
- Add a score line down in the middle of the rectangle to create a front and back of the card.
- Then, you have to insert a piece.
- Now, start cutting the cardstock.
Final Words
Everyone celebrates their own or loved one’s birthday every year. Hence, a birthday card can be the best way to send someone warm wishes. So, through this blog, I basically tried to explain how to make cards on Cricut Maker 3. The purpose of writing this blog was to teach beginners the easy way to create a birthday or greeting card. The supplies and steps I have provided in this blog will help everyone to create all types of cards.
For More Information Visit: cricut.com/setup app
cricut maker setup
cricut new machine setup
Install Cricut Design Space


