
Crafting with Cricut is something everyone loves. Whether you are new to Cricut or you are a long-time crafter, making decals/stickers is likely to be on your to-make craft list. Considering this, I am going to share how to make decals with Cricut in this post. Therefore, if you own a Cricut cutting machine, you can get started with the process explained here. Also, I want to share everything about how I made it and how easy the process is.
I love to personalize my belongings, and that is why I tried out some amazing decals. Last time, I made beautiful decals for my laptop. And you know what? Plus, the project turned out to be ultimate in just a few simple steps. Are you excited to make the one with your Explore 3 machine? Here, I will discuss all the supplies and the step-by-step process I performed.
Initially, let’s begin with the needed supplies.
Supplies Needed to Make Cricut Decals
The first thing to consider is the supplies and materials needed for the project. Since I had used Cricut Explore 3, I will mention the machine below. But you can use any one of the Cricut machines to get started. Moreover, find below the supplies you will require to make decals with your Cricut machine.
- Cricut Explore 3 machine
- A laptop or PC
- Material Trimmer
- Smart Vinyl, red
- Transfer Tape
- Accessories
Once you have all these supplies, you can go ahead with the process of making them. After all, I am going to explain all the steps thoroughly.
Easy Guide: How to Make Decals with Cricut?
I had used a guitar headstock design in my last guitar. However, you can get started with images in the Design Space or start with a blank canvas. If you choose the latter process, you will need to start from scratch. Moreover, if you want to decorate the wall, you can perform the same steps for how to make wall decals with Cricut. Now, let’s make the decals.
Step 1: Go to Cricut Design Space
Initially, launch the Cricut Design Space on your system. You can open it on your Windows or Mac computers.
- Firstly, launch Design Space on your Windows/Mac computer.
- Then, open your project in Design Space.
- After that, select the Customize option.
Step 2: Enter the Text
In the second step, you can type in the text you want. Here is how you can type in the text for your decal.
- Move to Name.
- Next, double-click on Name.
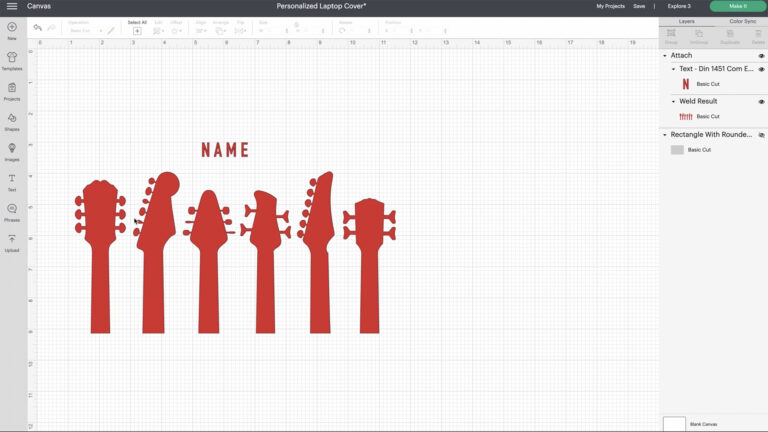
- Finally, type in the text you want to show on your Cricut decal.
Note: If you want to find the recently used colors, you will need to tap on the color swatches. It will save you time while making it easy to find the colors.
Step 3: Change the Text Color
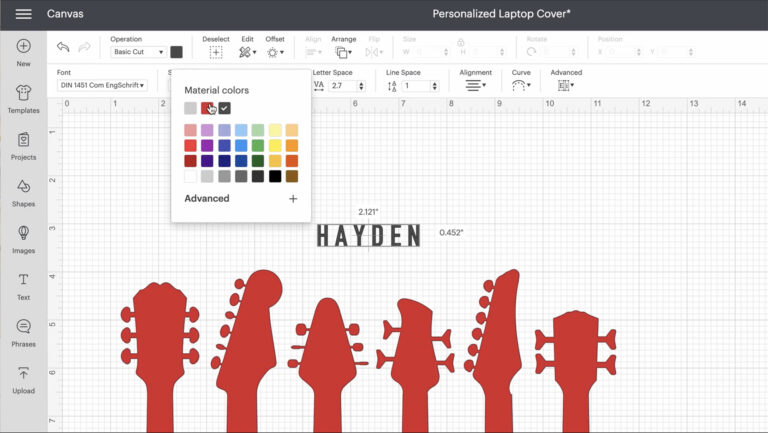
Cricut Design Space allows crafters to change the text color. Thus, if you want to change the color of your text, you can do it based on your preferences. In my decor project, I changed the font to red so that it would all cut the same red vinyl piece.
Step 4: Preview Your Design
If you are happy with the color and design’s layout, click on Make It and proceed. Here are the steps to preview your design.
- Firstly, click on Make It. You can find it in the top-right corners.
- When the Design Space asks you to load the material, select Without Mat.
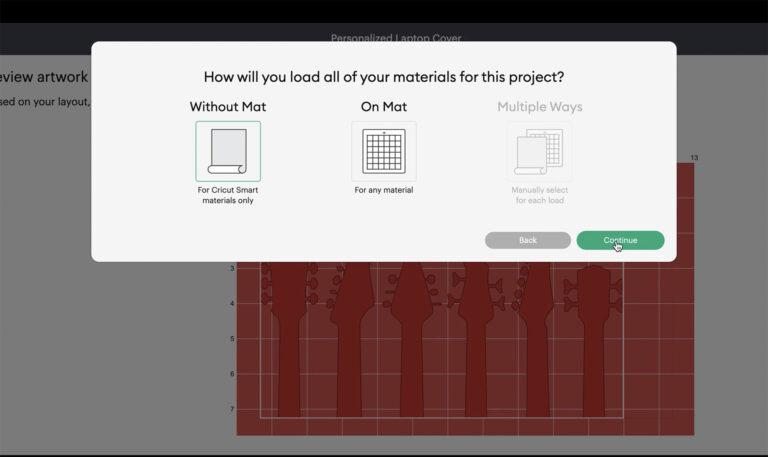
- Hit Continue, then.
- Finally, you will see the Review Artwork screen.
After previewing your design, click Continue if the design layout is good.
Step 5: Cut and Weed Your Design
Now, go ahead with the next steps of how to make decals with Cricut. It is the cutting and “weeding” process. Please note that it is one of the most important steps of making decals with Cricut.
- First, Set Base Material.
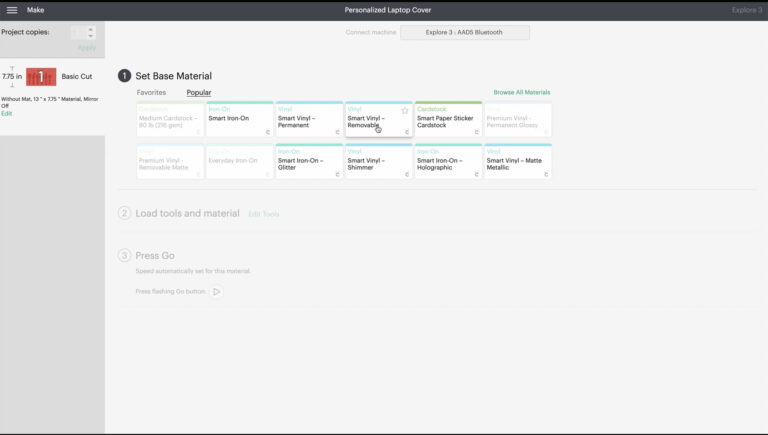
- Now, the software will start to send the info from Design Space to the Cricut machine
- Afterward, perform all the prompts to continue to cut your design.
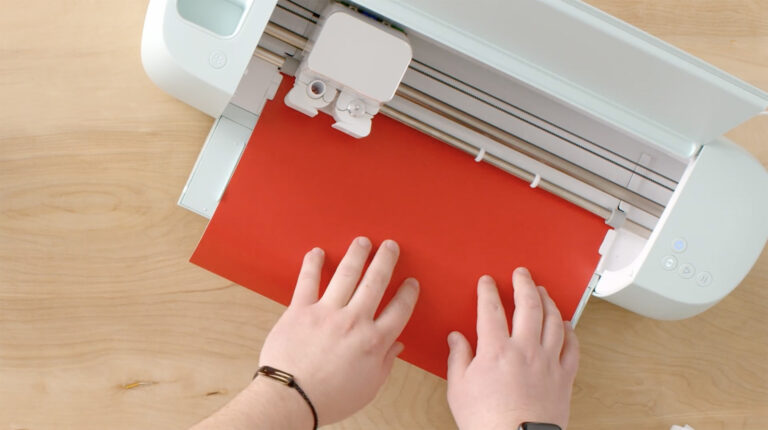
- After the design is cut, unload your material and remove the excess vinyl from the images.
The process of removing excessive vinyl from around the images is known as weeding. Don’t forget to do it after the cutting process.
Step 6: Apply the Transfer Tape
After you cut and weed the design, the next step is to apply transfer tape. This plastic film makes the vinyl decals apply easily. Make sure to apply the transfer tape to the front of your design.
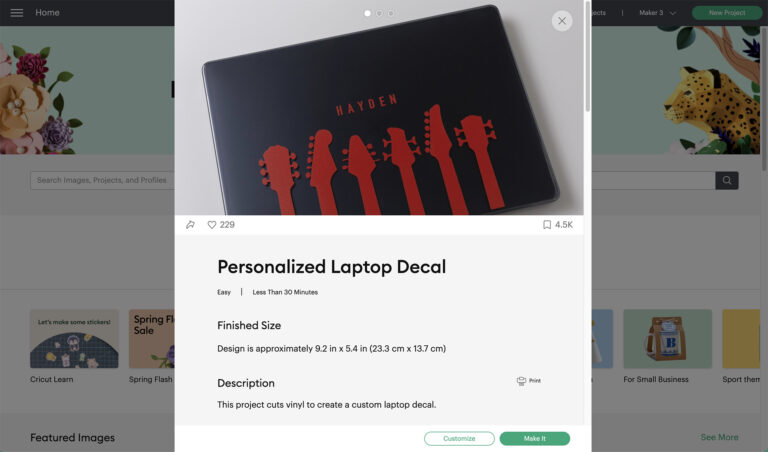
I performed these steps, and the efforts turned out vibrant decals for my laptop. Do you want to know how to make car decals with Cricut? You can perform the same steps and return with a perfect car decal.
Conclusion
Beginners, as well as experienced crafters, can create a wide variety of decals using different materials. It will add personalization and make the belongings look elegant. The project is excellent for a beginner crafter and fun for long-time crafters. Start making them by learning how to make decals with Cricut. You can use any of the machines, Cricut Joy, Maker, or Explore, to get started. Create your designs/fonts and take your creativity to the next level. Crafting becomes joyous with Cricut, supplies, and a thorough process.
Frequently Asked Questions
Q.1 How Can I Cut a Vinyl Decal With the Cricut Machine?
Cutting a vinyl decal is one of the essential steps of making a decal. Here are steps that you can follow to cut Vinyl decals with your Cricut machine.
- First, select your Cricut machine.
- Next, choose the material you want to cut.
- After that, press the arrow button on your machine.
- Lastly, tap on the Cricut button to start cutting.
Q.2 How Do You Make Custom Decals With a Cricut Machine?
Custom decals are an excellent way of adding the ultimate statement to personal items. Do you need to learn how to make decals with Cricut? You can create them effortlessly with your favorite Cricut machine. Here are a few steps to follow.
- First, go to Cricut Design Space.
- Next, select Customize.
- Thereafter, type your text and change the text color.
- After that, Set the Base Material.
- Now, follow all the prompts to cut.
- Lastly, apply transfer tape to your design.
Q.3 How Can I Create Window Decals Using Cricut Machine?
The Cricut machine plays a pivotal role in making a wide variety of decals. Therefore, choose your favorite machine to make window decals. Perform the below-mentioned steps.
- Firstly, open the project in Design Space.
- After that, resize your project.
- Then, tap on Make it.
- Select the appropriate cut setting.
- Remove excess materials from the design.
- At last, apply the transfer tape.
Visit: https://cricuts-mart.com/
install cricut design space app
Source: https://cricuts-mart.com/how-to-make-decals-with-cricut-a-complete-guide


