
I can’t forget the day when I got my new Canon PIXMA printer for my college project work. My first experience printing and scanning my documents was the best feeling ever. Also, I was nervous because I didn’t want to make any mistakes that might lead to a technical glitch or error. However, the process was quite easy and simple. So, if you are here to know how to scan on Canon printer? You have come to the right place!
Through this guide, I will share my way of scanning documents. Besides, we will first start preparing our Canon printer. This is the first and most important step that you need to do before scanning. In this step, we will basically connect our printer to a computer. Afterward, we will download and install the printer driver. Now, let’s look at this post to learn more.
Step 1: Prepare Your Canon Printer for Scanning
If you have bought your new Canon printer recently, then you must know how to setup your Canon printer. Without this setup, I don’t think you should proceed with scanning.
Here, I have mentioned two steps that explain how to connect Canon printer to computer and download Canon printer driver. Further, you will need to download and install the printer software. This software will help your printer to receive the printing commands from the computer.
Step 2: Connect the Canon Printer to a Computer
Here’s how to connect a Canon printer to your PC:
- First, make sure you have bought an “all-in-one” Canon printer model. If you do not have an all-in-one model, then it might not scan.
- Afterward, connect your printer and computer using a USB cable. You can also connect it via a wireless network.
Note: Most Canon printers having a scanning feature can also connect wirelessly. Thus, choose the methods that suit you the best.
After connecting the computer and printer together, you will need to download and install printer drivers.Let’s see how to download it:
Step 3: Download and Install Canon Printer Drivers
Most printers come with a CD, so you can try installing the driver using your DVD or CD. In case you do not have a CD or DVD, follow each step given below:
Here’s how to download Canon printer driver:
- First, you need to open your browser and then visit the Canon’s official website
- Then, navigate to the homepage of Canon on the screen. Here, you will have to click on the Drivers & Download option from the upper right corner of your screen.
- Afterward, you have to type your Canon printer’s model number in a search box and then click on Go to browse your printer driver.
- Now, you will be redirected to select the compatible driver for your Canon printer. Hit the Select button and tap on the Download option.
- After that, you can follow the given prompt on the screen to install the software.
Step 4: Scan Files on Your Canon Printer
After setting up the printer on your computer, it’s time to scan files using your printer. Below, I have shared two different methods to scan documents. Let’s explore each method.
Method 1: Via Windows Scan Feature
The first method explores the build scan app on your Windows computer, known as Windows Fax and Scan. Besides, you have the option to scan anything using a Canon app. However, we will discuss it later.
Let’s see how to scan on Canon printer using the Windows scan feature:
- Start by placing your document on the scanner glass.
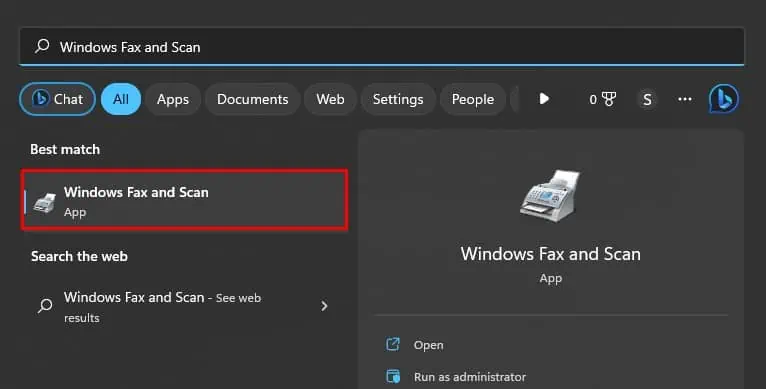
- Then, go to the Windows search bar and type Windows Fax and Scan.
- Afterward, just click on the File tab located in the upper right corner.
- Then, select the New > Scan options.

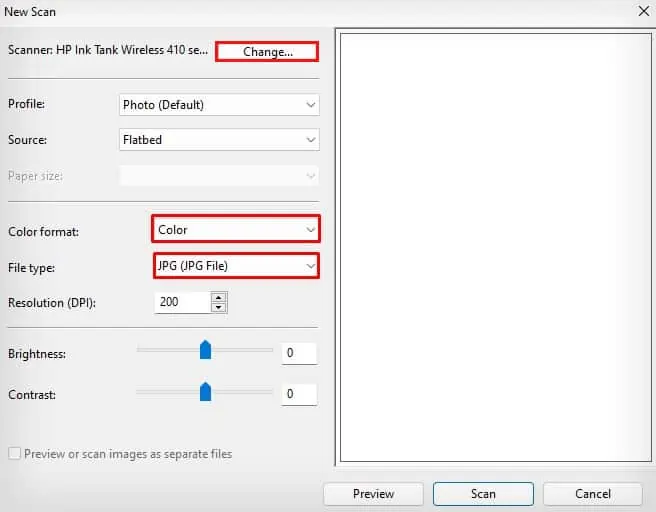
- Next, you will need to click on the Change tab from the new scan window. After that, you have to select your Canon printer.
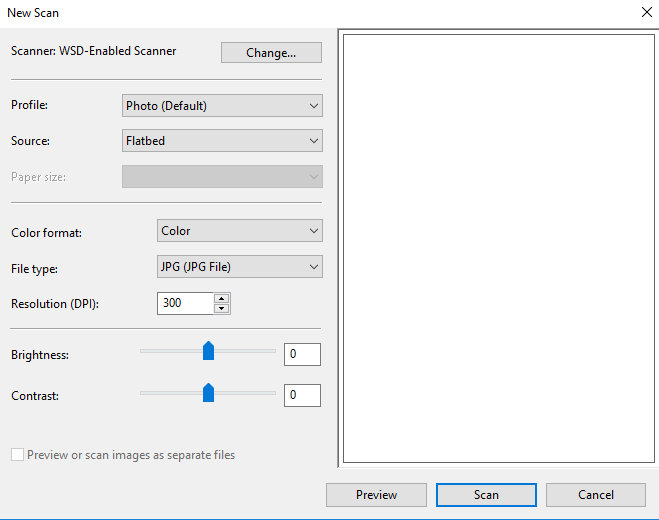
- Now, you have to choose your preferences for scanning, such as color format and file type.
- Finally, you have to click on Scan to scan your documents.
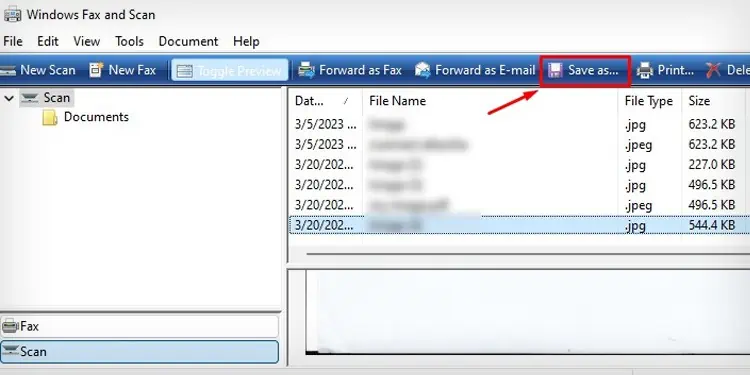
- Here, you need to keep patience until the document appears on the computer screen.
- Once it appears, select Save as to save your document wherever you want to save it.
Method 2: Using IJ Scan Software
Another method to scan your document via software is IJ Scan. This software is integrated with the driver package and can be downloaded from Canon’s official website.
Let’s see how to scan on Canon printer using the IJ Scan Utility:
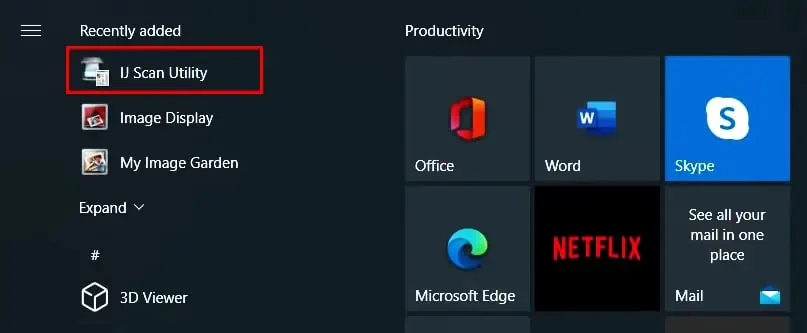
- Open the IJ Scan Utility from the Start menu of Windows PC.
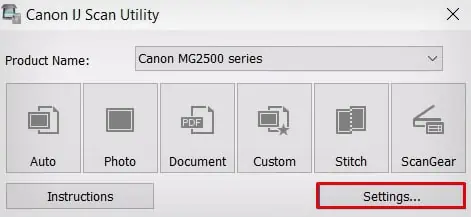
- In the next window, you will need to click on the Settings tab.
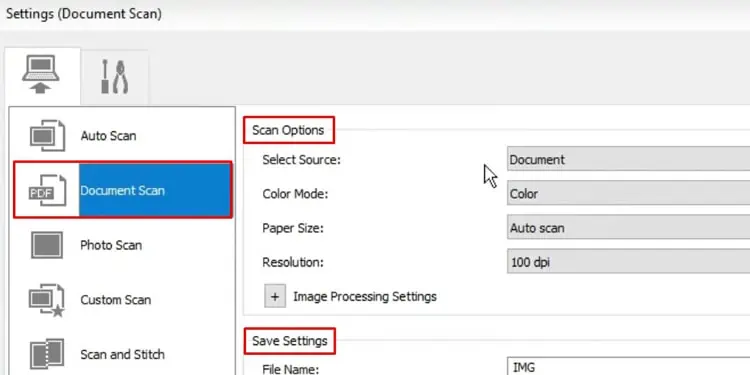
- Now, click on the Document Scan from the left pane.
- Here, you will need to adjust the settings given under the Scan Options and Save Settings. Then, hit the OK button.
- Afterward, head to the Document section. As a result, scanning documents will start.
- Once the scanning is complete, a message Scan Completed will appear on the screen.
Final Words
In this blog, I have explained 2 methods to scan the documents using your Canon printer. Before that, you will need to connect your computer to your printer. Once you have established the connection, you can easily proceed to the next step. In the next step, you have to download and install the printer driver. Afterward, we can scan documents on a Canon printer.
FAQs
Question 1: How to scan a document on a Canon printer?
Answer: There are several ways to scan your documents on your Canon printer. Below, I have mentioned 4 methods to scan your documents on a Canon printer.
- Scan documents using IJ Scan Utility software.
- Scan via Canon’s touch panel.
- Use the Windows scan feature.
- Try the Canon scan profile.
Question 2: How to scan on Canon printer wirelessly?
Answer: Scanning on a Canon printer is simple. For this, you need to follow the steps mentioned below:
- Open the scanner bed.
- After that, you have to place a piece of paper or any documents that you want to scan.
- Once you have placed the documents, close the scanner bed.
- Move straight to your computer and open the IJ Scan Utility software.
- Now, select the Document option, and it will start the scanning.
- Finally, you will get your scanned documents.
Question 3: Why is my Canon PIXMA not scanning to my computer?
Answer: If your Canon PIXMA is not scanning anything, then the problem might be related to your connection. It can be wireless and wired. Hence, if you are using your printer via a USB cable, then ensure whether the cable is secure or not. Meanwhile, in the case of a wireless connection, check the WiFi. Your printer and computer must be connected to the same wireless network. In other words, you should indicate that the devices are connected.
Source :- how to scan on Canon printer?


