Hey friends, are you excited to learn how to use printable vinyl with Cricut? In this blog, I will talk especially about printable vinyl, like what you can make with this material and how to use it for creating labels.
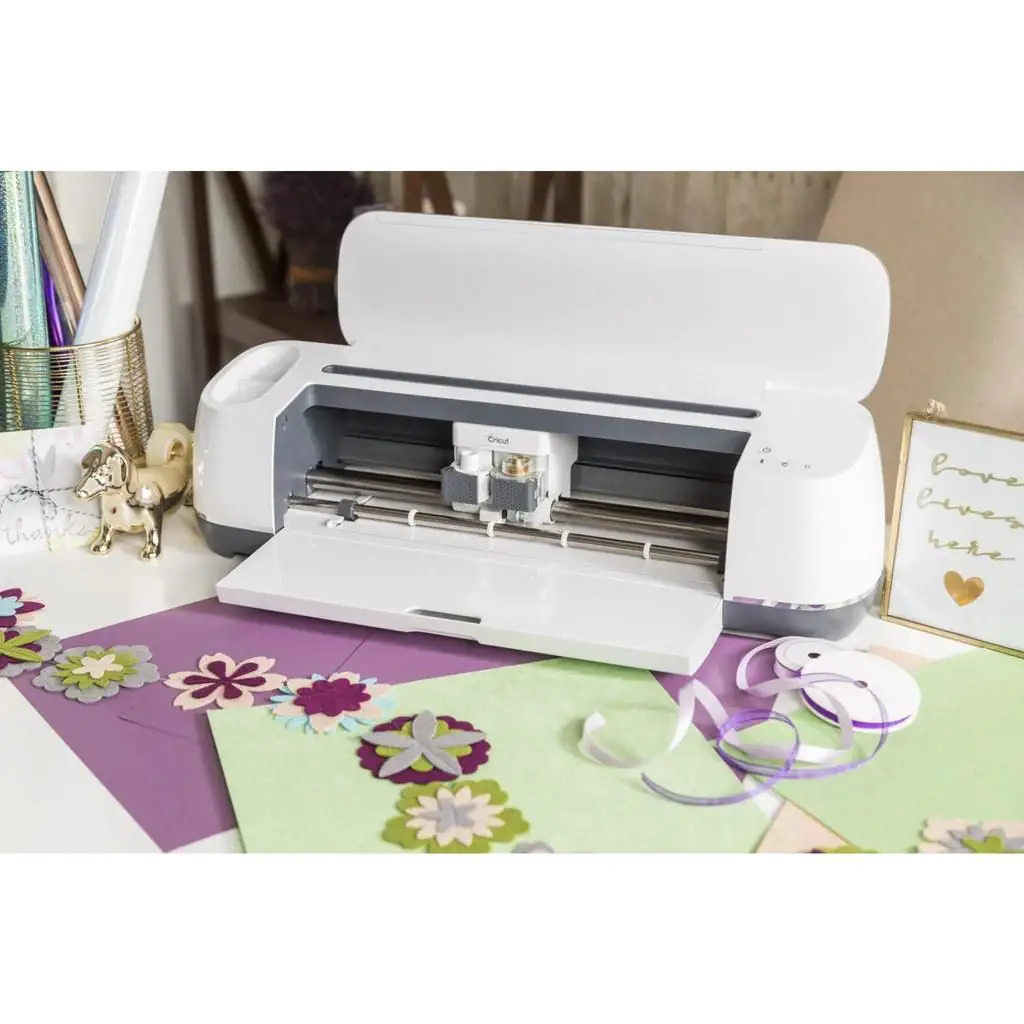
Recently, I had several containers of similar shapes and sizes. And it becomes difficult for me to differentiate between a cleanser and another cleaning agent. So, I decided to make some custom labels. For this, I was looking for a vinyl that is waterproof. Hence, I got a waterproof printable vinyl from Cricut’s site.
So, if you are here to learn about Cricut printable vinyl and its uses, then this blog is the perfect choice for you. Here, I will also talk about the supplies needed to create these labels. In case you are a beginner, then don’t worry, the project is quite easy and will not be very difficult. So, let’s move on to the following steps to learn more!
Supplies Needed for Printable Labels
Okay, before I take you to how to use printable vinyl with Cricut, let me show you the few supplies that I used in my project. You can get these items from the Cricut website itself.
Here are the supplies for printable labels:
- Printable Vinyl
- Cricut Explore or Maker
- Blue LightGrip or Green StandardGrip Mat
- Take any containers made with glass or other
Now the question is, what kind of project can I make with printable vinyl? Well, with this material, you can make Stickers for diaries, notebooks, and Labels, which I am going to teach you in this tutorial.
How to Use Printable Vinyl With Cricut?
Now, I will create a design for labels and cut it on Cricut. During the design, I will use many tools available in Design Space to modify my design. To learn it deeply, you need to follow the steps below carefully:
Step 1: Add and Ungroup a Design in Cricut Software
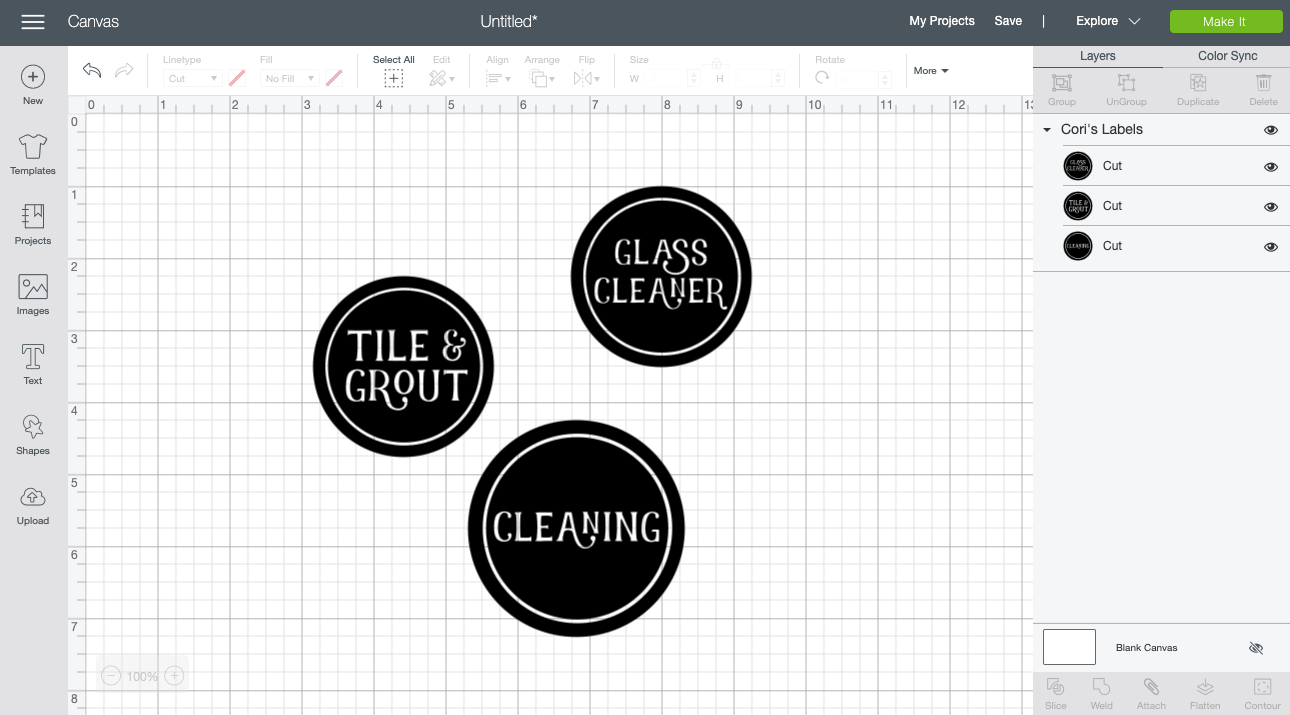
In this first step, you have to create your labels on Design software. Here, I have uploaded an SVG file of labels, so I need to ungroup them so that I can manipulate them accordingly.
So, if you are also uploading files to the Design Space, then you need to click on Ungroup after uploading the file. Here, you can also resize your label, as I have resized it to 2.5” wide.
Step 2: Flatten the Labels
All these stickers’ designs are SVG files, so while cutting, my Cricut will cut out the letter of the background. So, I am going to use the Print Then Cut feature, and I will also need to Flatten these labels.
But even if I flatten them, the letters will still be cut out. Hence, I will create a white circle and flatten it from the back of each label. As a result, it will become a circular sticker. To do this, you have to insert a circle from the Shapes tool located on the left side of the Design Space panel. Ensure that the size of the inserted circle and label is the same.

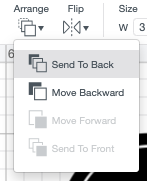
Next, I use the Arrange tool from the top Edit Toolbar to send it back so that you can place your circle behind your label.
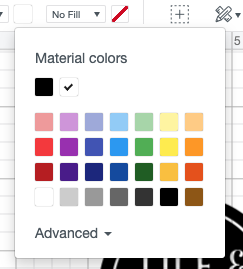
Afterward, you can also align your circle and label using the Center tool that you will find in the Align dropdown. After the alignment, your label may appear grayish and black. For this, click on the gray circle from the layers and use white from the dropdown from the Edit Toolbar from the top.
So, now the labels are ready, and we can flatten them. To flatten, you have to click on Flatten from the bottom layer panel given on the right. As a result, you will not see major changes in your labels, but you will notice that your Print Then Cut image is visible in the layers panel.

In the next step, you will learn how to use printable vinyl with Cricut with the Print Then Cut feature. Plus, I will cut out labels on the same materials. Let’s get into it.
Step 3: Cutting Labels on Your Cricut Machine
Once your design is ready and you are satisfied with your labels, you need to follow the steps I am providing below. The following steps will help you print and cut the labels.
- After completing the design, you have to click on Make It, given in the upper right.
- Next, you have to click the Continue button.
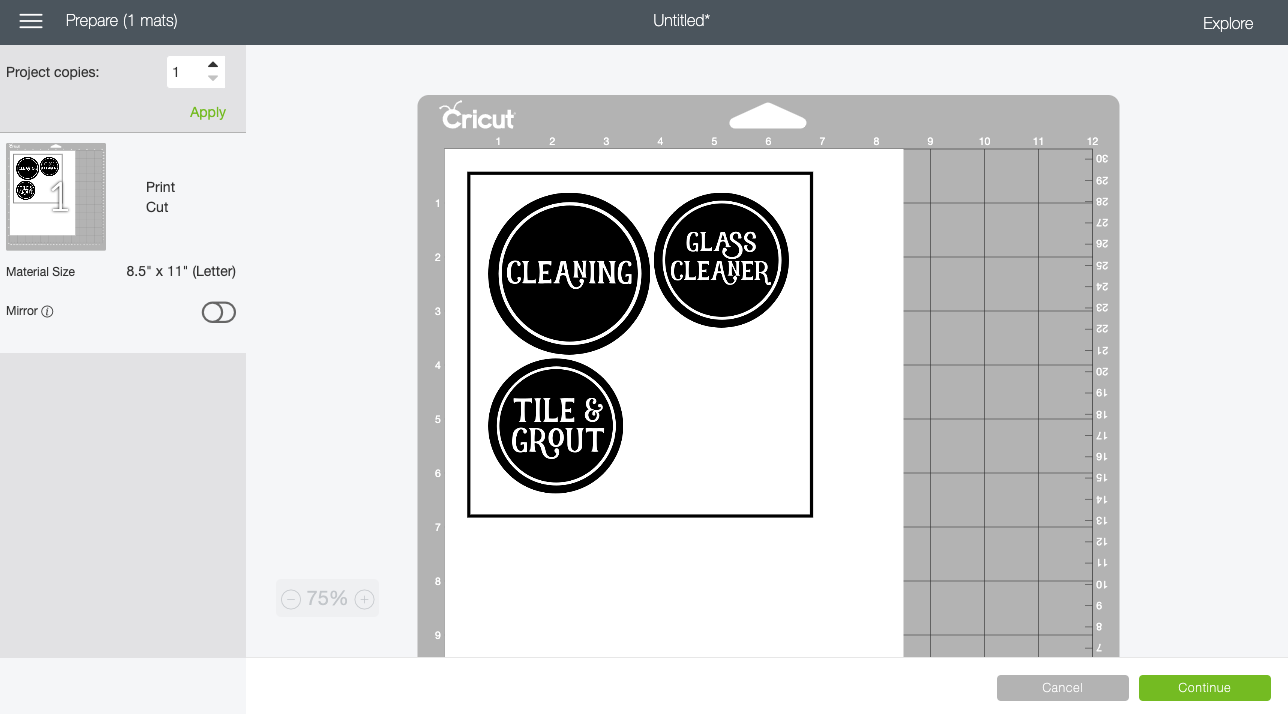
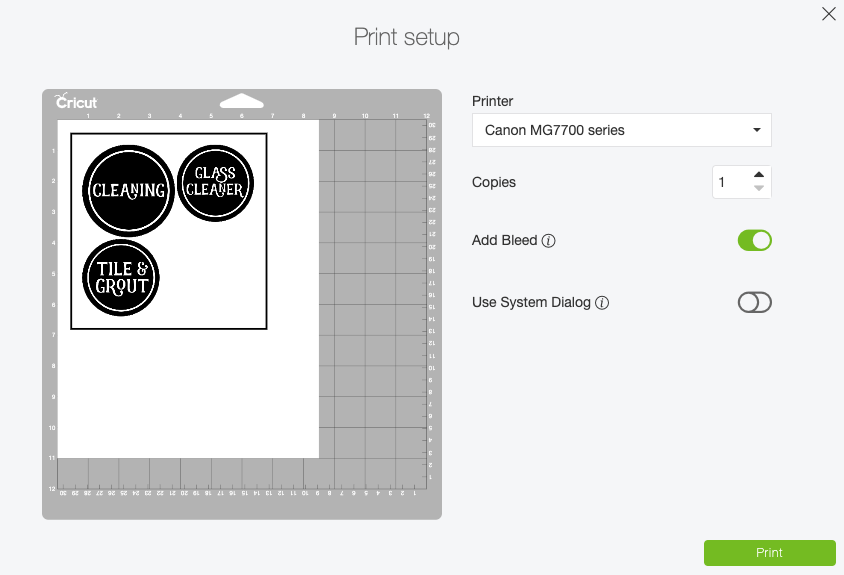
- After this, you will be moved to the next screen, where you will be prompted to print the image of your label. Here, I am using an inkjet printer.
- On the same screen, you have to enable the Add Bleed option, helping to ensure that there are no white edges around the circle.
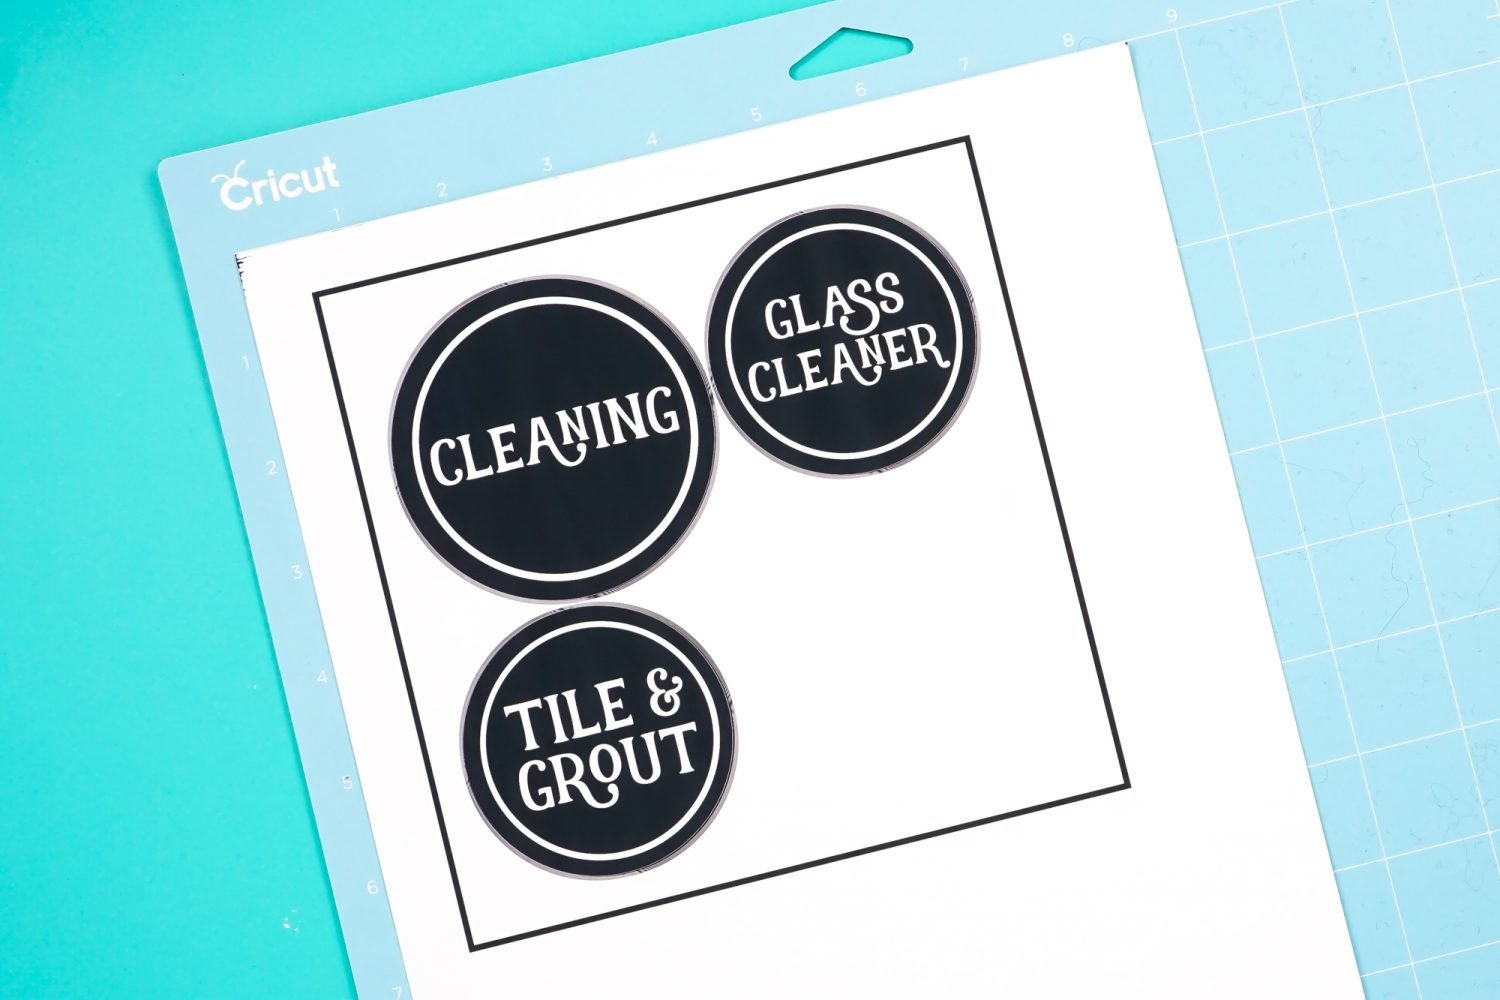
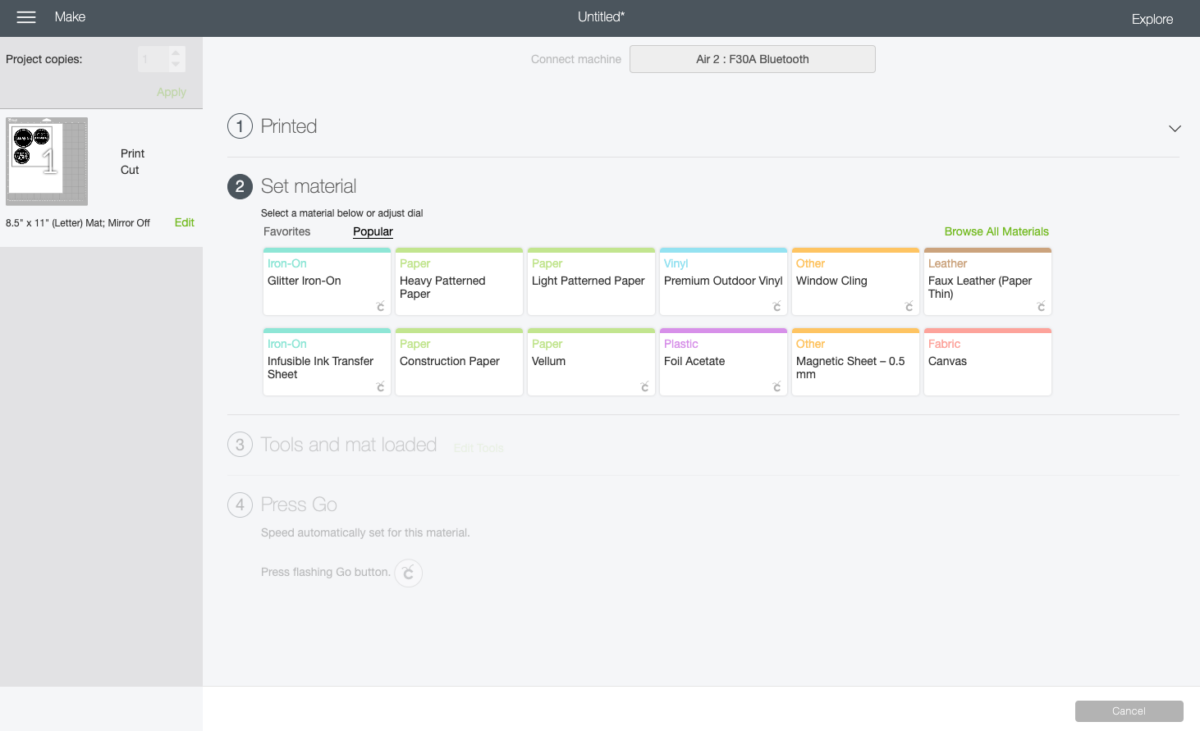
- After printing the labels, head forward to place the printed labels on a Blue or Green cutting mat.
- Since I am using Explore, I am setting my dial to Custom and choosing the Printable Vinyl. While for Maker, you need to select material only.
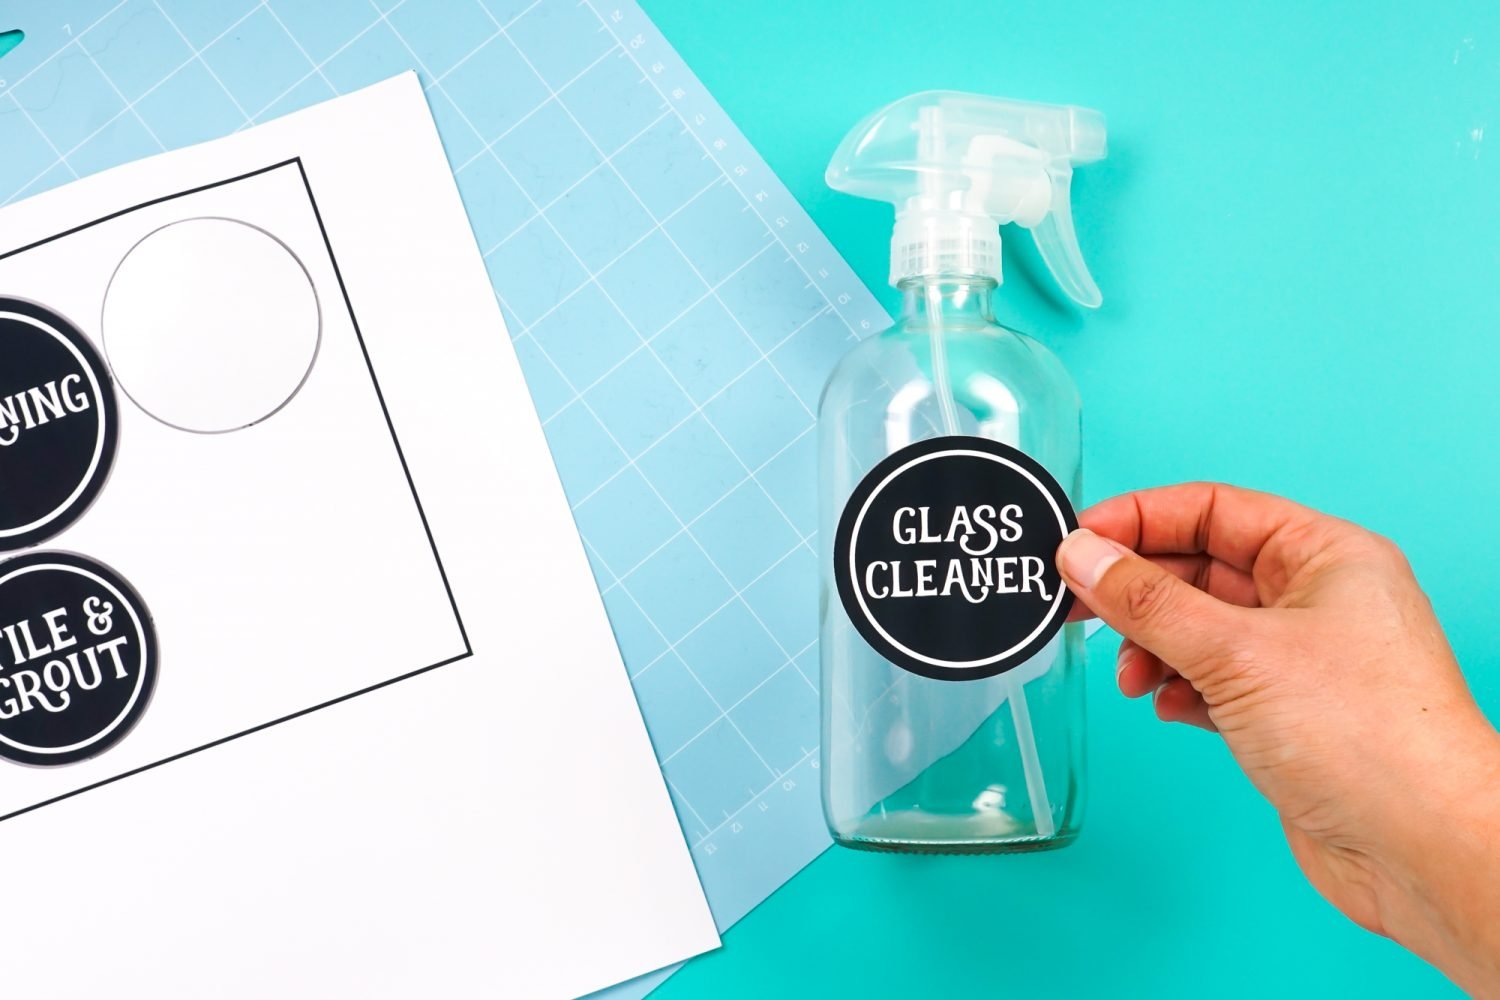
- After cutting, simply use the labels wherever you want.
Here’s how I am using it! So far, you might have learned about How to use printable vinyl with Cricut. Now, create a similar project or something else as per your choice.
FAQs
Question 1: Is Cricut printable vinyl waterproof?
Answer: No, Cricut printable vinyl is not waterproof but they are tear-resistant. Moreover, it is easily customizable with the Cricut machine and its alternative mechanical cutting machines. Although it is not waterproof, it can hold up the water a bit better than your sticker paper. So you don’t need to worry about peeling off your design or label. Besides, waterproof vinyl is suitable for tumblers, mugs, car decals, bumper stickers, and more.
Question 2: Do I need an inkjet printer for printable vinyl?
Answer: Cricut users can use the inkjet printer along with solvent inks (also called eco-solvent inks). Such inks are specially made for printing on vinyl sheets and other materials which are non-porous. But inkjet printers are not compulsory; hence, you can use any regular printer. However, you will find some printers that are working better than others.
Question 3: Can I buy printable vinyl from Cricut?
Answer: Yes, you can get Cricut printable vinyl from its official website. This innovative material is compatible with an inkjet printer, meaning it also supports the Print Then Cut feature with Cricut. So, get this vinyl and create your design on Cricut Design Space. After that, you will need to print it on a printer and then cut it on the Cricut.
Source :- https://newmachineprocess.wordpress.com/2024/01/13/how-to-use-printable-vinyl-with-cricut-an-ultimate-guide/


