Are you looking for mywifiext local setup success? Want to extend the coverage of your WiFi to all-around your home or office? Well, If the answer is YES! You have reached the right place. Here, in this article, you will know the solution to your problem associated with Mywifiext local. Let’s get started.
Mywifiext local is the web address that is used to install all-in-one WiFi coverage all-around your home or workplace location. It helps in setting up the extender device between the router switches and dead zones. It boosts the data transfer capability and signals quality to work seamlessly in the home or office.
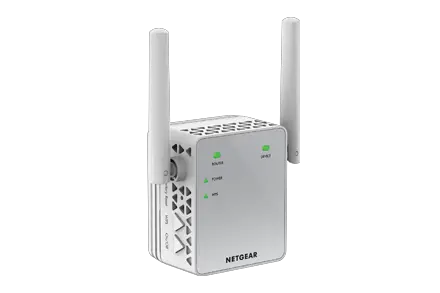
Netgear WiFi range extenders are used to extend and expand the coverage of home or office networks to make sure that the user stays online all the time from their tablet, smartphones, computer, laptop, etc. without any interference.
Steps for Mywifiext Local Setup Success Look at the instructions below to install the Netgear WiFi range extender with mywifiext local setup. You need to follow each step carefully without skipping any step:
- To login to mywifiext.local webpage, you firstly need to plug in your Netgear extender into an electrical outlet.
- After that, wait for some time until the power LED light on the device starts blinking in solid green color. This solid green LED power light means that the user can start the setup process for their extender device.
- In the next step, take any wireless device such as a computer, laptop, smartphone, or tablet.
- After that, connect your device to the Netgear_Ext network.
- Once, you are connected to the Netgear extender setup ext network, launch any updated web browser of your choice from your system that you are using currently.
- After that, you will automatically be navigated to the mywifiext setup webpage. In case you are not connected then enter www.mywifiext.net in the URL address of the web browser manually.
- Now, you are connected to the mywifiext local setup success.
- Follow on-screen instructions in order to connect your Netgear extender with the router or modem effectively.
Hopefully, by following the above-mentioned steps, you are able to fix every problem associated with mywifiext local setup success very easily. Once you have completed the mywifiext.local new extender setup procedure, it is good to change the default username and password to make your connection safe from the intruders. All the above guidelines are simple and easy to use. Anyone can set up their Netgear extender device easily by reading and following them carefully. After the Netgear extender setup, the user can enjoy the seamless high-speed internet connection with the extended network.


