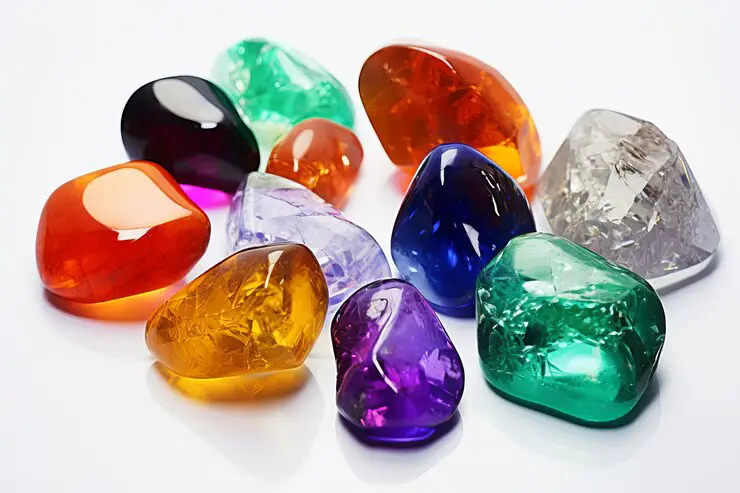
Do you have a collection of rough rocks just waiting to shine? Polishing rocks with a Dremel is a fantastic way to turn those dull stones into sparkling gems. With the right tools and techniques, you can transform ordinary rocks into beautiful pieces of art. In this guide, we’ll walk you through the process step by step, from selecting the right rocks to putting the finishing touches on your polished treasures.
What You’ll Need
Before you get started, gather the following supplies:
- Rocks: Choose rocks that are relatively smooth and free of cracks or fractures. Harder rocks like quartz, jasper, and agate are ideal for polishing.
- Dremel Rotary Tool: A Dremel is a versatile tool that allows you to grind, sand, and polish with precision. Make sure it’s equipped with a polishing attachment or a set of diamond-tipped bits.
- Safety Gear: Protect your eyes with safety glasses and wear a dust mask to prevent inhalation of rock dust.
- Polishing Compound: This abrasive paste helps smooth the surface of the rock and achieve a glossy finish.
- Water: Keep a bowl of water nearby to cool down the rock and prevent overheating during polishing.
Preparing Your Workspace
Set up your workspace in a well-ventilated area with plenty of room to work. Lay down a protective covering, such as a tarp or old newspaper, to catch any debris. Position your Dremel on a stable surface, and have all your supplies within easy reach.
Step-by-Step Guide
- Inspect Your Rocks: Examine each rock closely for any imperfections or cracks that may affect the polishing process. Discard any damaged stones and select the ones you want to polish.
- Attach the Polishing Bit: Depending on the size and shape of your rocks, choose an appropriate polishing attachment for your Dremel. Secure it tightly to ensure it doesn’t come loose during use.
- Apply Polishing Compound: Dip the polishing bit into the polishing compound, coating it evenly. This abrasive paste will help smooth out the surface of the rock and enhance its shine.
- Start Polishing: Turn on your Dremel at a low speed to begin polishing the rock. Use gentle, circular motions to evenly distribute the polishing compound across the surface. Keep the Dremel moving to avoid creating uneven spots.
- Add Water: As you polish, periodically dip the rock into the bowl of water to cool it down. This helps prevent overheating and ensures a smooth, even polish. You can also spray water directly onto the rock using a spray bottle.
- Inspect Your Progress: After a few minutes of polishing, stop and inspect the rock to see how it’s progressing. You should start to notice a glossy sheen forming on the surface. If there are any rough patches or imperfections, continue polishing until they are smoothed out.
- Final Touches: Once you’re satisfied with the level of polish, rinse the rock thoroughly with water to remove any remaining polishing compound. Use a soft cloth to dry the rock and buff it to a high shine.
Tips and Tricks
- Take Your Time: Patience is key when polishing rocks. Rushing the process can lead to uneven results or damage to the rock.
- Experiment with Different Techniques: Don’t be afraid to try out different polishing techniques to achieve the desired finish. You can vary the pressure, speed, and angle of the Dremel to see what works best for each rock.
- Protect Yourself: Always wear safety gear, including safety glasses and a dust mask, to protect yourself from flying debris and rock dust.
Conclusion
Polishing rocks with a Dremel is a rewarding hobby that allows you to uncover the natural beauty hidden within ordinary stones. With the right tools and techniques, you can transform rough rocks into dazzling gemstones that are sure to impress. So gather your supplies, set up your workspace, and get ready to unleash your inner rockhound!


