The Netgear EAX20 AX1800 range extender setup is the wireless internet of the future because of its ability to deliver faster WiFi and a larger coverage area. After completing the Netgear EAX20 setup, you will be able to access internet speeds of up to 1.8Gbps, even at the furthest section of your home. If you know how to install this fantastic range extender, this post will help.
The Netgear Nighthawk EAX20 Setup may be set with FastLane using the following quick and simple steps:-
- Once the EAX20 is plugged in, use your device to connect to its Wi-Fi network.
- Launch a web browser, navigate to mywifiext.net, and use the admin/password default login information to log in.
- Enter the password for your current Wi-Fi network and pick it to finish the setup wizard.
- Locate the FastLane options in the web interface and select “2.4GHz to 5GHz” or “5GHz to 5GHz.”
- After selecting “Apply” or “Save,” restart the extender.
- Re-establish your devices' connections to the larger WiFi network.
- And that's it! You have now set up FastLane on your Netgear Nighthawk EAX20.
Netgear EAX20 Extender Setup using manual method
The Netgear EAX20 extender can be manually configured in a few steps. Here are some general guidelines to help you finish the assignment. Please be advised that specific methods may vary depending on the firmware version and the details of your network setup.
Manual Setup for the Netgear EAX20 WiFi Extender:
- Place the extender in the same vicinity as your Wi-Fi router to start.
- Verify that your router is turned on and that you have the password and the name of the wireless network (SSID).
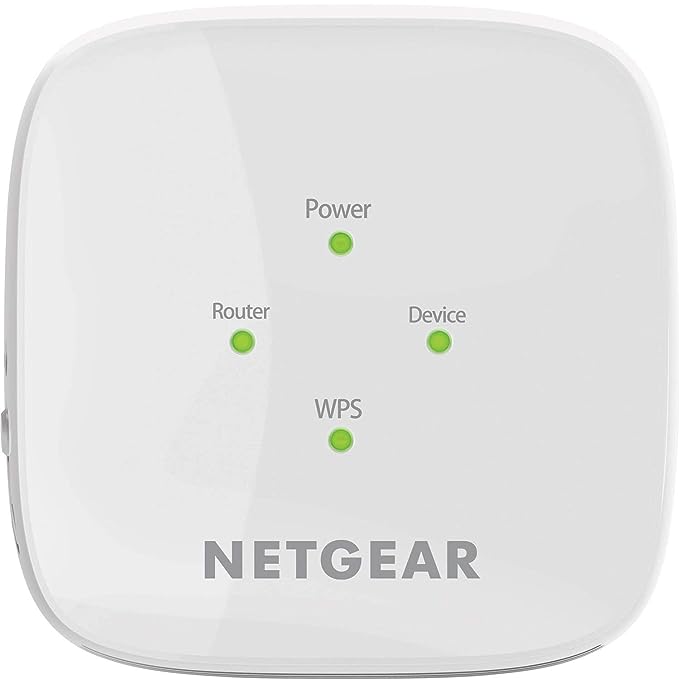
- After inserting the extender into a power outlet, watch for the power LED to illuminate.
- Using a Wi-Fi compatible device, join your tablet, laptop, or smartphone to the extender's default Wi-Fi network. The default SSID is often an array of characters followed by “NETGEAR_EXT.”
- Open a web browser on the device you are linked to (such as Chrome, Firefox, or Safari).
- In the address bar of the browser, type the extender's default IP address (often “192.168.1.250” or “mywifiext.net”) and press Enter.
- You'll see a window asking for your username and password. “Admin” is often the default username and “password” is the default password, unless you've changed them already.
- Set up the Extender:
- Follow the instructions that are on the screen to set up the extension.
- Select your Wi-Fi network and enter the Wi-Fi password when asked.
Since www.mywifiext.net setup and Mywifiext.local are the same terms, you can check your default login IP address, give us a call at our toll-free number, or chat online with one of our experts if you're still having problems.
How do I set up my Netgear mesh extender eax20?
The following instructions will help you use WPS to connect to the Netgear EAX20 wifi extender:
- Connect your Netgear EAX20 extender to a power outlet as soon as the power LED solidifies.
- Locate and press the extender's WPS button. press the WPS button on the extension. Flickering of the WPS LED will commence.
- Within two minutes, press the WPS button on your WiFi router. Upon successful establishment of a connection, the WPS LED on the extender ought to solidify.
- Permit the extension to connect to your wireless network. It can take a minute or two.
- Devices in the extended Wi-Fi range can now connect to the new Wi-Fi network by using the same SSID as your router, but with “_EXT” at the end. Verify that the WiFi password on your router matches.
Netgear Nighthawk EAX20 Fastlane Setup
The Netgear Nighthawk EAX20 Setup may be set with FastLane using the following quick and simple steps:-
- Once the EAX20 is plugged in, use your device to connect to its Wi-Fi network.
- Launch a web browser, navigate to mywifiext.net, and use the admin/password default login information to log in.
- Enter the password for your current Wi-Fi network and pick it to finish the setup wizard.
- Locate the FastLane options in the web interface and select “2.4GHz to 5GHz” or “5GHz to 5GHz.”
- After selecting “Apply” or “Save,” restart the extender.
- Re-establish your devices' connections to the larger WiFi network.
Firmware update for Netgear Nighthawk EAX20
Here are a few quick and simple methods to update the Netgear Nighthawk EAX20's firmware:
- Verify that your computer or mobile device is linked to the Wi-Fi network of the Nighthawk EAX20.
- Go to 192.168.1.250 or mywifiext.net setup in a web browser.
- Enter the password and username, admin.
- In the web interface, look for the “Firmware Update” area.
- Download the most recent version from the Netgear support website if one exists.
- Look for the upload firmware file option on the web interface.
- After selecting “Apply” or “Update,” watch for the procedure to be completed. Most likely, the extender will restart on its own.
How do I reset Netgear EAX20?
The Netgear Nighthawk EAX20 can be reset in the following quick and simple steps:
- Where to Find the Reset Button: The Nighthawk EAX20 has a reset button. Usually, it's a little hole with the word “Reset” on it.
- Turn On: Verify that the extension is turned on.
- Place a paperclip or other such instrument into the reset hole and press and hold. Hold down the reset button for approximately ten seconds.
- Release: Let go of the reset button after holding it.
- Hold out for Reboot: Give the extender time to restart. The reset procedure is finished when the power LED stabilizes.
The factory settings of your Netgear Nighthawk EAX20 have been restored.


