Are you looking for the steps for Netgear WiFi Extender setup using Netgear Installation Assistant? Well, if the answer to these questions is Yes! Then, you have reached the right place. Here, in this blog, you will know the simple guidelines for your extender setup through the Netgear installation assistant. Let’s get started.
Netgear_EXT is the default SSID that is used to get access to the Netgear WiFi range extender. It helps in extending the range of the existing home WiFi network and extend the WiFi connectivity to a larger distance. After Netgear Extender is set up through mywifiext.net from laptop, computer, tablets, and smartphones, you can access the WiFi connection using Netgear_EXT SSID.
Steps to Connect Netgear Installation Assistant to Setup the Netgear WiFi Range Extender
Look at the below steps to know the steps to connect the Netgear WiFi Range Extender by using the Netgear Installation Assistant. You need to follow each of the steps carefully:
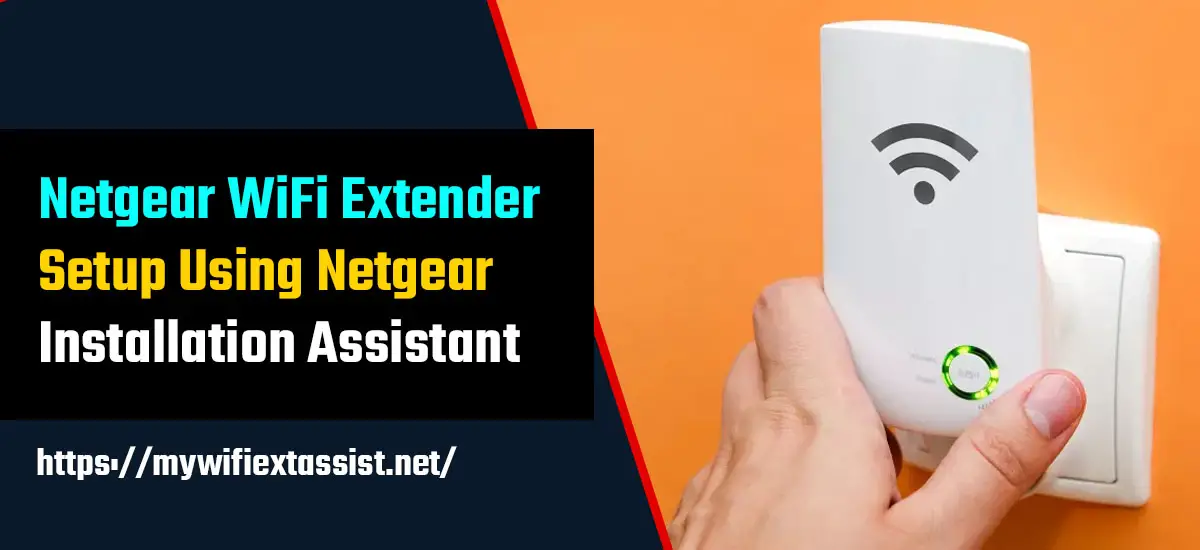
- Firstly, plug in the Netgear extender into the power socket.
- After that, wait for some time until the power LED light turns to light green in color.
- In the next step, connect your device to the Netgear range extender by using either a WiFi connection or Ethernet cable.
- If you want to connect with the wired Ethernet connection then use the Ethernet cable in order to connect one side to the Ethernet port on the Netgear extender and another one to the Ethernet port on a laptop or computer.
- Open the WiFi connection manager to connect your device with the WiFi connection on the WiFi-enabled devices and connect to the extender network known as NETGEAR_EXT.
- Open an updated web browser of your choice.
- After that, type www.mywifiext.net web address or 192.168.1.250 IP in the address bar of the web browser. Click on the enter button. Now, a new extender setup web page opens on the screen.
- In the next step, tap on the new extender setup button.
- Complete all the given fields on the Netgear extender setup page. Click on the enter button and hit on the Next button to proceed further.
- Now, select your WiFi router network to extend the WiFi connection. Tap on the Next button.
- Enter the WiFi password in the WiFi password field.
- Connect your WiFi device to the new WiFi network by using the SSID key and password.
- Make sure that your device is connected successfully before clicking on the Next button.
- A pop-up message shows that the Netgear extender is connected and ready to work.
- Tap on the Next button for the registration page.
- Complete the registration field and then tap on the finish button to complete the Netgear extender setup using Netgear Installation Assistant.
Hopefully, by following the above-mentioned steps, you will be able to perform Netgear extender setup by using Netgear Installation Assistant without any hassle. After following these steps, you can easily extend the WiFi connectivity all over the home or office.


