Use our expert advice to set up your Wavlink Quantum D4G set up to improve your internet connection. Prepare to be amazed by the incredible speed and dependability that experts rely on. It does this by strengthening and expanding the wireless signal, which removes dead zones and offers dependable connectivity to previously unreachable places. We will lead you through the Wavlink Quantum D4G Setup process step-by-step in this extensive guide to make sure you can have dependable internet connectivity throughout your room. Now let's get going!
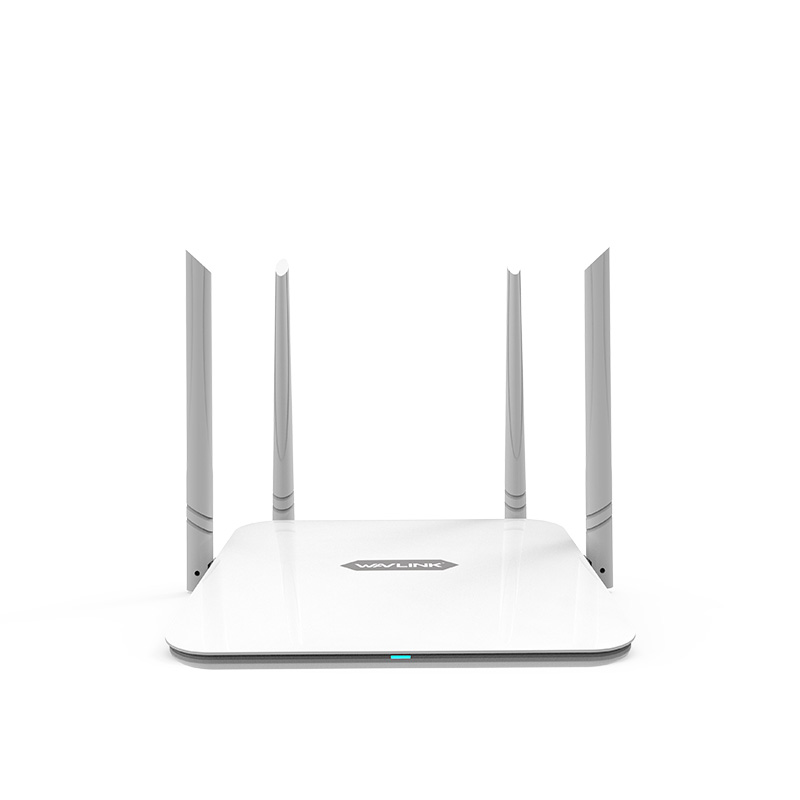
Wavlink Quantum D4G Mesh Extender Setup
To install the Wavlink Quantum D4G Setup using WPS, follow to the guidelines provided below:
- A power source should be connected to the Wavlink Quantum D4G Setup Outdoor Extender.
- Hold off until the extender solid blue light illuminates to show that it is turned on.
- Now press the WPS button located on the extender.
- Next, press the WPS button on the wireless modem or router.
- The Quantum D4G Setup should not be unplugged while the extender's LED is flashing.
- Now that the Wavlink Quantum D4G is configured via WPS, it is finished.
- The power, client, device, and WPS all turn solid green on the WiFi repeater.
- Identify the weak signal areas and place the Wavlink Outdoor Extender there. Additionally, confirm that your WiFi connectivity is excellent.
NOTE : If you need any help regarding your wavelink wifi range extender so get in touch with the technician or visit the official web site that is wavlink wifi extender setup
Quantum D4G Installation Process
The Wavlink Quantum D4G Setup using manual method can be install by following these steps:
- Open a web browser on your device and type 192.168.10.1, or ap.setup the extender's default IP address, into the address bar.
- The login credentials will need to be entered. Use the default password if this is your first time logging into the extender (typically “admin” for both).
- A setup wizard will walk you through using the web interface of the extender. You will be prompted to choose your language, establish a new SSID and password for the extended network, and connect to your current Wi-Fi network.
- After finishing the setup process, go over the options you entered and press the “Apply” or “Save” button to make the changes permanent.
- The extender will restart and join to your current Wi-Fi network using the updated SSID and password after updating the settings.
Wavlink Quantum d4g Extender login | Quantum D4G WiFi Range Extender Setup
- Attach the Quantum d4g Extender to a nearby power source.
- At this point, your Wavlink d4g Extender ought to be near your router.
- At this moment, connect your wifi device to the Ap extender setup _Ext network.
- Open a web browser of your choice and type Ap.setup into the URL bar.
- The Wavlink Quantum d4g Extender settings screen is now displayed to you.
- Make an account with AP Login and adhere to the on-screen instructions.
- The Quantum d4g Extender will expand the network once it has been discovered. Moreover, the extended network's and the regular network's SSID and password will be the same.
- Now all you have to do is use your current password to log in and you're ready to go.
Troubleshooting Common Problems
There are a few frequent problems that you could run into during ap.setup. Here are some pointers for troubleshooting:
- Make sure the extender is positioned in the best possible way to get an effective signal from your router.
- Inaccurate credentials Make sure the password and SSID you entered during configuration match the settings on your router by double-checking them.
- To see if your extender has any accessible firmware upgrades, go to the manufacturer's website. Performance can be enhanced and compatibility problems can be fixed by updating to the most recent firmware.
Saving and Changing Advanced Settings
Following a successful setup of the Wavlink Quantum D4G Setup Aerial Extender, you can investigate optimization and advanced customization options. These could involve enabling parental controls, establishing guest networks, modifying transmit power, and more. For full details on how to access and change these settings, consult the user manual or the web interface of the extender.


