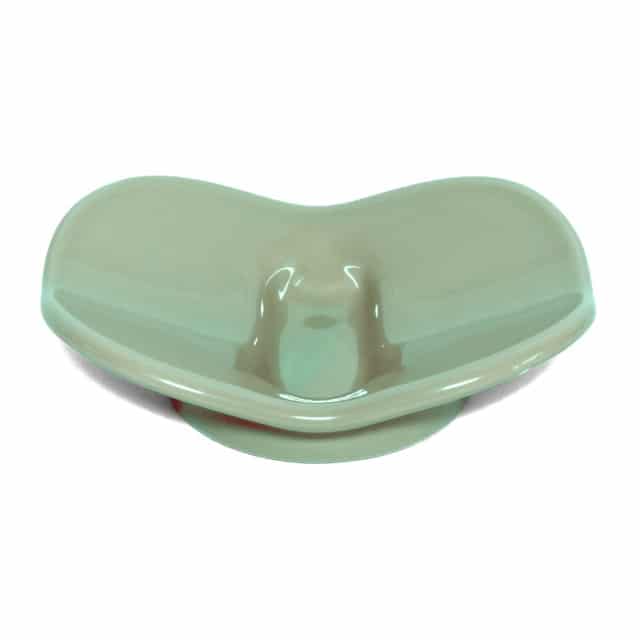
A soap dish may seem like one of the minor decisions in a home. And yet, as the focus turns to interior décor, it plays an important part in the overall layout of a space. Color and style highlight personality, while portability showcases the functional qualities of the dish.
A bathroom soap dish will either be fixed to the wall or mobile so you can keep it in the room or zip in and out with it. The price of a dish will vary depending on the material and style, with elements such as gold leaf lying on the costlier side of the spectrum.
Assuming you have found your dream soap dish, what steps do you take to install it surrounded by tiles?
Find a Good Position
Before installing anything, observe the bathroom walls to find a good spot for the soap dish. It should be close enough to reach even with eyes closed and hair full of shampoo, but not under the direct water stream that the soap slowly deteriorates.
Tip: Stand inside the shower to determine the best placement for the soap dish.
Outline the Chosen Area
With a good spot in mind, hold the soap dish firmly on the wall and outline it with a pencil. Draw a line on the bottom of the soap dish. When in doubt, add a bit of wiggle room to the outline so that there is more space to work with.
Tip: The outline is a guide to where to install everything.
Install the Tile of Choice
Using the pencil outline, install the tile to mount the soap dish onto the wall. Tiles are in inexhaustible styles and designs, and there is no correct type for bathrooms. You can stick to a single pattern or make things more fun with random tiles.
Tip: Some tiles and soap dishes may require sanding down to stick more firmly.
Apply Adhesive Mortar
Apply mortar around the screw holes at the back to establish a mushroom effect when the adhesive dries.
Tip: Apply the thin-set or adhesive mortar to the tile and soap dish.
Install the Soap Dish
Push the dish into the wall and hold it for approximately two minutes. Use the outline to guide good installation as it keeps to the prescribed parameters. If you cannot see the outline, perhaps you need to review the soap dish positioning.
Tip: Holding the dish in place ensures that the adhesive sticks well to the soap dish and tile and that the soap dish is firmly positioned.
Clean the Soap Dish
Wipe any extra mortar that oozes out with your finger. Use a moist sponge to clean all wet mortar from the bathroom soap dish. Remember that the dish will be unsightly if it cakes up and dries.
Tip: It is important to clean the thin-set before it dries up for ease and to ensure an effective job.
Mask It
Apply some masking tape to keep the soap dish in place while drying. The drying process will take about 12-24 hours.
Tip: Keep the bathroom clear of unwanted traffic before and during drying.
0


