1. Paint the Trim First, then the Ceilings and Walls
Eventually, the answer we’ve each been awaiting. Professional painters generally follow a certain order when painting a room. They paint the trim first, then the ceiling, then the walls. That’s because it’s easier (and quick) to tape off the trim than to tape off the walls. And you clearly don't want to wrap them both off.
When painting the trim, you don't have to be neat. Just concentrate on getting a smooth finish on the wood. Don't worry if the door and trim paint gets slopped onto the walls. You ’ll cover it afterward when painting walls. Once the trim is fully painted and dry (at least 24 hours), tape it off (using an “easy release” painter’s tape), then paint the ceiling, then continue on to wall painting.
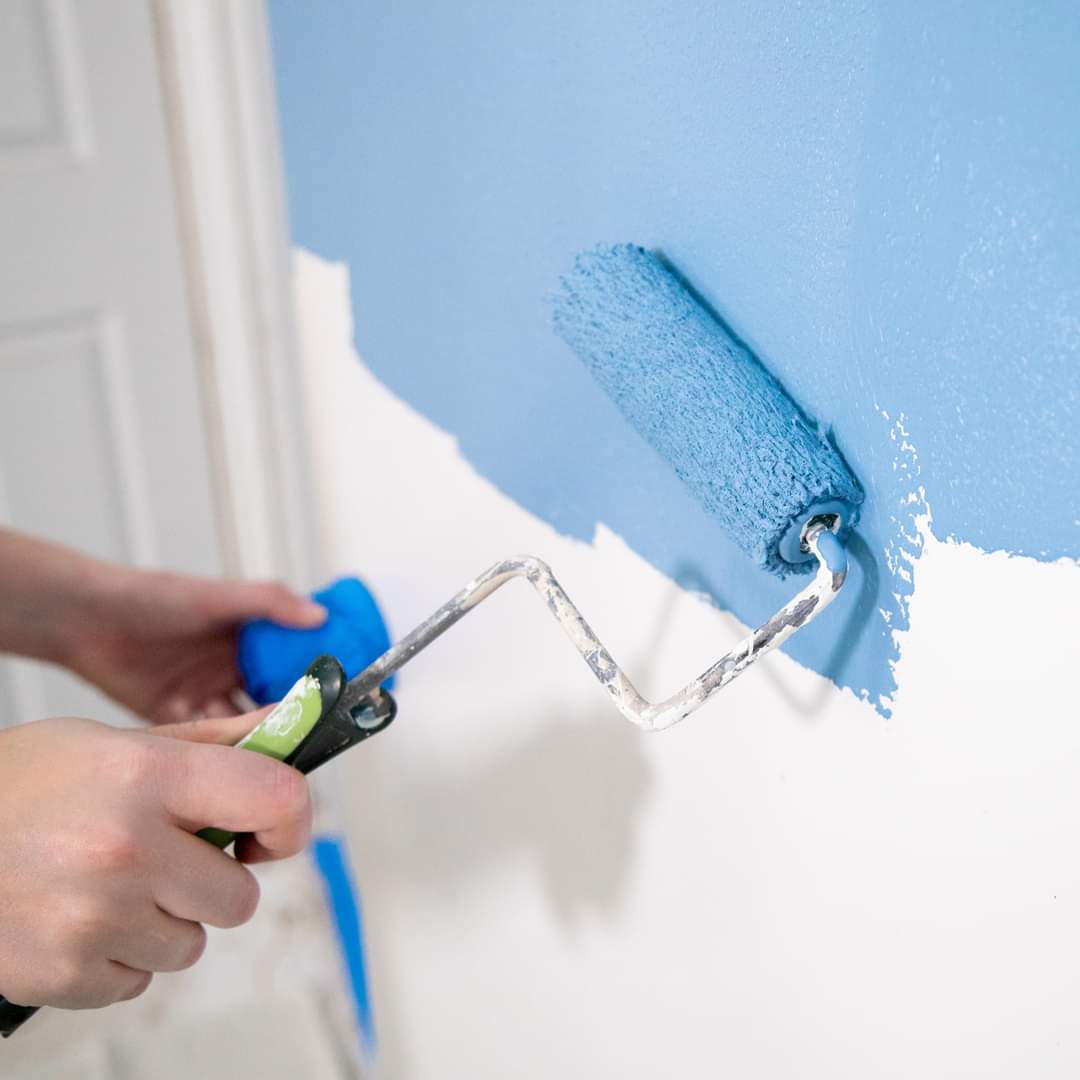
2. To Avoid stage Marks when Wall Painting
Stage marks are those unattractive stripes caused by uneven layers of paint buildup, a common problem when wall painting. They occur when you roll over paint that’s already partially dry. (In warm, dry conditions, latex paint can begin to harden in lesser than a minute) Avoid stage marks by maintaining a “ wet edge, ” so each stroke of your roller overlaps the former stroke before the paint begins to dry.
To maintain a wet edge, paint an entire wall all at once. Start at one end, running the roller up and down the full height of the wall, moving over slightly with each stroke. Move backward where necessary to even out thick spots or runs. Don't let the roller turn nearly dry; reload it frequently so that it’s always at least partially loaded. Keep the open side of the roller frame facing the area that’s already painted. That puts lower pressure on the open side of the roller so you ’re less likely to leave paint crests.
3. Clear the Entire Room Before Painting
However, move it to the center of the room and cover it with plastic, If the commodity is too big to take out. Use oil drop cloths. Unlike plastic, they stay put without tape and aren't slippery.
4. Avoid Drips as you Paint
Masking tape does a good job of guarding woodwork — if it’s applied well.
Clean out all the dirt and smut along the edge of the trim with a damp rag. Hold the tape tight against the wall and roll it out so the tape covers the edge. Press the tape against the wood with a putty blade along the entire length. Use painter’s tape that’s at least twice as wide as the trim and leave it flared out to cover the face of the trim from drips. When you’re done, remove the tape instantly while the paint is still wet or hold on until the following day when it’s completely dry. However, you may peel off bits of fresh paint along with the tape, If you pull it free when the paint is partly dry.
5. Dust and Vacuum completely
When the first sanding and scraping step is complete, dust out all areas with an old paint brush and vacuum woodwork with a brush attachment.
6. Fill All Holes, Even Small Ones
You might assume new paint will hide bitty dents and scrapes, but it won't. In fact, the new coat of paint highlights minor marks. Fill dents lower than1/8 in. deep with spackling mixture. For deeper holes, use a two-part padding or an epoxy resin wood padding. It’s more of a hassle to use and you commonly end up throwing away a lot of partly hardened padding( blend small batches), but the patch will be hard enough to take a lot of abuse without falling out
7. Take a Wool-emulsion Roller Cover for a Spin
The most important part of your paint rolling setup is the roller cover, also known as a sleeve. It’s tempting to buy the cheapest cover available and throw it out when you ’re done. But you won't mind the few extra minutes of cleanup time once you witness the difference a good roller cover makes. Cheap roller covers don't hold enough paint to do a good job. It ’ll take you four times as long to paint a room. And you ’ll likely end up with an inconsistent layer of paint, stage marks and built-up crests of paint. rather, buy a 1/ 2- in. nap wool emulsion roller cover and give it a go. With proper care, this may be the last roller cover you ’ll ever buy.
Wool covers do have a few downsides, however. They tend to exfoliate threads when they ’re first used. To minimize slipping, wrap the new roller cover with masking tape and peel it off to remove loose threads. Repeat this a few times. Wool covers also tend to get matted down if you apply too much pressure while painting. Rolling demands a light touch. No matter what roller cover you ’re using, always let the paint do the work. Keep the roller cover loaded with paint, and use only enough pressure to release and spread the paint. Pushing on the roller to squeeze out the last drop of paint will only bring on problems.
8. Do the Ceiling, Then the Walls
Before painting any walls, take a good look at your ceiling. However, paint it first, If you suppose it needs refreshing. You don't want to paint the walls and then — in a couple of weeks or days — paint the ceiling. Rolling the ceiling drops a fine mist of paint onto everything below. Painting the ceiling first also allows you to be less fussy along walls. Any paint that gets slopped onto walls will get covered up afterward when you paint them.
Well, if you prefer not spending time on all these, but actually get it done professionally, please visit Worxury Home Services and we'll do it for you.


