Cricut Maker is well-known for their ability to cut a range of materials upto 300+. The Cricut offers an interface software called Cricut Design Space through which you can design and send instructions to the machine for cutting. Further, the machine and the software can cut printed material as a pair. The special feature is called ‘Print Then Cut.' It means you can first print and later cut the material. Learning how to use this feature can make a huge difference in your ability to create crafts using Cricut machines. This blog will help you understand everything about Print and Cut Cricut.
What is Print Then Cut?
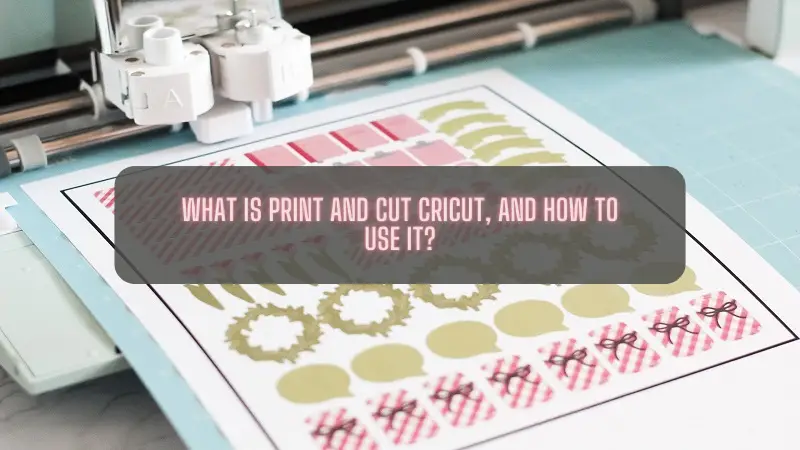
The Print Then Cut feature helps you cut the materials with designs printed on them. It allows you to print designs from your regular printer and use your Cricut to cut them. Allowing you to perfect shapes every time. Whether you want to design your stickers, decals, or cutouts is helpful. It is helpful in so many ways, such as:
- Suppose you want to avoid cutting various details from different vinyl colors and layer them together. Instead, all you have to do is flatten the image into a single layer of material and then print onto a printable vinyl and cut it.
- Or, if you don't want to cut and layer many layers of iron-on, you need to print your design on a printable iron-on. And cut it via machine.
- Or, for cutting stickers, you need to print all the materials onto sticker paper and cut them all at once.
What Materials Will You Need to Use the Print and Cut Feature?
There are a lot of different materials you need to use this Print Then Cut feature.
- First, you need a Cricut Maker or Explore because these are the only machines that support Print Then Cut.
- The accessories you need are Premium Fine-Point Blade.
- StandardGrip Cutting Mat.
- Home Printer, either Inkjet or laser printer.
- Printable Materials are Basic Printer Paper, Photo papers, Cardstock, scrapbook, sticker paper, printable vinyl, or iron-on.
- Finally, you need a weeding tool.
How to Use the Print and Cut Cricut Feature?
Let us see if you can print and then cut your design.
- The first thing you need to do is upload your image to Canvas. To upload your image, log in to the Design Space and select the upload option.
- Once the image is uploaded, you need to decide if the image is Simple, Moderate, or Complex. If you want the best print quality, you need to select Complex.
- Next, you will be given the option to Remove the Background. You can remove the background depending on your project.
- Further, you must select Print Then Cut, and upload the design.
- Moving to the next stage is sending your design to the printer. For this, you need to click Send To Printer and wait for the printer to print out the design.
- Once you have your design on the paper, you must line it up on a standard grip mat and feed it into your Cricut machine.
- The final stage is cutting the design. You need to upload the same design and arrange it on your canvas. Once the design is in place, you need to highlight them and select the Attach button to stop them from moving around.
- After highlighting the design, you need to check if your images are set to Print and Cut Cricut. Otherwise, you will need to select the flatten button again.
- Finally, the last step is selecting Make It. Now, you will notice a Black Box around your image. Now, the software uses sensor marking so that machine knows where to cut.
Conclusion
The Print and Cut Cricut feature is unique to Maker or Explore machines. This feature's specialty is that it prints the designs from a standard printer, and then the Cricut machine cuts it. It is best to use if you have complex, multilayered designs to print, as it takes longer time than just simple print and cut options. So, in this blog, you will learn how to use it and set the images on your Design Space.
FAQs
1. How to calibrate the Cricut machine for Print then Cut?
The Cricut machines are pre-calibrated, but sometimes they may result in inaccuracy during Print Then Cut projects. So, for this issue, you need to calibrate the machine. Calibration is a simple series of cuts, questions, and answers that help your machine cut along the edge of your printed image. To recalibrate your machine, Computer, you need to open the Design Space Menu, select Calibration, and Print Then Cut option.
2. What are the compatible materials for the Print and Cut Cricut feature?
The materials should be non-reflective or have a matte finish because reflective materials like metallic, glitter or glossy finish might interfere with Print Then Cut sensors. For Explore Air 2 and older machines, the Print is on non-reflective white materials. For Explore 3, Maker machines print on non-reflective white, lightly colored, and simple patterned materials.
3. What are the compatible printers for Print and Cut Cricut?
Inkjet (Recommended) is the ideal printer for printing on a wide range of materials, including sticker paper, printable vinyl, and printable iron-on. It utilizes ink cartridges and small nozzles to spray fine ink droplets onto the medium. Laser Printers for regular printer paper, some weights of Cardstock, and specialty materials specifically designed for use with laser printers to withstand the high heat. It uses high heat to fuse toner to the material, not for heat-sensitive materials like printable vinyl or printable iron-on.
Source: https://cricraft.wordpress.com/2023/07/18/print-and-cut-cricut/
Go for More Information: Cricut.com/setup


