Designing customized clothes from craft plotters is in demand among the audience. However, the question faced by every crafter is to decide which is the best Cricut Machine for Shirts. We all know that the company has launched various categories of electric cutting machines. But, the user prefers to use the Maker 3 model to design the shirt for their customers.
It is 3x faster than its last model, with the feature of cutting, drawing, and scoring everything from custom iron-ons to giant banners in record time. The machine runs smoothly with all the Smart materials and works with six different tools for cutting and embellishing 100+ materials. Cricut models are an ideal choice to experiment with your small DIY or big-time projects.
So, without wasting time, let’s begin with how we can design the shirts with this cutting machine.
Cricut Machine Supplies Needed to Design Shirts
All the users need a couple of supplies that will assist them in designing the best quality shirt using an intelligent cutting machine. The names of the supplies are mentioned in the pointers mentioned below:
- Cricut Maker 3.
- Iron-On, White.
- Weeding Tool.
- Material Trimmer.
- T-Shirt.
- USB Cable.
- Premium Fine-Point Blade plus Housing.
Using these supplies, the user can easily create a customized shirt with their chosen material and graphic. Besides, you are guided to use all these items very gently to get the shirt without getting damaged from any side.
Can You Make Shirts With Cricut Maker 3?
With the help of the following steps, you’ll be able to learn about the stages of circling the shirt creation through an intelligent cutting machine.
- First, open the Design Space application on your PC/Smartphone.
- Second, tap on the Text icon in the Canvas, and a pop-up text box with Add Your Text Here will be shared on the canvas.
- Third, change the font, size, line space, and alignment per your text requirement.
- After that, start typing the message/quote inside the text of your choice.
- Once your design is complete on the Canvas, tick the Make It button available on the top-right side of the Canvas.
- After the cutting process, unload the material from the mat and remove the extra material around the letters. This process is known as Weeding’.
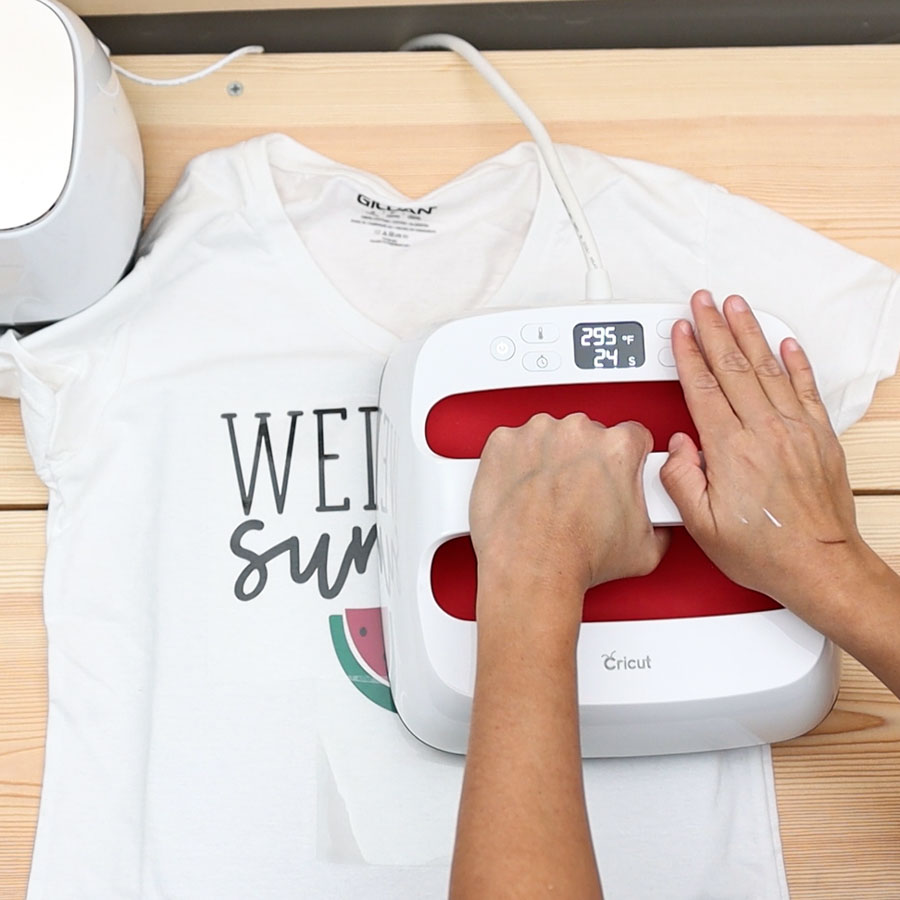
- Lastly, it would help if you put an iron-on to the shirt with the household iron to stick the design permanently on the shirt.
To get the pro-level result from Cricut, you must remember some crucial tips that will help you avoid damaging your product during the process.
Tips to Remember While Designing Shirts
Creating shirts from Cricut is much more fun as it saves time and can be operated easily. For that, you need to follow some tips to make your shirt look professional and increase its demand among the audience.
- The size of your shirt will depend upon its purpose, material quality, and design property. Ensure that you choose the correct size depending on the height and width of your shirt. Before commencing the printing process, you need to ensure that the material must fit the machine size.
- Another tip to be followed while designing shirts includes the material’s design placement. The correct placement of the graphic will help the audience grab the audience’s attention. Moreover, the design placement depends upon the quality of the material.
- Choosing fonts while creating designs at the Design Space is very important. As it makes the text look creative and eye-catching, you can use it to imprint emotions as well. Various fonts are available for the user, and Comic Sans is one of the standard fonts the crafter uses.
- One common issue affecting the shirt quality is image resolution. The image must be downloaded in high pixels so it doesn’t fade during printing.
- Color combination plays an integral part while designing shirts. The shirt background and the colors used in the graphic should make a perfect pair resulting in the best quality product.
- Keep it simple by using a limited amount of text and colors along with the image. If you overuse all these materials, your shirt cannot share its message with audiences.
Before starting your next project, you should remember the tips above to ignore the mistakes during the pressing process.
Conclusion
According to this article, Cricut Maker 3 is one of the best options for designing shirts. This machine can cut, draw, write, and score during the cutting process. In addition to that, the steps depending upon which you can design the shirt are also simple.
Frequently Asked Questions
Question: Can I use regular iron while designing shirts on Cricut?
Answer: Yes, you can use regular iron while creating shirts on Cricut. However, you must use the Cotton/Linen settings and ensure the steam setting is switched off. Let the iron preheat for 10-15 seconds, put on the weeded image, and line up with the preheated material.
Question: Can I start my business by creating customized shirts from Maker 3?
Answer: You can start your business by taking bulk orders and creating customized shirts on the Maker 3 machine. However, you must be careful when choosing the material quality, graphics, and price range.
Question: Which shirt works best with Cricut?
Answer: Suppose you are looking for shirts for your Iron-On projects. In that case, you must go for 100% Cotton, 100% Polyester, or a 50/50 combination of both materials. Most crafters consider that the quality of the material must be excellent to get the desired result.
Visit: design.cricut.com/setup
Source: Which is the Best Cricut Machine For Shirts?


