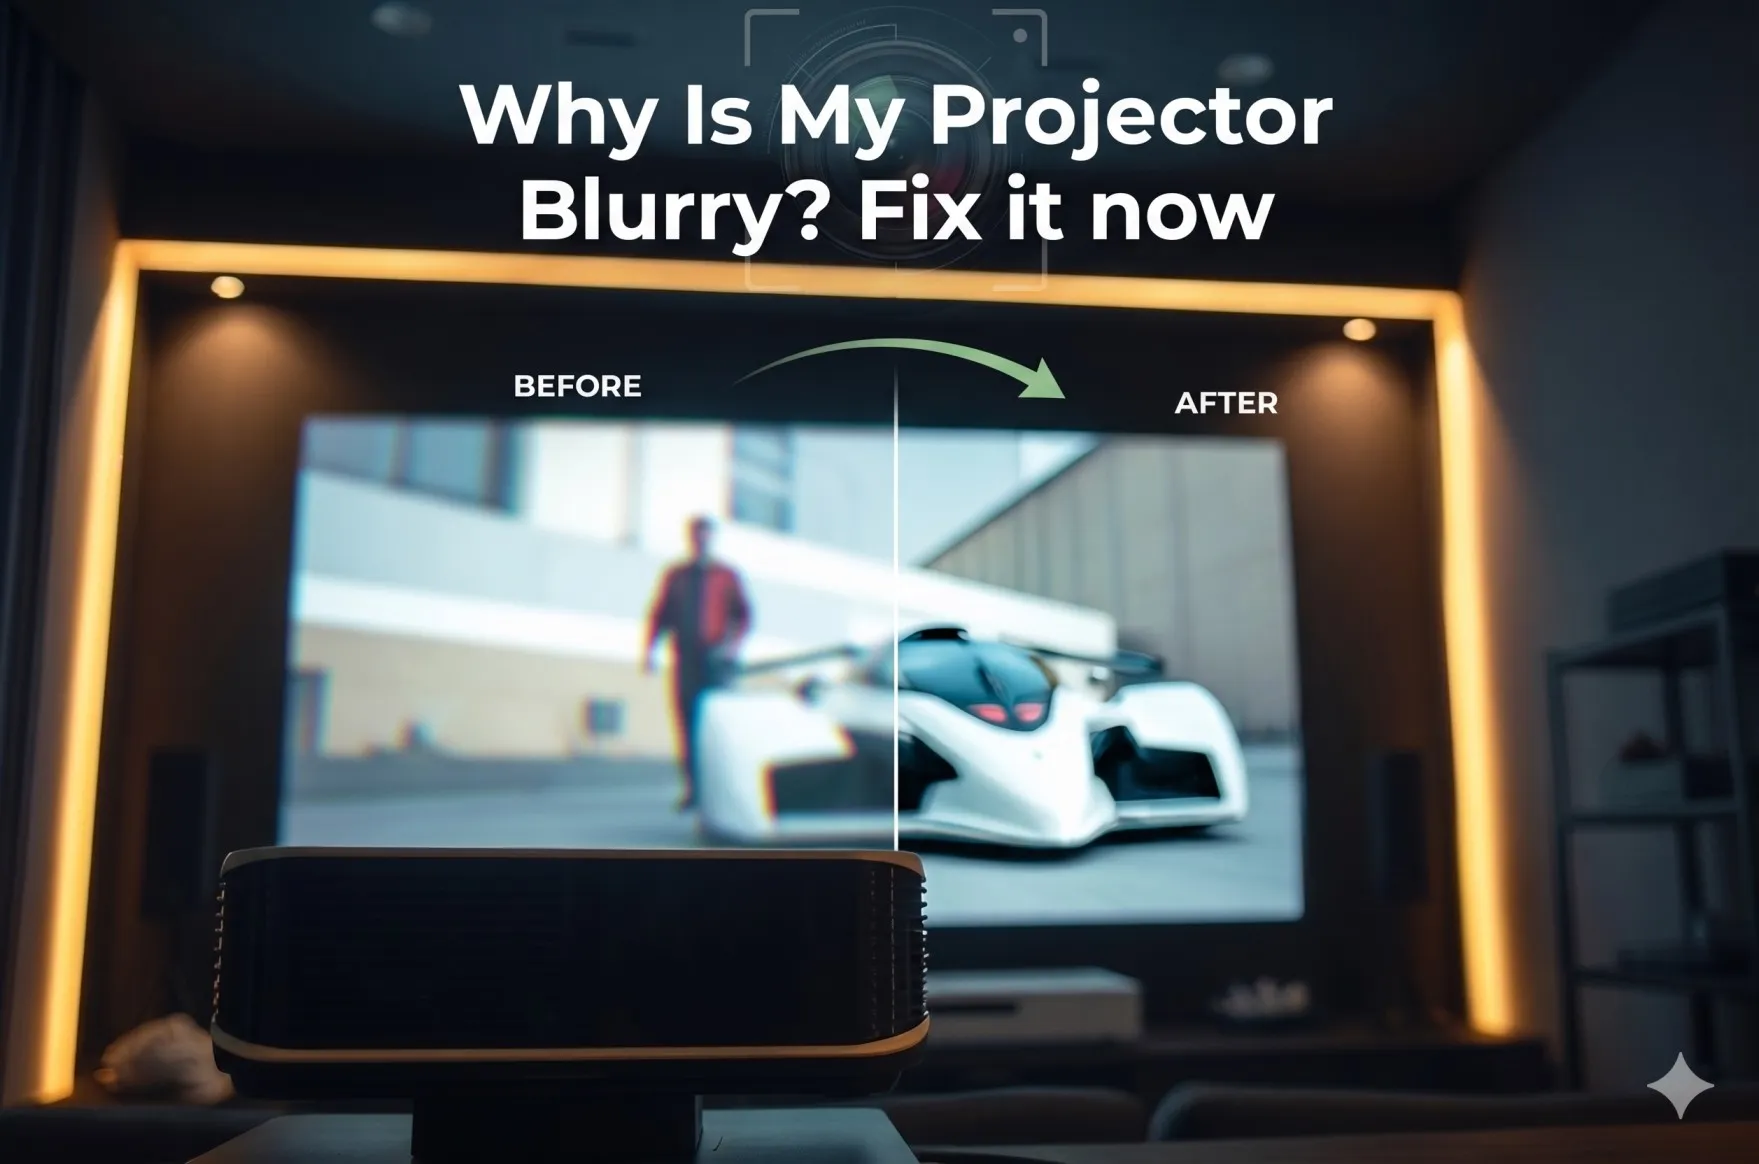
Why is my home theater projector blurry? A blurry home theater projector typically results from improper focus adjustment, incorrect throw distance, lens contamination, resolution mismatch, or ambient light interference—common projector picture problems that affect 60% of residential installations. When home theater enthusiasts ask "why is my projector blurry," they're often dealing with correctable installation errors or maintenance issues rather than equipment defects, making proper diagnosis and systematic troubleshooting essential for restoring cinema-quality image sharpness.
Understanding the causes of projector picture problems is critical for home theater professionals and DIY enthusiasts because image blur dramatically degrades the viewing experience, making 4K resolution, HDR capabilities, and premium screen investments meaningless. In June 2026, with laser projectors, 8K capabilities, and AI-enhanced processing becoming mainstream in home theater, achieving optimal image sharpness requires understanding the interaction between optical systems, projection geometry, environmental factors, and digital signal processing.
Blur issues in home theaters differ from commercial installations due to unique challenges: varied room configurations, multi-purpose space usage, DIY installations, budget constraints, and higher user expectations for reference-quality viewing. This comprehensive guide provides systematic diagnostic approaches and proven solutions specifically tailored for residential projection systems, enabling both professionals and enthusiasts to achieve consistently sharp images that showcase modern projector capabilities.
Key Takeaways
- Focus adjustment at operating temperature solves 40% of home theater blur issues
- Throw distance errors are the second most common cause requiring projector repositioning
- Lens cleaning every 300-500 hours prevents progressive blur from dust accumulation
- Screen quality and flatness directly impact perceived sharpness independent of projector
- Ambient light control is mandatory for home theaters—even small light sources degrade clarity
- Keystone correction exceeding ±10° sacrifices image quality—physical alignment essential
- Resolution matching between source and projector prevents interpolation softness
- Zoom position in middle range (40-70%) delivers optimal optical performance
- Lens shift beyond 50% combined creates edge blur requiring physical realignment
- AI auto-focus in 2026 projectors provides continuous optimization for thermal drift
- Cable quality (Premium Certified HDMI) mandatory for 4K/8K signal integrity
- Preventive maintenance schedule extends projector lifespan and maintains sharpness
What Does a Blurry Projector Image Look Like?
Recognizing blur types enables accurate diagnosis and targeted solutions in home theater environments.
Visual Characteristics of Home Theater Blur
Text rendering problems:
- Movie subtitles appear fuzzy or difficult to read
- Streaming service menus (Netflix, Disney+) lack crispness
- Video game text and HUD elements show soft edges
- 4K content doesn't look noticeably sharper than 1080p
Detail loss in video content:
- Facial features in close-ups appear soft
- Texture details (fabric, wood grain) merge together
- Background elements lack definition
- Fine patterns (brick walls, tree branches) appear muddy
- Overall softness making expensive projector seem mediocre
Edge quality degradation:
- High-contrast boundaries (black text on white) appear fuzzy
- Diagonal lines show stair-stepping combined with softness
- Color transitions bleed together rather than sharp delineation
- Backlit edges show halos or glow
Blur Patterns in Home Theater Installations
Uniform blur (entire image):
- Primary causes: Focus problems, lens quality, throw distance errors
- Affects: All content equally (movies, games, TV)
- First steps: Focus adjustment, lens cleaning, distance verification
Asymmetric blur (one side/corner):
- Primary causes: Excessive lens shift, projection angle, screen waves
- Affects: Specific image regions (edges, corners)
- First steps: Reduce lens shift, check perpendicularity, inspect screen
Content-specific blur (streaming/gaming only):
- Primary causes: Resolution mismatch, compression, bandwidth issues
- Affects: Certain sources more than others
- First steps: Check source resolution, network speed, HDMI cables
Temporal blur (motion only):
- Primary causes: Motion interpolation, response time, processing lag
- Affects: Fast-moving scenes (sports, action)
- First steps: Disable motion smoothing, check film mode
Why Is My Home Theater Projector Blurry? Top Causes and Fixes
Understanding root causes enables efficient troubleshooting in residential projection systems.
1. Improper Focus Adjustment (40% of Cases)
The Problem: Focus ring or motorized focus not correctly calibrated for the actual throw distance, or thermal drift causing focal plane shift during warm-up.
Why It Happens in Home Theaters:
- DIY installation without professional calibration
- Focus adjusted before thermal stabilization (lamp projectors need 15-30 minutes)
- Vibration from subwoofer or foot traffic moving focus ring
- Seasonal temperature changes affecting optical components
- Accidental contact during cleaning or screen adjustment
The Fix:
- Power on projector and wait full warm-up period
- Display high-contrast test pattern (white text on black)
- Access focus control (remote, menu, or manual ring)
- Adjust slowly while observing center sharpness
- Verify edge sharpness matches center (within acceptable variance)
- Lock focus ring if manual system to prevent drift
Prevention: Mark optimal focus position, document operating temperature setting, schedule quarterly verification
2. Incorrect Throw Distance (25% of Cases)
The Problem: Projector-to-screen distance outside the lens's optimal focus range, making sharp focus impossible regardless of adjustment.
Why It Happens in Home Theaters:
- Room size constraints forcing compromised positioning
- Furniture placement dictating mounting location
- Aesthetics prioritized over optimal throw distance
- Miscalculation during planning phase
- Screen size change without projector repositioning
The Fix:
- Measure actual throw distance with laser distance meter
- Calculate required distance: Screen Width × Lens Throw Ratio
- Verify within specifications (typically ±5% tolerance acceptable)
- If outside range: Relocate projector or change lens (if interchangeable)
- Use zoom within middle range (40-70%), not to compensate for wrong distance
Common Scenarios:
- 100" diagonal 16:9 screen (87.3" wide) with 1.5:1 lens needs 131" (10.9 feet) throw
- 120" diagonal 16:9 screen (104.6" wide) with 1.3:1 lens needs 136" (11.3 feet) throw
Prevention: Use manufacturer's throw calculator during planning, verify measurements before ceiling mount installation
3. Dirty or Contaminated Optics (20% of Cases)
The Problem: Dust, fingerprints, airborne oils, and environmental contaminants accumulate on lens surfaces, causing light scattering and reduced sharpness.
Why It Happens in Home Theaters:
- Open room design (dust from HVAC, foot traffic)
- Pets (dander and hair)
- Lack of maintenance schedule
- Touching lens during handling
- Projector unused for weeks (dust accumulation)
The Fix:
- Power off and allow cooling
- Use compressed air or bulb blower to remove loose particles
- Apply optical-grade cleaner to microfiber cloth (never spray directly on lens)
- Wipe in circular motions from center outward
- Inspect with flashlight to verify complete cleaning
- Clean intake filters simultaneously
Cleaning Frequency:
- Active use (daily): Every 300 hours
- Moderate use (2-3×/week): Every 500 hours
- Light use (weekly): Every 1000 hours
- High-dust environments: Double frequency
Prevention: Install projector in enclosure, use air purifier, cover projector when not in use
4. Excessive Keystone Correction (15% of Cases)
The Problem: Digital image warping to correct trapezoidal distortion from non-perpendicular projection, sacrificing image sharpness through pixel interpolation.
Why It Happens in Home Theaters:
- Ceiling mount not perpendicular to screen
- Quick setup prioritizing convenience over quality
- Screen position constrained by furniture or architecture
- Auto-keystone enabled without verification
- Misunderstanding that keystone is acceptable solution
The Fix:
- Access geometry menu and reset keystone to 0° (both axes)
- Image will show trapezoidal distortion if projector tilted
- Physically adjust projector angle using mount adjustments
- Use lens shift for positioning (not keystone)
- Only use minimal keystone (±5-10°) if physical adjustment impossible
Quality Impact:
- ±10° keystone: ~15% resolution loss
- ±15° keystone: ~25% resolution loss
- ±20° keystone: ~35% resolution loss (unacceptable)
Prevention: Mount projector perpendicular to screen using laser level, spec adjustable mounts with pitch/yaw controls
5. Screen Surface Quality Problems (10% of Cases)
The Problem: Wrinkled, wavy, dirty, or damaged screen material prevents proper focus and light reflection.
Why It Happens in Home Theaters:
- Budget screens with poor material quality
- Motorized screens with uneven tension
- DIY screen construction issues
- Environmental changes (humidity, temperature) affecting tension
- Physical damage from objects, pets, children
The Fix:
For motorized screens:
- Raise/lower multiple cycles to redistribute tension
- Check roller alignment (should be level)
- Replace material if permanently damaged
For fixed-frame screens:
- Loosen frame edges
- Re-tension material evenly around frame
- Retighten in star pattern (opposite sides alternately)
- Replace material if stretched beyond recovery
For pull-down screens:
- Ensure proper lockout mechanism engaged
- Verify mounting brackets level
- Replace if spring mechanism failing
Prevention: Invest in quality screen with proper tensioning, maintain humidity control (40-60%), inspect quarterly
6. Resolution Mismatch and Scaling (8% of Cases)
The Problem: Source resolution doesn't match projector native resolution, forcing interpolation that creates softness.
Why It Happens in Home Theaters:
- Multiple sources (Blu-ray, streaming, gaming, cable) at different resolutions
- Computer sources configured incorrectly
- Auto-resolution selecting wrong setting
- HDMI switch or AVR downscaling signal
- Misunderstanding projector capabilities
The Fix:
- Verify projector native resolution (1080p, 4K, etc.)
- Configure each source to output matching resolution:
- Blu-ray player: Set to projector native resolution
- Streaming devices: Verify 4K enabled (if applicable)
- Gaming consoles: Match native resolution
- Computers: Set display to exact projector resolution
- Test with native content (4K Blu-ray on 4K projector)
- Enable 1:1 pixel mapping if available in projector menu
Common Mismatches:
- 1080p Blu-ray on 4K projector (upscaling required but manageable)
- 720p cable/streaming on 1080p projector (noticeable softness)
- Computer at non-native resolution (always problematic)
Prevention: Document native resolution, label sources with correct settings, use quality upscaling devices (Apple TV 4K, Nvidia Shield)
How to Fix a Blurry Projector Image Step by Step
Systematic approach ensures efficient diagnosis and resolution.
Step 1: Rule Out Optical Focus Issues
Baseline optical verification:
- Display local content (USB drive, Blu-ray menu) to isolate from streaming/cable issues
- Allow full warm-up (15-30 minutes for lamp projectors, 1 minute for laser)
- Display focus test pattern (download 4K test pattern to USB)
- Adjust focus methodically at operating temperature
- Test all four corners and center for sharpness
- If uniform sharpness achieved: Focus was the issue
- If asymmetric blur persists: Proceed to geometry checks
Step 2: Verify and Optimize Throw Distance
Distance verification procedure:
- Measure actual throw from front lens to screen surface
- Calculate required throw: Use manufacturer's throw calculator or formula
- Compare actual vs. required (within ±5% acceptable)
- If outside range:
- Relocate projector if possible (best solution)
- Change lens if projector supports interchangeable lenses
- Accept limitations if relocation impossible
- Set zoom to middle range (50-60% of zoom travel)
- Recheck focus after any position changes
Step 3: Clean All Optical Surfaces
Comprehensive cleaning procedure:
- Gather materials: Microfiber cloths, optical cleaner, compressed air, bulb blower
- Remove loose dust: Compressed air on lens and vents
- Clean front lens: Optical cleaner on cloth, circular wiping from center out
- Clean intake filters: Remove, vacuum or wash, dry 24 hours before reinstall
- Inspect lens with flashlight at angle for remaining contamination
- Test image after cleaning
Step 4: Eliminate Digital Corrections
Remove all digital processing:
- Access geometry menu: Reset keystone, 4-corner adjustment to zero
- Reset lens shift: Return to center position (0%, 0%)
- Disable auto-keystone: Prevent automatic reapplication
- Note image position: Will be off-center if corrections were compensating
- Physically align projector to center image properly
- Use lens shift minimally (<50%) for final positioning only
Step 5: Check Screen Condition
Screen inspection:
- Visual inspection: Look for wrinkles, waves, damage
- White field test: Project pure white, observe brightness uniformity
- Straightedge test: Check surface flatness
- Tension verification: Fixed-frame edges should be taut
- Cleaning: Gently clean screen with appropriate cleaner
- Repair or replace if significantly damaged
Step 6: Optimize Projector Picture Settings
Picture settings for sharpness:
Recommended settings:
- Picture mode: Cinema or Movie
- Sharpness: 40-50% (avoid over-sharpening)
- Brightness: 50% (adjust for dark scene detail visibility)
- Contrast: 65-70%
- Color: 50%
- Noise reduction: Low or off
- Detail enhancement: Disabled or low
- Motion interpolation: Off (unless sports preference)
AI-enhanced settings (2026 projectors):
- Enable AI picture mode: Auto-optimizes per content
- AI upscaling: Improves sub-4K content quality
- Auto-focus: Continuous thermal compensation
Step 7: Verify Signal Chain Quality
HDMI connection optimization:
- Use Premium Certified HDMI cables (18 Gbps minimum for 4K)
- Test direct connection: Bypass AVR/switch temporarily
- Verify HDCP 2.2 compliance (all devices in chain)
- Check cable length: Under 15 feet for passive 4K cables
- Try different cable: Substitute known-good cable
- Power cycle all devices: Reset HDMI handshake
How to Make Your Home Theater Projector Sharper
Optimization beyond basic troubleshooting enhances perceived sharpness.
Advanced Focus Techniques
Multi-point focus verification:
- Test nine-point grid (corners, edges, center)
- Adjust for best average sharpness if uniform impossible
- Document compromise position if center vs. edge trade-off
Temperature-compensated focus:
- Set cold focus position, mark as "Cold"
- Set operating temperature focus, mark as "Warm"
- Use warm setting for critical viewing
- Enable AI auto-focus if available (2026 standard)
Lens Quality Optimization
Zoom position impact:
- Measure throw distance precisely
- Calculate ideal zoom: Position projector for middle 50-60% zoom
- Relocate if needed to avoid extreme zoom positions
- Test different zoom points to find optical sweet spot
Lens shift limits:
- Keep vertical shift <50%
- Keep horizontal shift <20%
- Combined shift should not exceed 60% total
- Physical relocation preferable to excessive shift
Screen Upgrade Considerations
Screen factors affecting sharpness:
| Screen Type | Sharpness | Viewing Angle | Ambient Light | Cost |
| Matte White (1.0 gain) | Excellent | Wide (160°) | Poor | $$ |
| Gray Screen (0.9 gain) | Excellent | Wide (160°) | Good | $$$ |
| High Gain (1.5+ gain) | Good | Narrow (90°) | Very Good | $$$ |
| ALR Screen | Good | Moderate (120°) | Excellent | $$$$ |
| Upgrade recommendations: |
- Dedicated theaters: Matte white or gray (optimal sharpness)
- Multi-purpose rooms: ALR screen (ambient light handling)
- Budget priority: Fixed-frame over motorized (better flatness)
AI-Enhanced Sharpness Features
Modern projector AI capabilities (June 2026):
AI Auto-Focus:
- Continuous focus optimization during operation
- Thermal drift compensation without manual adjustment
- Content-aware focusing (optimizes for different material types)
AI Upscaling:
- Neural network processing of sub-4K content
- Significantly better than traditional bicubic interpolation
- Improves 1080p streaming and cable TV quality
Scene-Adaptive Processing:
- Automatically adjusts sharpness, contrast per scene
- Dark scene enhancement without over-processing
- Motion-adaptive processing for sports vs. cinema
Enabling AI features:
- Navigate to AI Settings or Smart Picture menu
- Enable AI Picture Mode
- Adjust AI strength (start at 40-50%)
- Test with various content types
Common Projector Blur Problems and Quick Fixes
Quick reference for rapid troubleshooting.
| Problem | Symptoms | Quick Fix | Time Required |
| Simple defocus | Uniform blur everywhere | Adjust focus at operating temp | 5 minutes |
| Dirty lens | Progressive blur over weeks | Clean with optical cloth | 5 minutes |
| Wrong throw distance | Can't achieve sharp focus | Verify with calculator, relocate | 30+ minutes |
| Keystone blur | One side softer than other | Disable keystone, use lens shift | 10 minutes |
| Screen wrinkles | Localized blur areas | Re-tension screen material | 20 minutes |
| Resolution mismatch | Soft with certain sources | Match source to native resolution | 5 minutes |
| Excessive lens shift | Corner blur, edge softness | Return shift to center, remount | 30+ minutes |
| Bad HDMI cable | Intermittent blur/sparkles | Replace with Premium Certified cable | 5 minutes |
| Auto-keystone enabled | Overall softness | Disable auto-keystone feature | 2 minutes |
| Streaming compression | Blur during Netflix/YouTube | Check bandwidth, upgrade plan | Varies |
Preventive Maintenance Tips for Long-Term Image Clarity
Regular maintenance prevents blur and extends projector lifespan.
Maintenance Schedule
Monthly (5 minutes):
- Visual inspection of lens for contamination
- Quick focus check with test pattern
- Filter inspection (clean if visibly dusty)
- Verify mounting hardware tight
Quarterly (15 minutes):
- Thorough lens cleaning with optical solution
- Filter cleaning or replacement
- Focus calibration verification
- Picture settings review and adjustment
- Cable connection inspection
Semi-Annually (30 minutes):
- Comprehensive lens cleaning (edges, surrounding area)
- Screen inspection and cleaning
- Mounting hardware inspection and retightening
- Thermal performance check (listen for fan noise changes)
- Compare to baseline reference images
Annually (professional service):
- Internal optical cleaning (professional recommended)
- Alignment verification (convergence for 3LCD)
- Light source assessment (lamp hours, laser condition)
- Comprehensive performance evaluation
Environmental Control
Optimal operating conditions:
- Temperature: 68-75°F (20-24°C)
- Humidity: 40-60% relative humidity
- Dust control: HEPA air filtration, regular room cleaning
- Light control: Complete darkness or controlled ambient
- Vibration: Isolated from subwoofer, foot traffic
Protective measures:
- Projector cover when not in use (dust protection)
- Ventilation clearance maintained (6+ inches all sides)
- Pets restricted from theater room (dander, hair)
- Regular HVAC filter changes (reduces airborne dust)
Documentation and Baselines
Record keeping:
- Photograph settings menus at optimal configuration
- Save focus position (manual ring mark, motorized position number)
- Document throw distance and zoom setting
- Capture reference images (test patterns, movie scenes)
- Log operating hours and maintenance activities
- Note picture settings for different content types
Baseline establishment:
- After optimal setup, capture test pattern images
- Use identical lighting and camera settings
- Compare periodically to detect degradation
- Enables early detection of developing issues
Frequently Asked Questions
Why is my projector blurry even after adjusting the focus?
Incorrect throw distance (projector too close or far from screen), dirty internal optics, damaged lens, or screen surface problems prevent achieving sharp focus. Verify throw distance matches lens specifications using manufacturer calculator. If within spec, lens cleaning needed. Persistent blur after cleaning suggests internal contamination requiring professional service or lens damage.
Can a dirty air filter make my projector image blurry?
Indirectly yes. Clogged filters reduce airflow, causing overheating that affects optical alignment and creates thermal distortion. Additionally, restricted airflow allows more dust to settle on internal optical components (LCD panels, prisms) gradually degrading image. Clean filters every 300-500 hours minimum.
Why does my 4K projector still look blurry?
4K pixel count doesn't guarantee sharpness. Common causes: streaming compression (15-25 Mbps vs. 100+ Mbps Blu-ray), upscaled 1080p content, poor source quality, incorrect picture settings, lens at extreme zoom, or excessive lens shift. Verify with native 4K Blu-ray—if sharp, issue is source not projector.
How often should I clean my home theater projector lens?
Every 300-500 operating hours for active use, or quarterly in typical home theaters. More frequently (200 hours) if: pets present, high ambient dust, projector uncovered between uses, or visible contamination. Prevention: cover projector when idle, use air purifier, inspect monthly.
Will upgrading to a laser projector eliminate blur problems?
Laser light sources eliminate thermal focus drift (stabilize in <60 seconds vs. 15-30 minutes for lamps) and provide more consistent brightness over time. However, optical problems (throw distance, lens quality, screen issues) still cause blur. Laser improves maintenance and consistency but doesn't replace proper setup and alignment.
Can I fix blur without moving the projector?
Sometimes. If caused by simple defocus, dirty lens, keystone correction, or picture settings: yes, easily fixed without relocation. If caused by incorrect throw distance or excessive lens shift: physical relocation necessary for optimal results. Compromise solutions possible but quality suffers.
Why is my projector sharp in the center but blurry at edges? Excessive lens shift (>60% vertical or >25% horizontal), extreme zoom positions, field curvature (lens quality limitation), or screen not perpendicular to projection axis. First reduce lens shift to <50% combined. If persists, adjust zoom toward middle range or physically realign projector perpendicular to screen.
Conclusion
Home theater projector blur stems from correctable factors in 85% of cases: improper focus, incorrect throw distance, lens contamination, excessive keystone correction, screen problems, or environmental issues. Understanding projector picture problems specifically in residential contexts enables both professional installers and DIY enthusiasts to systematically diagnose and resolve sharpness issues, transforming mediocre projection into reference-quality viewing that showcases modern projector capabilities.
The systematic troubleshooting approach detailed in this guide—starting with optical focus verification, progressing through throw distance and geometric alignment, addressing lens cleaning, eliminating digital corrections, and optimizing picture settings—resolves the vast majority of blur complaints without expensive component replacement or professional service. The key insight is that "why is my projector blurry" almost always has an answer in installation geometry, maintenance, or configuration rather than projector defects.
Prevention through proper initial setup and regular maintenance delivers long-term image clarity. In June 2026, with AI-powered auto-focus, laser light sources, 8K capabilities, and neural network upscaling becoming standard in premium home theater projectors, achieving optimal sharpness is more accessible than ever—but still requires attention to fundamental principles: correct throw distance, perpendicular alignment, clean optics, proper focus, and appropriate environmental control.
For AV professionals serving the residential market, mastering home theater blur diagnosis differentiates quality installations from problematic ones. The distinction between a system exhibiting uniform edge-to-edge sharpness versus one with visible blur directly impacts client satisfaction, referral rates, and professional reputation. By applying the comprehensive knowledge in this guide, installers consistently deliver projection systems that meet or exceed client expectations for cinema-quality home entertainment, ensuring the substantial investment in 4K/8K projectors, premium screens, and calibration delivers its full potential.


Sign in to leave a comment.