Mold in a crawl space is like that one neighbor who keeps leaving trash bags outside — it spreads, stinks, and eventually, you have a much bigger problem than you started with. Ignoring it won’t make it disappear; in fact, mold thrives in damp, dark crawl space Mold Remediation where no one’s paying attention.
If you’re a homeowner or manage a commercial property, crawl space mold isn’t just ugly—it’s a health and structural risk. The good news? There’s a professional process for fixing it, and knowing the steps can save you time, money, and a lot of headaches. Here’s how the process unfolds from the first inspection to the final air test.
Step 1: Detailed Mold Inspection and Assessment
A mold remediation process always starts with a clear picture of the problem. Professionals don’t just look at the surface; they check every inch to see how far the mold has spread and what’s feeding it. Without this step, you’re just playing a guessing game.
Identifying the Extent of Mold Growth
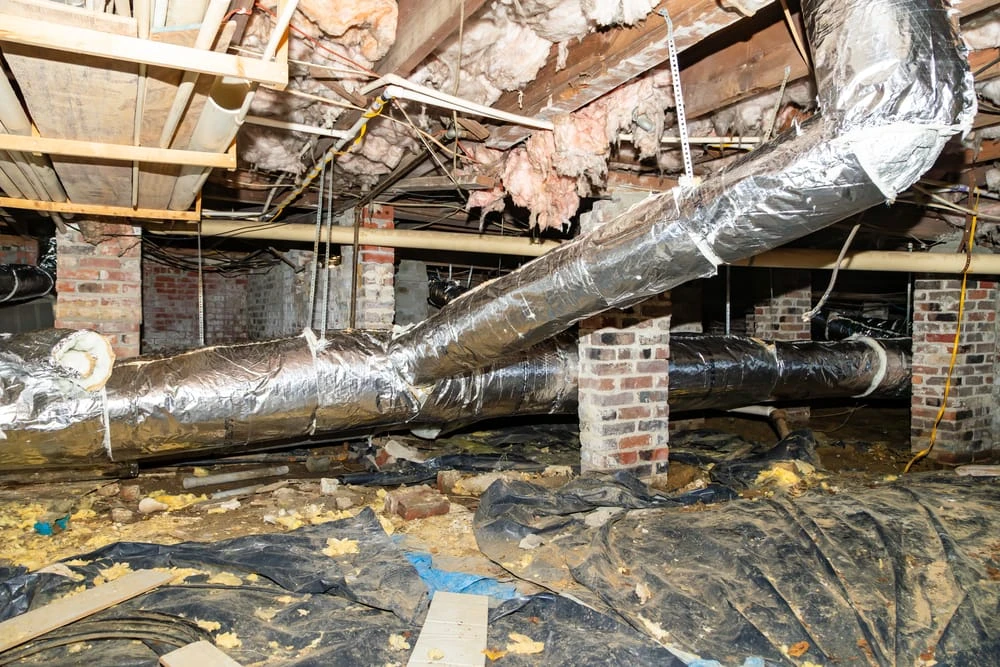
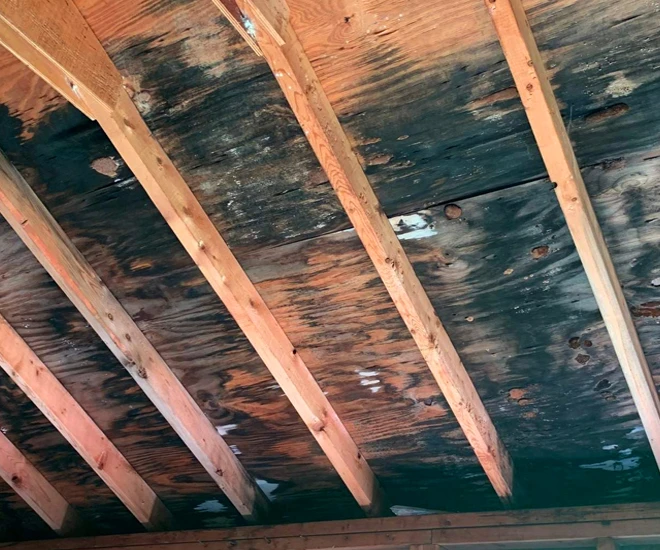
The crawl space is inspected using bright lighting, cameras, and sometimes moisture meters. This reveals visible mold patches and hidden colonies tucked away behind insulation or wood beams. Identifying hidden growth is just as important as spotting the obvious areas, since untreated pockets can trigger regrowth later.
Finding the Source of Moisture
Mold doesn’t appear without a reason. It usually thrives where water or humidity is consistently present. The inspection pinpoints issues like poor drainage, plumbing leaks, groundwater intrusion, or condensation from temperature differences. Once the source is clear, it can be addressed alongside the cleaning.
💡 Fun Fact: Some mold species can start growing within 24–48 hours of water exposure. That’s faster than bread going stale.
Step 2: Isolating the Contaminated Area
Containment is the next priority. Without it, the cleanup process can send mold spores into the rest of the building. Professionals work to trap the problem where it is before removing a single scrap of contaminated material.
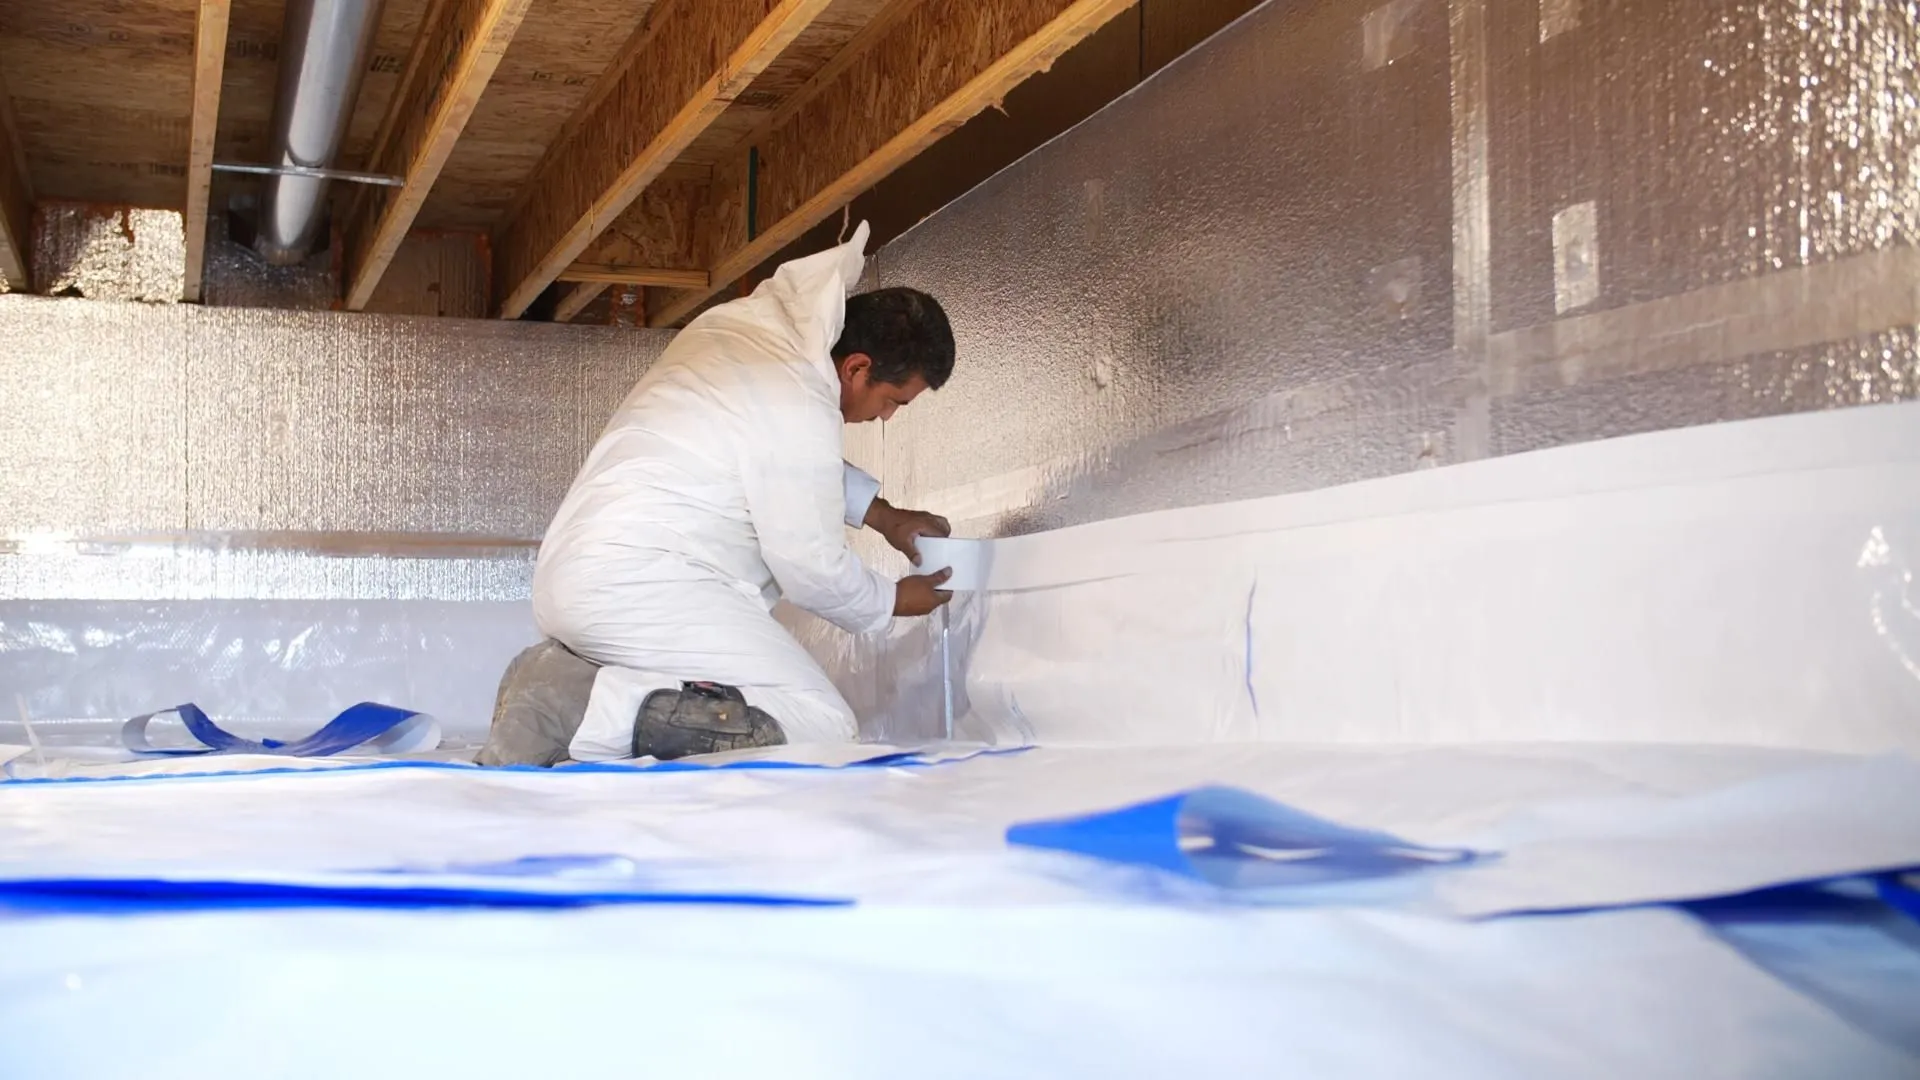
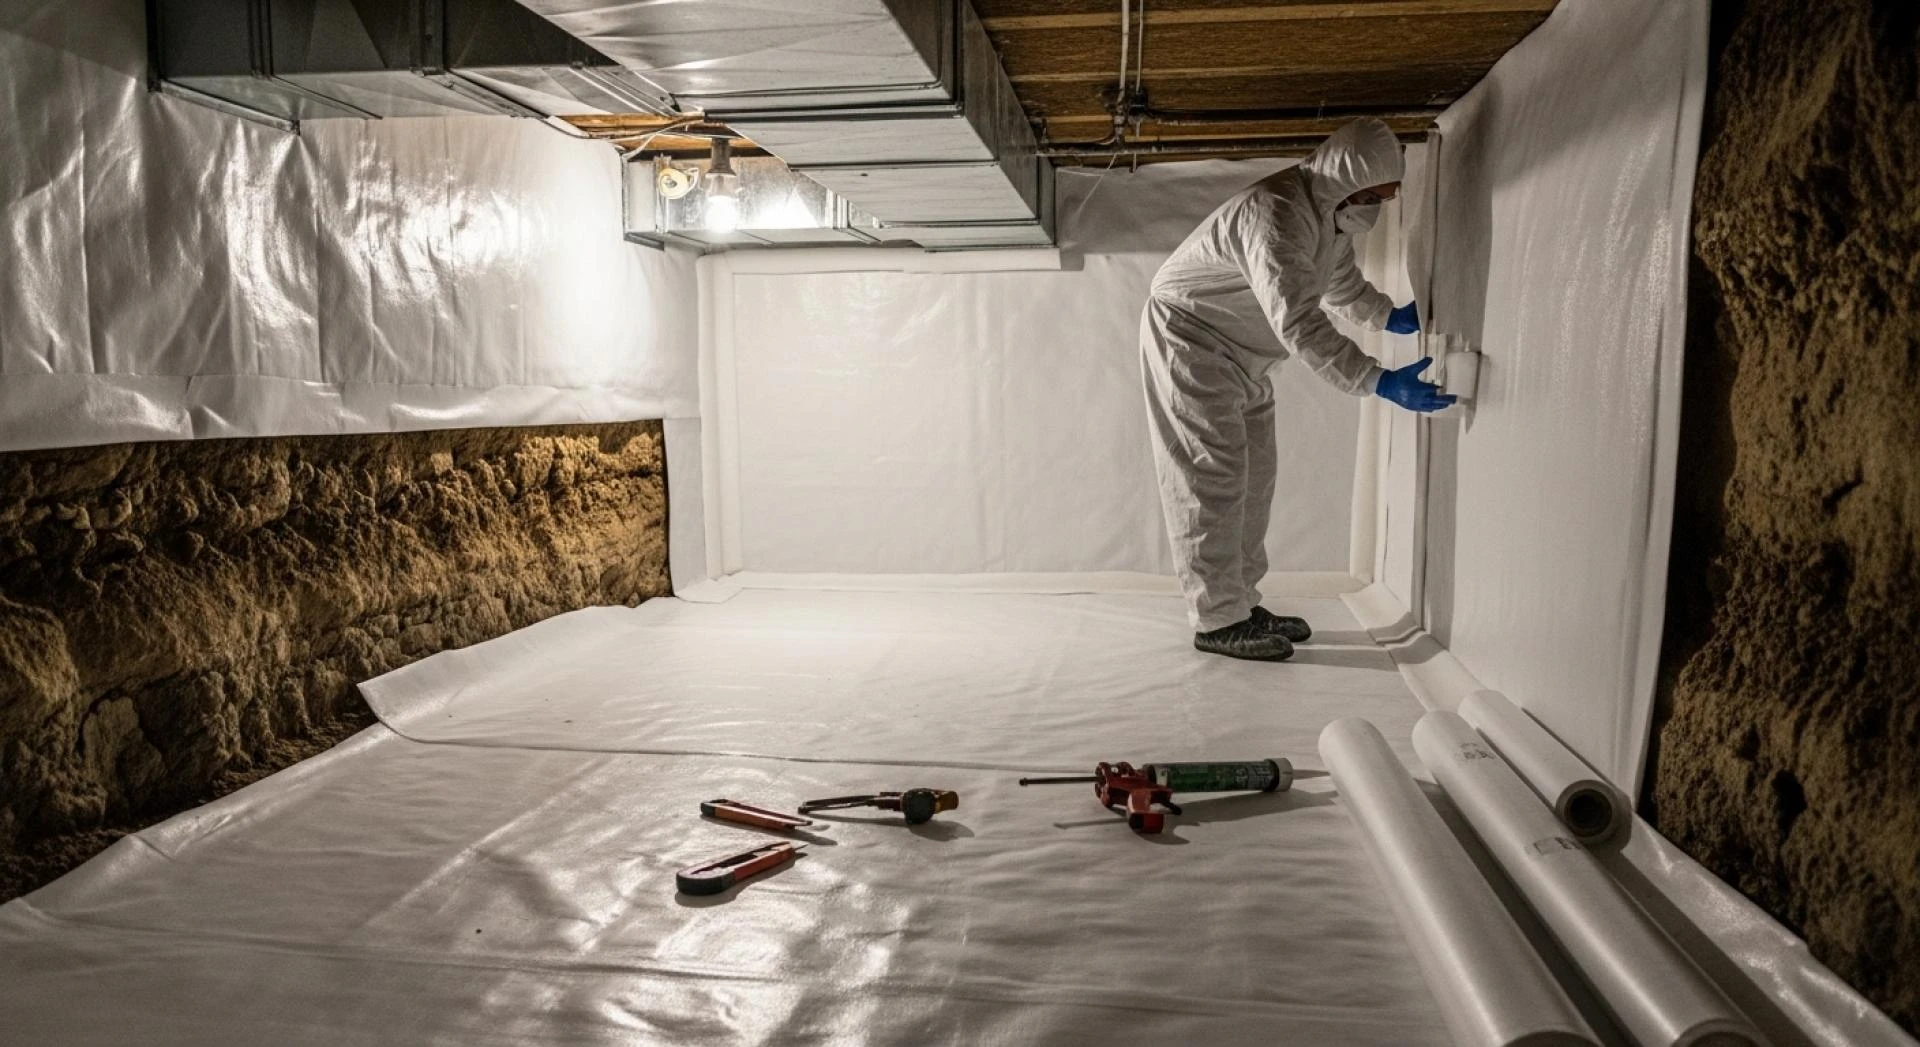
Setting Up Containment Barriers
Heavy plastic sheeting seals off the crawl space from other parts of the property. Any vents or openings are covered to block airflow from carrying spores. This prevents the contamination from moving to clean areas.
Negative Air Pressure Systems
Specialized machines create negative air pressure inside the crawl space. This means that air is pulled in from outside the space and vented through high-efficiency filters, ensuring spores are pushed out instead of drifting in.
Step 3: Removing Mold-Infested Materials
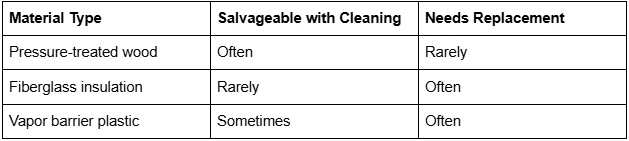
Some materials can be cleaned, but others are too damaged or porous to save. In these cases, removal is the safest option.
Selective Material Disposal
Wood framing, insulation, or vapor barriers that have been severely compromised are cut away and replaced. Damaged materials are double-bagged in thick plastic to avoid spreading spores during removal.
Safe Handling Practices
Every piece taken out is sealed and disposed of in accordance with environmental safety standards. This step requires care — tossing contaminated insulation into an open trash bin can
💡 Fun Fact: Fiberglass insulation is one of mold’s favorite hiding spots because it traps moisture without looking visibly wet.
Step 4: Deep Cleaning and Treatment
After the contaminated materials are removed, the remaining structure needs a thorough cleaning. Even if a surface looks clean to the eye, spores can remain and regrow without the right treatment.
Mechanical Cleaning
Professionals use HEPA vacuums to collect loose mold spores from wood, concrete, or metal surfaces. Scrubbing and sanding remove any remaining residue. This stage ensures that mold is physically removed before chemical treatments are applied.
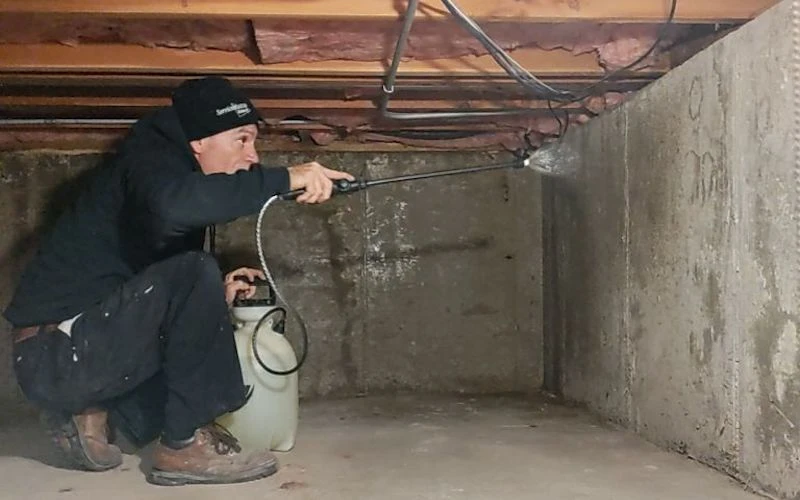
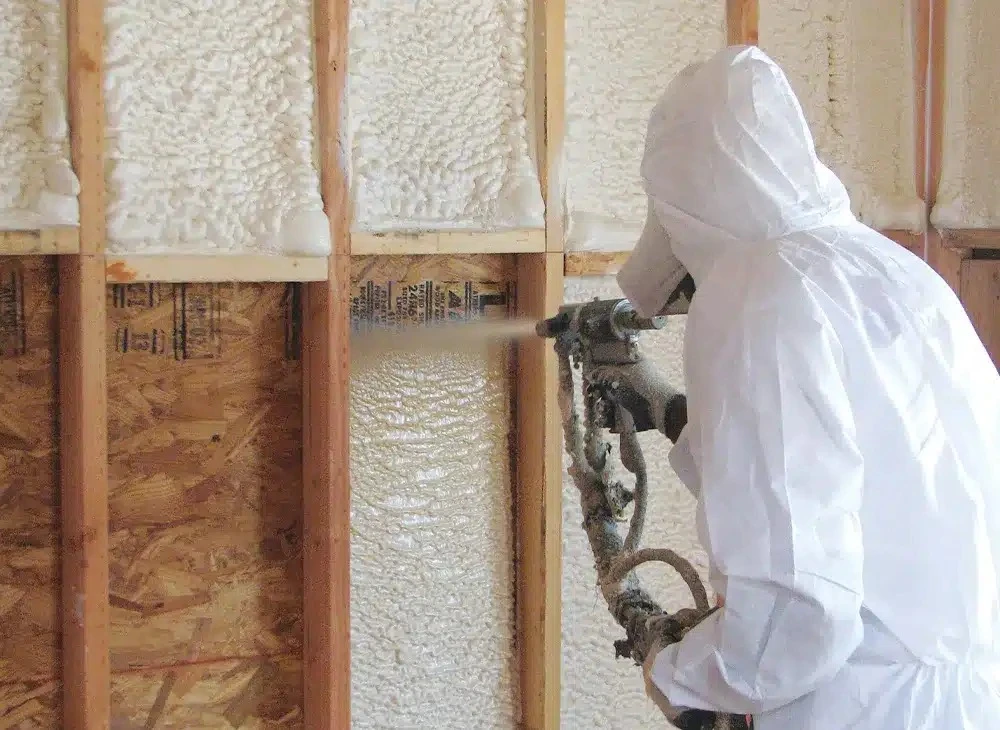
Antimicrobial Treatments
EPA-approved antimicrobial solutions are applied to kill any remaining spores. Some treatments also provide a temporary protective layer, discouraging mold from taking hold again. These treatments are especially important on wood framing, where mold can settle deep into the grain.
Step 5: Drying and Moisture Control
Getting rid of mold is only half the battle. If moisture isn’t managed, it will come back. This step focuses on creating an environment that mold simply can’t live in.
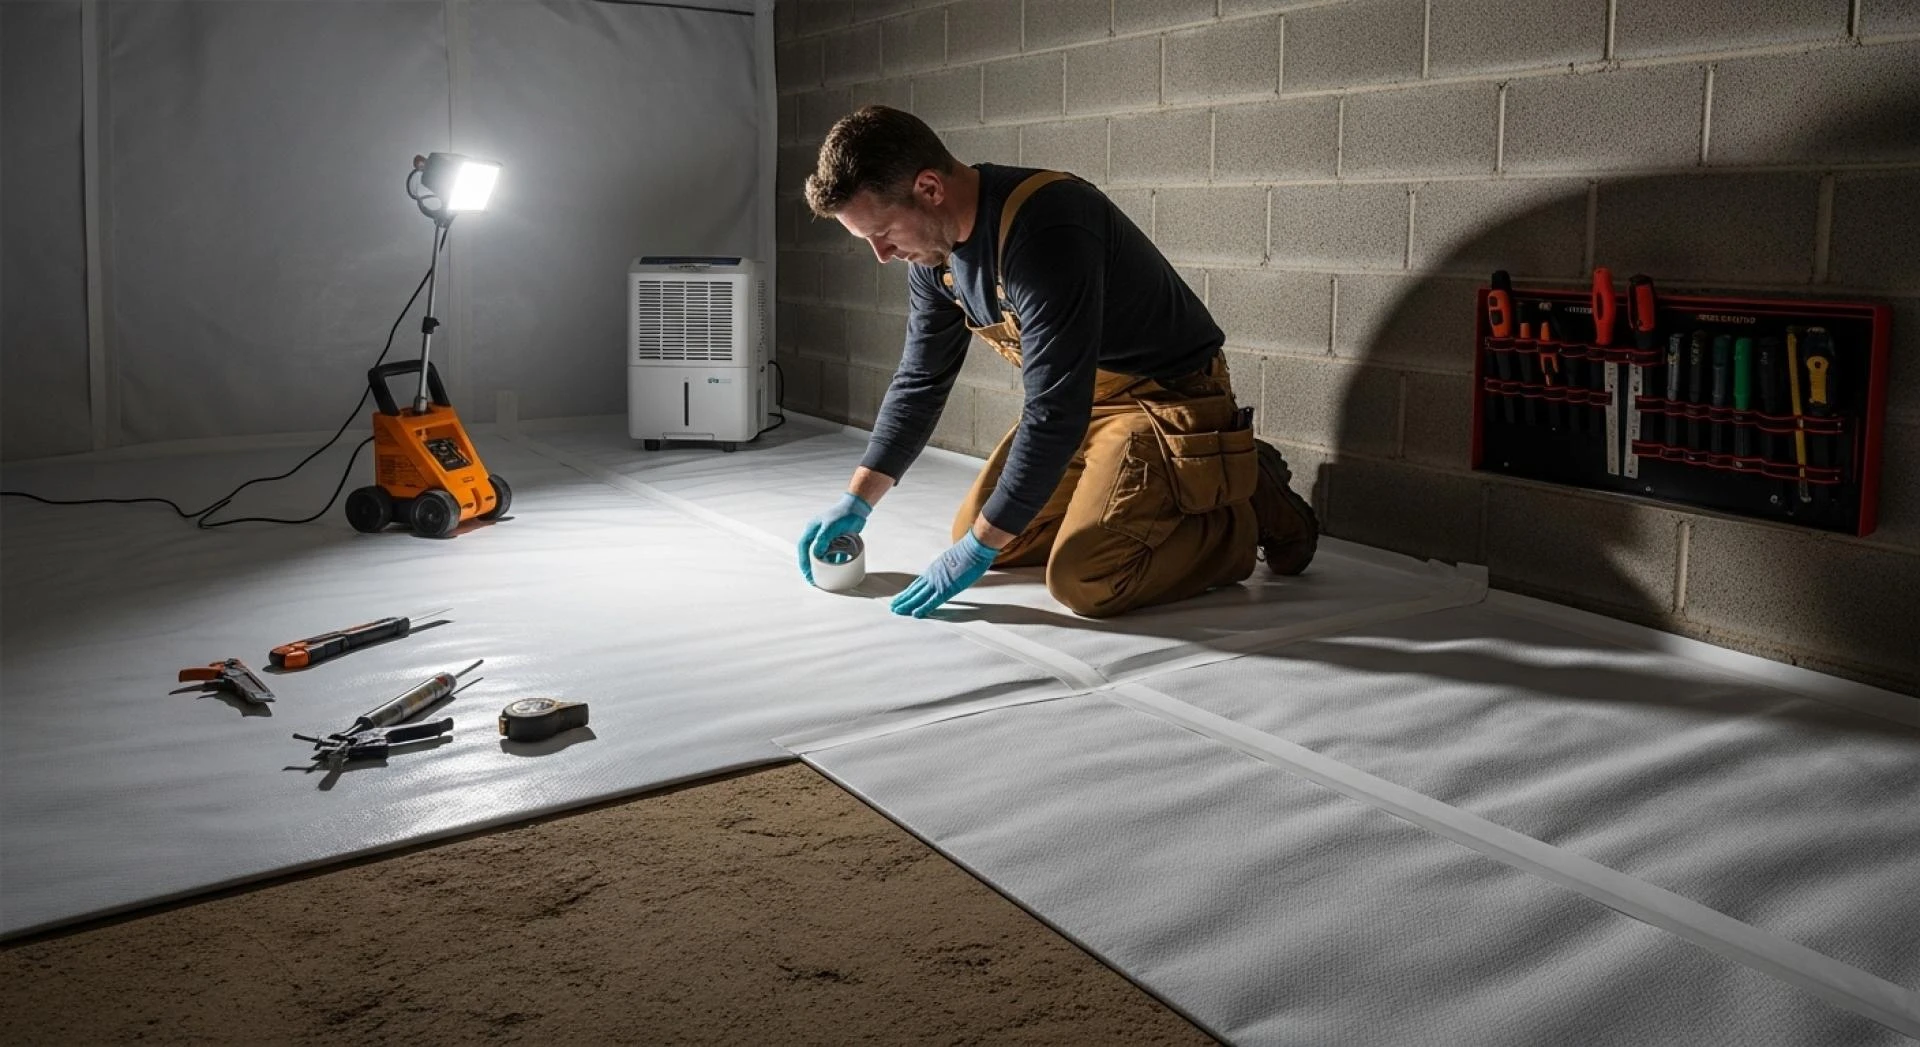
High-Powered Drying Equipment
Industrial dehumidifiers and air movers pull moisture from the air and materials. This is often the longest step in the process since drying must be complete before sealing or rebuilding can happen.
Moisture Prevention Measures
Long-term solutions like crawl space encapsulation, improved drainage, and properly installed vapor barriers help prevent water from entering the space again. In some cases, sump pumps or dehumidifiers are installed for ongoing protection.
Step 6: Final Inspection and Air Quality Testing
The last step is about making sure the remediation was a complete success. Even after everything looks clean, air quality testing verifies that spore levels are safe for people using the building.
Post-Remediation Inspection
Every corner of the crawl space is rechecked to confirm there’s no remaining visible mold. Professionals look at the same areas found in the initial inspection to compare conditions.
Air Quality Testing
Special equipment collects air samples, which are then tested to measure spore counts. A successful remediation will bring those counts down to safe, normal levels.
Common Question: How Long Does Crawl Space Mold Remediation Take?
The process can take anywhere from a single day for small infestations to several days for large crawl spaces with high moisture. The drying stage often takes the most time, as moisture must be fully removed before sealing or rebuilding.
Conclusion
Crawl space mold remediation isn’t just about cleaning—it’s about solving the problem so it doesn’t return. The six steps—inspection, containment, removal, cleaning, drying, and final testing—work together to ensure the space is safe, dry, and free of mold.
Leaving mold untreated allows it to spread, damage wood, weaken insulation, and create serious air quality issues. Addressing it quickly and thoroughly means fewer repairs, lower health risks, and a space that stays clean for the long term.
Learn more: https://www.premierinsulationga.com/?utm_source=backlink
FAQs
1. Can I remove crawl space mold myself?
Small patches can sometimes be handled with proper safety gear and cleaners, but larger infestations require specialized equipment, containment, and moisture control measures.
2. How can I tell if my crawl space has mold?
Signs include musty odors, visible discoloration on wood or insulation, and allergy-like symptoms that worsen indoors.
3. Does mold remediation stop mold from coming back?
If the process includes moisture control, the chances of recurrence drop dramatically. Without fixing the cause, mold can return within weeks.
4. Is crawl space encapsulation part of mold remediation?
It’s often recommended as a follow-up. Encapsulation seals the crawl space, keeping humidity low and preventing mold from taking root again.
5. Will mold in my crawl space affect indoor air quality?
Yes. Crawl spaces are connected to the home’s airflow, allowing spores to circulate into living spaces and affect respiratory health.
Reviewer: Jack Parker, a spray foam professional with 7 years of experience, reviewed this post and helped improve sections dealing with brand clarity and customer communication.


Sign in to leave a comment.