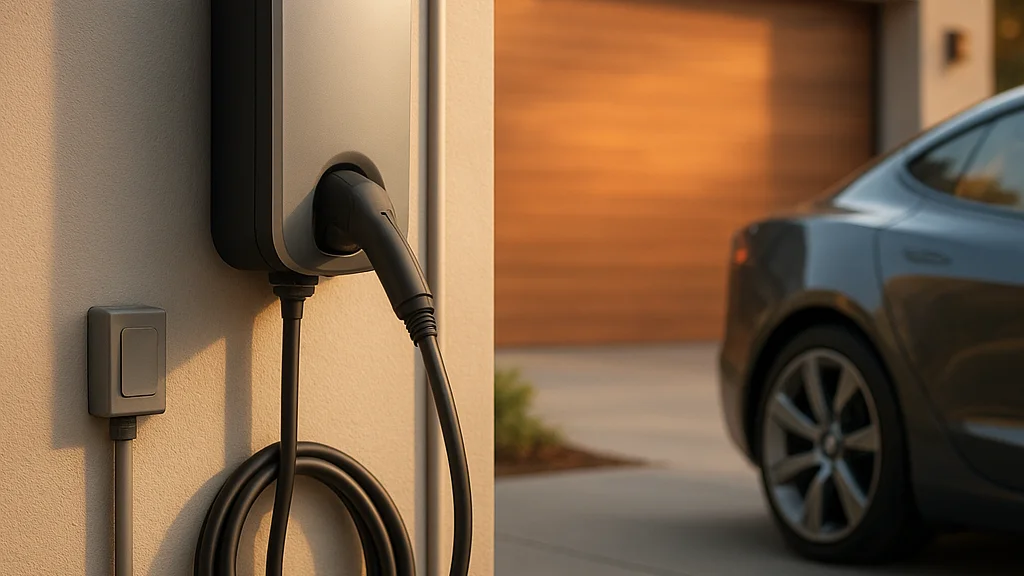

The fantasy version of home EV charging is absurdly neat: buy electric car, mount sleek wall box, wake up full every morning, save planet before coffee. Real life is messier. Three things usually go wrong before anything good happens. First, homeowners buy charger before checking panel capacity. Second, they confuse plug type with charging speed. Third, they assume the cheapest electrician quote is a bargain instead of a warning label. That is how a simple install turns into permit delays, load calculations, trenching costs, and one ugly conversation about why the garage circuit keeps tripping.
Still, the unpopular truth is this: home charging remains the single best reason to own an EV. Public fast charging gets headlines, startup drama, and Reddit rage threads. Home charging does the actual work. According to the U.S. Department of Energy, most charging still happens at home or work, and that basic reality shapes the economics of EV ownership more than any viral charging-map screenshot. If you install the right equipment, on the right circuit, with the right utility rate, an EV becomes less of a lifestyle experiment and more of an appliance that quietly saves time.
This guide is built for that practical decision. Not hype. Not brochure copy. Actual installation logic: what charger level to choose, what your electrical panel must support, how permitting works, what smart features matter, where costs hide, and what changed recently as bidirectional charging and utility-managed charging moved from niche forum talk to real consumer products. If you want a lighter overview first, Complete Guide to Home EV Charging Station Installation and Home EV Charging Station Installation Guide for Smart Owners are useful companion reads. Here, though, we are doing the harder version: install once, regret nothing.
The charger is not the project. The electrical capacity behind it is the project.
Start with the house, not the charger
People obsess over charger brands because hardware is visible. The house infrastructure is what decides whether the install is easy, expensive, or impossible without upgrades. Before you compare wall units, verify four facts: your service size, panel space, distance from panel to parking spot, and whether your utility offers time-of-use or managed charging incentives. A 48-amp Level 2 charger sounds great until you learn your older home has 100-amp service, electric resistance heat, and no spare breaker spaces. Suddenly that “simple” charger may require a subpanel, service upgrade, or load-management device.
For most detached homes in North America, the core question is whether the electrical service can support a dedicated 240-volt circuit for EV charging. The National Electrical Code treats EV charging as a continuous load, which means the circuit and breaker must be sized above the charger’s sustained output. In plain English, a charger delivering 40 amps continuously usually needs a 50-amp circuit. A 48-amp charger generally requires a 60-amp circuit and hardwiring. That one detail catches a lot of buyers who assume a NEMA 14-50 outlet can do everything.
Distance matters too. If your panel is in the basement and the car parks at the far edge of a detached garage, wire runs, conduit, and labor can cost more than the charger itself. The Independent, in its EV charging guide, emphasizes that installation complexity often drives the final bill more than the hardware sticker price. That matches what electricians say in the field: straightforward wall-adjacent installs are one market; trenching under driveways is another.
Then there is the boring but crucial part: permits and inspections. Some homeowners still treat this like optional bureaucracy. Bad idea. An EV charger is a high-load permanent electrical addition. A permitted install protects insurance claims, resale disclosures, and safety. It also forces the work to be documented, which matters if you later add solar, battery storage, or bidirectional equipment.
- Check service size: 100A may work for modest charging, 200A offers more flexibility.
- Check breaker space: no room means subpanel or load-sharing solution.
- Measure cable run: longer runs increase copper, conduit, and labor cost.
- Confirm parking routine: driveway, garage, carport, and outdoor exposure change equipment choice.
- Review utility tariff: cheap overnight rates can matter more than maximum charging speed.
Level 1, Level 2, and the speed myth people keep repeating
Three things are wrong with the usual charging-speed conversation. One, people talk as if faster is always better. Two, they ignore battery size and daily mileage. Three, they pretend every EV owner needs the same setup. Actually, charger selection should follow your use case, not your anxiety.
Level 1 charging uses a standard household outlet, typically 120 volts in the U.S. It is slow, often adding only a few miles of range per hour, but for low-mileage drivers it can still work. If you drive 20 to 30 miles a day and park overnight for 10 to 12 hours, Level 1 may recover much of that usage. What it does not handle well is larger battery packs, cold weather losses, back-to-back long trips, or households with multiple EVs. For renters or short-term situations, it is a bridge. For most owners, it becomes annoying fast.
Level 2 is the real home standard. It uses 240 volts and can add dramatically more range per hour depending on the vehicle’s onboard charger and the circuit capacity. A 32-amp setup may be plenty for one commuter. A 40-amp or 48-amp unit offers more headroom. But the speed myth needs killing: if your car sits parked from 10 p.m. to 7 a.m., you often do not need the absolute fastest charger your panel can support. You need enough charging to refill your typical daily use during the cheap-rate window. That is a different calculation.
AOL and Yahoo News UK, in matching explainers on home charger installation, both stress that buyer decisions should account for property type, electrical supply, and charging habits rather than raw wattage alone. Exactly. The right charger is the one that fits your panel, your tariff, and your parking life without forcing expensive upgrades you will never really use.
If your EV is parked for eight hours every night, the question is rarely “How fast can I charge?” It is “How little infrastructure do I need to fully recover my daily driving?”
There is also a hardware distinction many buyers miss: plug-in versus hardwired chargers. Plug-in units can be easier to replace and may cost less to install if a suitable outlet already exists. Hardwired units usually support higher amperage, reduce one failure point, and are often preferred for outdoor permanence. Some local codes and manufacturers also favor hardwiring for reliability and weather resistance.
- Choose Level 1 only if mileage is low, parking is stable, and you can tolerate slow recovery.
- Choose a 32A to 40A Level 2 if you want a strong balance of cost, speed, and panel friendliness.
- Choose 48A hardwired Level 2 if your service supports it and you want future-proofing for larger EV batteries.
- Do not overspend on speed if your utility’s off-peak window already gives enough time to recharge.
What the installation process really looks like
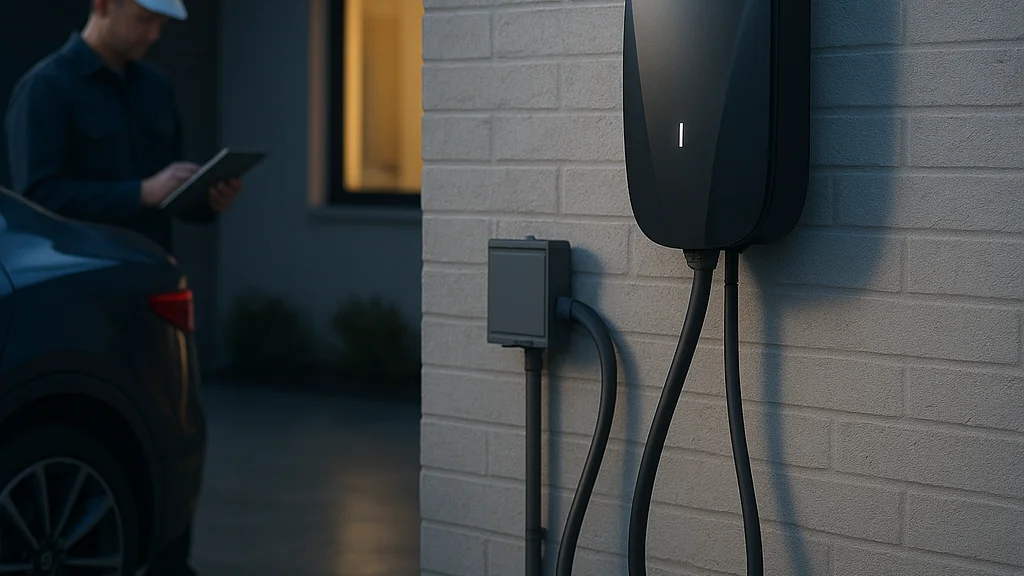
The clean Instagram version is one photo: charger on wall, cable wrapped like a product render. The real process has more steps, and skipping any of them tends to produce exactly the kind of bad UX homeowners hate. A proper install usually begins with a site assessment by a licensed electrician. They should inspect the main panel, calculate available load, identify the charger location, and quote the route for wiring or conduit. If they do not mention load calculation, ask why. If the answer is vibes, run.
After assessment comes equipment selection. This includes not just the charger but the circuit size, breaker type, weather rating, mounting height, cable length, and whether the install will use an outlet or direct hardwire. Outdoor installs need extra attention to enclosure rating and physical protection. A charger in a tight garage should be placed so the cable reaches the charge port without becoming a trip hazard or requiring weird parking gymnastics every night. Bad cable management sounds minor until you live with it.
Permitting follows, depending on local rules. In many jurisdictions, the electrician or contractor pulls the permit. Some utilities also require notification, especially if the charger qualifies for rebates or managed charging programs. Installation day can be simple if the panel is nearby and capacity is available. It can also involve drilling through masonry, adding conduit, upgrading grounding, replacing an overloaded panel, or installing an energy management system that dynamically limits charging when the house load spikes.
Inspection is the final gate. Once approved, smart charger setup usually happens through a manufacturer app. This is where smart-home promises often meet terrible software. Forbes, in its piece on smart home integration and EV charging, argues that connected charging is becoming central to energy management rather than a nice extra. That is true, but only if the hardware and software are stable enough to schedule charging, monitor usage, and respond to utility signals without constant babysitting.
If you want another practical checklist, Top 7 Home EV Charging Station Installation Guide and The Future of Home EV Charging Station Installation: A Comprehensive Guide both help frame the buyer journey. My addition is simpler: treat installation like a home electrical project first and a consumer gadget purchase second.
- Site visit: panel inspection, load calculation, route planning.
- Equipment decision: amperage, hardwired vs outlet, indoor vs outdoor rating.
- Permit stage: local approval, utility notification, rebate paperwork.
- Installation: breaker, wiring, mounting, labeling, testing.
- Inspection and setup: code sign-off, app pairing, schedule configuration.
Costs, incentives, and where the budget usually blows up
People ask, “How much does a home EV charger cost?” Wrong question. The charger is only one line item. The better question is, “What will my property require to support the charging speed I want?” Hardware prices for reputable Level 2 chargers often sit in a broad mid-hundreds range, but installed cost can swing much wider based on labor, wire run, panel work, and permitting. A short, uncomplicated install may stay relatively manageable. A service upgrade can turn the project into a several-thousand-dollar event.
The biggest budget killers are predictable. Panel replacement is one. Long conduit runs are another. Detached garages and driveway trenching are the ugly ones. If your house already has a suitable 240-volt circuit in the right place, costs can be dramatically lower. If not, copper and labor decide your mood. The Independent notes that smart tariffs can significantly reduce charging costs over time, and that matters because a slightly pricier smart charger may pay back if it reliably shifts charging into cheaper overnight windows.
Incentives complicate the math in a good way. Depending on where you live, you may find utility rebates, local grants, tax credits, or discounted charger programs. These change often, and by 2026 many utilities are pushing demand-response participation instead of simple hardware rebates. That means they may subsidize a charger if you allow load shifting during peak periods. Read the terms carefully. Saving money is nice. Surrendering control to a flaky app ecosystem is less nice.
For a realistic budget, ask installers for itemized quotes. You want to see labor, permit fees, charger hardware, breaker and wire specs, panel upgrades if needed, and any assumptions about wall access or trenching. Vague quotes are where “surprise” charges breed. Also ask whether the quote includes patching, painting, or restoration. Often it does not.
- Hardware: charger unit, mounting kit, accessories.
- Electrical labor: install time, testing, commissioning.
- Materials: breaker, wire, conduit, fittings, outlet if used.
- Permit and inspection: local fees and scheduling.
- Major extras: panel replacement, subpanel, trenching, load management device.
The best budget strategy is almost boring: right-size the charger, verify incentives before buying, and avoid unnecessary service upgrades if managed charging or lower amperage will meet your actual driving needs.
Smart charging in 2026: useful, overhyped, and suddenly more important
Three things are wrong with a lot of smart charging marketing. First, it sells convenience that should be default. Second, it hides compatibility gaps between cars, chargers, and utilities. Third, it implies every feature matters equally. Actually, only a handful of smart functions consistently justify paying more: scheduled charging, energy-use tracking, utility integration, access control, and load balancing for homes with more than one EV or tight electrical capacity.
What changed by 2026 is not just that more chargers have apps. It is that utilities and home energy systems increasingly expect chargers to behave like flexible grid assets. Managed charging programs can pause or delay charging during demand peaks. Solar-aware charging can prioritize midday surplus generation where rate structures make sense. Homes with batteries or dynamic load controllers can coordinate EV charging with air conditioning, water heating, and other large loads. Forbes framed this as the merger of smart home and EV ecosystems, and that is directionally right. The charger is becoming part of household energy orchestration, not a standalone box.
Bidirectional charging is the more dramatic development, though still not universal. Techtimes, in its practical guide to vehicle-to-home charging, describes how some EVs and compatible equipment can power a home during outages or offset household demand. This is real, but consumers should stay skeptical about compatibility claims. Vehicle support, inverter requirements, transfer equipment, permitting, and utility rules vary a lot. You cannot assume that owning a bidirectional-capable car automatically means your home charger can do V2H tomorrow.
Still, the strategic implication is huge. If you are installing now and plan to stay in the home for years, consider whether your electrical work can support future upgrades such as home batteries, solar integration, or bidirectional systems. That does not always mean buying the fanciest charger today. It may mean sizing conduit and panel space intelligently so you do not pay twice later.
By 2026, the smartest EV charger is not the one with the prettiest app. It is the one that can cooperate with your utility, your panel limits, and your future energy plans.
Common mistakes that make owners hate their setup
Most charger regret is self-inflicted, and yes, some of it comes from buying advice that reads like sponsored mush. The first mistake is installing the charger in the wrong place. A five-foot cable shortfall becomes a nightly annoyance. The second is choosing amperage based on ego instead of need. The third is ignoring weather, cable handling, and parking habits. These sound small until you repeat them 300 nights a year.
Another common error is assuming all smart chargers are equally polished. They are not. Some apps are stable and useful. Others feel like abandoned startup projects held together by push notifications and optimism. Read owner feedback carefully, especially on scheduling reliability, Wi-Fi stability, and firmware support. A charger that forgets off-peak schedules can quietly erase the savings you thought justified the purchase.
Then there is the outlet issue. If you choose a plug-in charger, the receptacle quality matters. Cheap or poorly installed outlets under sustained high load can overheat. This is why many electricians prefer hardwired installations for higher-amperage residential charging. It reduces one connection point and often improves long-term reliability. Outdoor installs add more failure modes: water exposure, impact risk, UV wear, and cable stiffness in cold climates.
Households with two EVs face another trap. Installing one powerful charger may not be better than installing two lower-power units with load sharing, especially if both cars need overnight charging. Some modern systems can dynamically split available current between chargers, avoiding a costly service upgrade. That is the kind of feature that sounds boring in a brochure and brilliant in real life.
- Bad placement: cable does not comfortably reach the port.
- Oversized charger: expensive install for speed you never need.
- Weak receptacle choice: lower reliability under continuous load.
- Ignoring software quality: scheduling bugs ruin off-peak savings.
- No future planning: second EV, solar, or battery later becomes expensive.
If you are trying to avoid exactly these mistakes, Home EV Charging Station Installation Guide 2026 adds a useful current-market angle. My stronger advice is more contrarian: spend more time planning cable reach and panel capacity than comparing glossy app screenshots.
How to choose the right setup for your actual life
There is no universal best home EV charger. There is only the least stupid match between your car, your house, and your routine. Start with mileage. If you drive 25 miles a day and can charge every night, a moderate Level 2 setup is usually enough. If you drive 100 miles a day, have one overnight window, and live in a cold climate, you may want more power. If you expect a second EV within two years, think in systems, not devices.
Next, look at your electricity rate structure. A household on a strong time-of-use tariff may get more value from a dependable smart charger than from higher amperage. If your utility offers managed charging incentives, check whether approved chargers are required. If you have rooftop solar, ask whether your usage pattern aligns with daytime charging or whether battery storage would matter more than solar-aware EV charging alone.
Property type changes everything. Detached single-family homes have the most flexibility. Townhomes and condos are harder because shared electrical infrastructure, HOA rules, and assigned parking arrangements create friction. Renters need landlord approval and often need portable or lower-commitment solutions. In those cases, the best charger may be the one you can actually get installed legally and affordably, not the one with the best spec sheet.
My practical framework is simple. Choose the slowest setup that reliably restores your normal driving during your cheapest charging hours, then add only the smart features that solve a real problem. Future-proof wiring paths and panel planning where possible. Use licensed installers. Pull permits. Keep documentation. That is not sexy advice. It is just the advice that ages well.
- Map your daily miles and weekly peak usage.
- Match charging speed to overnight dwell time, not fear.
- Check utility rates before buying hardware.
- Plan for second EVs if household replacement cycle suggests one soon.
- Document everything for warranty, insurance, resale, and future upgrades.
Home EV charging is one of those rare consumer tech decisions where the boring answer is usually the right one. Do not buy the charger that looks smartest on social media. Buy the setup that fits your electrical reality, your tariff, and your parking habits. Actually, that is how you get the only result that matters: plug in at night, wake up ready, stop thinking about it.




























Sign in to leave a comment.